Custom Tests
Publish results from an external quality tool or implement a validator that Collate runs. Steps 1–4 register a custom test and publish its results through the API. Step 5 describes installing a custom validator for execution through Collate. Before starting, ingest the target table into Collate. Obtain a bearer token with permission to create test definitions, edit tests on the table, and publish results. Replace{access_token} in the examples and replace https://your-company.getcollate.io with your Collate instance URL. The examples use the existing table local_redshift.dev.dbt_jaffle.customers. Replace this fully qualified name (FQN) throughout with your table’s FQN.
The workflow has five steps. Steps 2, 4, and 5 are optional, as described below:
- Create a Test Definition
- Create a Test Suite
- Create a Test Case
- Write Test Case Results
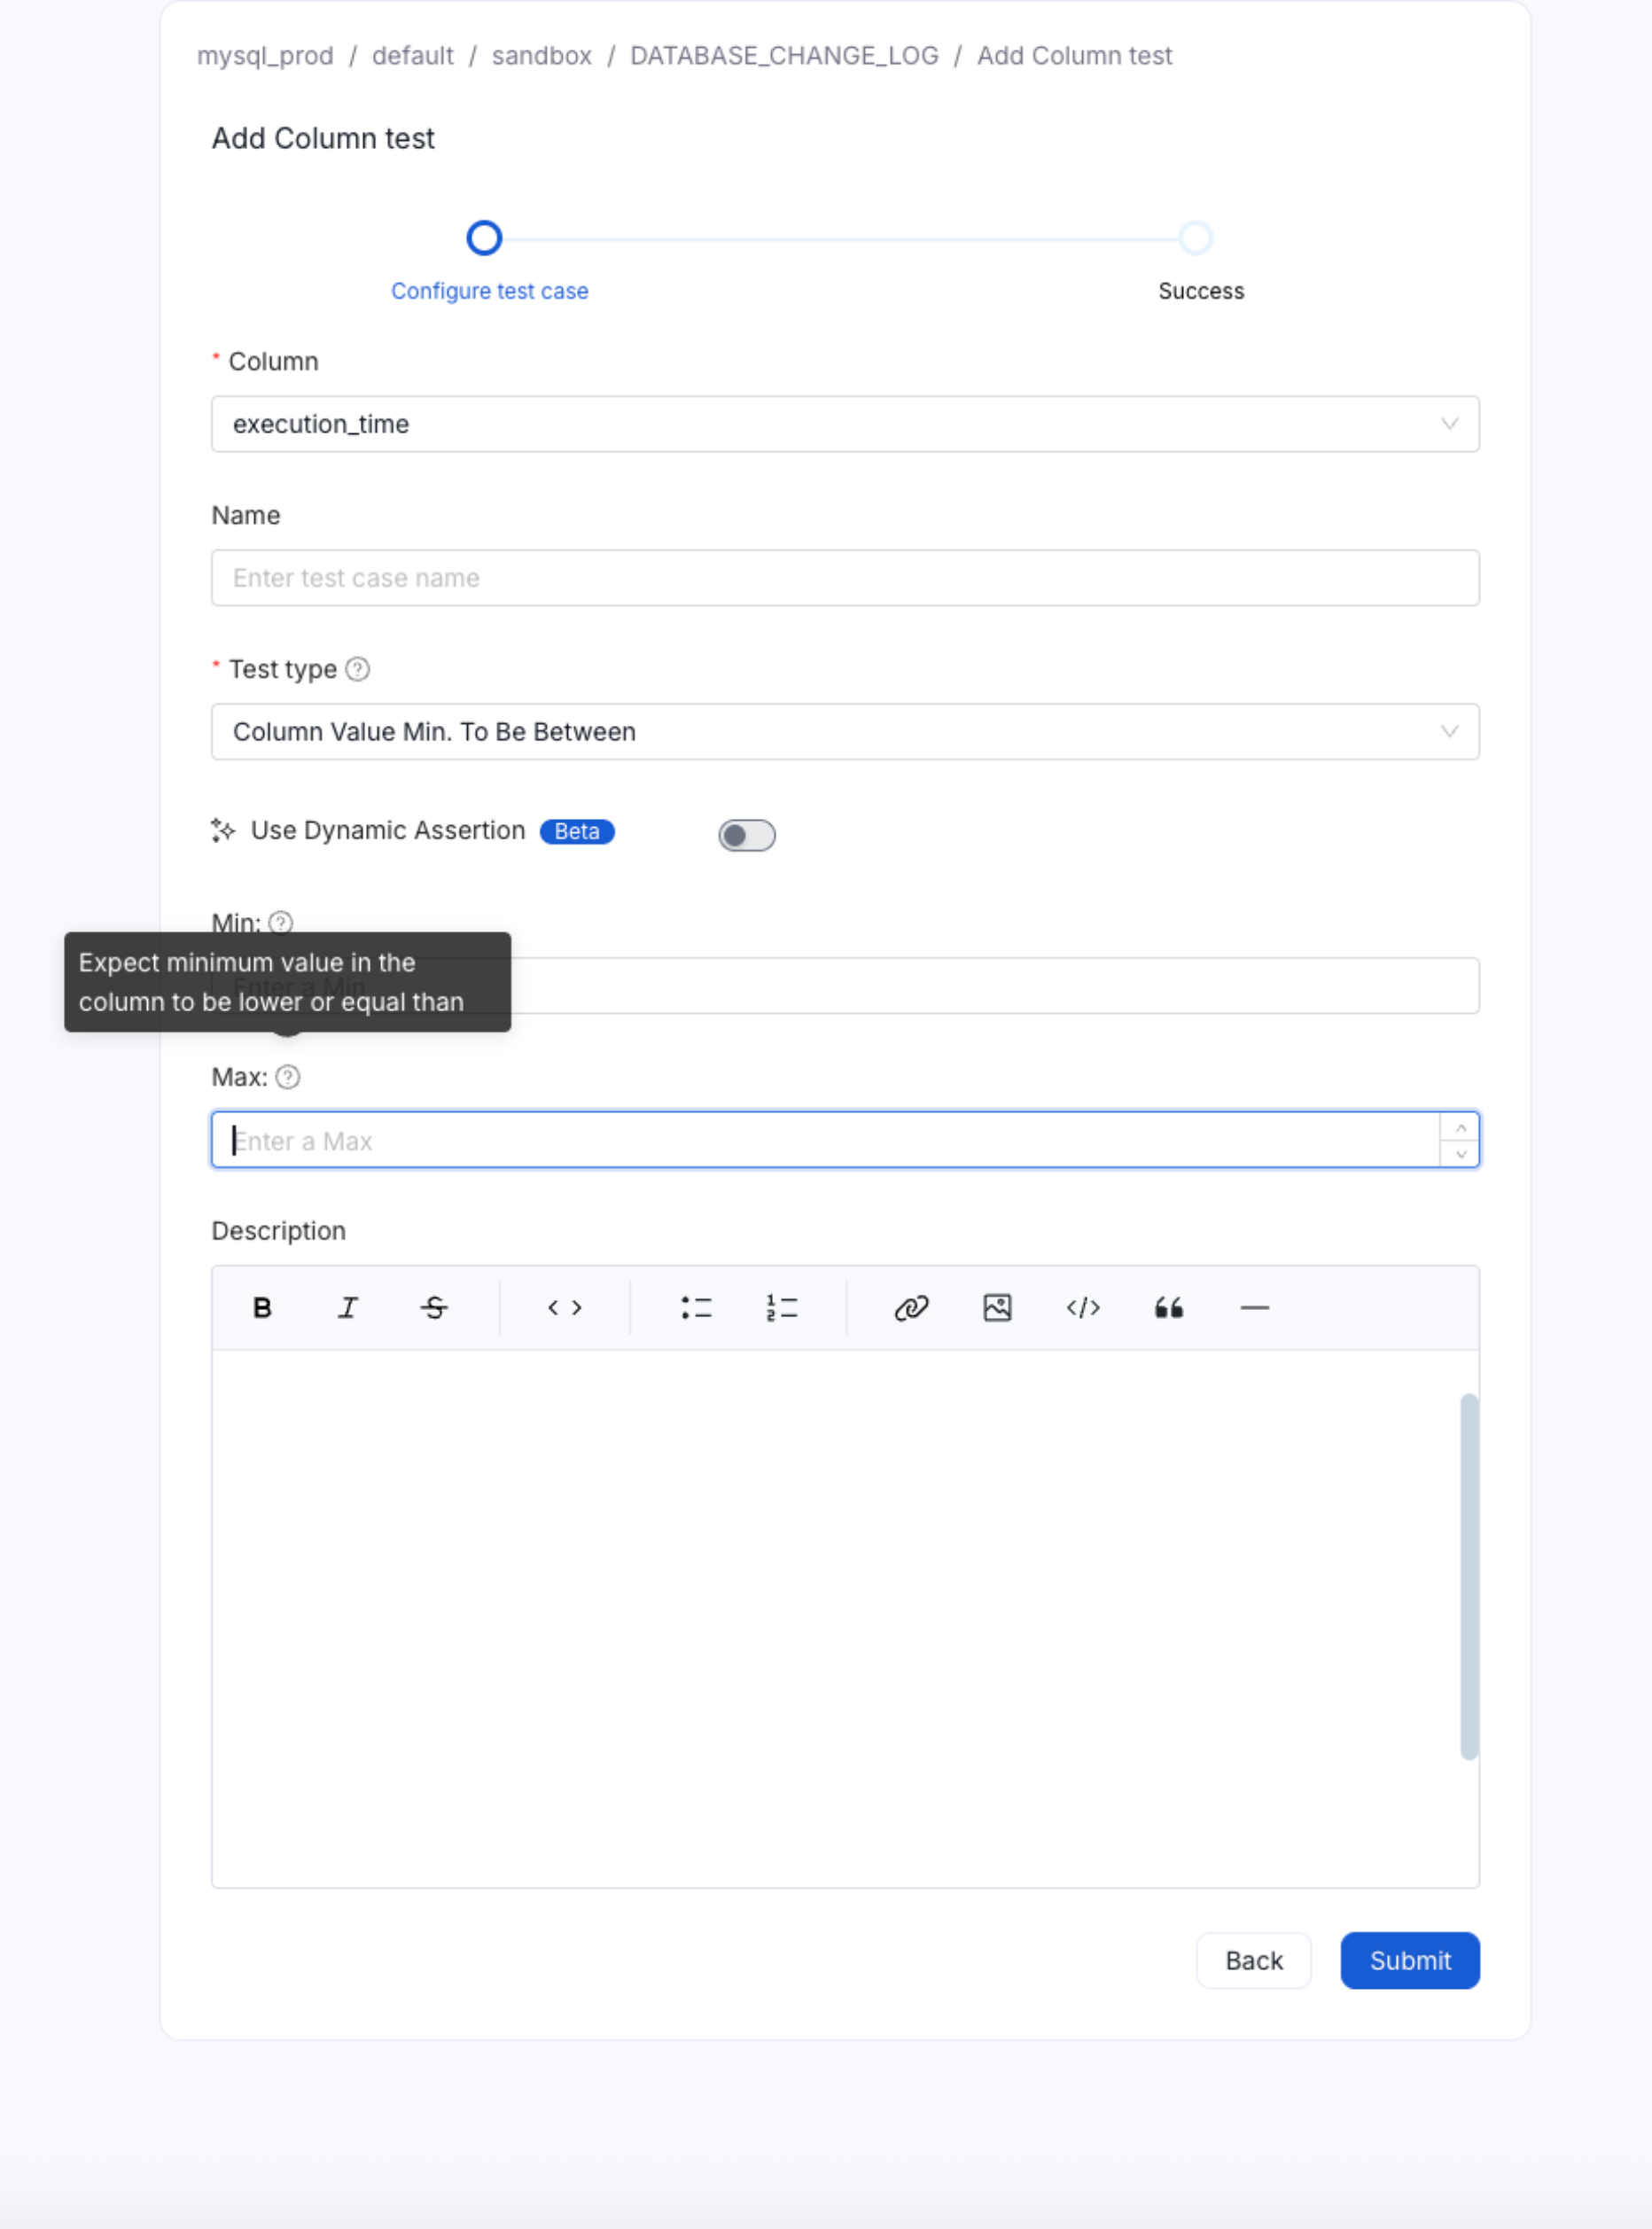
- Make the Test Available Through the Collate UI
Step 1: Create a Test Definition
SendPOST /api/v1/dataQuality/testDefinitions to register a definition. This example declares a string parameter named colName for a test whose results are calculated externally.
fullyQualifiedName from the response. This example returns demo_test_definition. Test-case creation accepts this name as a string, rather than an ID or an entity-reference object.
To make the definition available for execution through Collate, include OpenMetadata in testPlatforms and install a matching validator as described in Step 5. Registering a definition alone doesn’t implement or run the test.
Step 2: Create a Test Suite
Optional: Create a suite explicitly before creating a test case. A basic test suite holds the tests for a table. When you create a test case in Step 3, the server reuses the table’s basic suite or creates one automatically. Skip this step unless you want to create the suite explicitly. To create it explicitly, sendPOST /api/v1/dataQuality/testSuites/basic with the existing table’s FQN in basicEntityReference. Reuse the suite if the table already has one.
POST /api/v1/dataQuality/testSuites creates a logical grouping instead. Omit executable and basic from the request. The endpoint determines the suite type. Use basicEntityReference instead of the deprecated executableEntityReference field.
For more information, see Create a Test Suite.
Step 3: Create a Test Case
SendPOST /api/v1/dataQuality/testCases with the test definition’s FQN as a string and an entityLink identifying the table or column. For a table, use <#E::table::tableFQN>. For a column, use <#E::table::tableFQN::columns::columnName>. Include the opening and closing angle brackets.
Omit testSuite from the request. The server associates the case with the table’s basic suite using entityLink. Parameter names must match the definition, and parameter values must be strings.
fullyQualifiedName for Step 4. For this example, it’s local_redshift.dev.dbt_jaffle.customers.custom_test_Case.
Step 4: Write Test Case Results
Optional: Publish results yourself when you run the test outside Collate. After running your external test, sendPOST /api/v1/dataQuality/testCases/testCaseResults/{fqn} with its result. Use the test case’s returned FQN, URL-encoded when necessary, in the path. The required fields are timestamp, testCaseStatus, and testResultValue.
The timestamp is Unix epoch time in milliseconds. Replace the example timestamp with the actual execution time.
Step 5: Make the Test Available Through the Collate UI
Optional: To run the test through the Collate user interface (UI), implement a validator in themetadata.data_quality namespace.
-
Create Your Namespace Package
Create a Python package for your validation logic with this minimum structure:
For SQLAlchemy sources, place your validation file in the directory for its entity type:
- Table tests:
metadata/data_quality/validations/table/sqlalchemy/<yourTest>.py - Column tests:
metadata/data_quality/validations/column/sqlalchemy/<yourTest>.py
<yourTest>should match the name of your test definition in Step 1. Add an__init__.pyfile in every package folder with this line: - Table tests:
-
Create Your Test Class
In
<yourTest>.py, create a class named<YourTest>Validatorthat inherits fromBaseTestValidator. Inherit fromSQAValidatorMixinif you need its helper methods. Implementrun_validationto return aTestCaseResultobject. The following illustrative skeleton omits imports and validation logic. Add these in your implementation before running it. -
Install Your Package
After implementing the validator, run this command from your package directory in the environment that runs the Collate Python SDK: