Agents
An agent is an AI that performs metadata tasks on your behalf — writing descriptions, classifying PII, assigning tiers, linking glossary terms, or running data quality checks. Each agent combines a persona (how it thinks and communicates), one or more skills (what actions it can take), and optionally an API access token so external tools can invoke it. Collate includes built-in agents for common tasks. You can also create your own to handle specialized workflows.Agents vs Workers
Agents and workers are both AI entities in Collate, but they serve different purposes:
Use agents when you want to automate tasks across your catalog on a schedule. Use workers to extend what Collate AI Chat can do in conversation. See Workers for details.
When to Use an Agent
Use an agent when you want to automate repetitive metadata work across many assets — for example:- Writing or updating descriptions for hundreds of tables.
- Flagging columns that likely contain personal data (PII).
- Assigning tiers to assets based on usage or importance.
- Linking business glossary terms to tables and columns.
- Enforcing compliance with regulations such as India’s DPDP Act.
Create an Agent
Follow the steps below to create a new agent in AI Studio.Step 1: Navigate to the Agents Tab
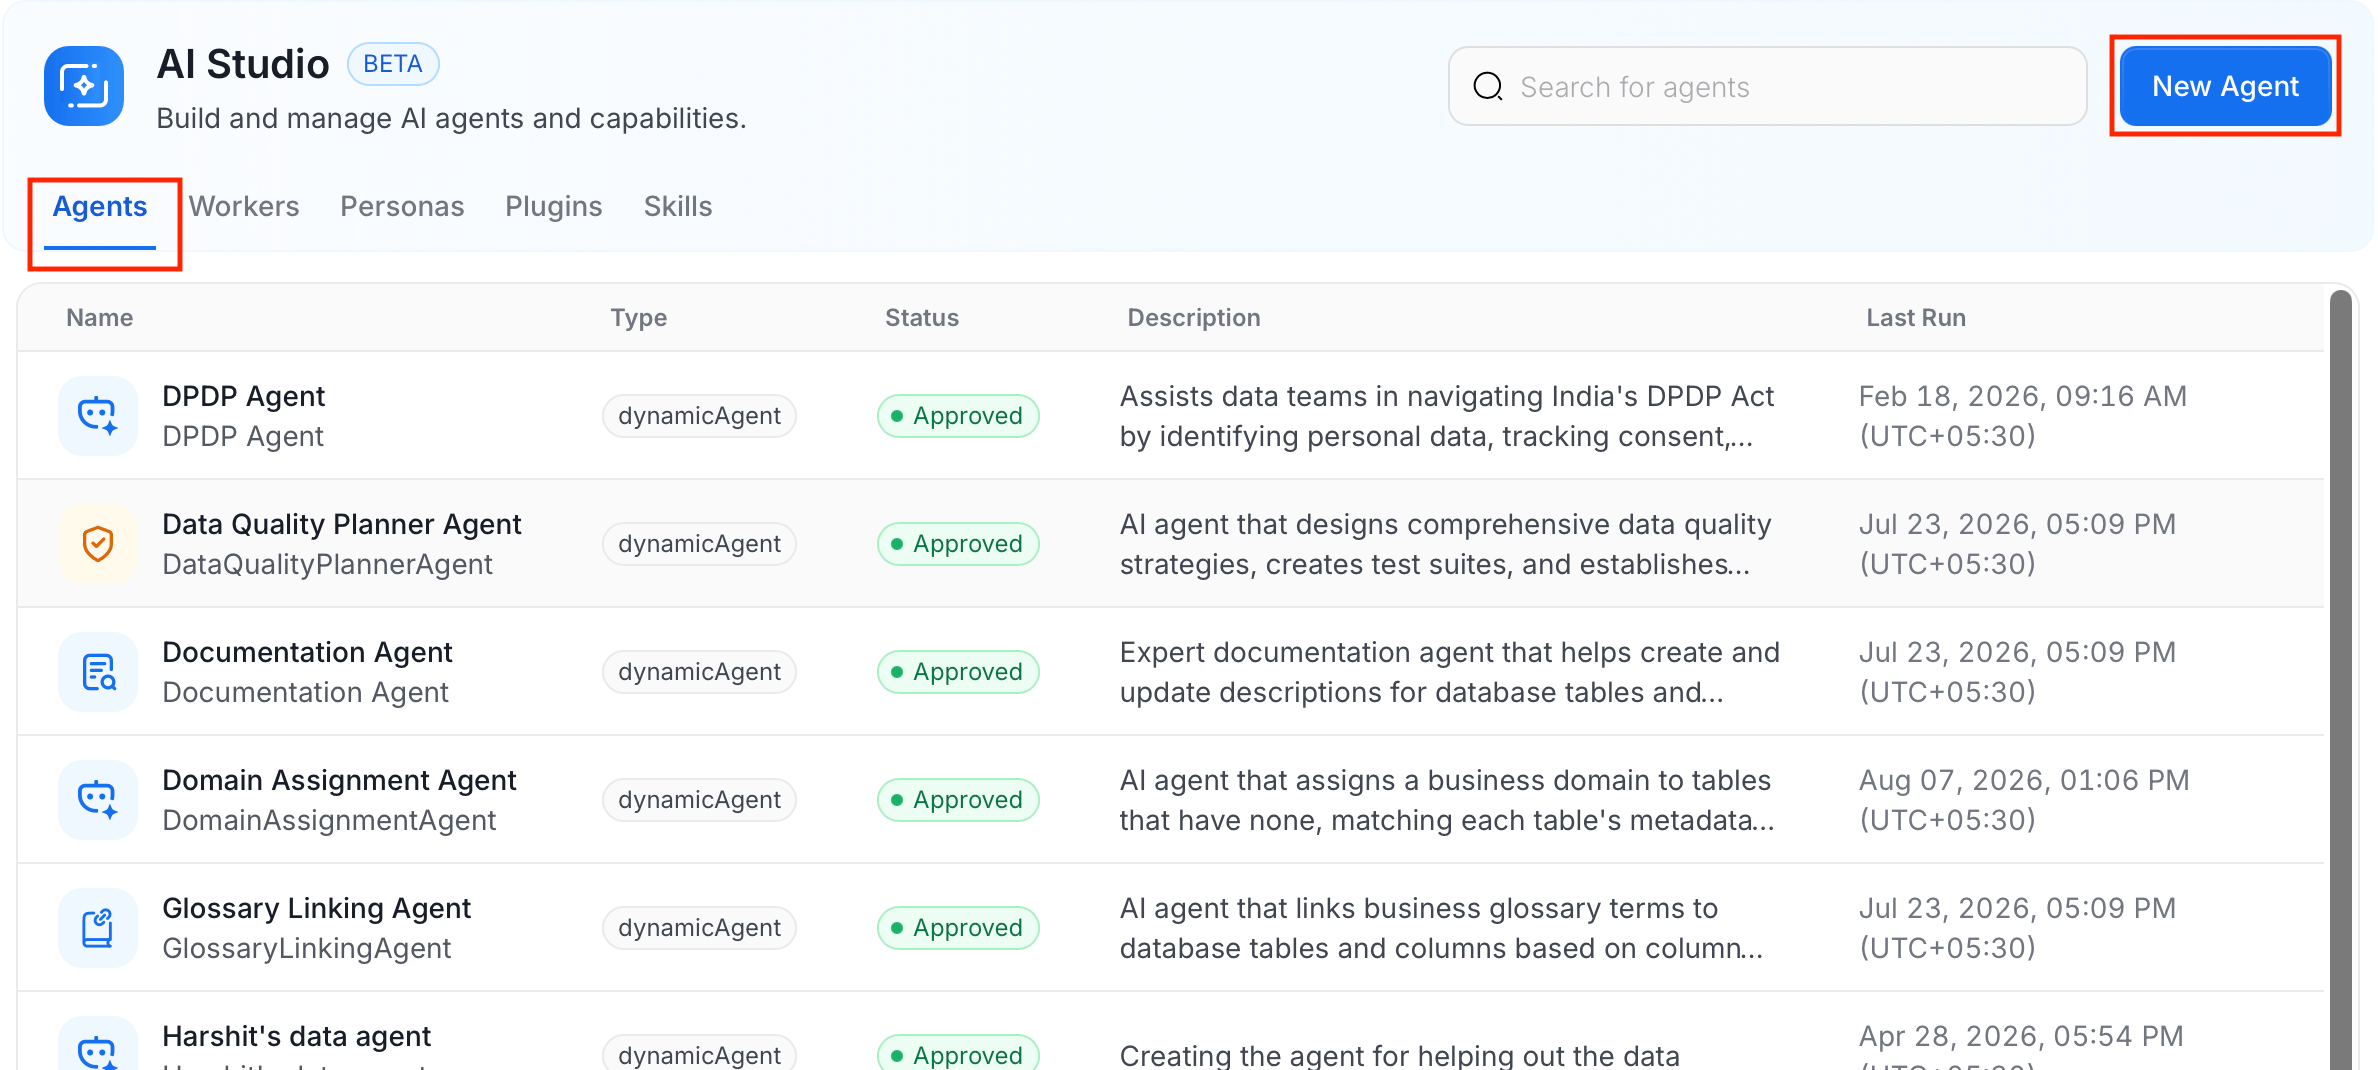
- In the left navigation menu, click More > AI Studio.
-
Navigate to the Agents tab, and click New Agent.
Step 2: Add Agent Basic Details
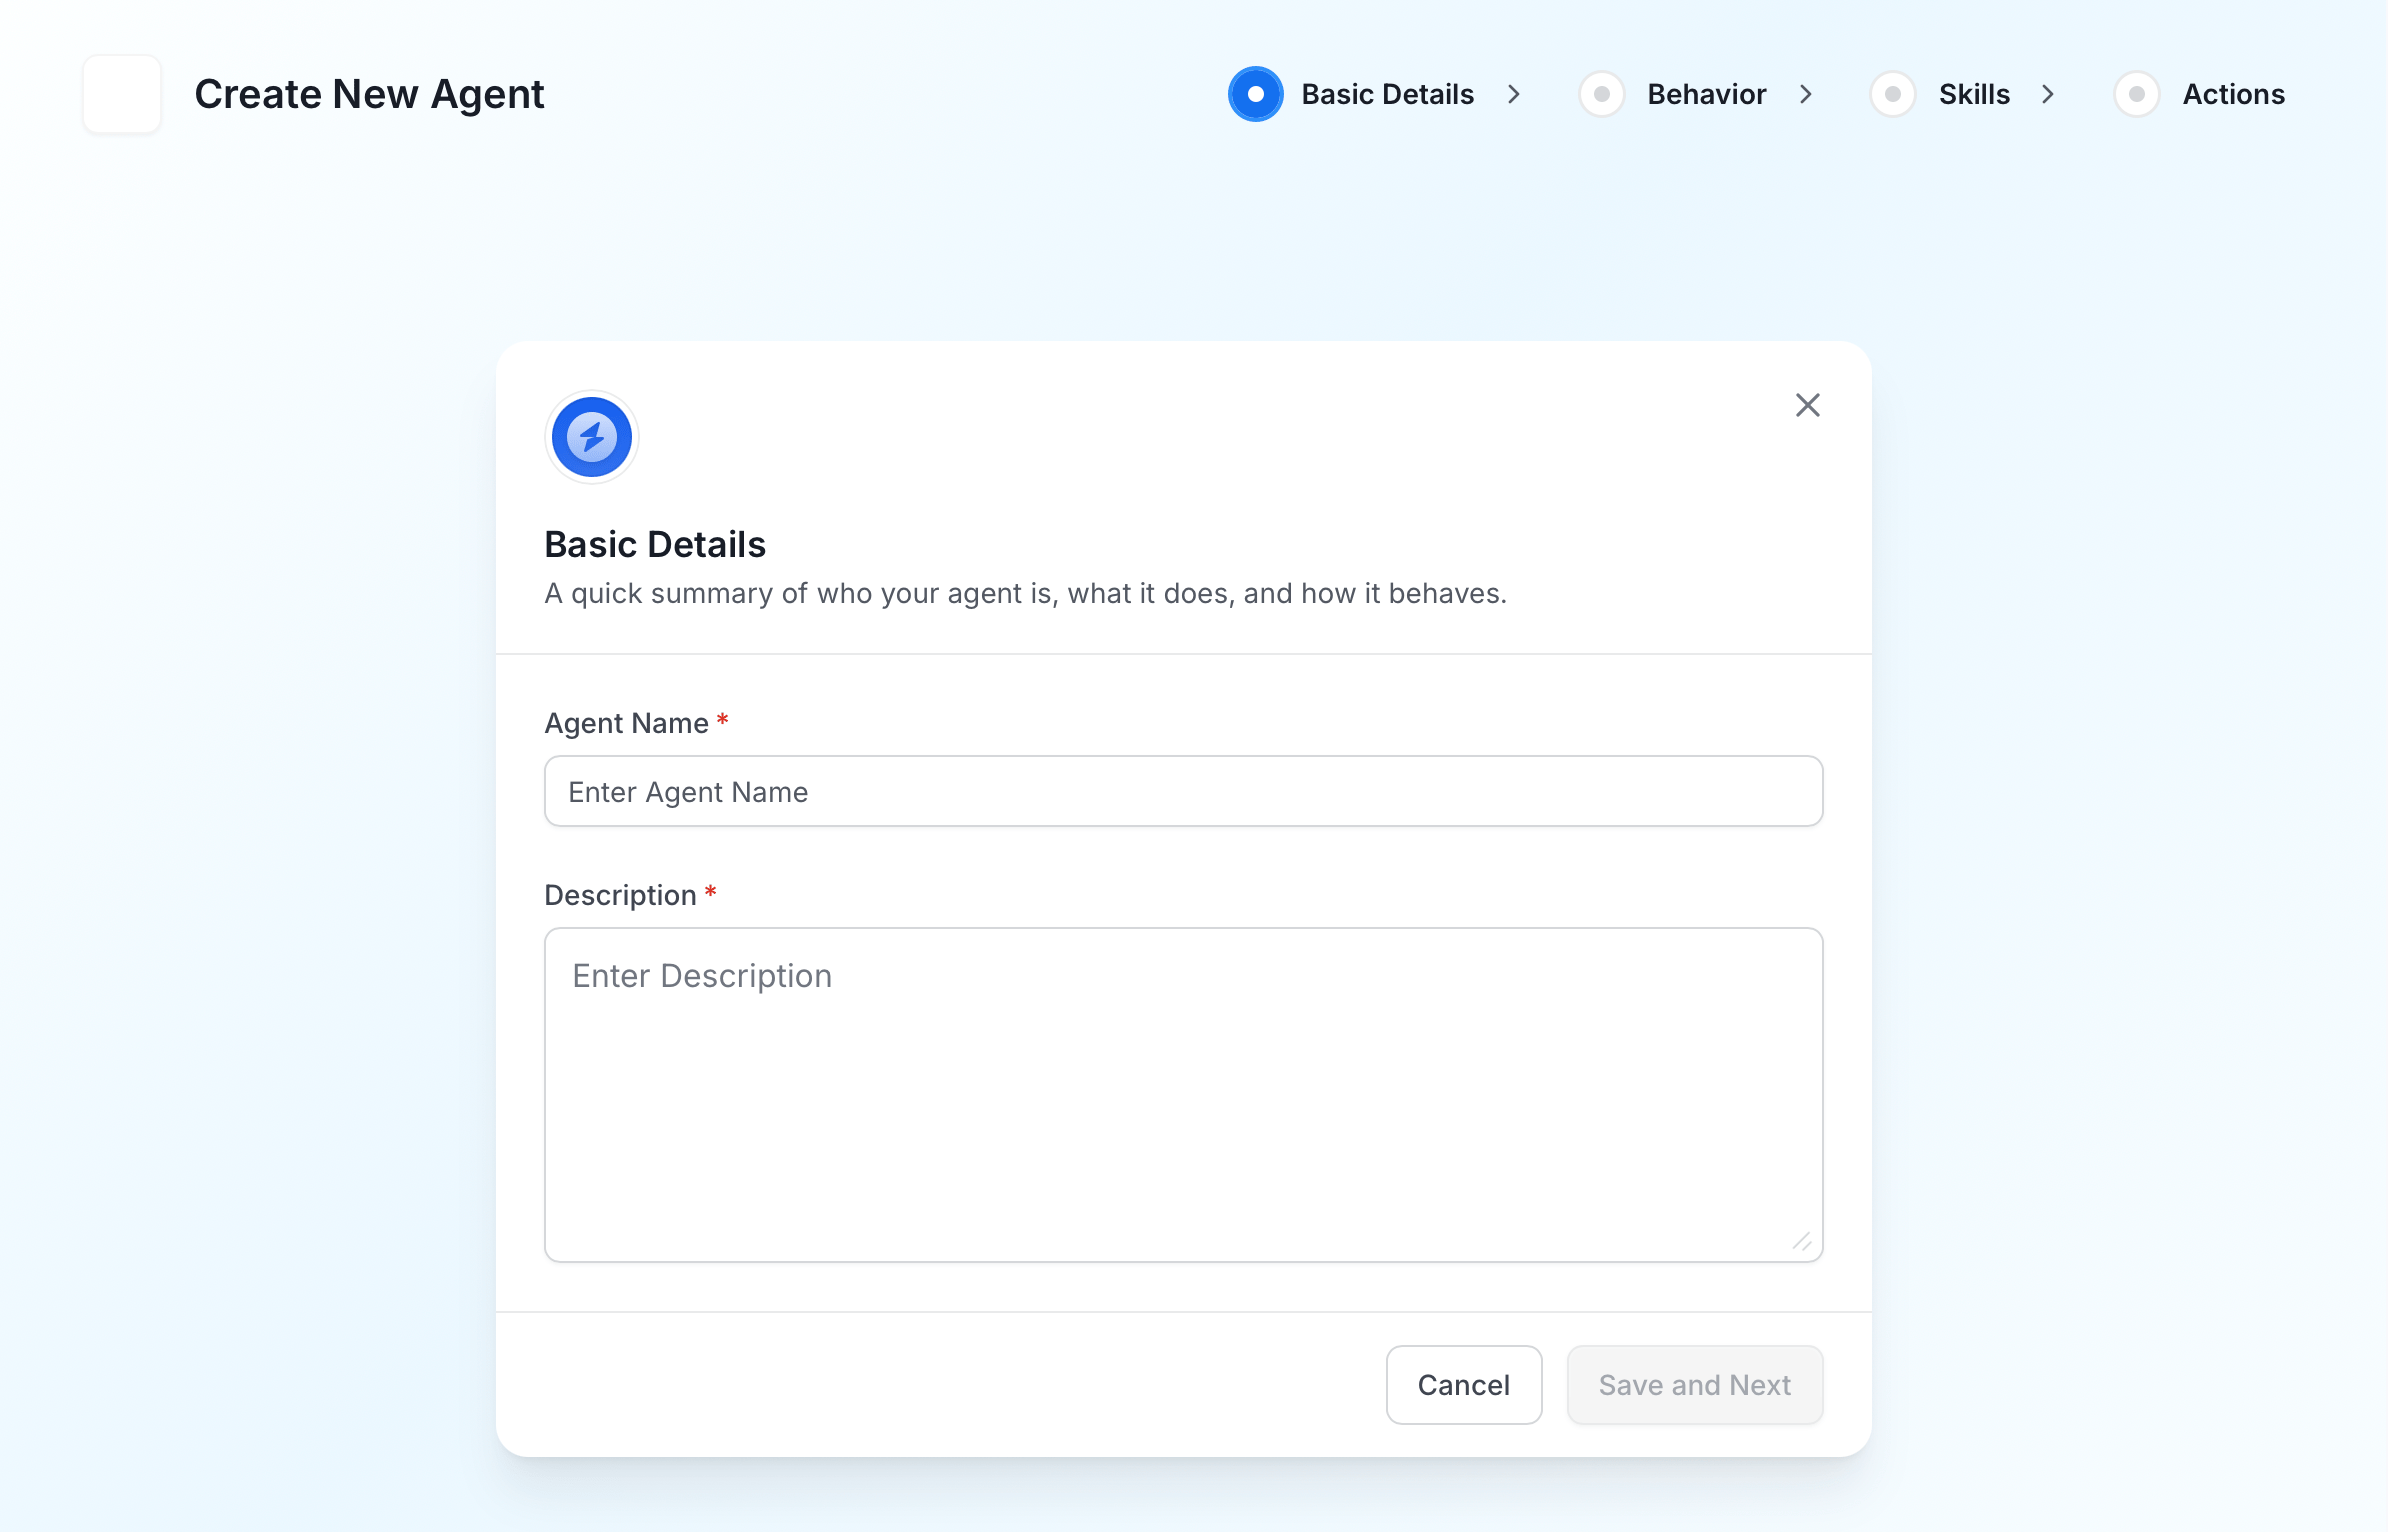
Enter the following details:- Agent Name: A unique name for this agent. Used as its identifier in the system.
- Description: What this agent does. Be specific — this text appears in the agent list and helps others understand when to use it.
Step 3: Behavior
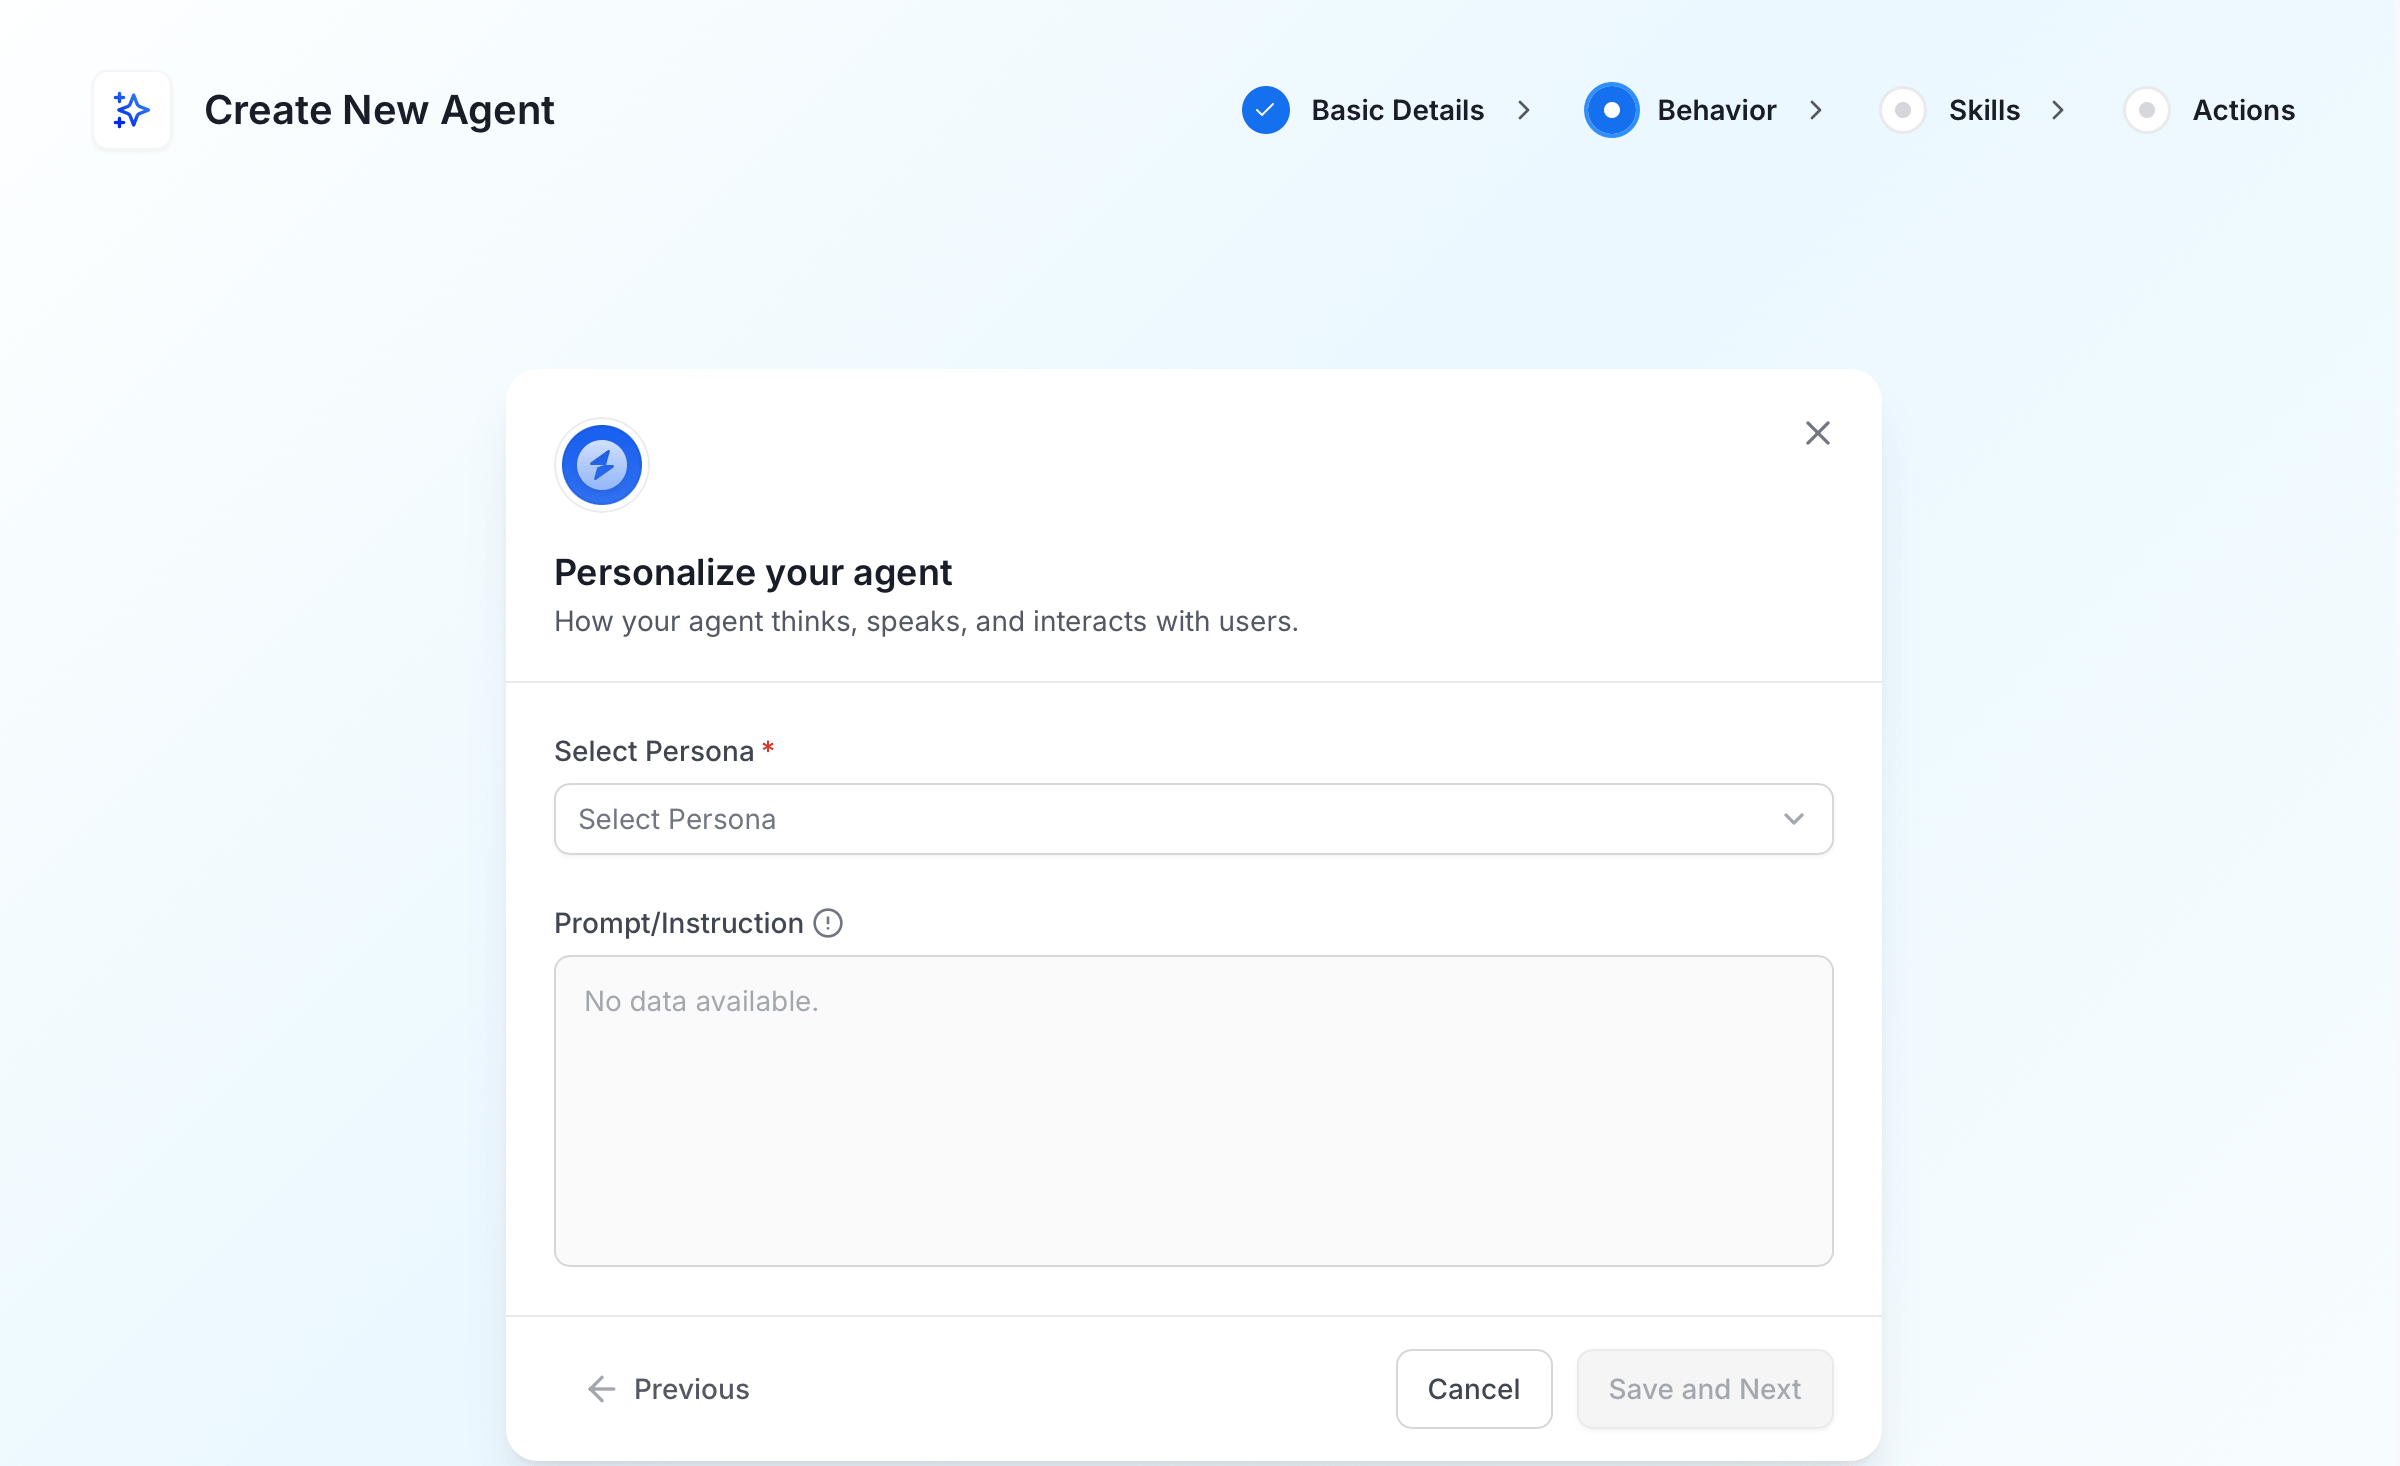
The Behavior step controls how your agent thinks, speaks, and interacts.- Select Persona (required): Choose the persona that defines the agent’s role, domain expertise, and communication style. Available options include roles such as Data Analyst, Data Engineer, Data Steward, and Database Administrator. To create or manage personas, go to the Personas tab.
- Prompt/Instruction: Auto-populated based on the persona you select. This shows the instructions built into that persona — how it thinks, communicates, and approaches tasks.
Step 4: Select the Skills
Select the Skills this agent can use. Skills define the specific actions the agent is allowed to take — for example, reading asset metadata, writing descriptions, or triggering quality checks. Search for skills by name and select the checkboxes next to the ones you want to attach. To create or manage skills, go to the Skills tab.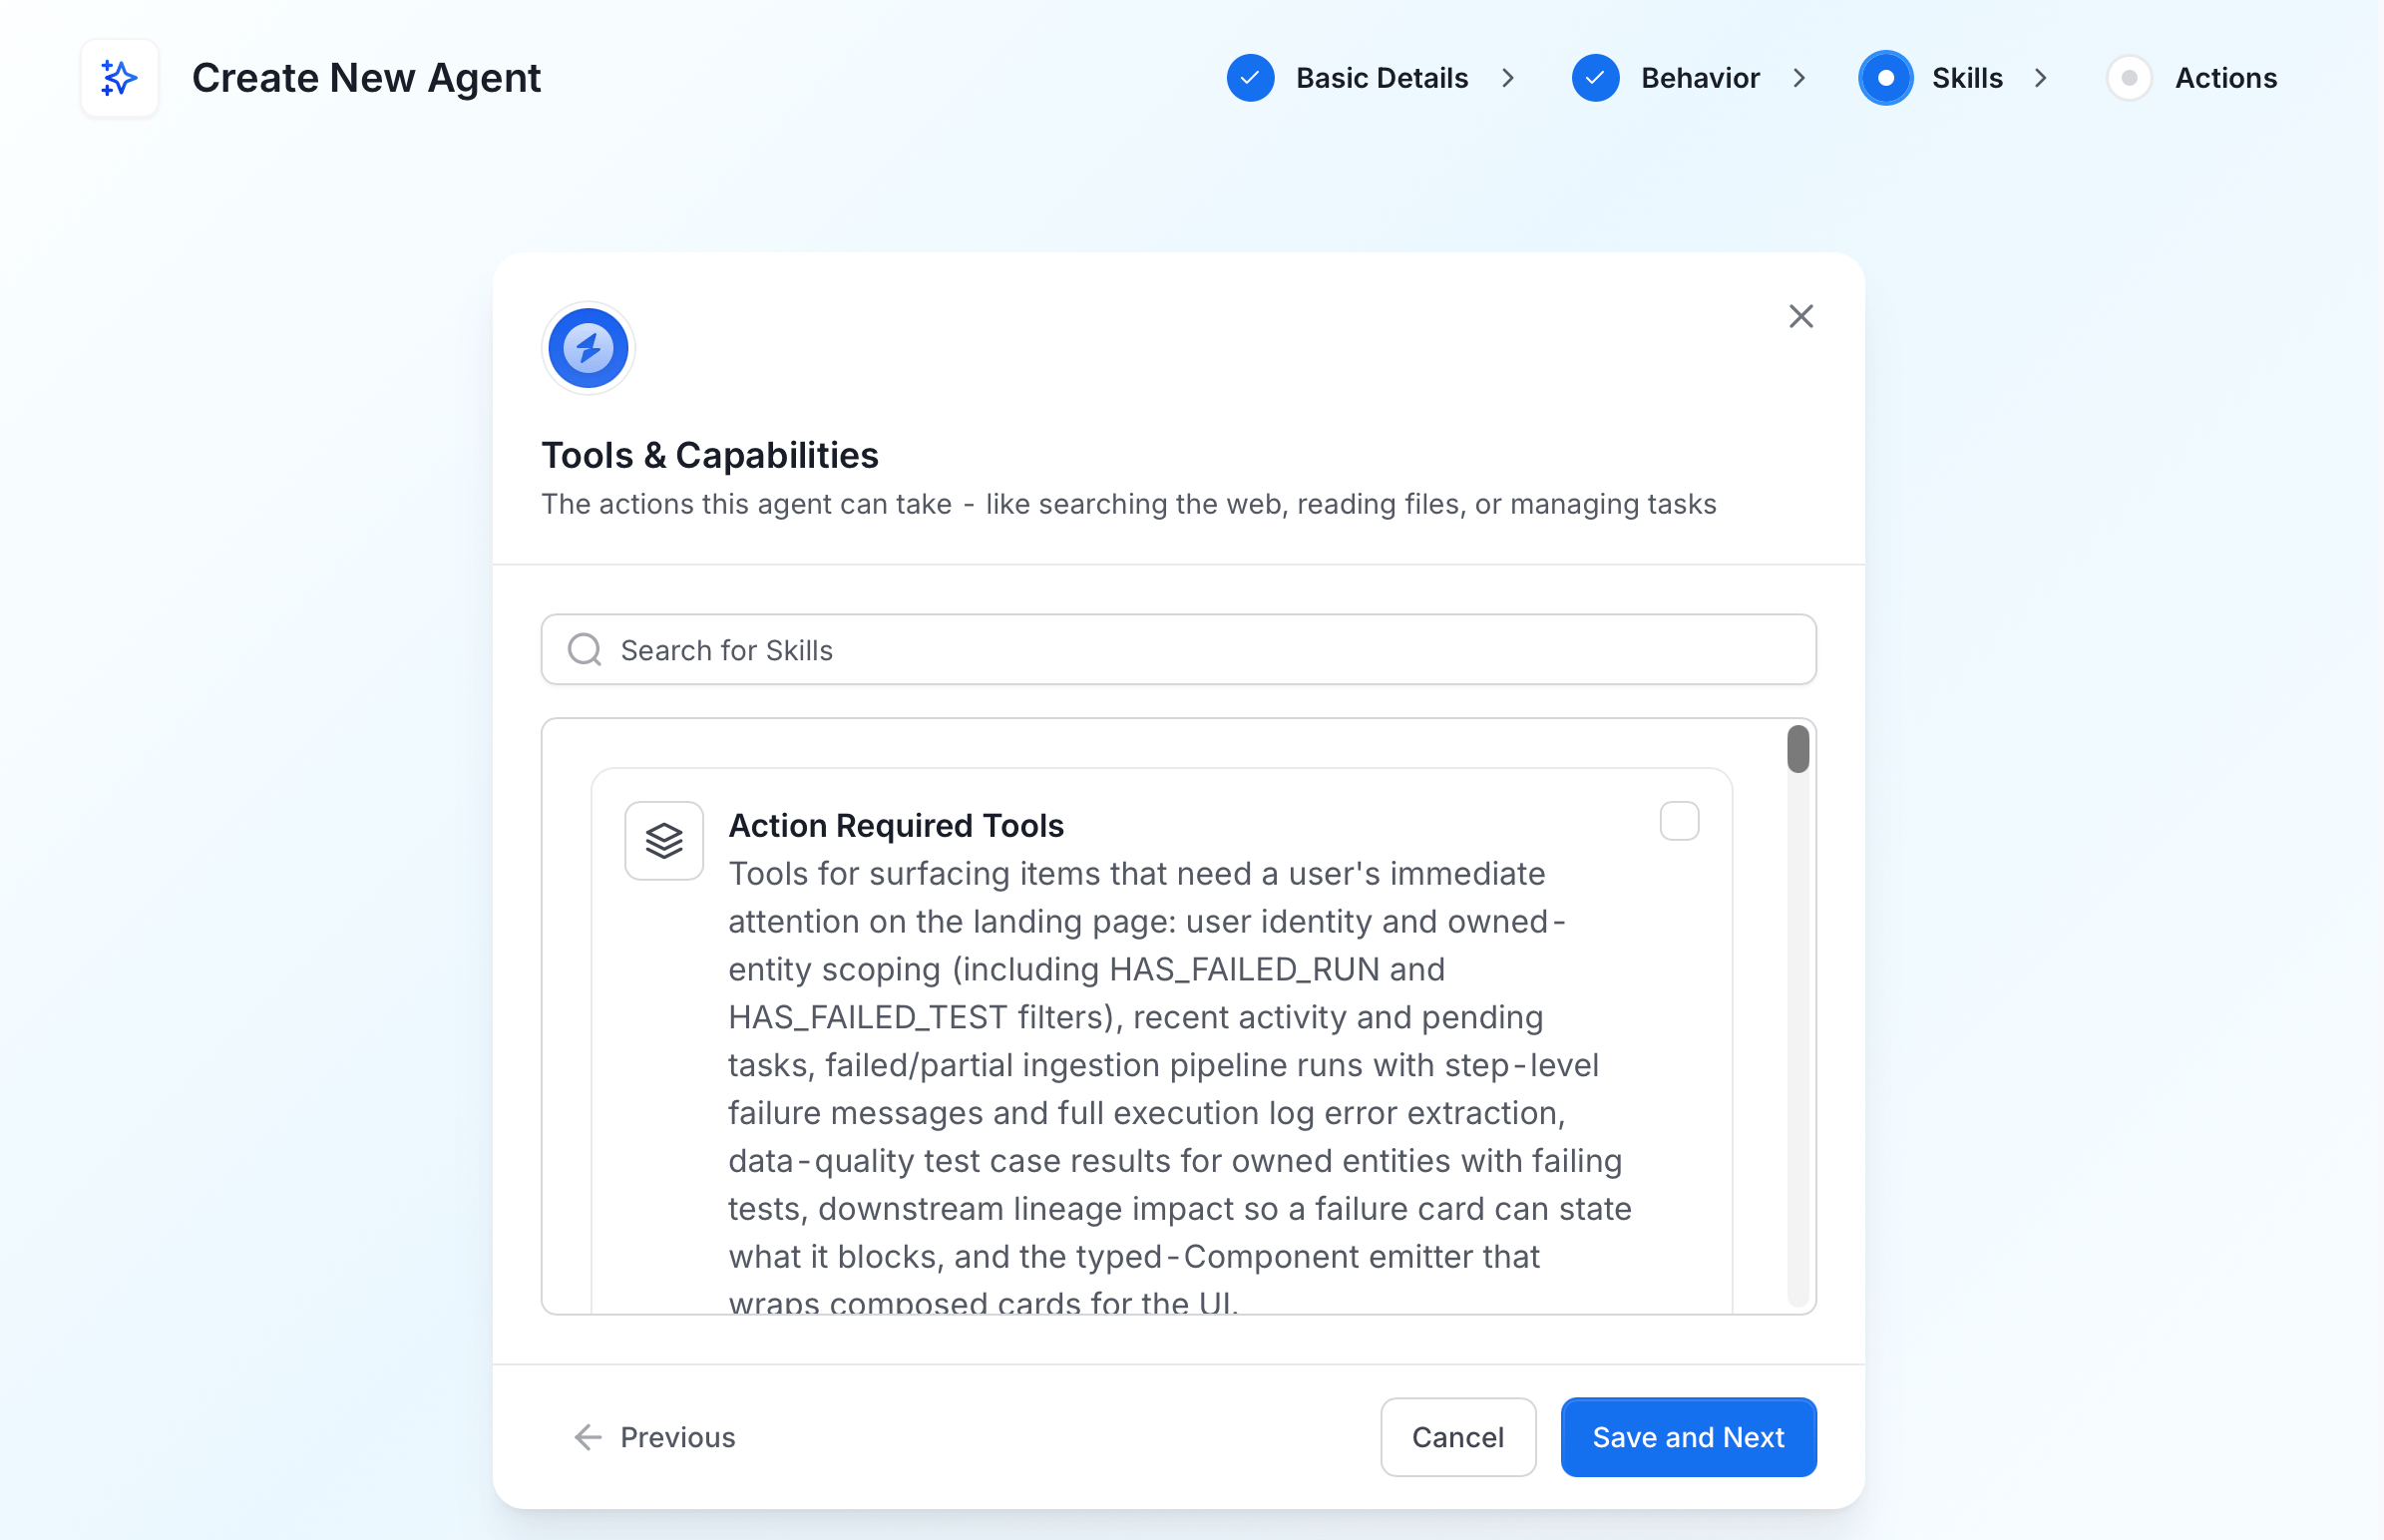
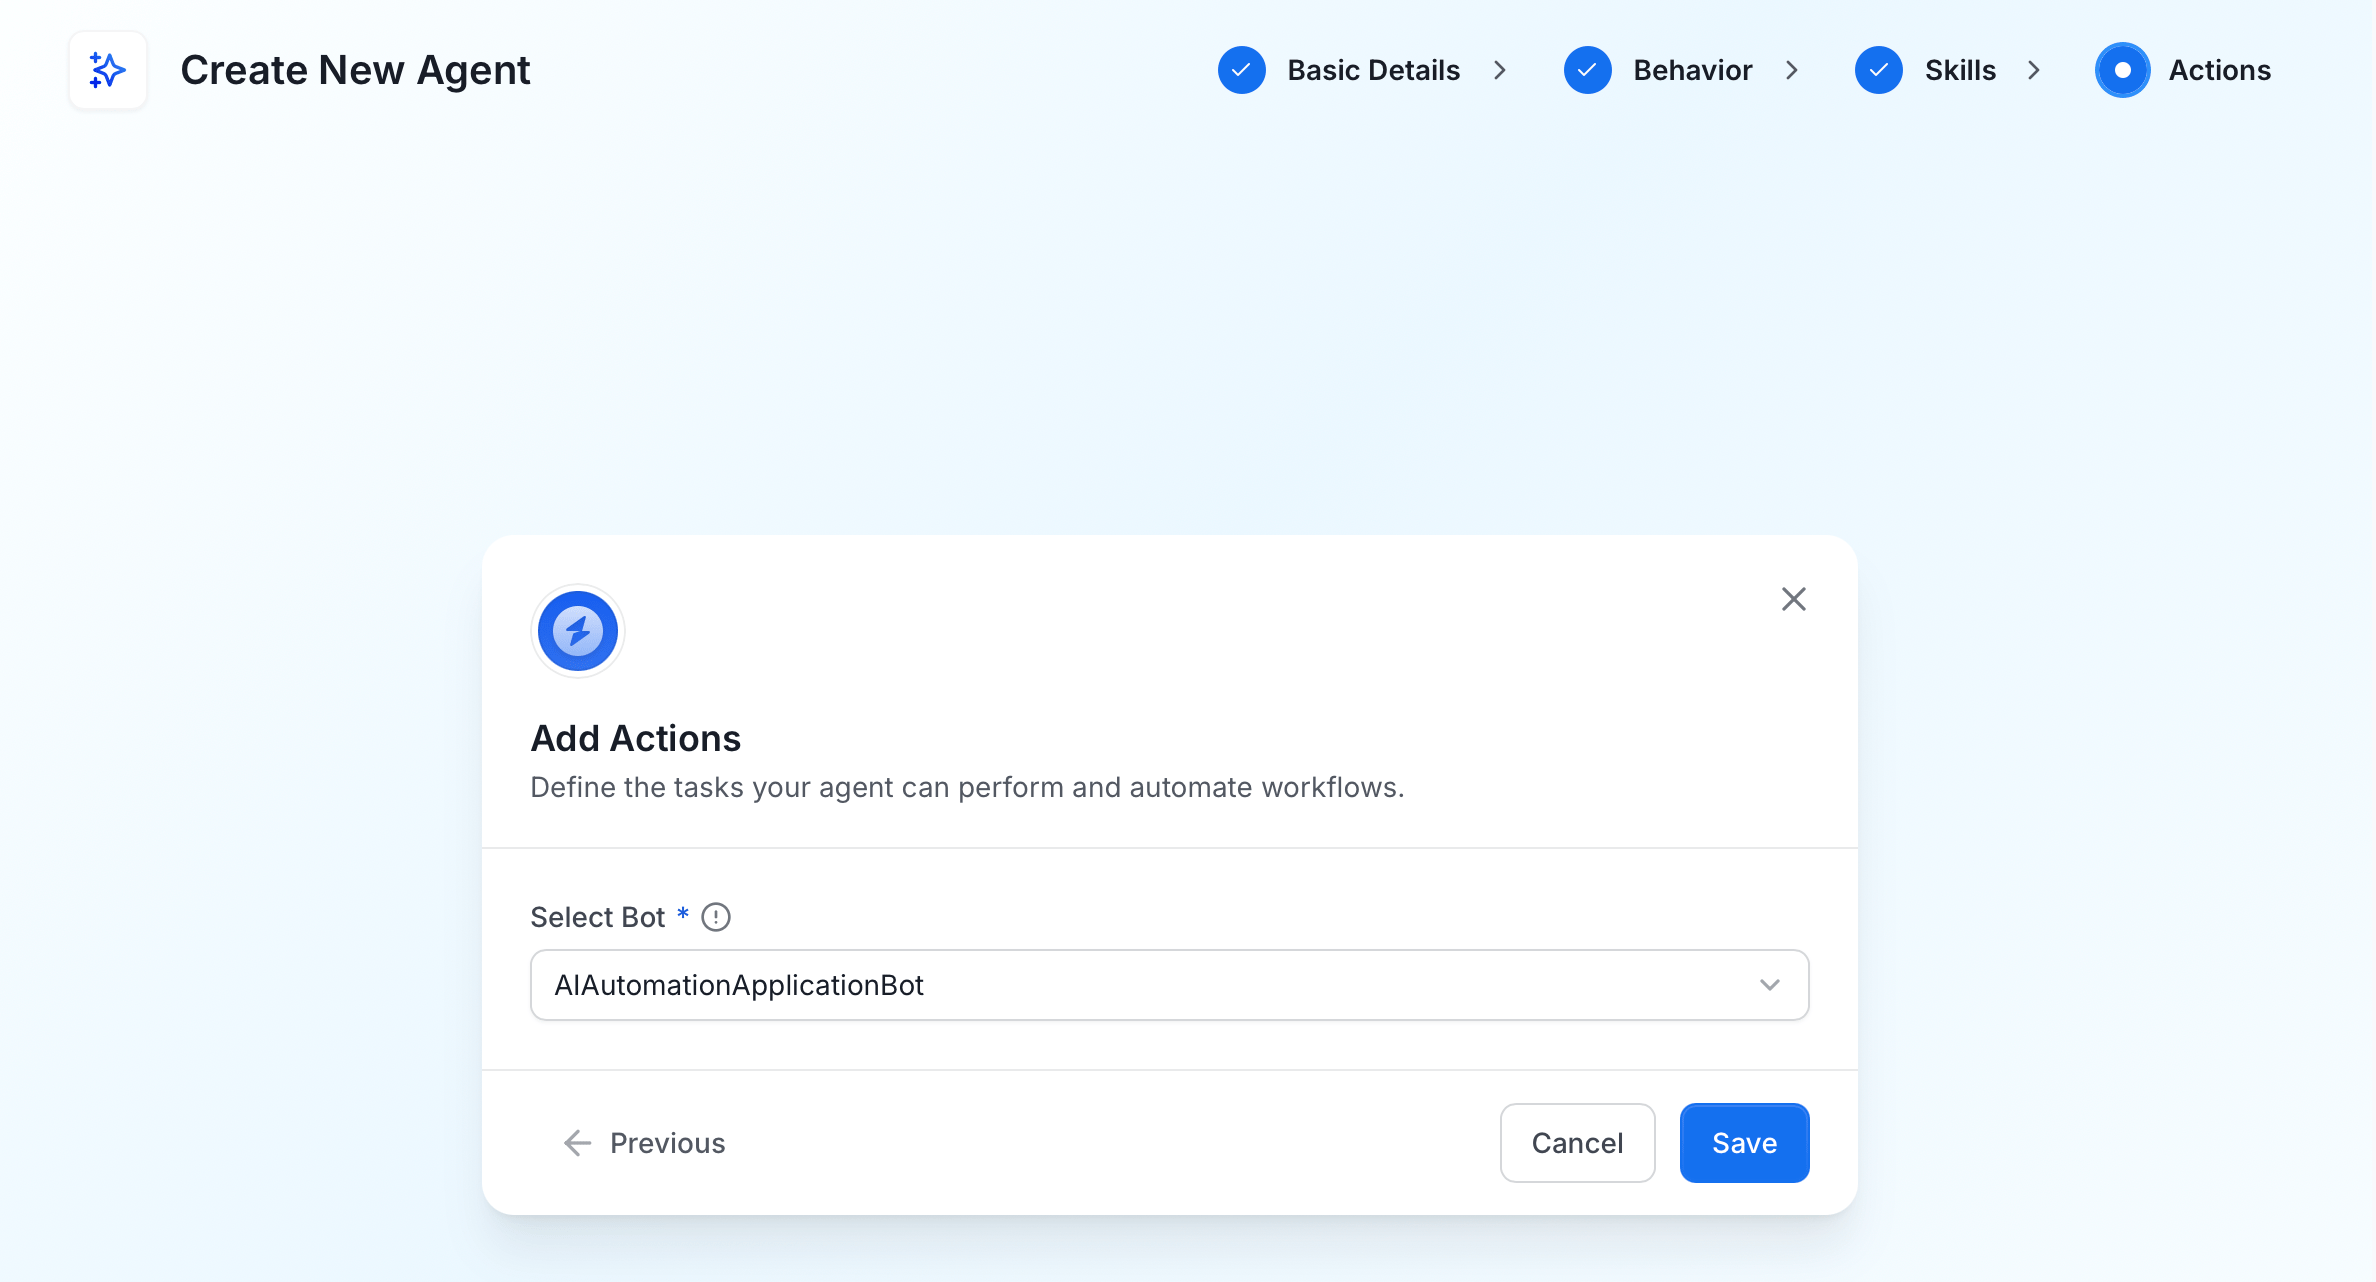
Step 5: Add Actions
The Actions step defines the tasks your agent can perform and automate workflows.- Select Bot (required): Choose the bot identity this agent will use to perform actions in Collate. The bot determines what the agent can access and act on. For example,
AIAutomationApplicationBotfor automation workflows,AutoClassificationBotfor classification tasks, orAutoTaggerApplicationBotfor tagging. Select the bot that matches the type of work this agent will do.
View Agents
The Agents tab lists all agents available in your organization. For each agent you can see:- Name: the agent’s display name and internal identifier.
- Type: the agent class (for example,
dynamicAgent). - Status: the governance review state —
Approvedmeans the agent has been reviewed and cleared for use. - Description: a summary of what the agent does.
- Last Run: when the agent last executed.
Manage Agents
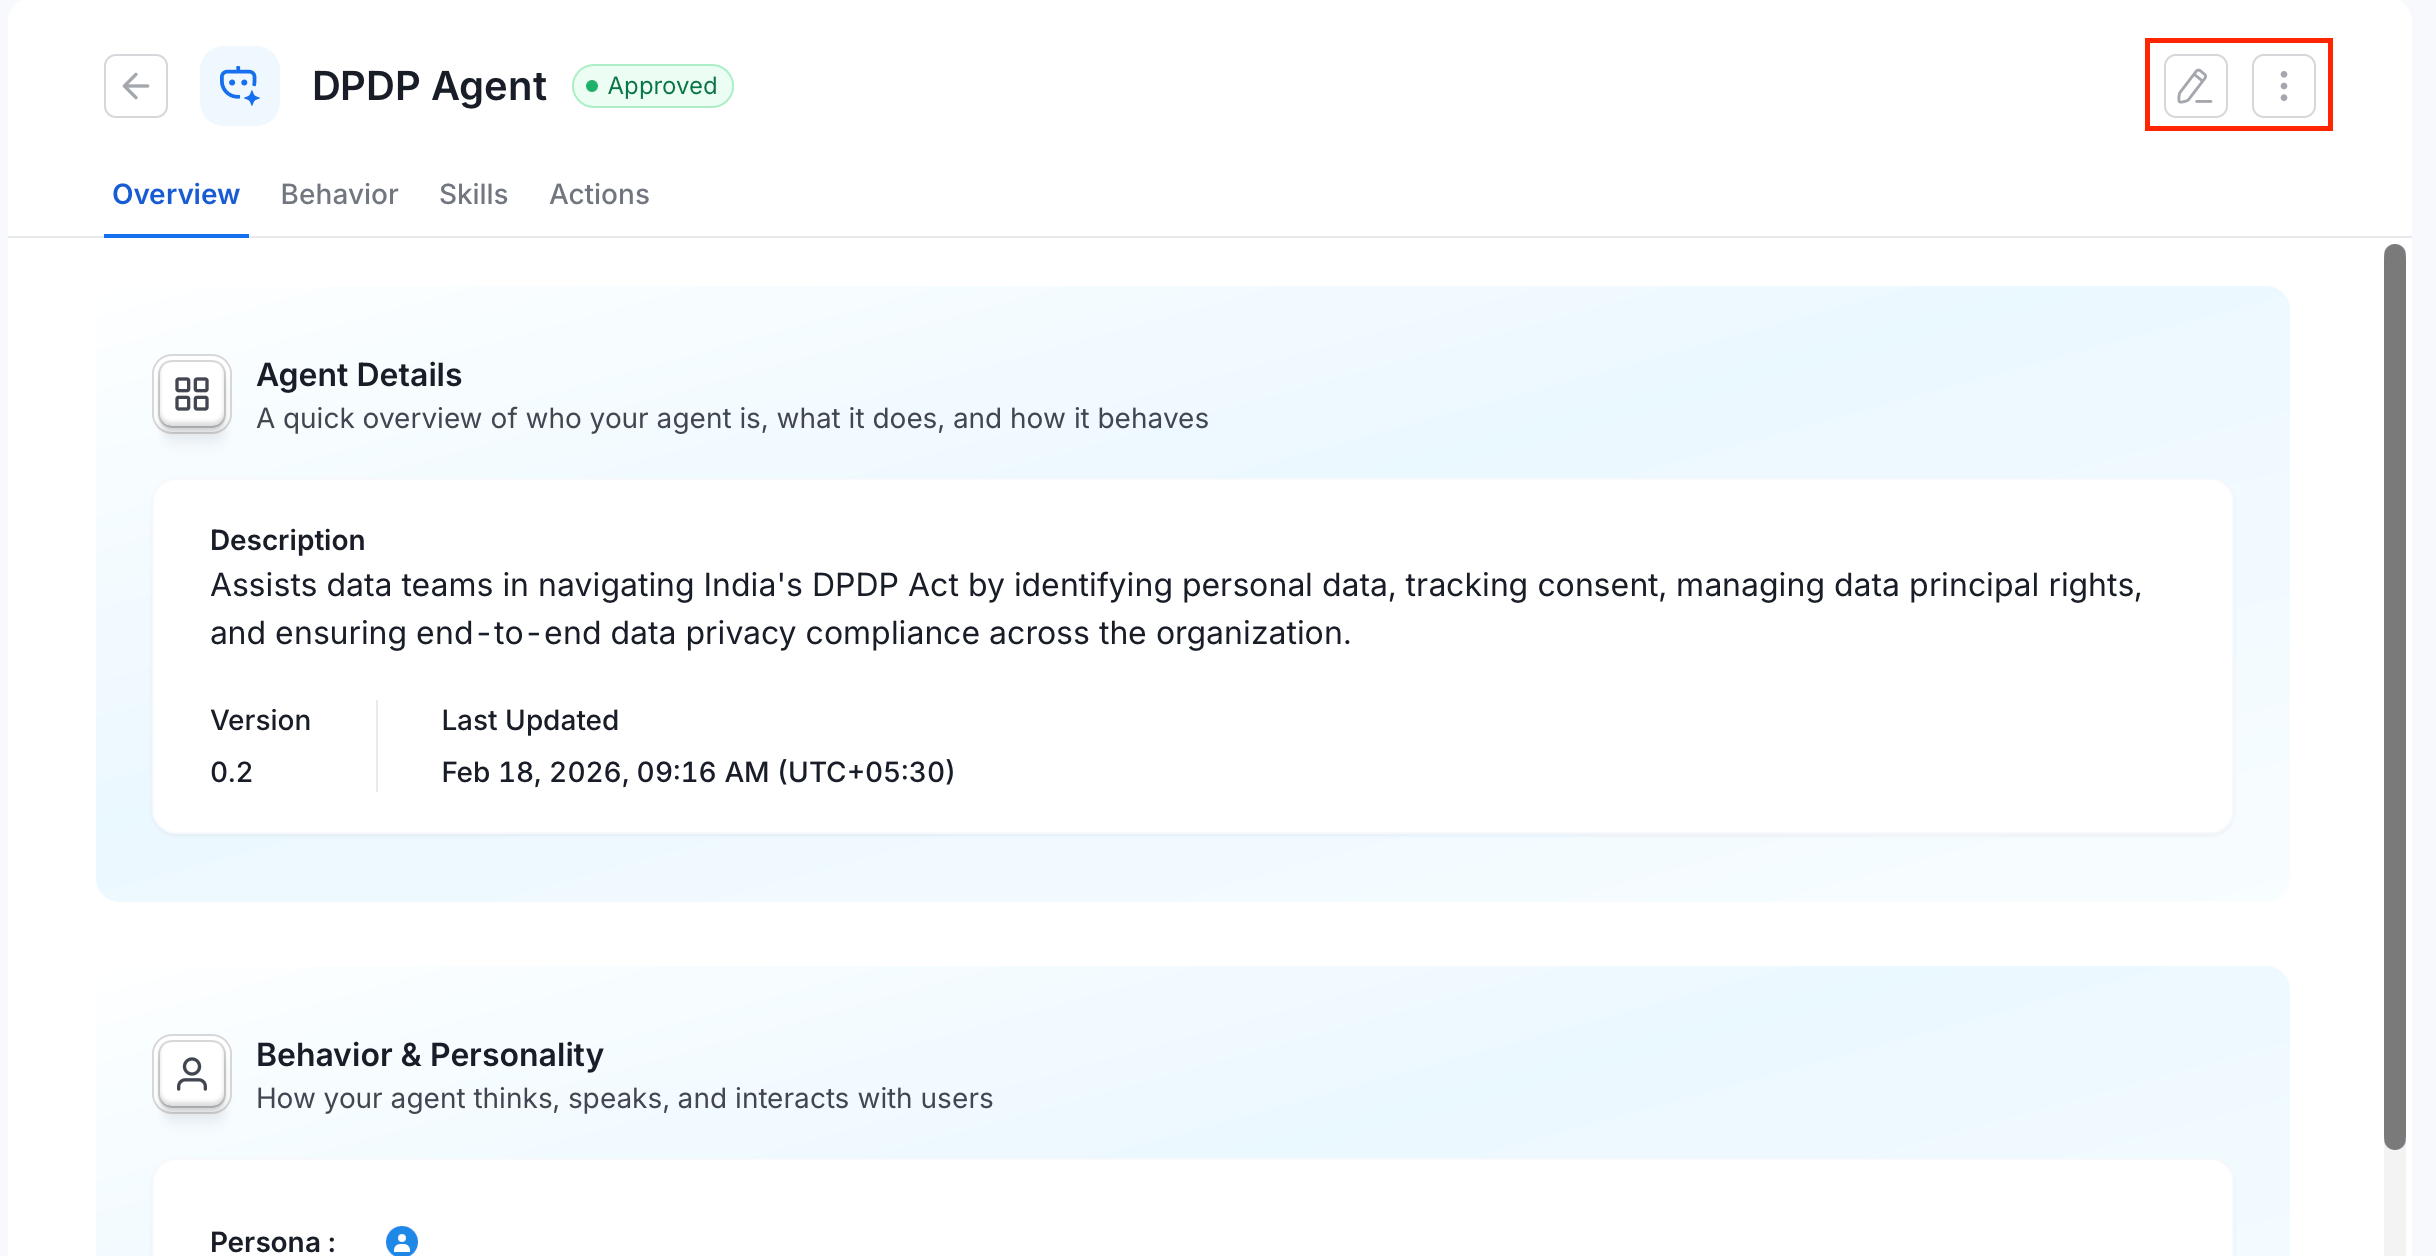
After an agent is created, select it from the list to edit or delete it.- To edit the agent details, click the Edit icon and modify the required details.
- To delete the agent, click the ⋮ (three-dot menu) icon and select Delete.