
- Team invites
- Task and conversation notifications
- Alerts
- Scheduled reports
- Purpose: Configure the SMTP server Collate uses to send invite, notification, and alert emails.
- Benefits: Ensures teammates and automated alerts are reliably delivered, and lets you verify delivery before relying on it.
Configure Email
-
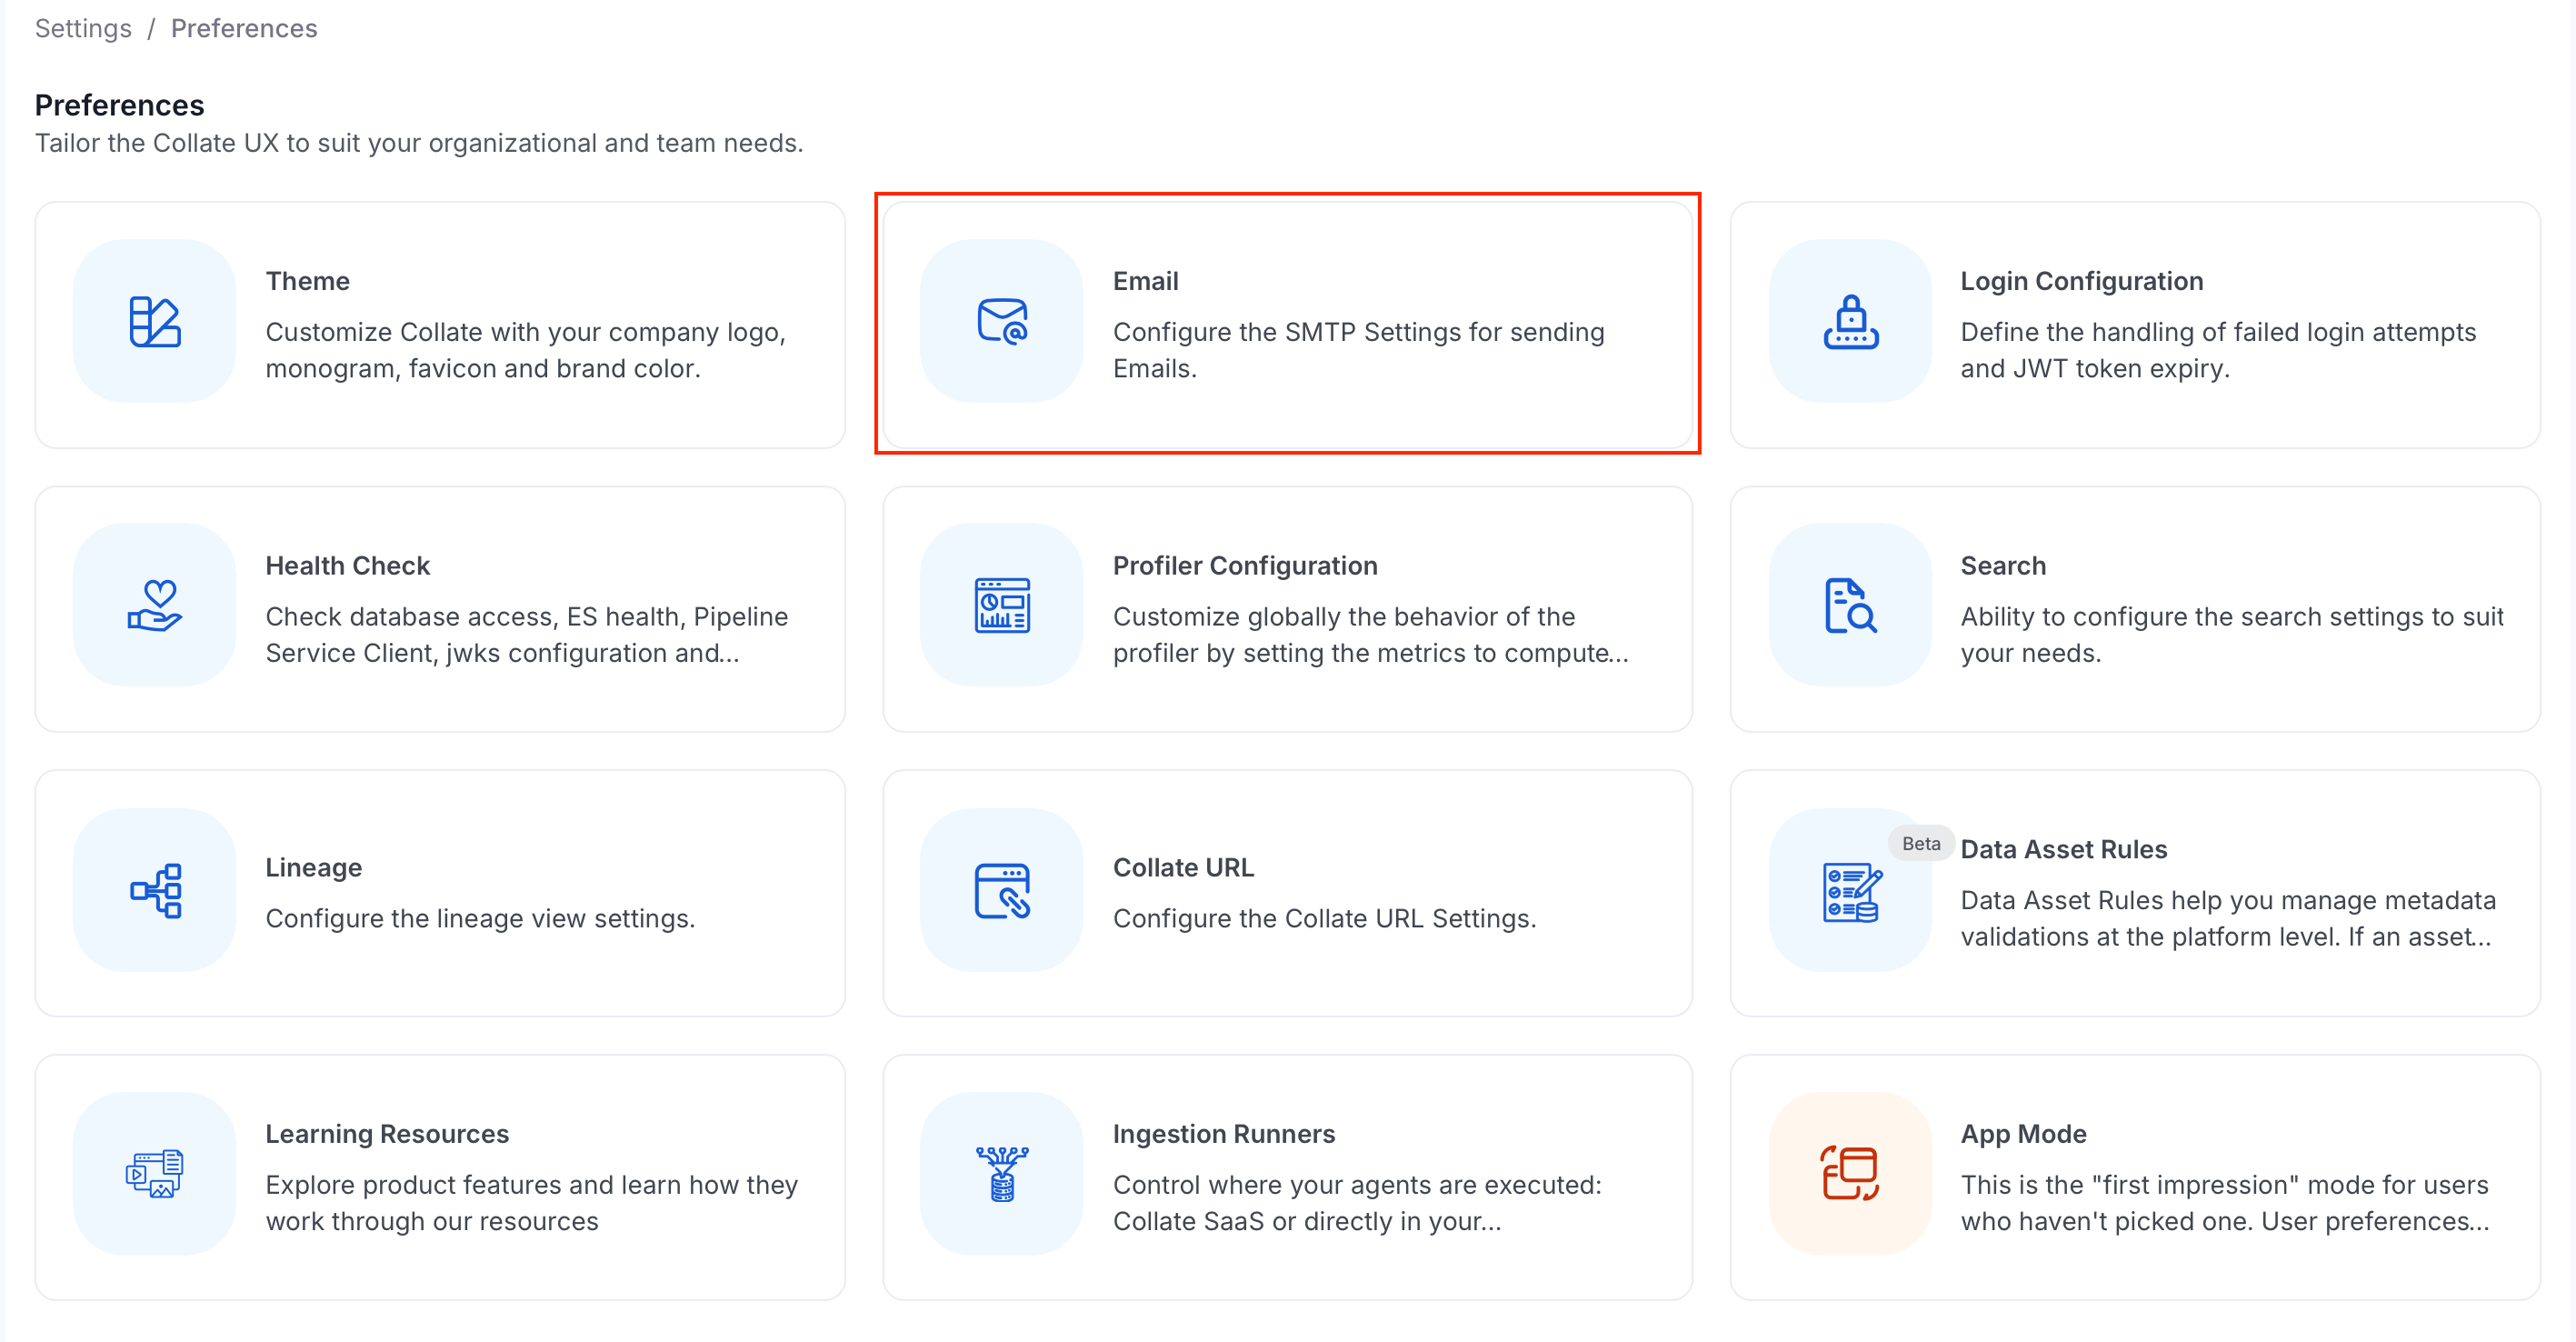
Navigate to Settings > Preferences > Email.
-
Click Edit and configure the following fields:
 Match Server Port to the Transportation Strategy it corresponds to: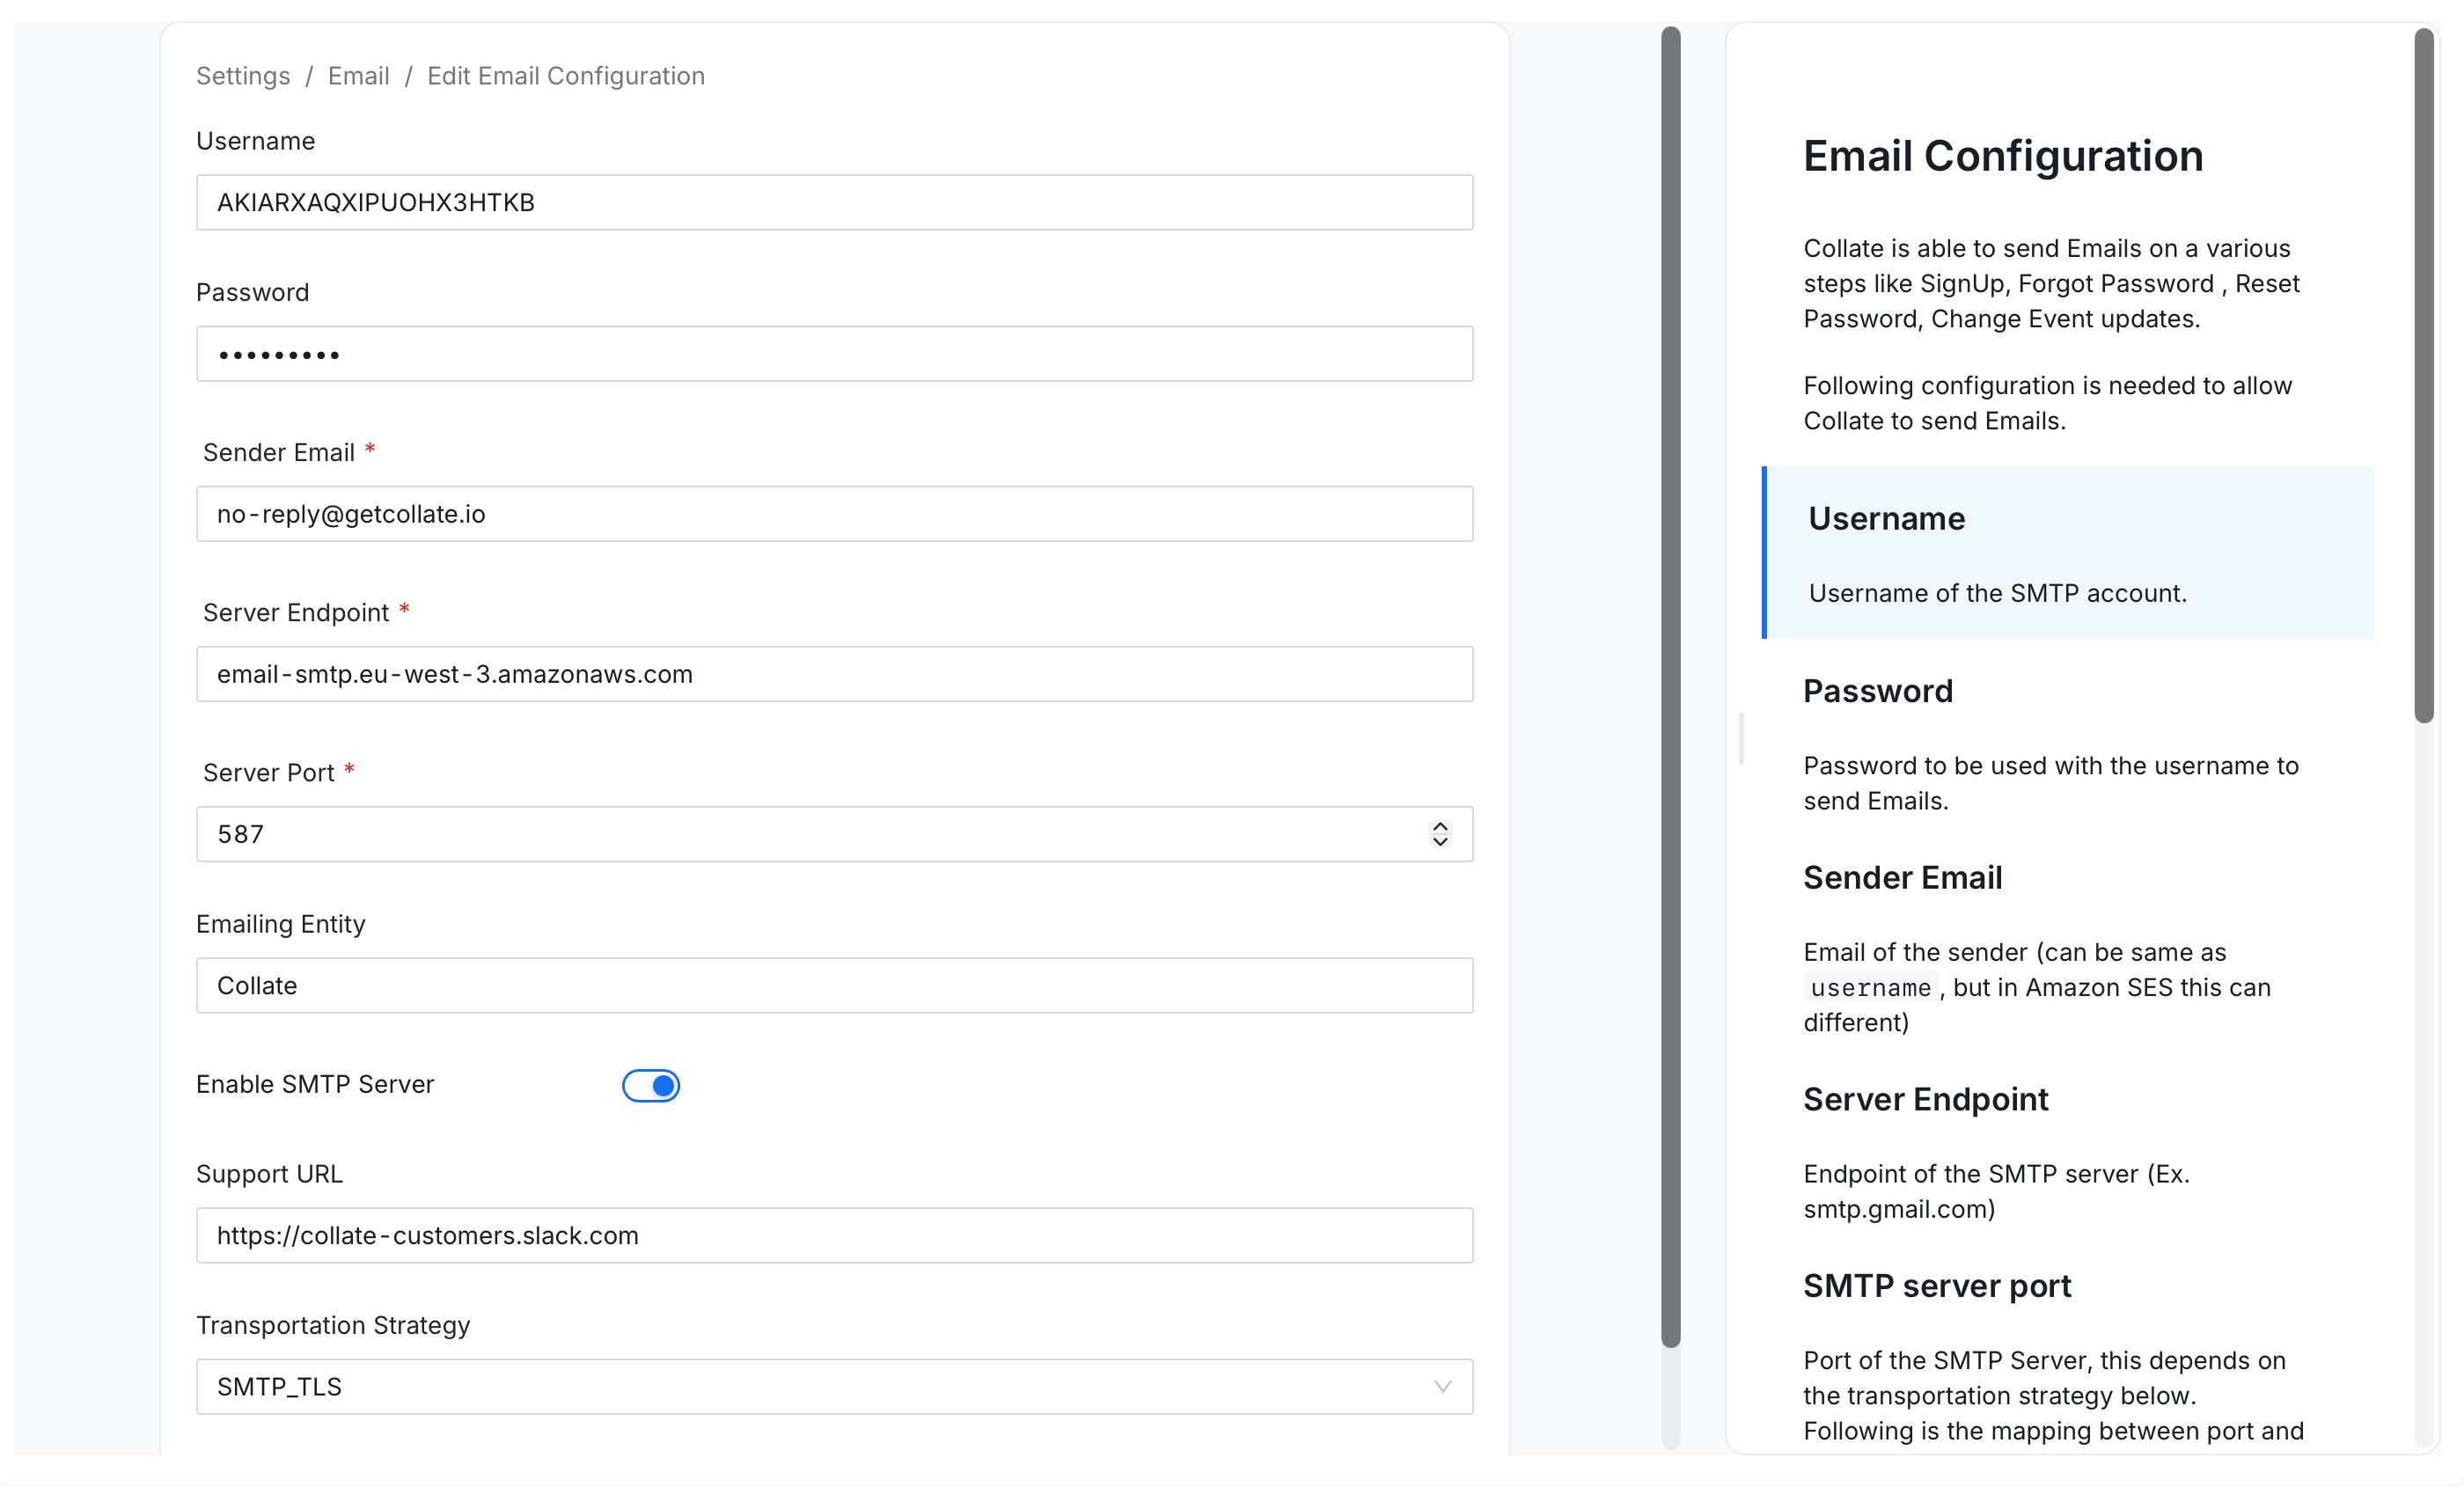
- Click Save.
Test Email
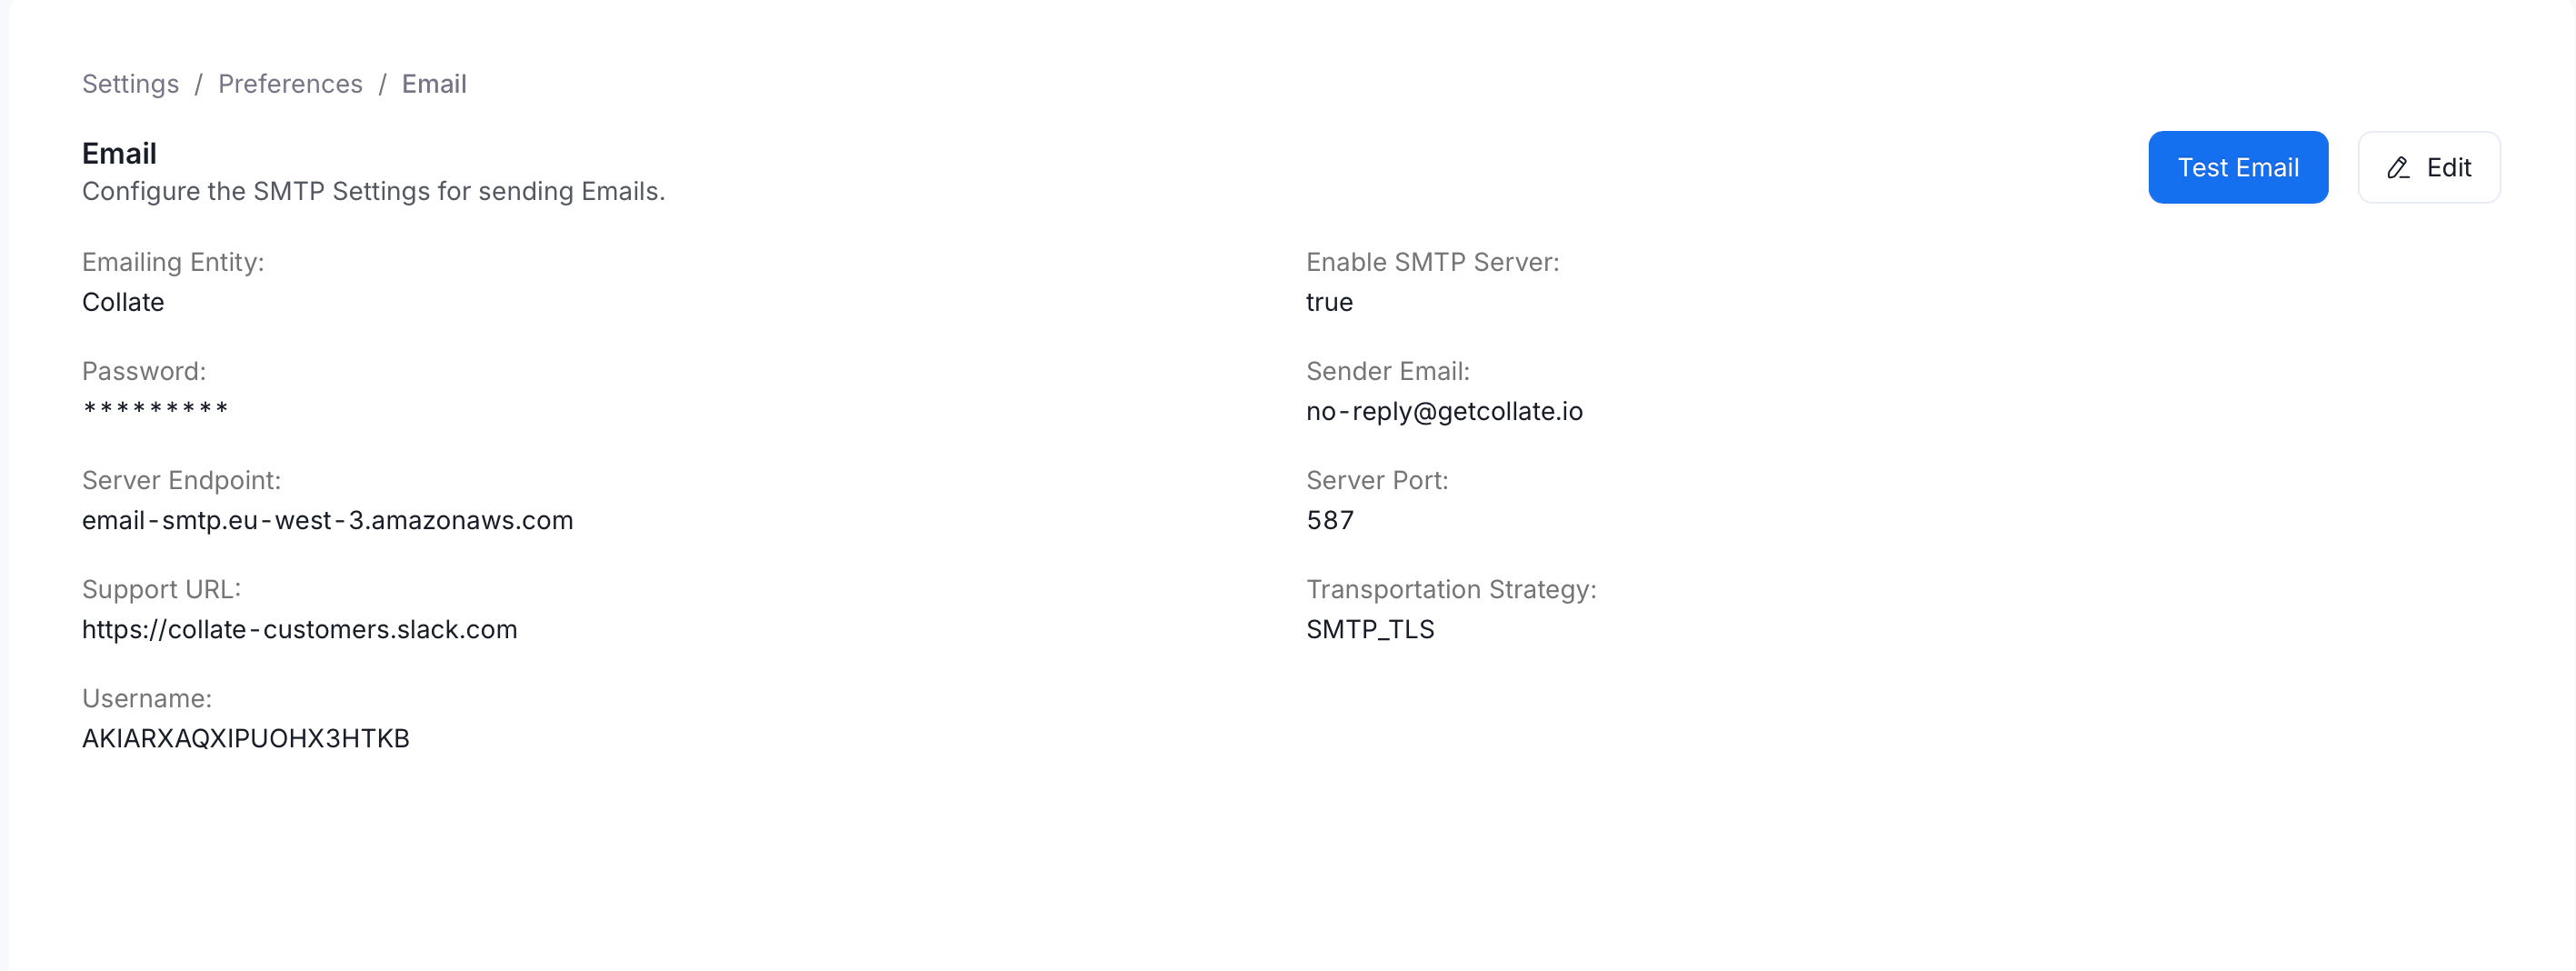
Use Test Email to verify the SMTP configuration works before relying on it for real notifications. This catches a wrong port, an expired password, or a blocked outbound connection immediately, instead of finding out later when an invite or an alert quietly fails to arrive:-
From the Email settings page, click Test Email.
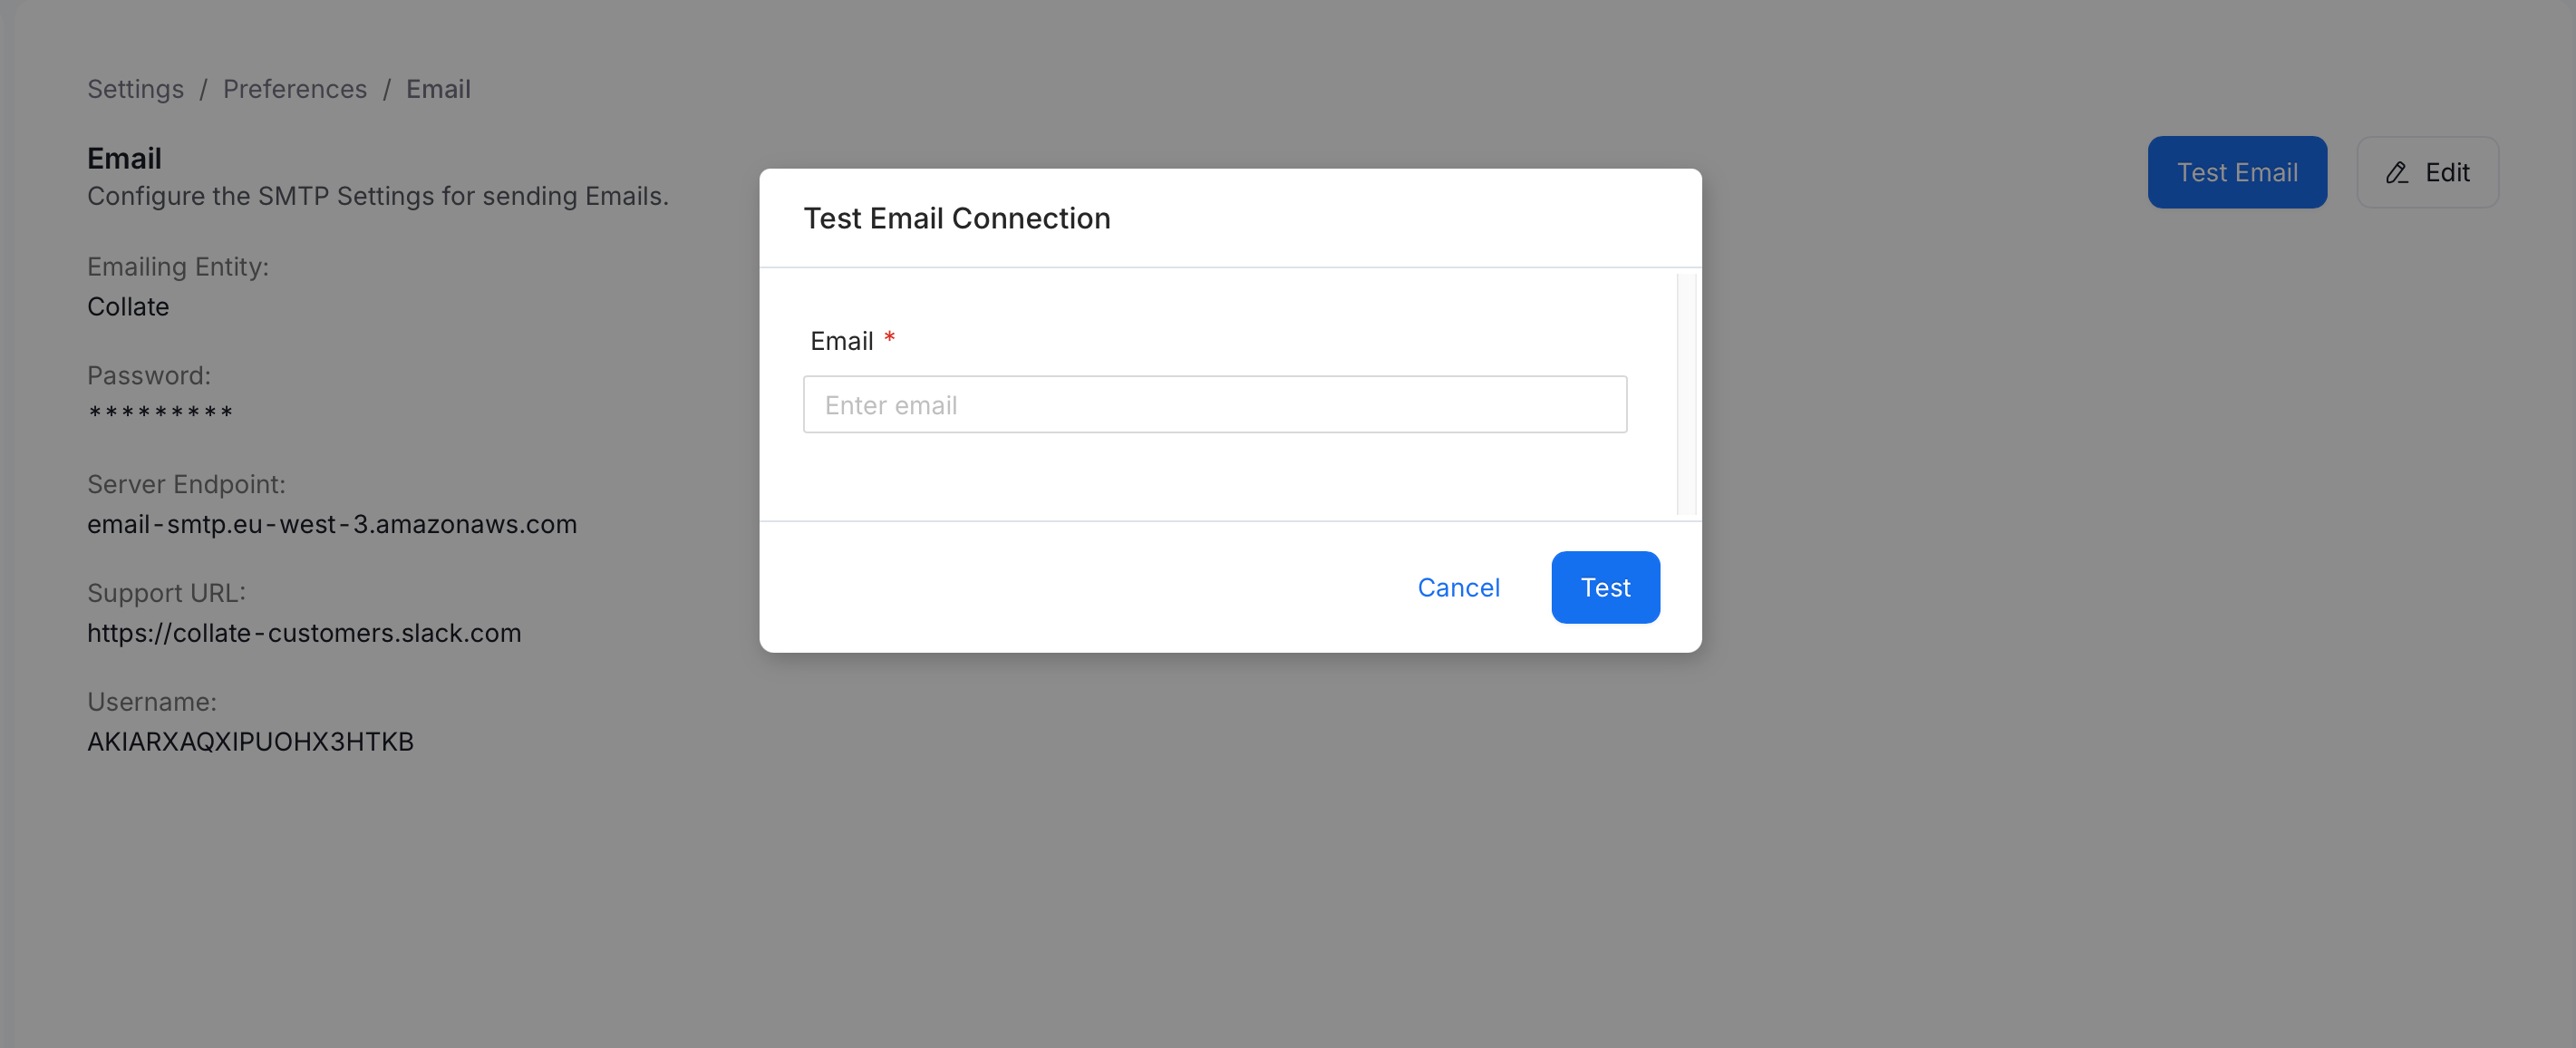
- Enter a recipient address.
-
Click Test to send a one-off test message through the configured SMTP server.
Collate URL
Collate URL is a separate, single-field setting stored alongside Email configuration. It’s used to build the links inside the emails Collate sends, for example, the “view this asset” link in a task notification. If this points at the wrong address, every link in every notification email points at the wrong place, even though the emails themselves send successfully.-
Navigate to Settings > Preferences > Collate URL.
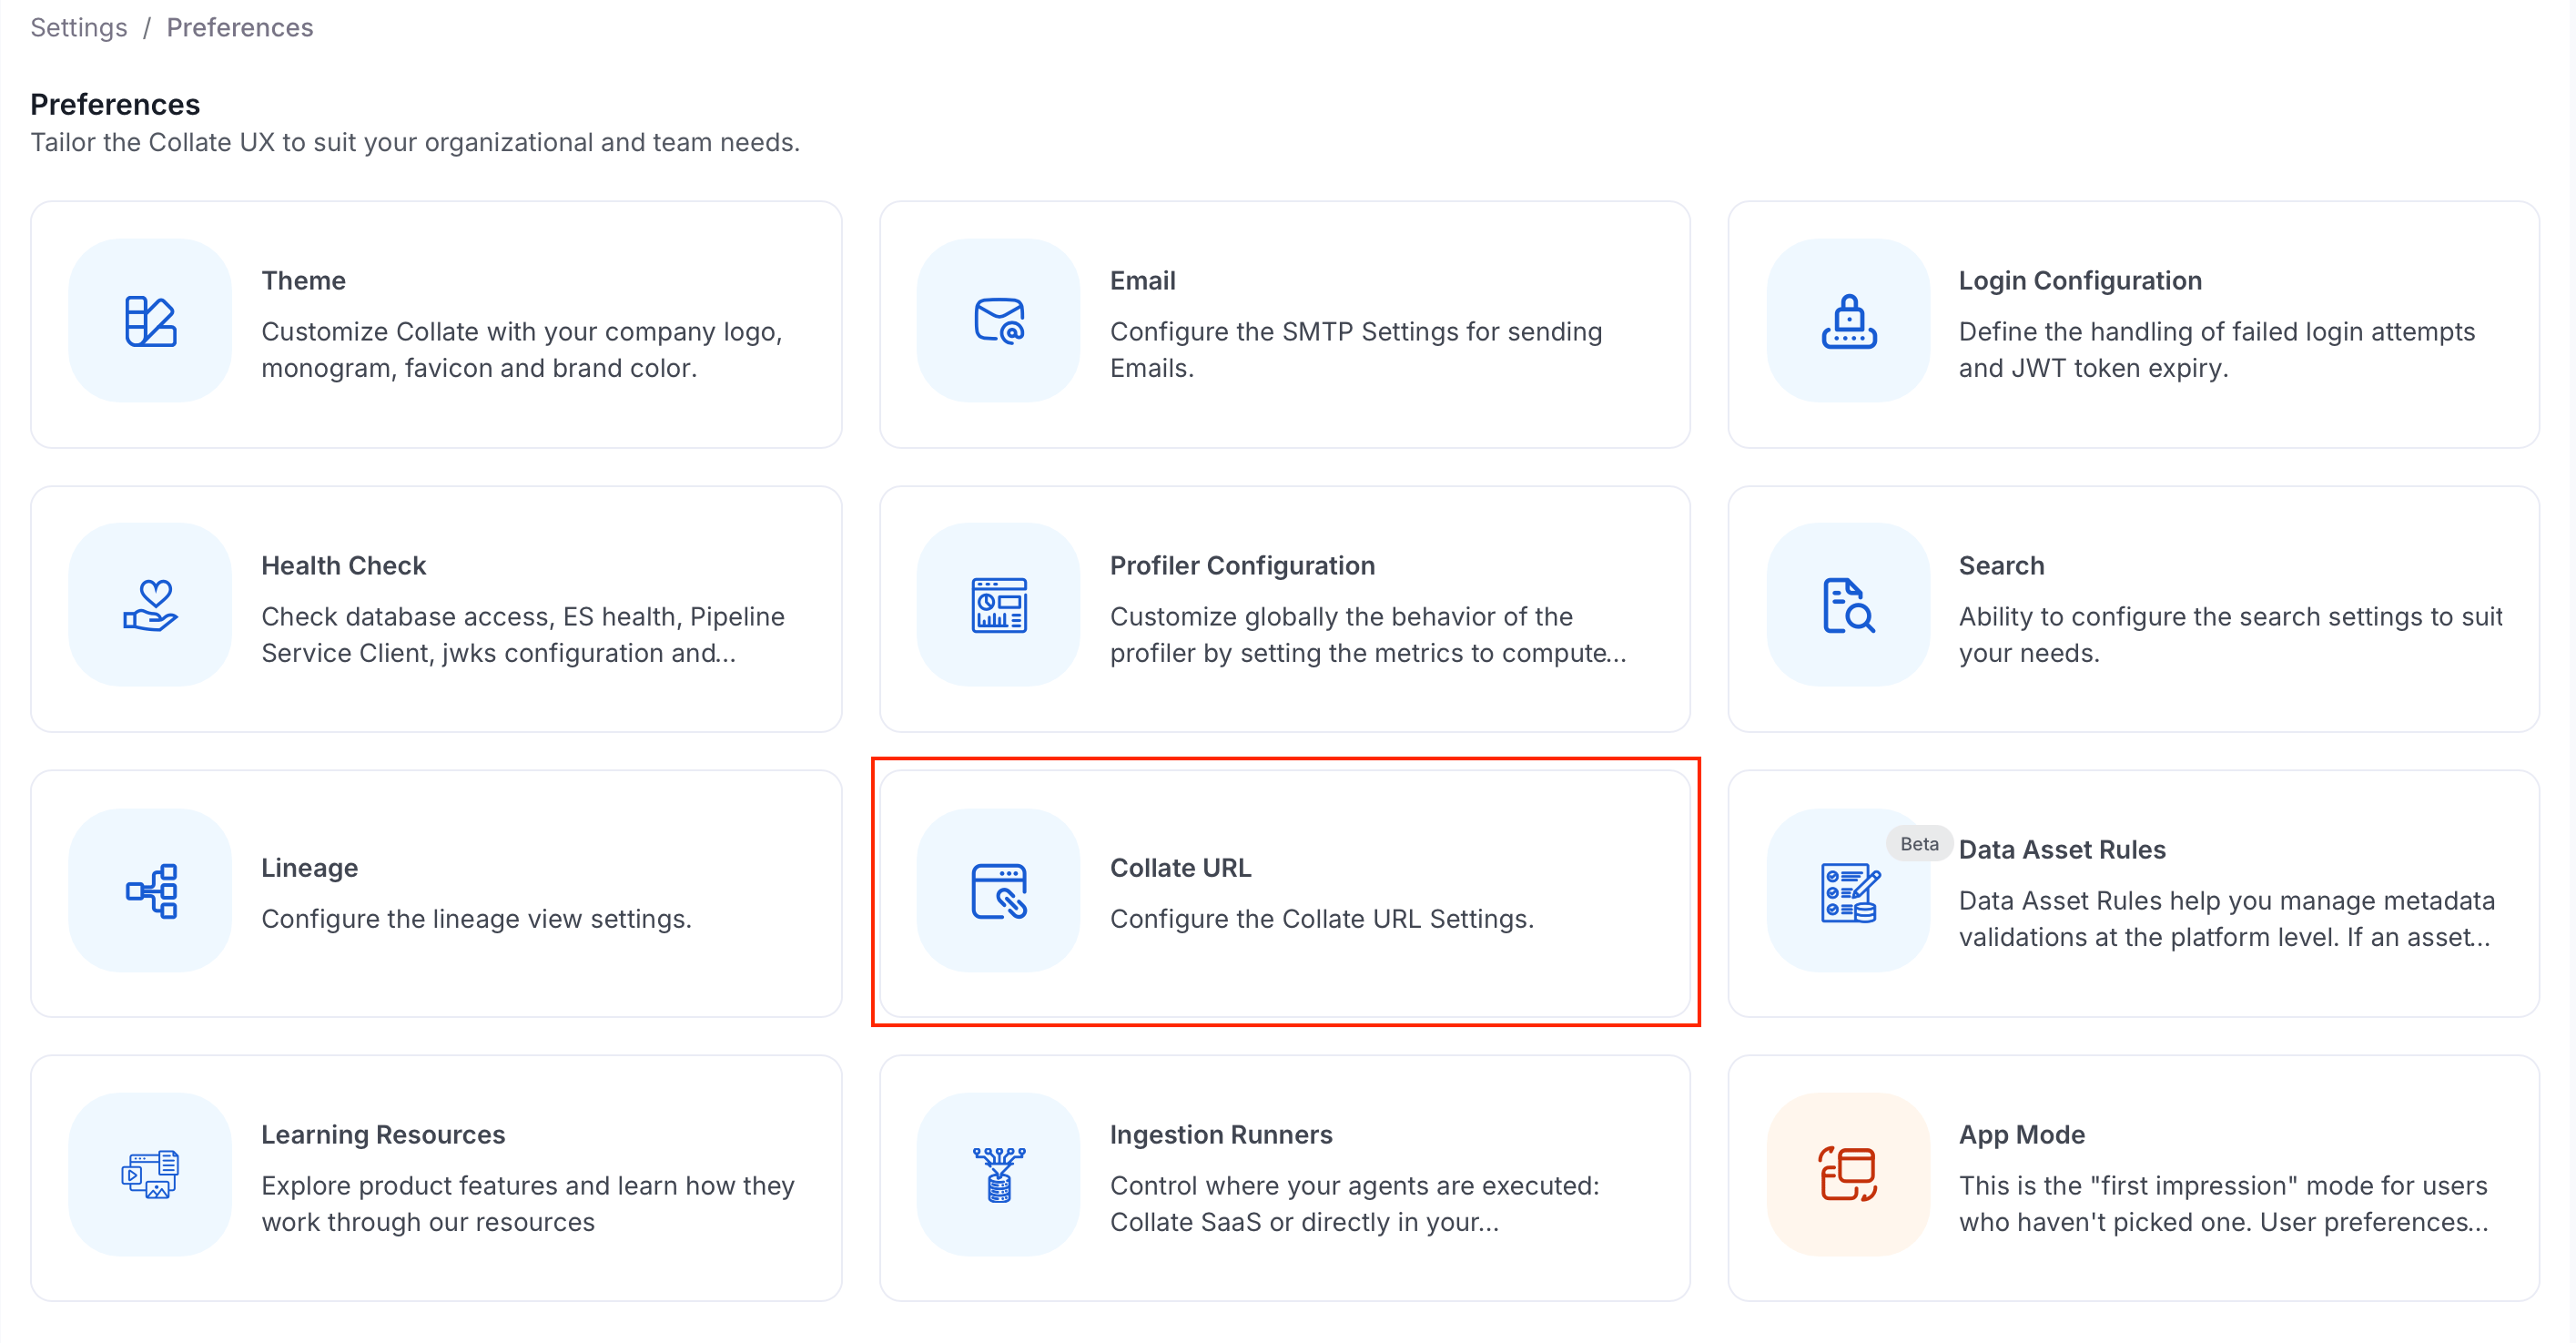
-
Click Edit.
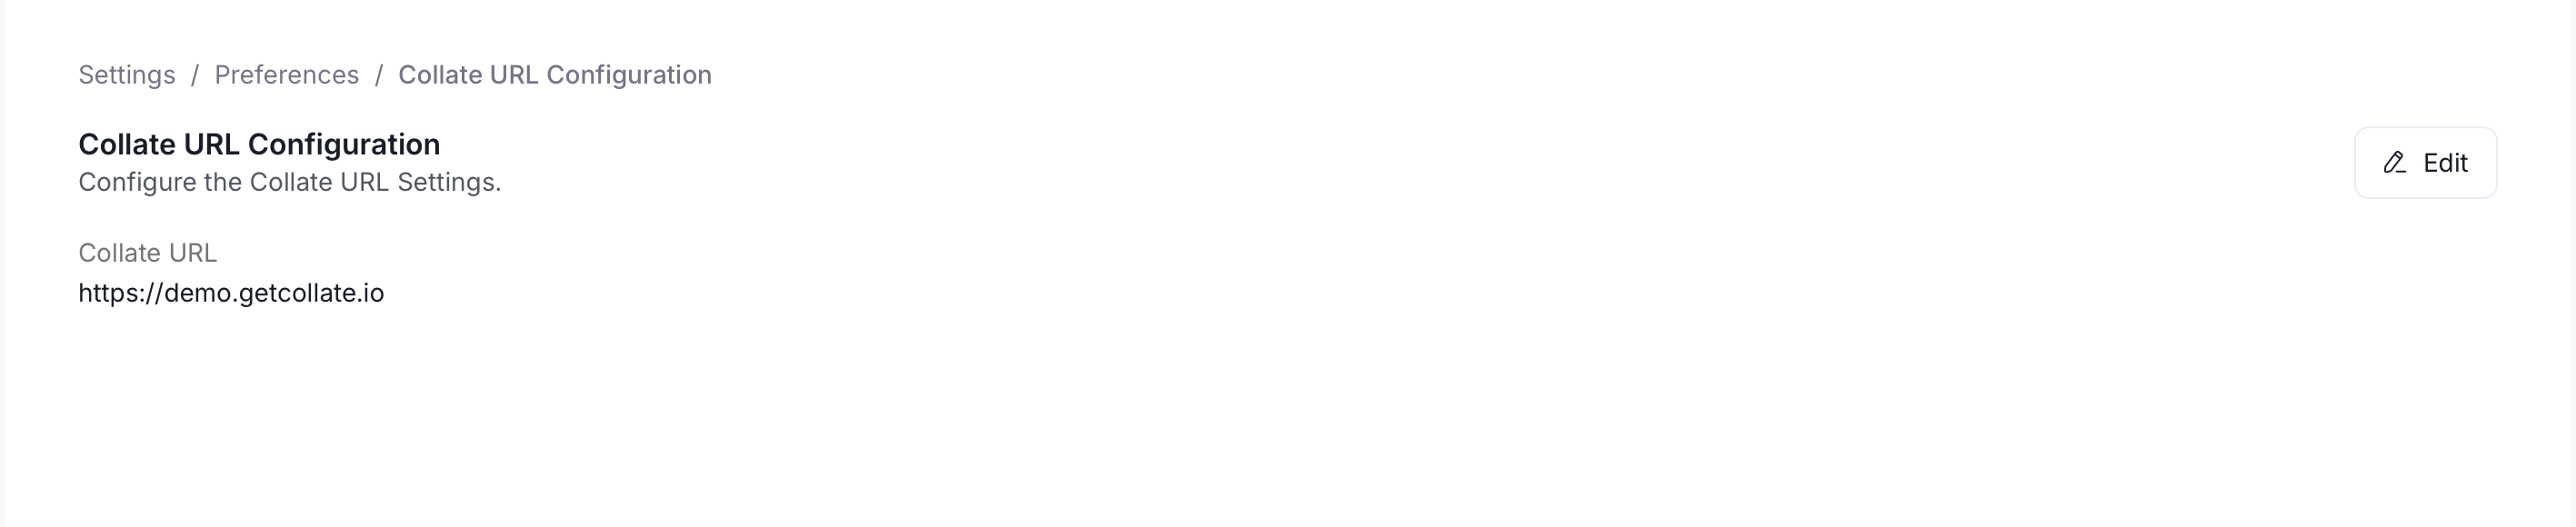
-
Set Collate URL to the base URL your users actually use to reach this Collate instance. Default:
http://localhost:8585, which only works for local development, so update it before you rely on email links in production.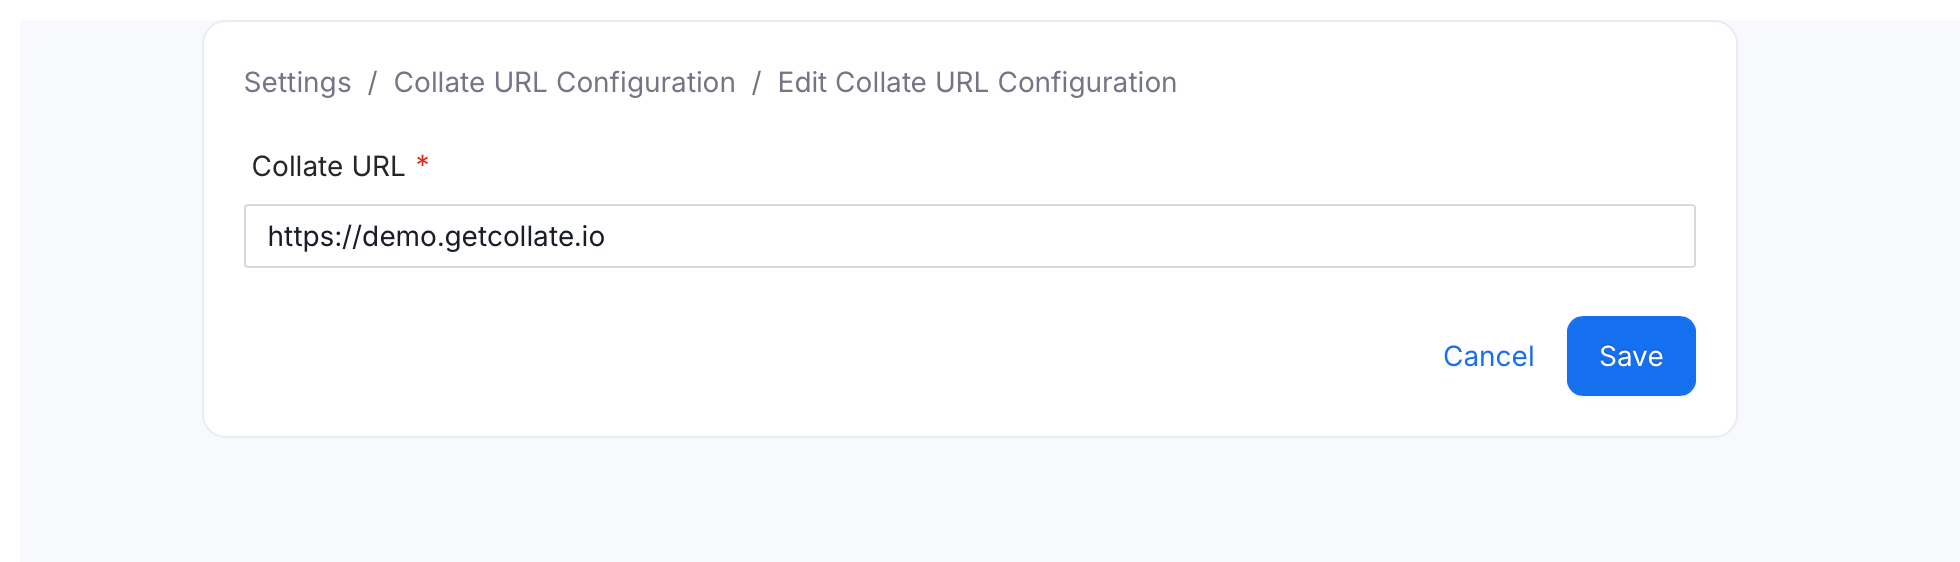
- Click Save.