
Great Expectations
For Data Quality tests the open source python package Great Expectations stands out from the crowd. For those of you who don’t know, Great Expectations is a shared, open standard for data quality. It helps data teams eliminate pipeline debt, through data testing, documentation, and profiling. Learn more about the product in their documentation. With this tutorial, we show you how to configure Great Expectations to integrate with Collate and ingest your test results to your table service page.Requirements
Collate Requirements
You’ll need Collate version 2.0 or later. Earlier releases ship the Great Expectations 1.x action separately, under thegreat-expectations-1xx extra as OpenMetadataValidationAction1xx; this page documents the 2.0 layout only.
To deploy Collate locally using Docker, see Local Docker Deployment.
Before ingesting your tests results from Great Expectations you will need to have your table metadata ingested into Collate. Follow the instruction in the Connectors section to learn more.
Python Requirements
Install the Collate Great Expectations submodule, which brings ingreat-expectations~=1.3:
Great Expectations Setup
Create your config.yaml file
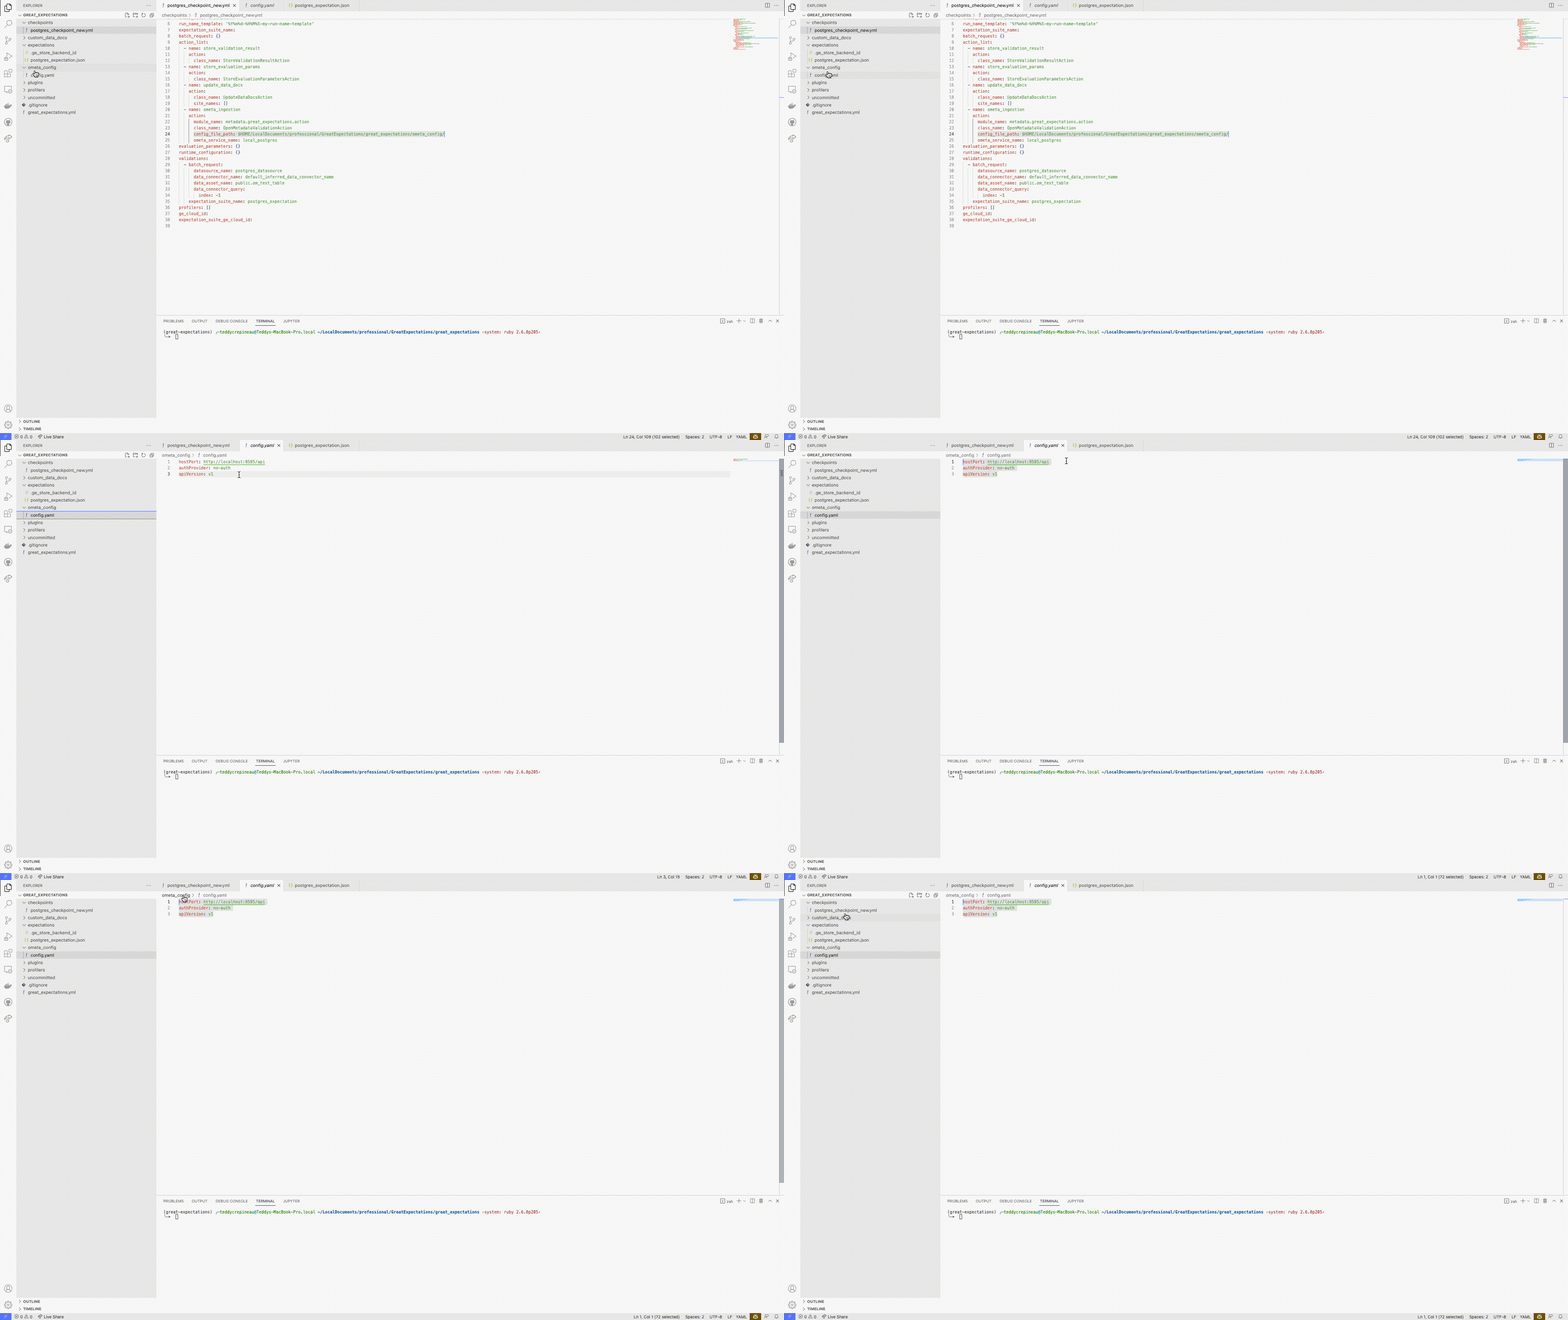
To ingest Great Expectations results in Collate, you will need to specify your Collate security configuration for the REST endpoint. This configuration file needs to be located inside the directory you pass as config_file_path and named config.yaml.
{{ env('<MY_ENV_VAR>') }}. These will be parsed and rendered at runtime allowing you to securely create your configuration and commit it to your favorite version control tool. As we support multiple security configurations, you can check out the Enable Security section for more details on how to set the securityConfig part of the yaml file.
Add the action to your checkpoint
InstantiateOpenMetadataValidationAction and pass it to the actions list of your checkpoint:
config_file_path: The path to the directory holding theconfig.yamlfile that describes your Collate server connection.database_service_name: [Optional] The name of the service in Collate. If not specified and 2 tables have the same name in 2 different Collate services, the action will fail.database_name: [Optional] The database name as it appears in Collate. When omitted, the action uses the database of the execution engine the expectations ran against.schema_name: [Optional] The schema name as it appears in Collate. For table assets the action reads this from the batch spec when present. Defaults todefaultif not specified.table_name: [Optional] The table name as it appears in Collate. For table assets the action reads this from the batch spec when present. Required for query assets, where the action can’t determine the table automatically.expectation_suite_table_config_map: [Optional] A dictionary mapping expectation suite names to their target Collate tables. Required when running multi-table checkpoints, where different expectation suites should send results to different tables. Each entry specifies thedatabase_name,schema_name, andtable_namefor routing validation results.
Every part of the table name has to resolve before the action writes anything. The action looks in three places: its own configuration, the suite mapping, and the batch spec. If it can’t determine the database, schema, or table, the run fails with an error naming the missing parts instead of writing to the wrong table.
Adding a description to your test cases
The action copies thedescription set in an expectation’s meta to the Collate test case:
meta description are still ingested; they simply produce a test case with no description.
Run your checkpoint
Great Expectations 1.x removed the CLI, so checkpoints are run from Python:Multi-Table Checkpoints
When validating multiple tables in a single checkpoint, use theexpectation_suite_table_config_map parameter to route validation results to the correct Collate tables. This is necessary because:
- Each expectation suite might target a different table.
- The checkpoint action needs to know where to send each suite’s results.
- Without the mapping, all results would attempt to go to the same default table.
database_name / schema_name / table_name set on the action.
Test Results
Each expectation becomes a test case in Collate, and each run adds a result to it. Results report row counts:The action doesn’t report percentages such as
unexpected_percent and missing_percent. Collate charts every result value of a test case on a single axis, so a percentage plotted next to a row count is flattened into the baseline and unreadable. Divide unexpected_count by element_count if you need the percentage.