
Import Glossary
Collate supports Glossary Upload to save time and effort by uploading a CSV with thousands of terms in one go. You can create or update multiple glossary terms simultaneously. When bulk uploading, Owners and Reviewers can be defined, who will be further propagated to every glossary term.
To import a glossary into Collate:
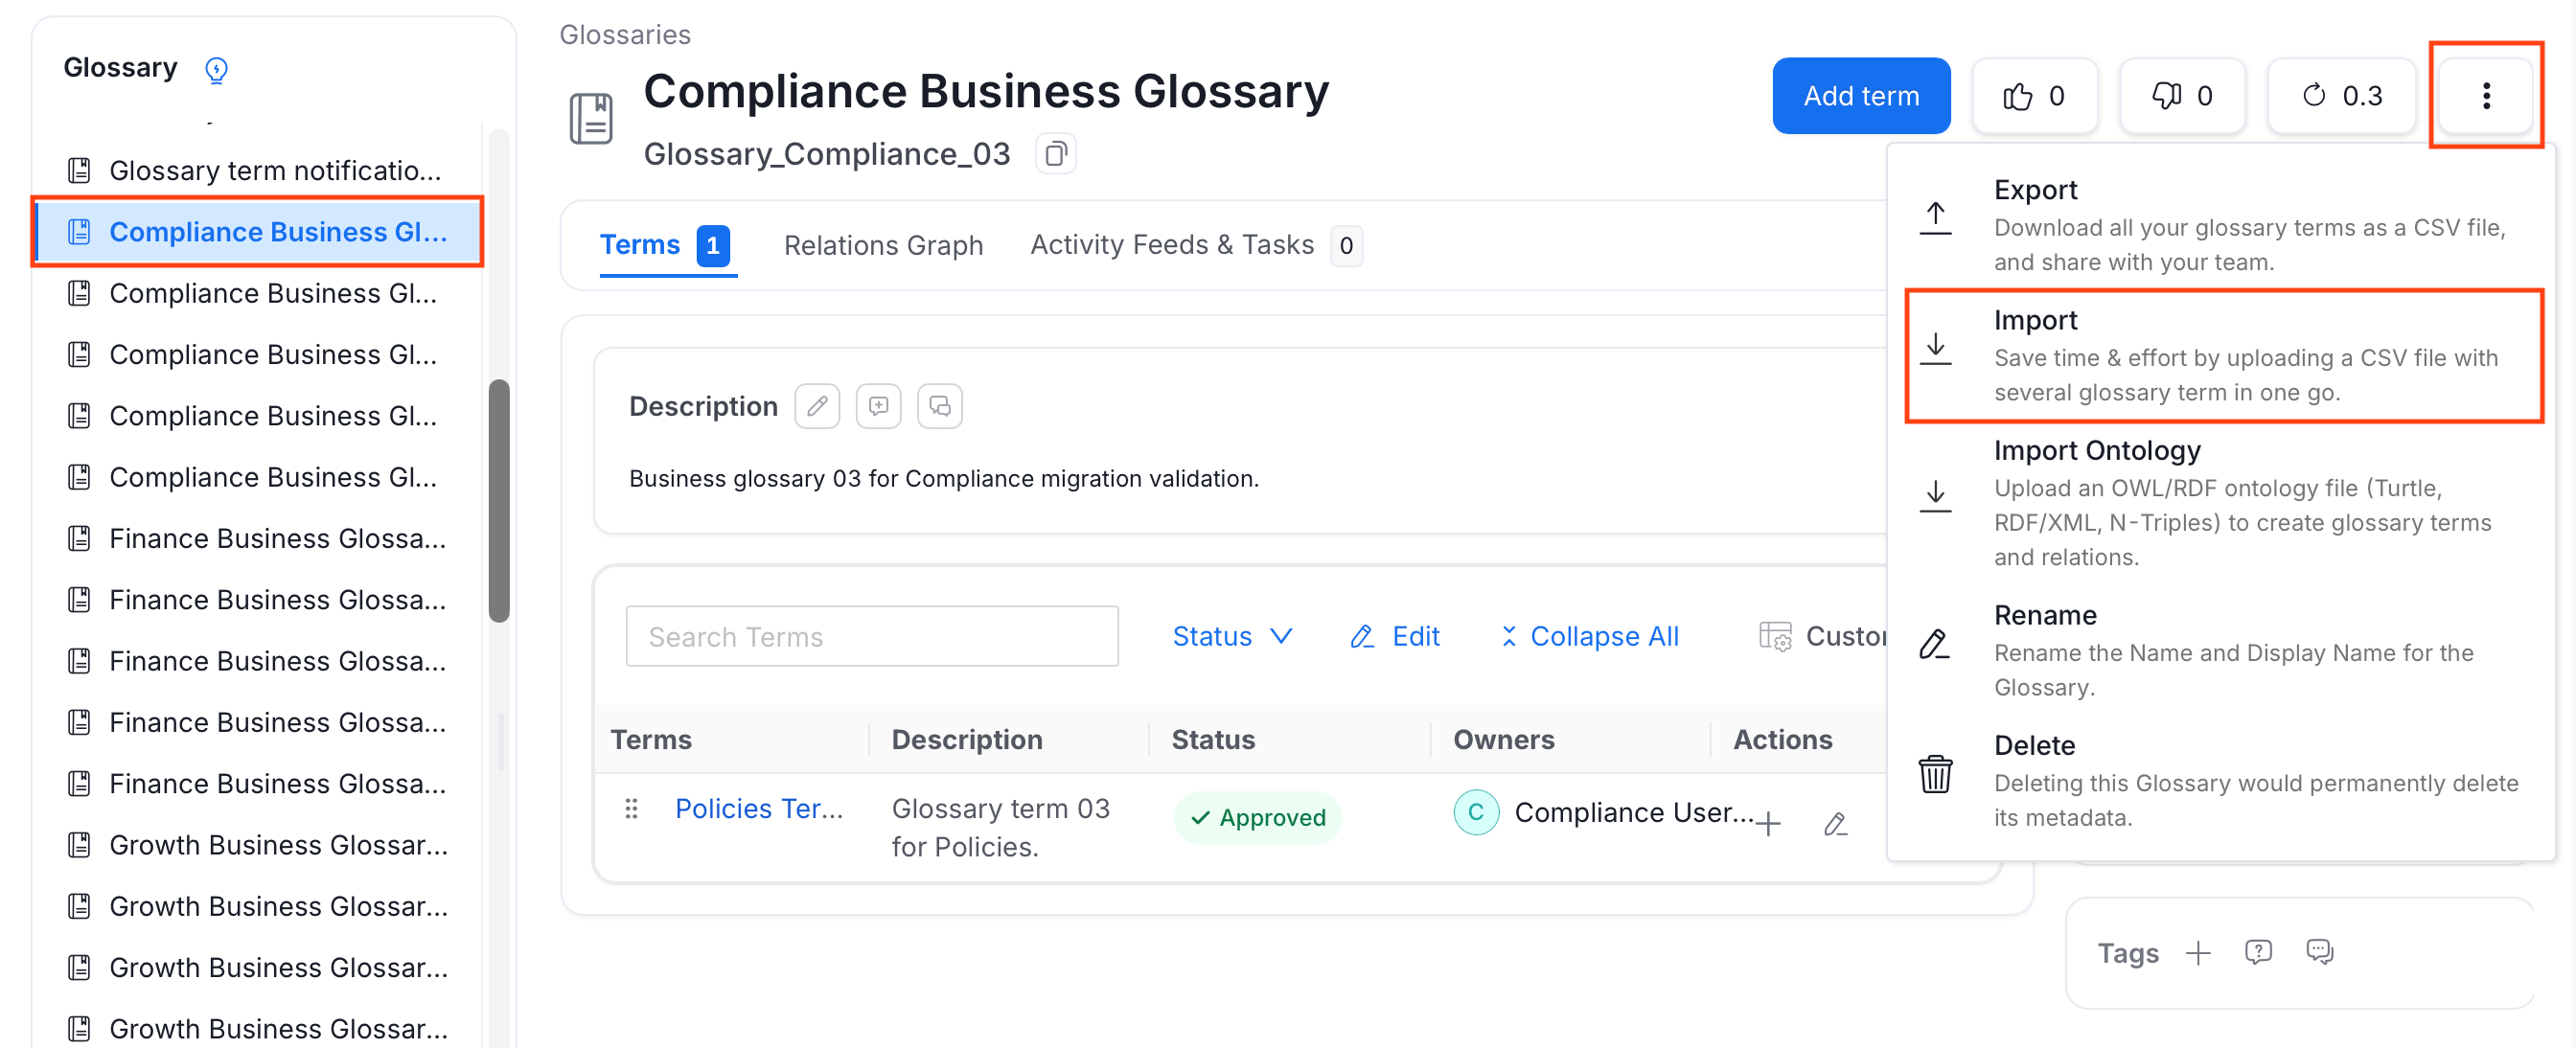
- Navigate to the Glossary page.
- From the left Glossary pane, select the glossary whose glossary terms you want to bulk import.
- Click the ⋮ icon and select Import.
-
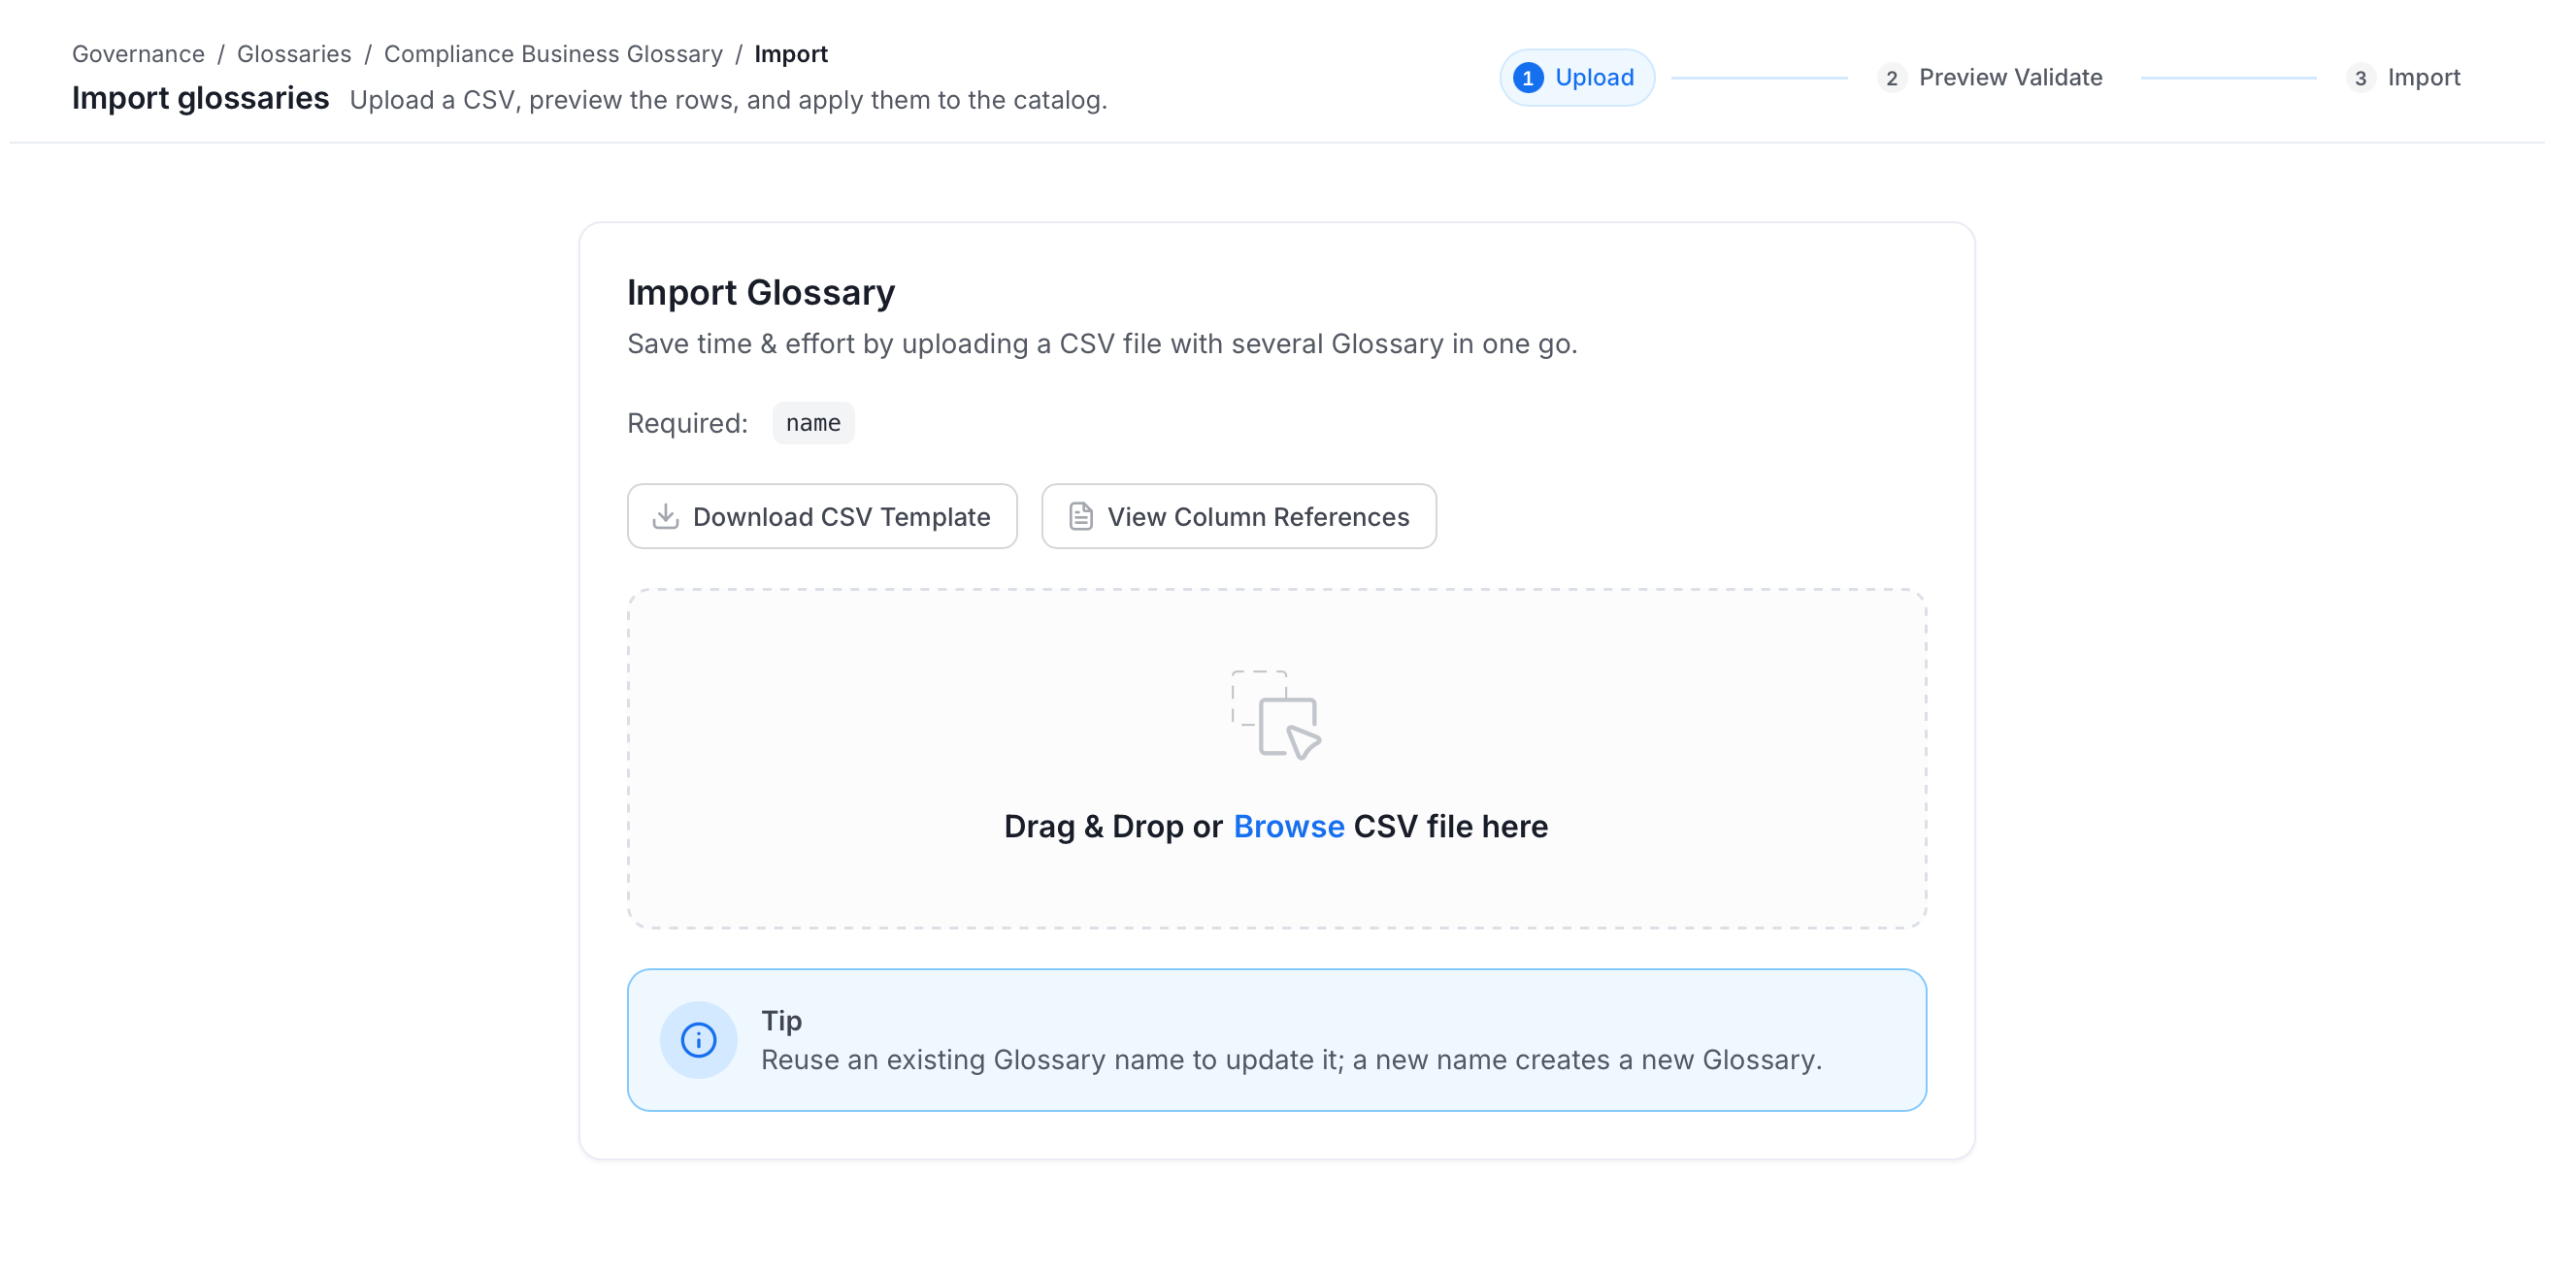
Drag and drop a file or click Browse to upload the glossary terms. You can also download a standard glossary CSV template.
-
After you have the template, you can fill in the following details:
-
parent - The parent column helps to define the hierarchy of the glossary terms. If you leave this field blank, the Term will be created at the root level. If you want to create a hierarchy of Glossary Terms, the parent details must be entered as per the hierarchy. For example, from the Glossary level,
Banking.Account.Savings Account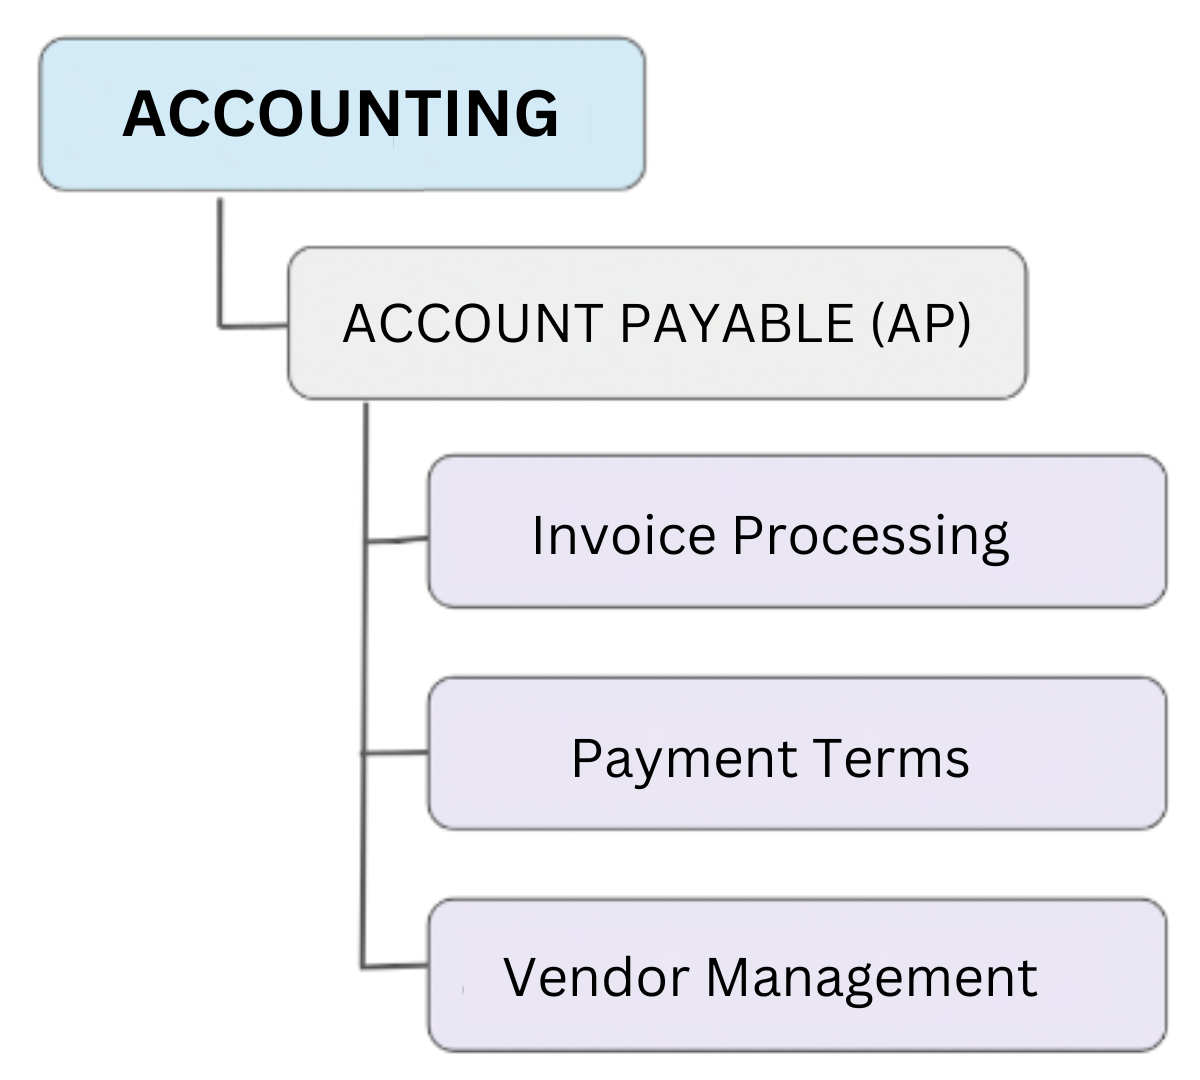
- name (required) — The name of the glossary term.
- displayName — The display name of the glossary term.
- description (required) — The description or details of the glossary term.
-
synonyms — Include words that have the same meaning as the glossary term. For example, for a term ‘Customer’, synonyms can be ‘Client’, ‘Shopper’, ‘Purchaser’. In the CSV file, synonyms must be separated by a semicolon (;) as in
Client;Shopper;Purchaser -
relatedTerms — A term that has a related concept to the glossary term. This term must be available in Collate. For example, for a term ‘Customer’, related terms can be ‘Customer LTV (LifeTime Value)’, ‘Customer Acquisition Cost (CAC)’. In the CSV file, related terms must include the full hierarchy separated by a full stop (.), with multiple terms separated by a semicolon (;) as in
Banking.Account.Savings account;Banking.Debit card -
references - Add links from the internet from where you inherited the term. In the CSV file, the references must be in the format (name;url;name;url)
IBM;https://www.ibm.com/;World Bank;https://www.worldbank.org/ -
tags - Add the tags which are already existing in Collate. In the CSV file, the tags must be in the format
PII.Sensitive;PersonalData.Personal
-
parent - The parent column helps to define the hierarchy of the glossary terms. If you leave this field blank, the Term will be created at the root level. If you want to create a hierarchy of Glossary Terms, the parent details must be entered as per the hierarchy. For example, from the Glossary level,
-
After you have the template, you can fill in the following details:
- Preview and validate your uploaded data. Make any additions or corrections directly in the table if needed. A Passed and Failed count is displayed above the table to help you quickly identify any rows with validation errors before proceeding.
- Click Next to import glossary terms.
Mutually Exclusive
You can also mark the Glossary as Mutually Exclusive if you want only one of the terms from the glossary to be applicable to the data assets. There are cases where only one glossary term from a Glossary is relevant for a data asset. For example, an asset can either be PII Sensitive or PII Non-Sensitive. It cannot be both. For such cases, a Glossary can be created where the terms can be mutually exclusive. If this configuration is enabled, you won’t be able to assign multiple tags from the same Glossary to the same data asset.Add Owners and Reviewers to a Glossary
If the Owner details are added while creating the glossary, those details will be inherited for the glossary terms. Either a Team or a User can be the Owner of a Glossary. Multiple users can be Reviewers. These can be changed later. The glossary Owner and Reviewers are inherited for all the glossary terms.Glossary Export
Quickly export a glossary as a CSV file.
Glossary Approval Workflow
Set up a review and approval process for glossary terms.