External Storage for Sample Data
Tip: Note: This requires Collate 1.2.1 or higher.
Generate Sample Data flag in your profiler configuration, Collate ingests sample data for all tables in the auto-classification workflow. The profiler randomly samples this data from the table and returns 50 rows by default, which is configurable.
With Collate 1.2.1, you can upload this sample data to an S3 bucket in Parquet format — a standardized, columnar storage format that supports efficient and scalable data analysis.
Follow the steps below to upload sample data to an S3 bucket in Parquet format as part of your profiling workflow.
To upload sample data, you need to configure your storage credentials first. You can do this in multiple ways.
Storage Credentials at the Database Service
You can configure the Sample Data Storage Credentials at the Database Service level while creating a new service or editing the connection details of an existing Database Service.
Provide the storage credential details in the Advanced Config section of the connection details form.
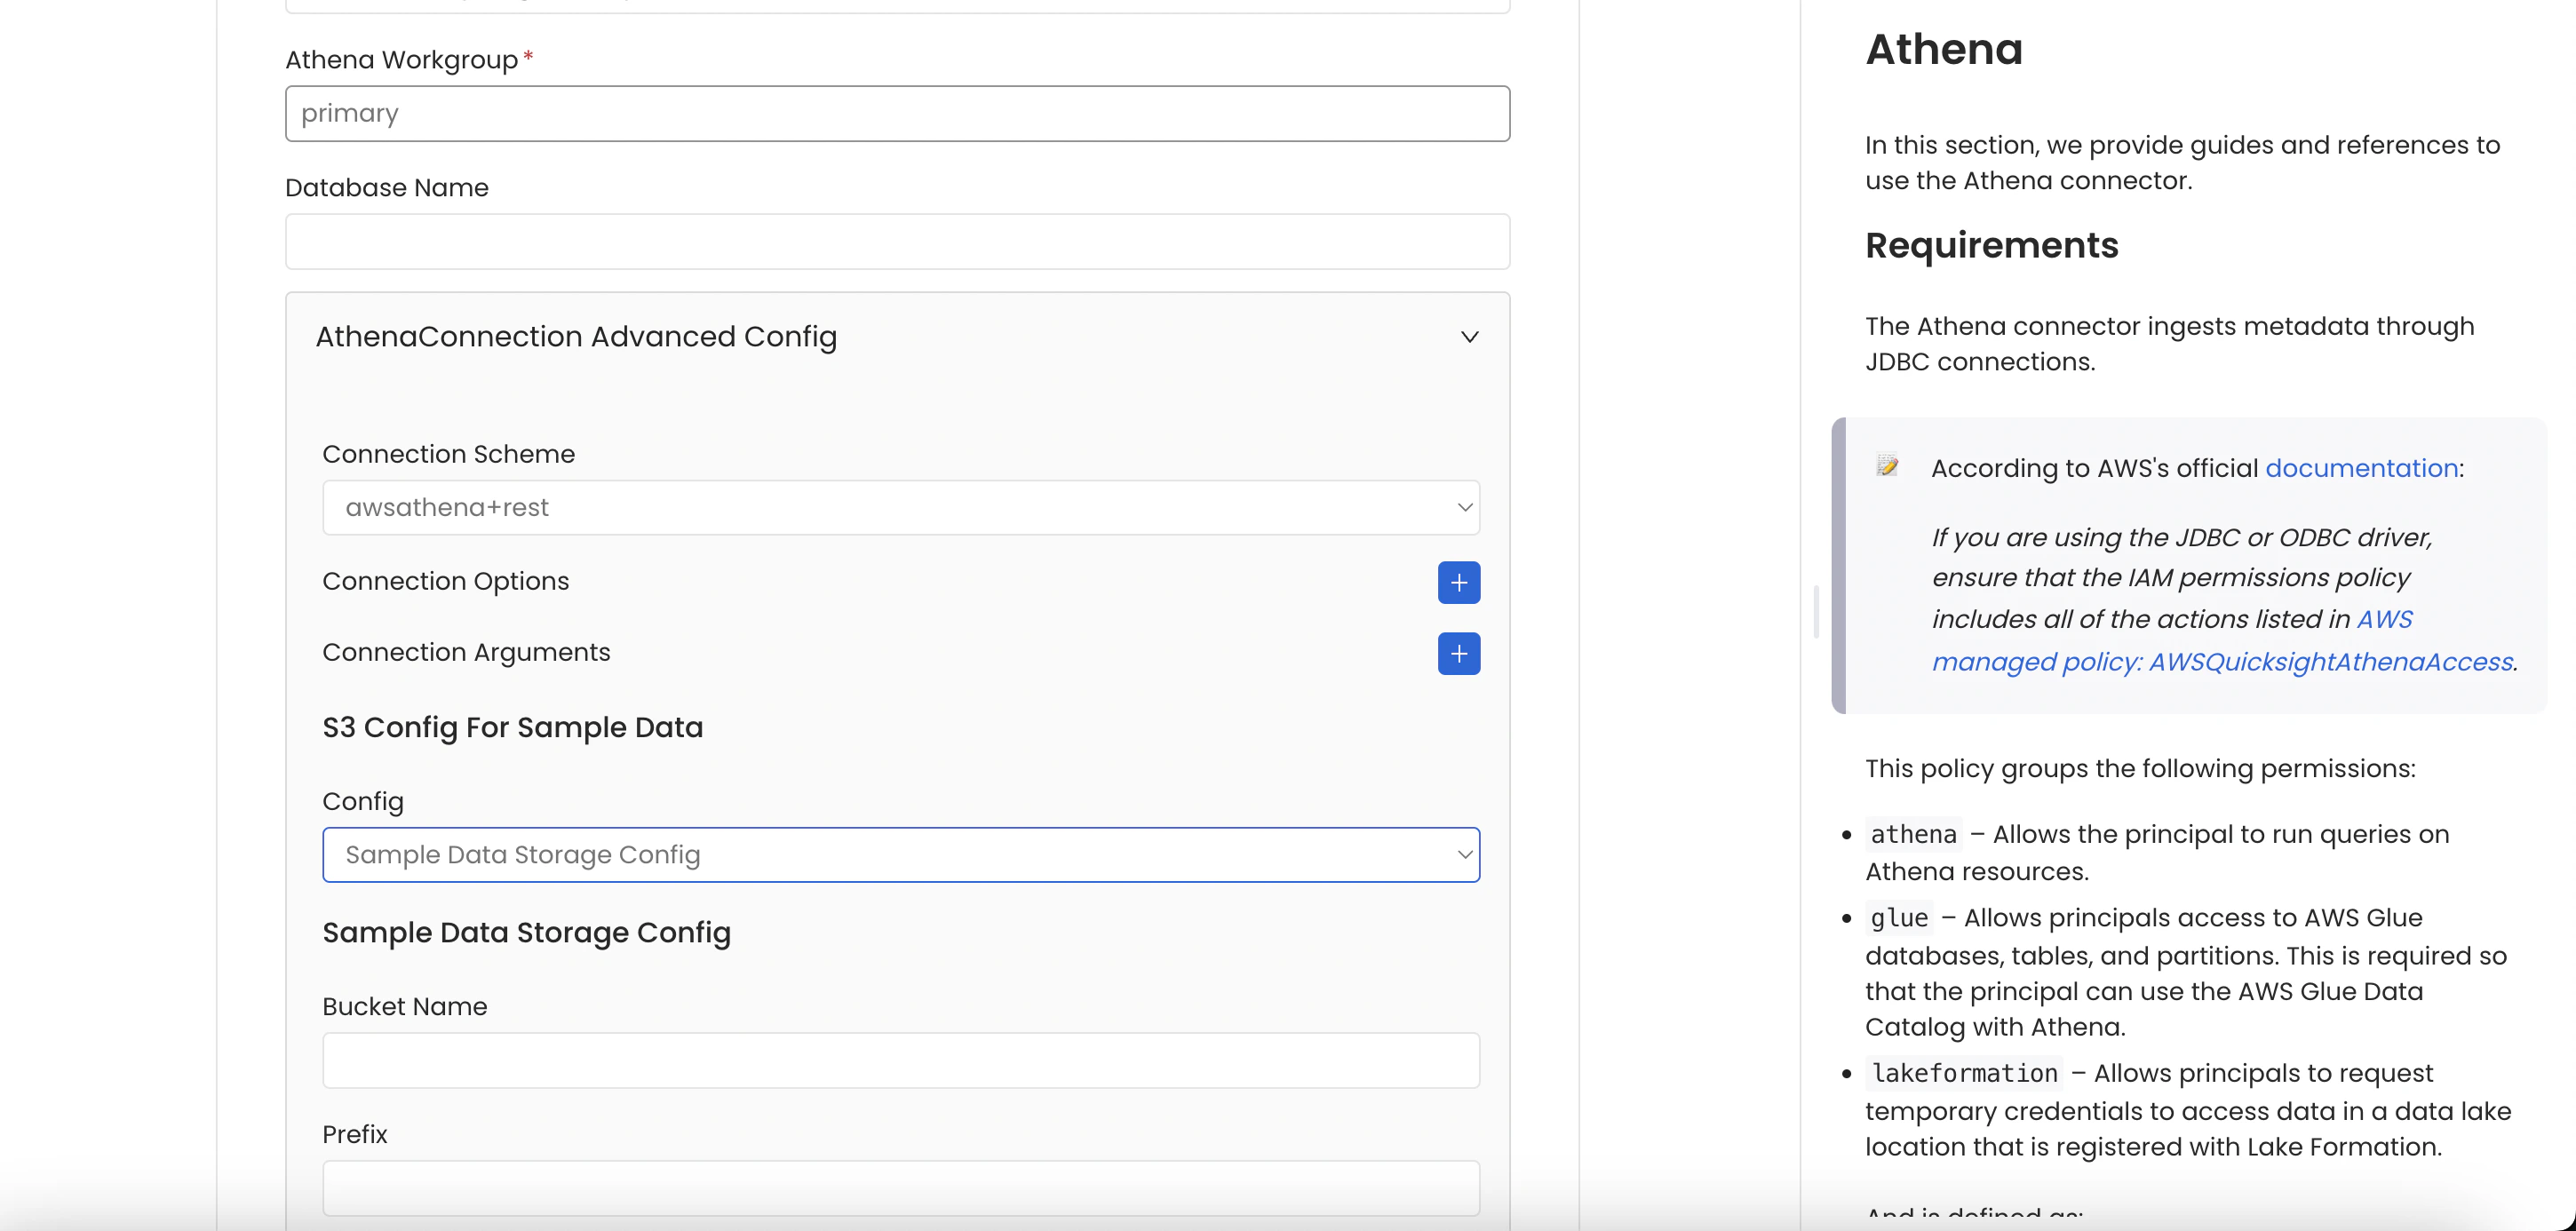
Storage Credentials at the Database
You can configure the Sample Data Storage Credentials at the database level via Profiler Settings.
-
Open the database in Collate and click the ⋮ menu.
-
Select Profiler Settings.

-
In the Profiler Settings panel, configure the profiler settings, sample data storage config, and AWS S3 credentials. For more details about each field, see Configuration Details.

-
Click Save.
Storage Credentials at the Database Schema
You can also configure Sample Data Storage Credentials at the database schema level. The configuration fields are identical to the Database-level setup — only the navigation differs.
- Open the database schema in Collate and click the ⋮ menu in the top right.
- Select Profiler Settings.
- Configure the profiler settings, sample data storage config, and AWS S3 credentials. For more details about each field, see Configuration Details.
- Click Save.
Configuration Details
- Profile Sample Value: Percentage of data or number of rows to use when sampling tables. By default, the profiler runs against the entire table.
- Profile Sample Type: The sample type can be set to either:
- Percentage: Uses a percentage to sample the table (for example, if a table has 100 rows and you set the sample percentage to 50%, the profiler uses 50 random rows to compute the metrics).
- Row Count: Uses a fixed number of rows to sample the table (for example, if a table has 100 rows and you set the row count to 10, the profiler uses 10 random rows to compute the metrics).
- Sample Data Rows Count: Number of rows of sample data to ingest if the Generate Sample Data option is enabled.
- Config: Select Sample Data Storage Config to configure external object storage for sample data, or No Sample Data Storage Config to skip external storage.
Tip: The Collate UI always shows 50 or fewer rows of sample data. A Sample Data Rows Count higher than 50 only affects the row count stored in a parquet file in object storage.
- Sampling Method Type: Set the sampling method type to BERNOULLI or SYSTEM. See the Snowflake documentation for the difference between the two values. When you choose BERNOULLI, the profiler scans all rows in the table even when Profile Sample is set to a small value. However, BERNOULLI has fewer restrictions than SYSTEM. If no option is selected, it defaults to BERNOULLI.
Tip: This parameter applies to Snowflake only.
- Bucket Name: A unique identifier used to organize and store data objects in S3, similar to a folder name in file storage.
- Prefix: The path prefix within your bucket. Collate uploads the generated parquet file to this path.
- Overwrite Sample Data: When enabled, Collate creates one parquet file per table. When disabled, Collate creates a new file on each profiler run.
Connection Details for AWS S3
- AWS Access Key ID & AWS Secret Access Key: When you interact with AWS, you specify your AWS security credentials to verify your identity and access permissions. AWS uses these credentials to authenticate and authorize your requests (docs).
Access keys consist of two parts: an access key ID (for example, AKIAIOSFODNN7EXAMPLE) and a secret access key (for example, wJalrXUtnFEMI/K7MDENG/bPxRfiCYEXAMPLEKEY). You must use both together to authenticate your requests.
For more information, see Managing access keys.
- AWS Region: Each AWS Region is a separate geographic area where AWS clusters data centers (docs).
Because AWS has instances in multiple regions, you need to specify the region where your service is located.
AWS Region is the only required parameter when configuring a connection. When connecting to services programmatically, you can provide the remaining AWS configurations in several ways.
For more information, see Configuring credentials.
- AWS Session Token (optional): Use this field when authenticating with temporary credentials. Temporary credentials include an AWS Access Key ID, AWS Secret Access Key, and an AWS Session Token.
For more information, see Using temporary credentials with AWS resources.
- Endpoint URL (optional): An endpoint is the URL of the entry point for an AWS web service. The AWS SDKs and the AWS CLI automatically use the default endpoint for each service in an AWS Region. Specify an alternate endpoint here if you need to connect to an S3-compatible service or a custom endpoint.
For more information, see AWS service endpoints.
- Profile Name: A named profile is a collection of settings and credentials that you can apply to an AWS CLI command. When you specify a profile, the AWS CLI uses those settings and credentials to run the command. You can store multiple named profiles in your config and credentials files.
Enter a value here to use a profile other than default.
For more information, see Named profiles for the AWS CLI.
- Assume Role Arn: Typically, you use
AssumeRole within your account or for cross-account access. Enter the ARN (Amazon Resource Name) of the role in the other account.
To access a role in a different account, you must have permissions delegated by your account administrator. The administrator must attach a policy that allows you to call AssumeRole for the ARN of the role in the other account.
This field is required to use AssumeRole.
For more information, see AssumeRole.
- Assume Role Session Name: An identifier for the assumed role session. Use the role session name to uniquely identify a session when different principals assume the same role or for different reasons.
Collate uses CollateSession by default.
For more information, see Role Session Name.
- Assume Role Source Identity: The source identity that the calling principal specifies when invoking the
AssumeRole operation. You can use source identity information in AWS CloudTrail logs to determine who took actions with a role.
For more information, see Source Identity.
Collate Storage Config
Use this option when you want to skip uploading sample data from a specific schema or database to object storage. For example, if you have a database with three schemas A, B, and C and you have configured S3 Storage credentials at the database level, Collate uploads sample data from all schemas by default.
If you don’t want to upload sample data from schema A, select No Sample Data Storage Config for that schema.
Order of Precedence
You can configure storage credentials at the Database Service, Database, or Database Schema level. The order of precedence is:
If you configure storage credentials at the database schema level, Collate uses that config for all tables in the schema. If not configured, Collate falls back to the database-level config, then to the database service-level config.