Local Ingestion Agent
The Local Ingestion Agent lets you securely push metadata from your own infrastructure into Collate — without exposing your internal systems or relying on additional server infrastructure. It’s the right choice when you need to run connectors on-premises and want to be up and running from your local system.
Unlike the Hybrid Ingestion Runner, the Local Ingestion Agent doesn’t require a Kubernetes cluster or any cloud infrastructure — just Docker.
With the Local Ingestion Agent, you can:
- Set up ingestion workflows from a UI.
- Run end-to-end metadata extraction workflows: metadata, profiling, lineage, usage, dbt, auto-classification, and data quality.
Before you start: Contact Collate support to get your Docker credentials before setting up the Local Ingestion Agent.
Setting Up the Collate Ingestion Agent
Follow these steps to install, connect, and configure the Local Ingestion Agent on your machine.Step 1: Install and Start the Agent
You need Docker installed on your laptop. Run the following commands:-
Authenticate with the Docker registry using the credentials provided by Collate support. For example, the following command shows the registry URL specific to AWS provided by Collate:
-
Run the Docker image to start the Local Agent:
Replace
<collate-version>with your Collate instance version. For example,1.11.1.
Step 2: Connect the Agent to Collate
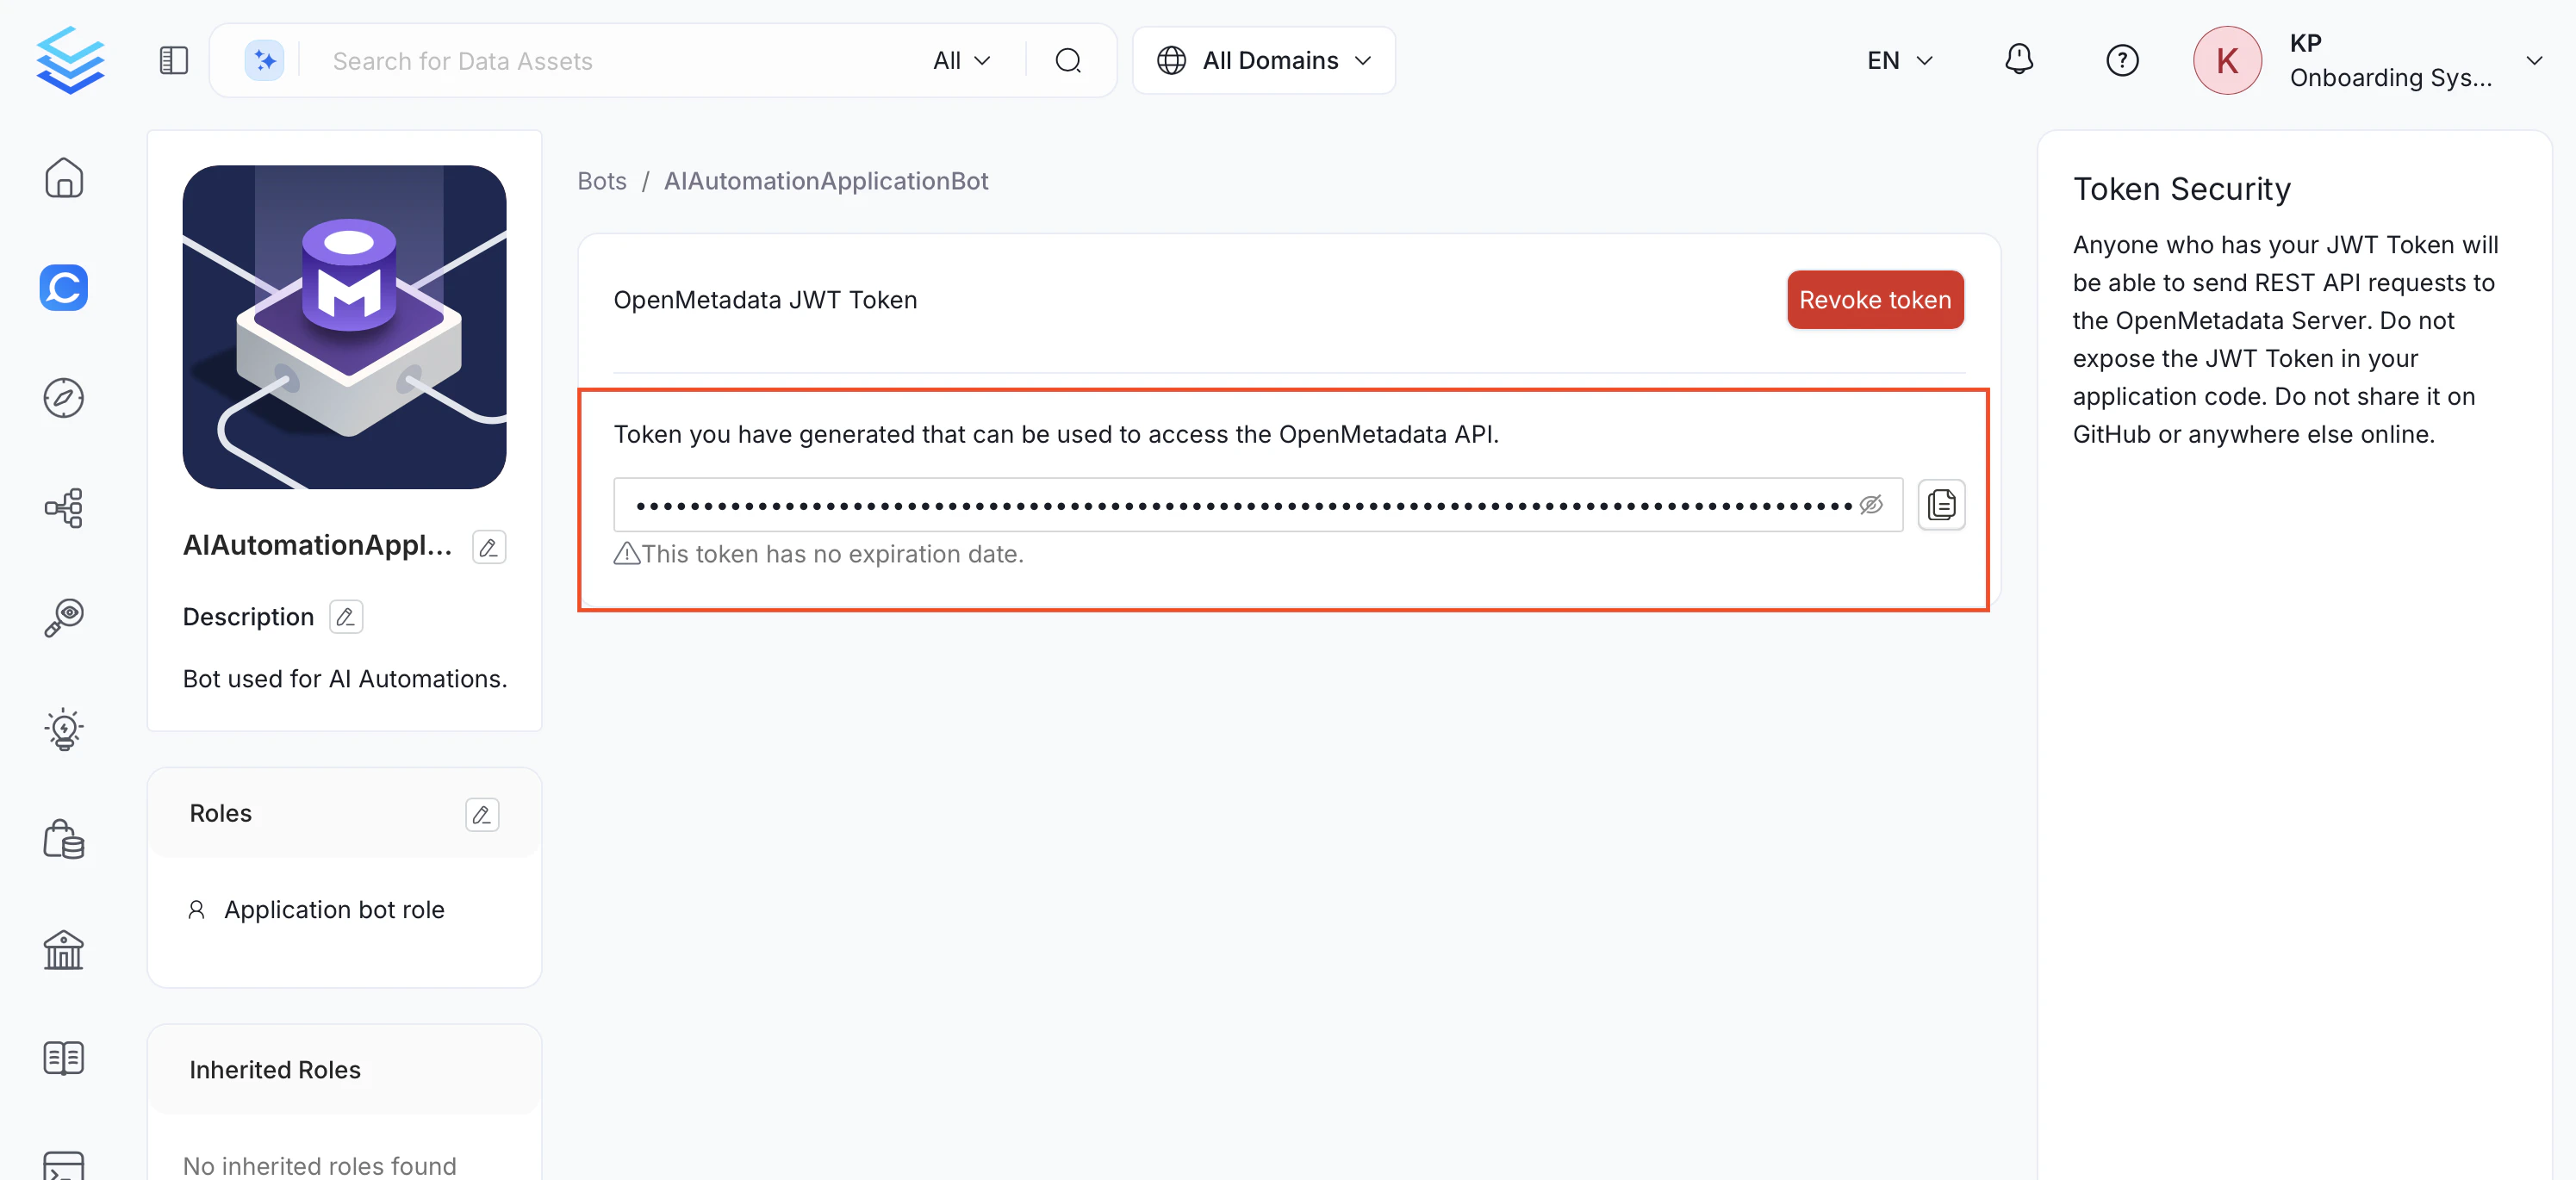
Generate a JWT token from your Collate instance and use it to authenticate the agent.Note: The Bots tile under Settings is only visible to users with Admin privileges. If you don’t see it, ask your organization’s Collate Admin to generate a bot token for you or grant you Admin access.
- In your web browser, navigate to
http://localhost:8001to open the local agent UI. - Enter your Collate platform URL (for example,
https://<your-company>.getcollate.io/api). - In your Collate instance, navigate to Settings > Bots and click Add Bot.
- Enter Email, Display Name, Token Expiration, and Description, then click Create.
- Assign the appropriate roles – typically DefaultBotPolicy and Ingestion Bot Policy.
- Copy and save the JWT token for later use.
Step 3: Add a New Service
Add a data service in the Local Collate UI and verify the connection before running ingestion.- Navigate to Settings > Services and select your service type (for example, Databases).
- Click + Add New Service and choose your connector type, then click Next.
- Enter the unique Name and Description, then click Next.
- Fill the connection details.
- Click Test Connection to verify the connection is successful.
Step 4: Verify Ingested Data
Confirm that metadata from your data source is now visible in the Collate platform.- Return to the Collate platform at
https://<your-company>.getcollate.ioand refresh the database services page. Your new service will appear there now. - Verify that the ingested metadata, including schemas, tables, and column details, is available.
Step 5: Configure Metadata Ingestion
After your agent is connected and your service is set up, proceed to Step 2 - Configure Metadata Ingestion to schedule your first ingestion pipeline.Troubleshooting
Cannot connect to a data source on Windows when running via WSL/Docker
If the Local Ingestion Agent is running inside Docker on WSL and your data source (for example, SQL Server) is installed on the Windows host, usinglocalhost or
127.0.0.1 as the hostname will fail — inside a Docker container these addresses
refer to the container itself, not the Windows machine.
Use host.docker.internal as the hostname instead.
Connection tested successfully but not appearing in the services list
If you clicked Test Connection and it passed but the service does not appear in the connection list, the service was likely tested from the form without being saved. Fix: Go back to Settings > Services, click + Add New Service, complete all the steps, and make sure to save the service before testing the connection.Additional Features
The Collate Ingestion Agent supports various ingestion workflows, allowing you to:- Generate YAML Configurations: Download YAML files for external scheduling.
- Manage Ingestion Types: Run metadata, profiling, lineage, usage, and other workflows as needed.
- Monitor Progress: View logs and monitor real-time ingestion activity.