
Create and Manage Templates
This guide walks you through the complete workflow of creating, configuring, and managing notification templates in Collate.Creating a Custom Template
Use the steps below to create a new notification template.- Click the Profile icon and navigate to Settings > Notifications > Templates.
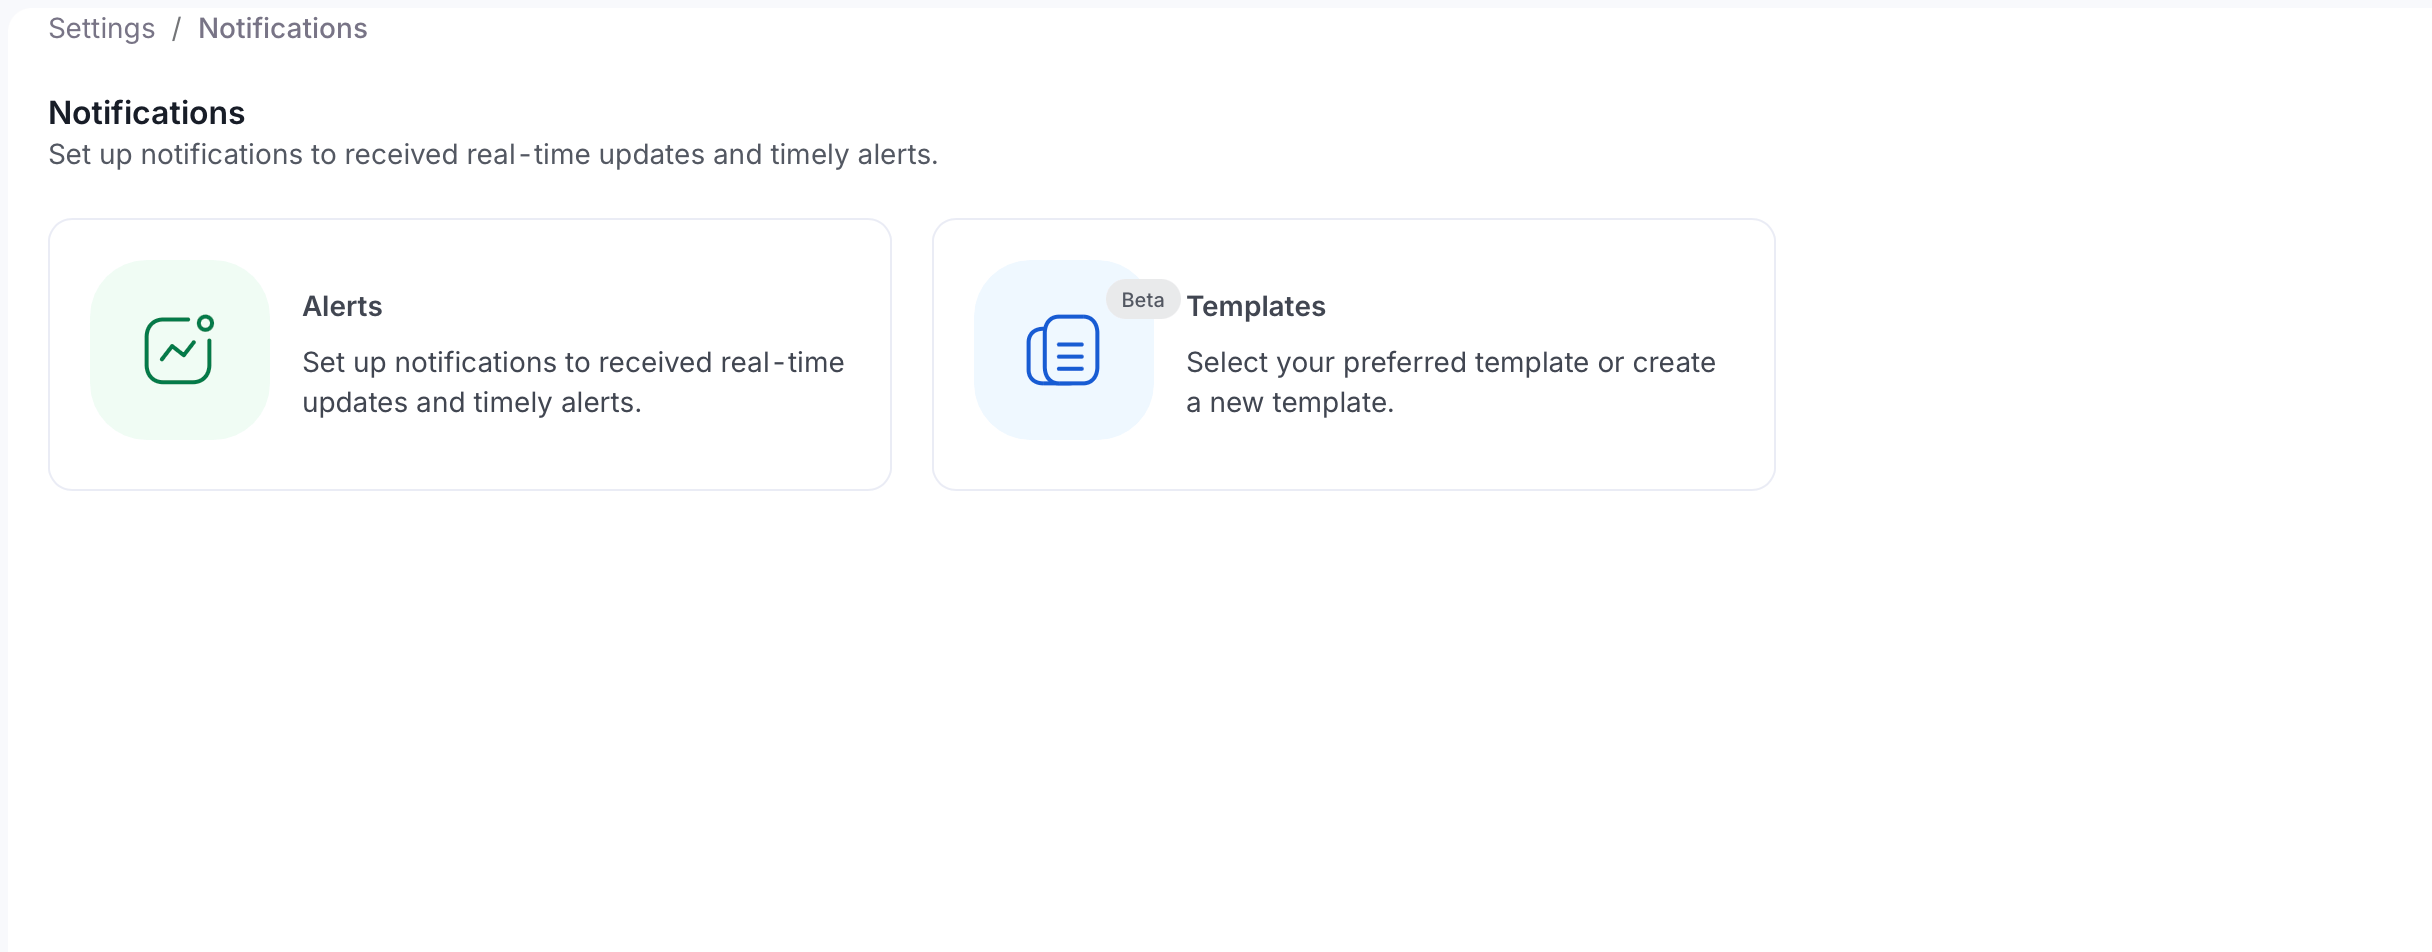
- Click Add Template.
- Enter the required details. See Template Details.
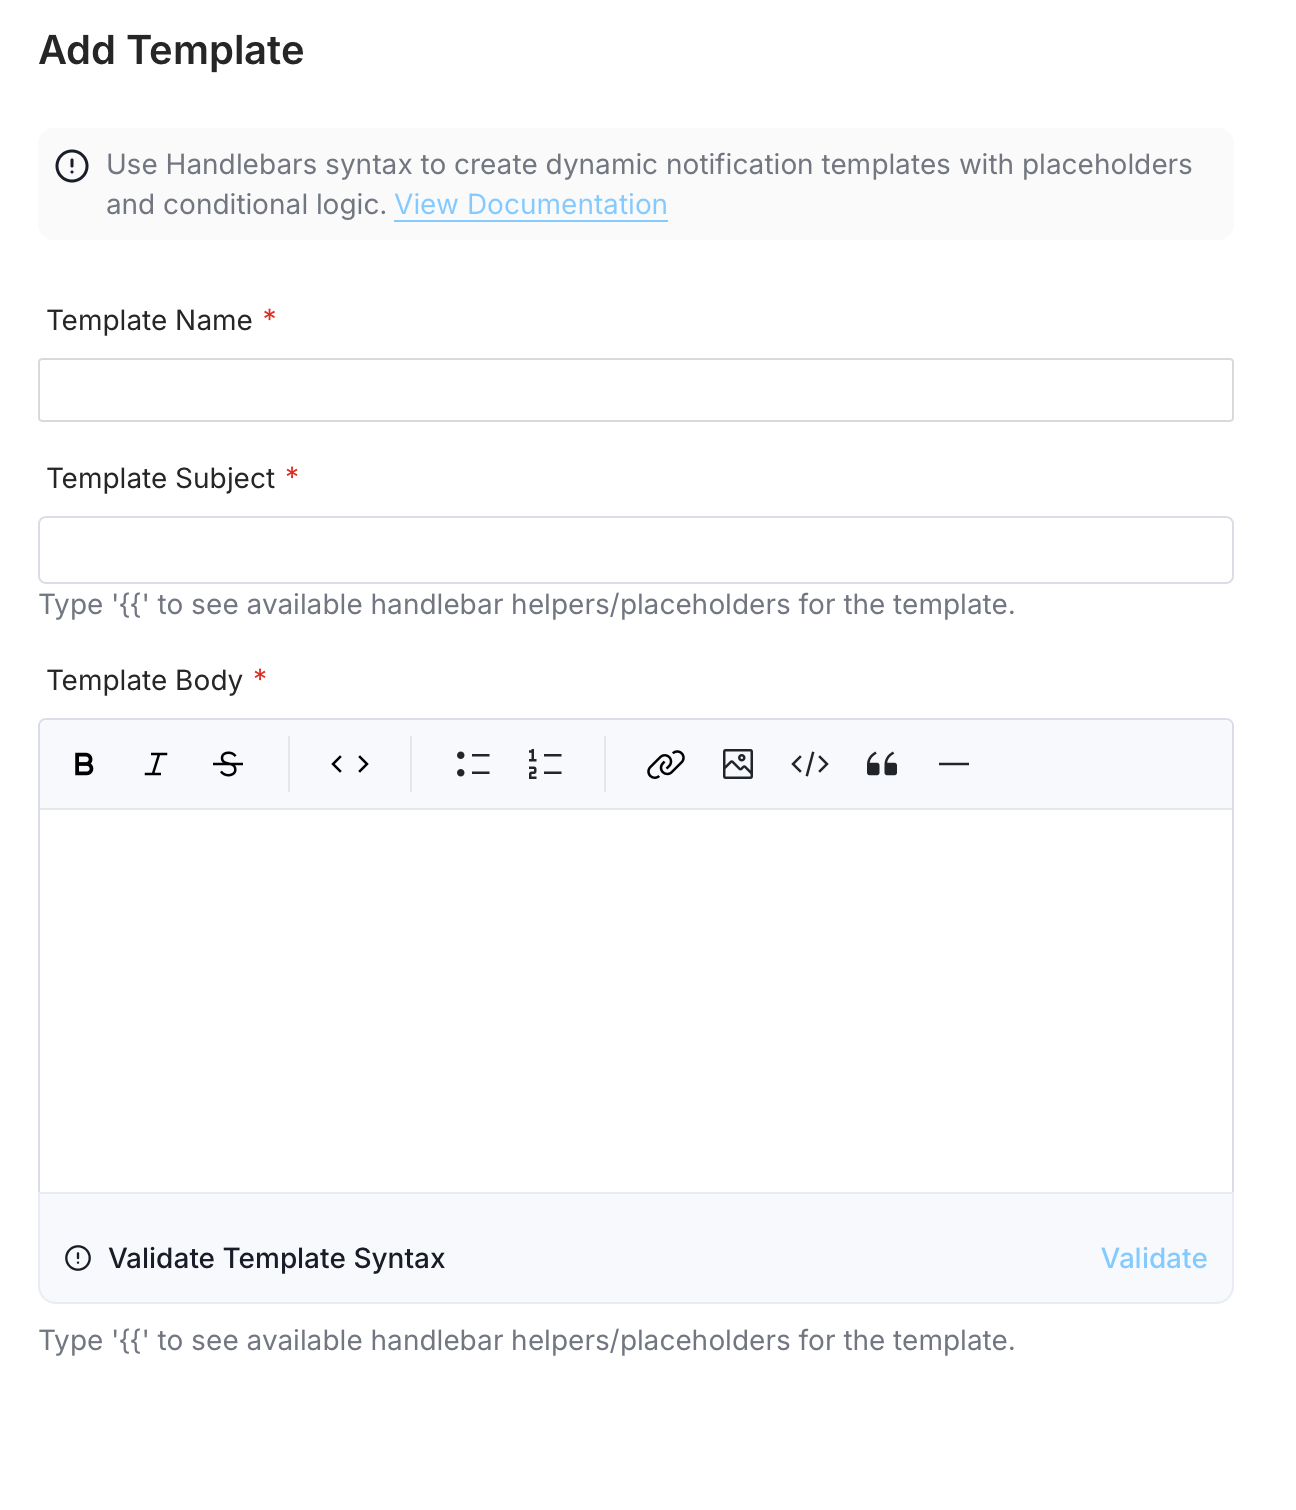
- Click Save.
- Navigate to Settings > Notifications > Alerts.
- Click Add Alert.
- In the Notification Template dropdown field, select Create Custom Template and enter the required details. See Template Details.
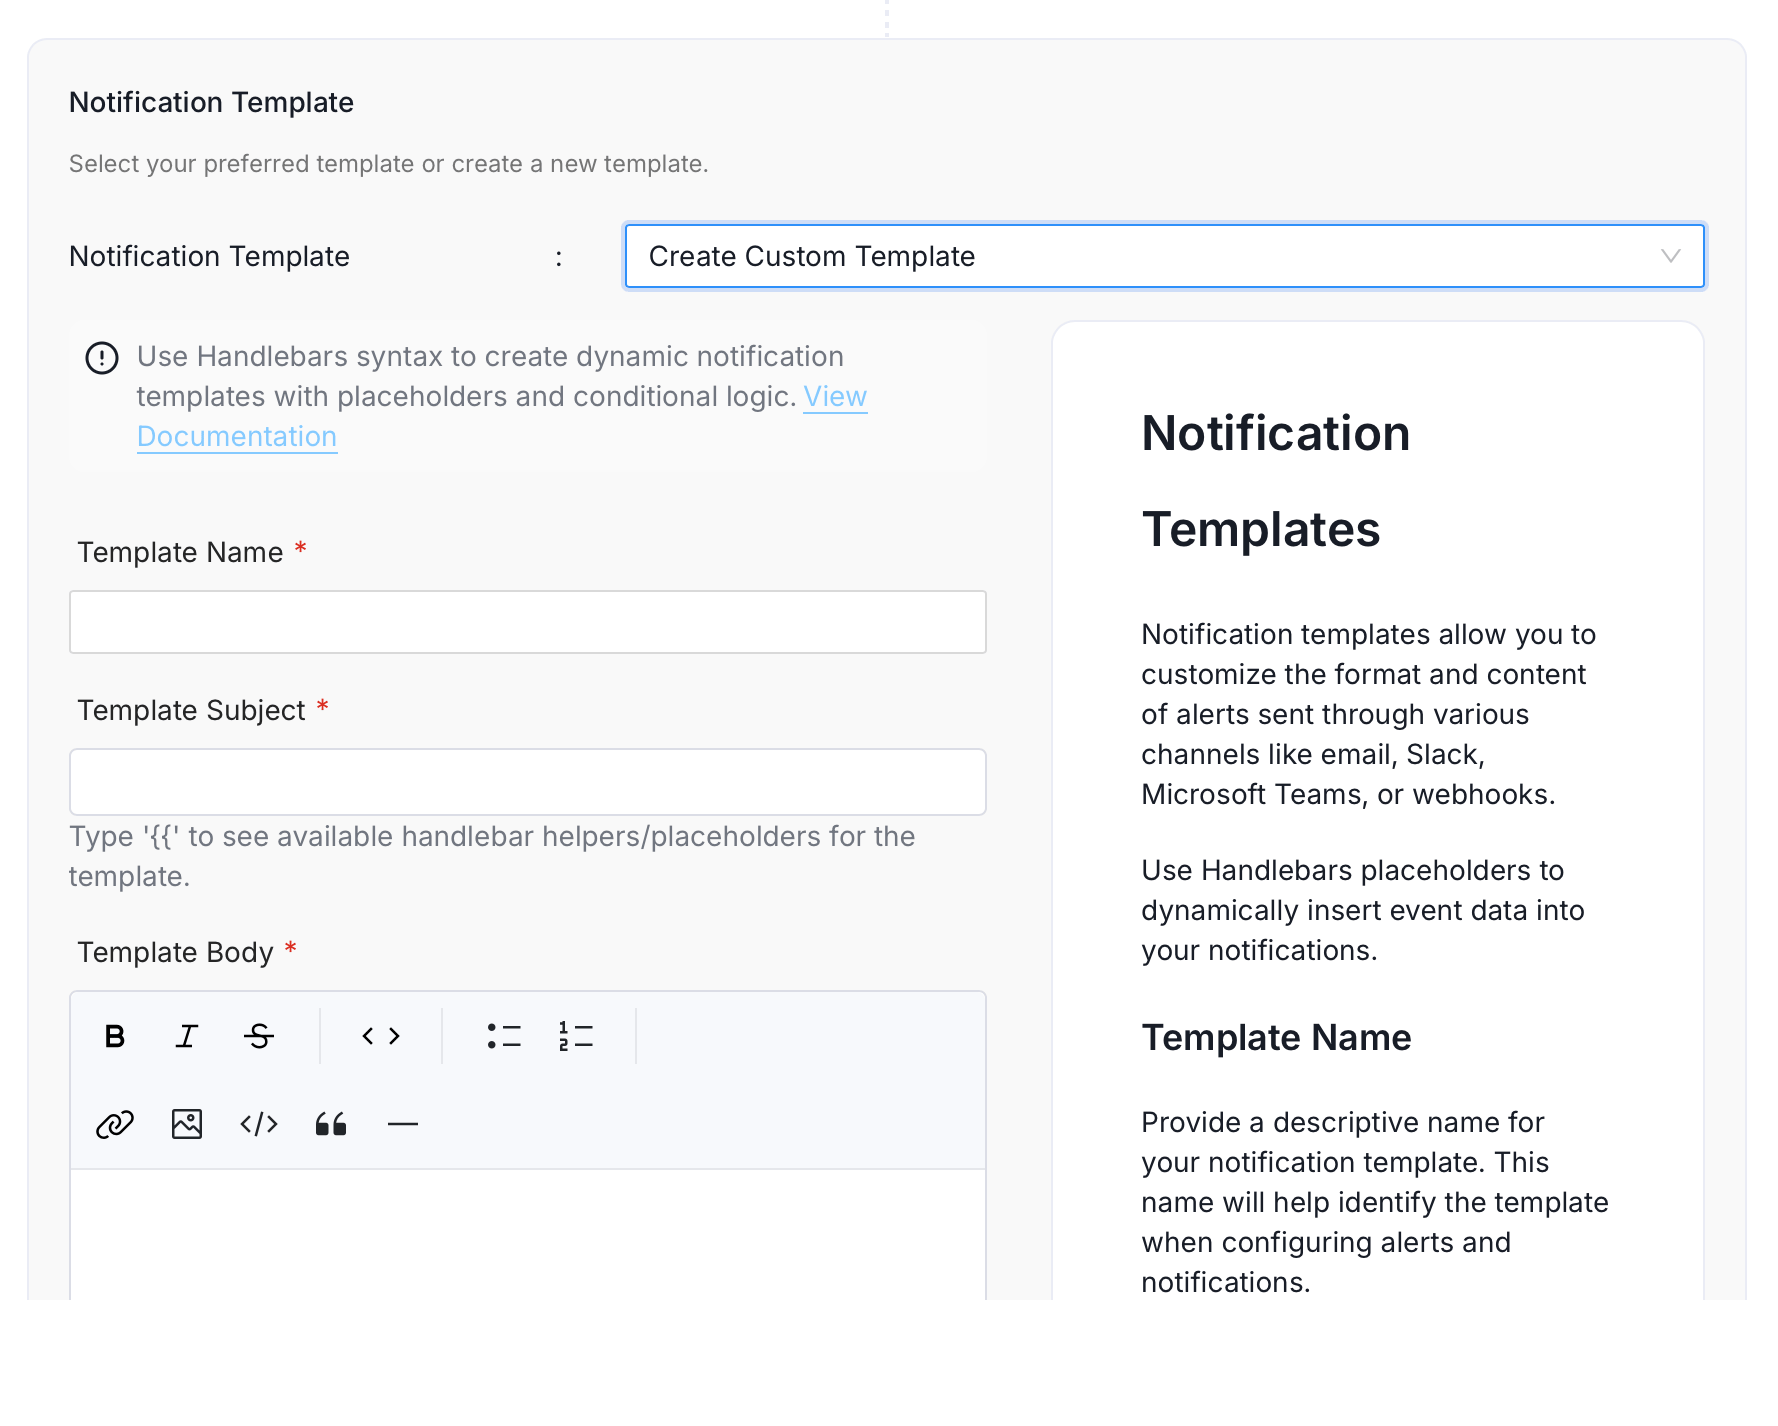
- Click Save.
Template Details
The Add Template form has three required fields. Type{{ in the Subject or Body field to browse available Handlebars placeholders and helpers.
Template Name
Enter a descriptive name that identifies the template’s purpose. This name appears in the template picker when configuring alerts. Guidelines:- Use a clear, descriptive name that indicates the template’s purpose.
- Examples:
Data Quality Alert,Incident Notification,Weekly Report
Template Subject
Define the subject line for your notification. This appears as the email subject or message header. Type{{ to access available placeholders:
{{eventType}}— The type of event that triggered the notification.{{entityType}}— The type of entity involved (Table, Pipeline, Dashboard, and so on){{entityName}}— The name of the affected entity.{{entityUrl}}— Direct link to the entity.{{timestamp}}— When the event occurred.
Template Body
Create the main content of your notification using the rich text editor. The editor supports bold, italic, strikethrough, inline code, lists, links, images, code blocks, quotes, and dividers. Available Placeholders:
Conditional Blocks:
Use
{{#if condition}}...{{/if}} for conditional content:
{{#each items}}...{{/each}} to iterate over lists:
Best Practices
- Keep templates concise and actionable.
- Include relevant links for quick access to affected entities.
- Use conditional blocks for optional information.
- Select Validate before saving to check Handlebars syntax.
Modifying Templates
Editing User Templates
User templates (those you created) can be fully edited:- Navigate to Settings > Notifications > Templates.
- Find the template in the list.
- Click the Edit button.
- Modify any fields (Name, Display Name, Description, Subject, Body).
- Click Save.
Editing System Templates
System templates (pre-built by Collate) can be partially edited:- You can modify: Subject and Body.
- You cannot modify: Name and Display Name.
- System templates track if you’ve customized them.
Linking Templates to Event Subscriptions
Templates become useful when connected to event subscriptions. Here’s how to use them:Step 1: Navigate to Subscriptions
- Go to Settings > Notifications > Subscriptions.
- Create a new subscription or edit an existing one.
Step 2: Select a Template
- In the subscription form, find the Notification Template dropdown.
- Choose from:
- System Templates - Pre-built templates for common entity types.
- User Templates - Custom templates you’ve created.
- (blank) - Use default formatting per channel.
Step 3: Configure Other Settings
Complete the rest of the subscription setup:- Event Type - Which changes trigger the notification.
- Destinations - Where to send notifications (email, Slack, Teams, etc.)
- Filters - Optional conditions for when to send.
Step 4: Save the Subscription
Your template is now active and will be used for all notifications from this subscription.Show Failed Rows in a Data Quality Alert
Test case alerts use the default Entity Updated Notification template. There is no separate data quality template. The default template already shows the failed row count and a table of failed rows, so if your alert uses it, steps 1 to 3 below are all you need. Step 4 is only for alerts that use a custom template. To show failed rows in an alert:- In the test settings, turn on Compute Row Count. The failed row count and sample aren’t available when this option is off. The Compare 2 tables for differences test is the exception: it collects a sample whenever it fails.
-
Check that the test type collects a sample. Only these tests do:
- Column Values To Be Between
- Column Values To Be In Set
- Column Values To Be Not In Set
- Column Values To Be Not Null
- Column Values To Be Unique
- Column Values To Match Regex Pattern
- Column Values To Not Match Regex
- Column Value Lengths To Be Between
- Custom SQL Query
- Compare 2 tables for differences
- Under Settings > Preferences > Profiler Configuration, check that Enable Storing of Sample Data is on. It’s on by default. When it’s off, no sample is collected.
- If your alert uses a custom template, add the snippet below to the template body.
- Run a test that fails.
- In the resulting notification, confirm that the failed row count and sample table appear.
PII.Sensitive in the sample. If the table has the PII.Sensitive tag, Collate masks every column.
The template editor’s Preview uses generated data without a failed result or failed-row sample, so the test case section stays empty. To view this section, run a test that fails and inspect the actual notification.
The editor suggestions that appear after you enter {{ only list the basic Handlebars blocks (if, each, with, unless) and entity fields. They don’t list custom helpers such as renderTableSample, so enter helper names manually. For more information, see the Custom Helpers Reference.
Template Preview and Testing
Previewing Templates
Before deploying a template to production, use the Preview feature to see how it looks:- In the template editor, click Preview.
- The system renders the template with sample data.
- Review the formatted output.
- See how it appears across different channels.
- Make adjustments if needed.
Sending Test Notifications
Test your template with real data:- In the template editor, click Send Test.
- Select destinations where you want to send the test:
- Email addresses.
- Slack channels.
- Teams channels.
- Google Chat spaces.
- Click Send.
- The system sends a real notification with mock event data.
- Check your destinations to verify formatting and content.
- Verify links and dynamic content render correctly.
- Check channel-specific formatting.
- Test with your actual notification destinations.
Modifying vs. Duplicating Templates
When to Modify
Modify a template when you want to update all existing subscriptions using it:- Impact: All active subscriptions using this template immediately get new formatting.
- Use when: Improving a template everyone already uses.
When to Duplicate
Create a new template based on an existing one when:- You want a variation for a specific use case.
- You want to test changes before affecting production subscriptions.
- Different teams need different formatting.
- Copy the template content.
- Create a new template.
- Paste the content as a starting point.
- Modify as needed.
Deleting Templates
Delete User Templates
You can safely delete user templates you created:- Go to Settings > Notifications > Templates.
- Find your template.
- Click the Delete button.
- Confirm the deletion.
System Templates
System templates cannot be deleted (they’re read-only by default). If you’ve customized a system template and want to revert to the original, click Restore. After restoring, the template will once again stay synchronized with the Collate-provided system default (unless you modify it manually).Troubleshooting Template Issues
Template Won’t Save
Common causes:- Body exceeds 10,240 characters - simplify the content.
- Subject exceeds 256 characters - shorten the subject.
- Invalid Handlebars syntax - check brackets are balanced.
- Required fields are empty - fill in Name, Display Name, Subject, and Body.
Notifications Not Using Template
Check:- Is the template selected in the subscription settings?
- Is the subscription active?
- For system templates, do the subscription’s event type and entity type match your template name?
Template Shows Wrong Data
Check:- Are you using the correct property names? See Template Context Reference
- Is the data available for this entity type?
- Are you using conditionals for optional fields?
Next Steps
- Learn about available data → Template Context Reference
- Master Handlebars → Handlebars Templating Guide
- Get help with issues → Troubleshooting Guide