
Overview
Collate’s no-code lineage editor lets you drag and drop data assets — tables, topics, dashboards, ML models, containers, and pipelines — onto the lineage graph. Add new edges, remove existing ones, and link individual columns to build a complete picture of how your data flows. You can edit both table-level and column-level lineage manually — useful for capturing relationships that ingestion doesn’t automatically detect.Edit a Lineage
Build lineage by connecting source and destination nodes in the editor.Step 1: Open the Lineage Editor
Navigate to the data asset you want to use as the starting point.- Go to your database service and open a table.
- On the table details page, click the Lineage tab.
-
Click the Edit icon to enable the lineage editor.
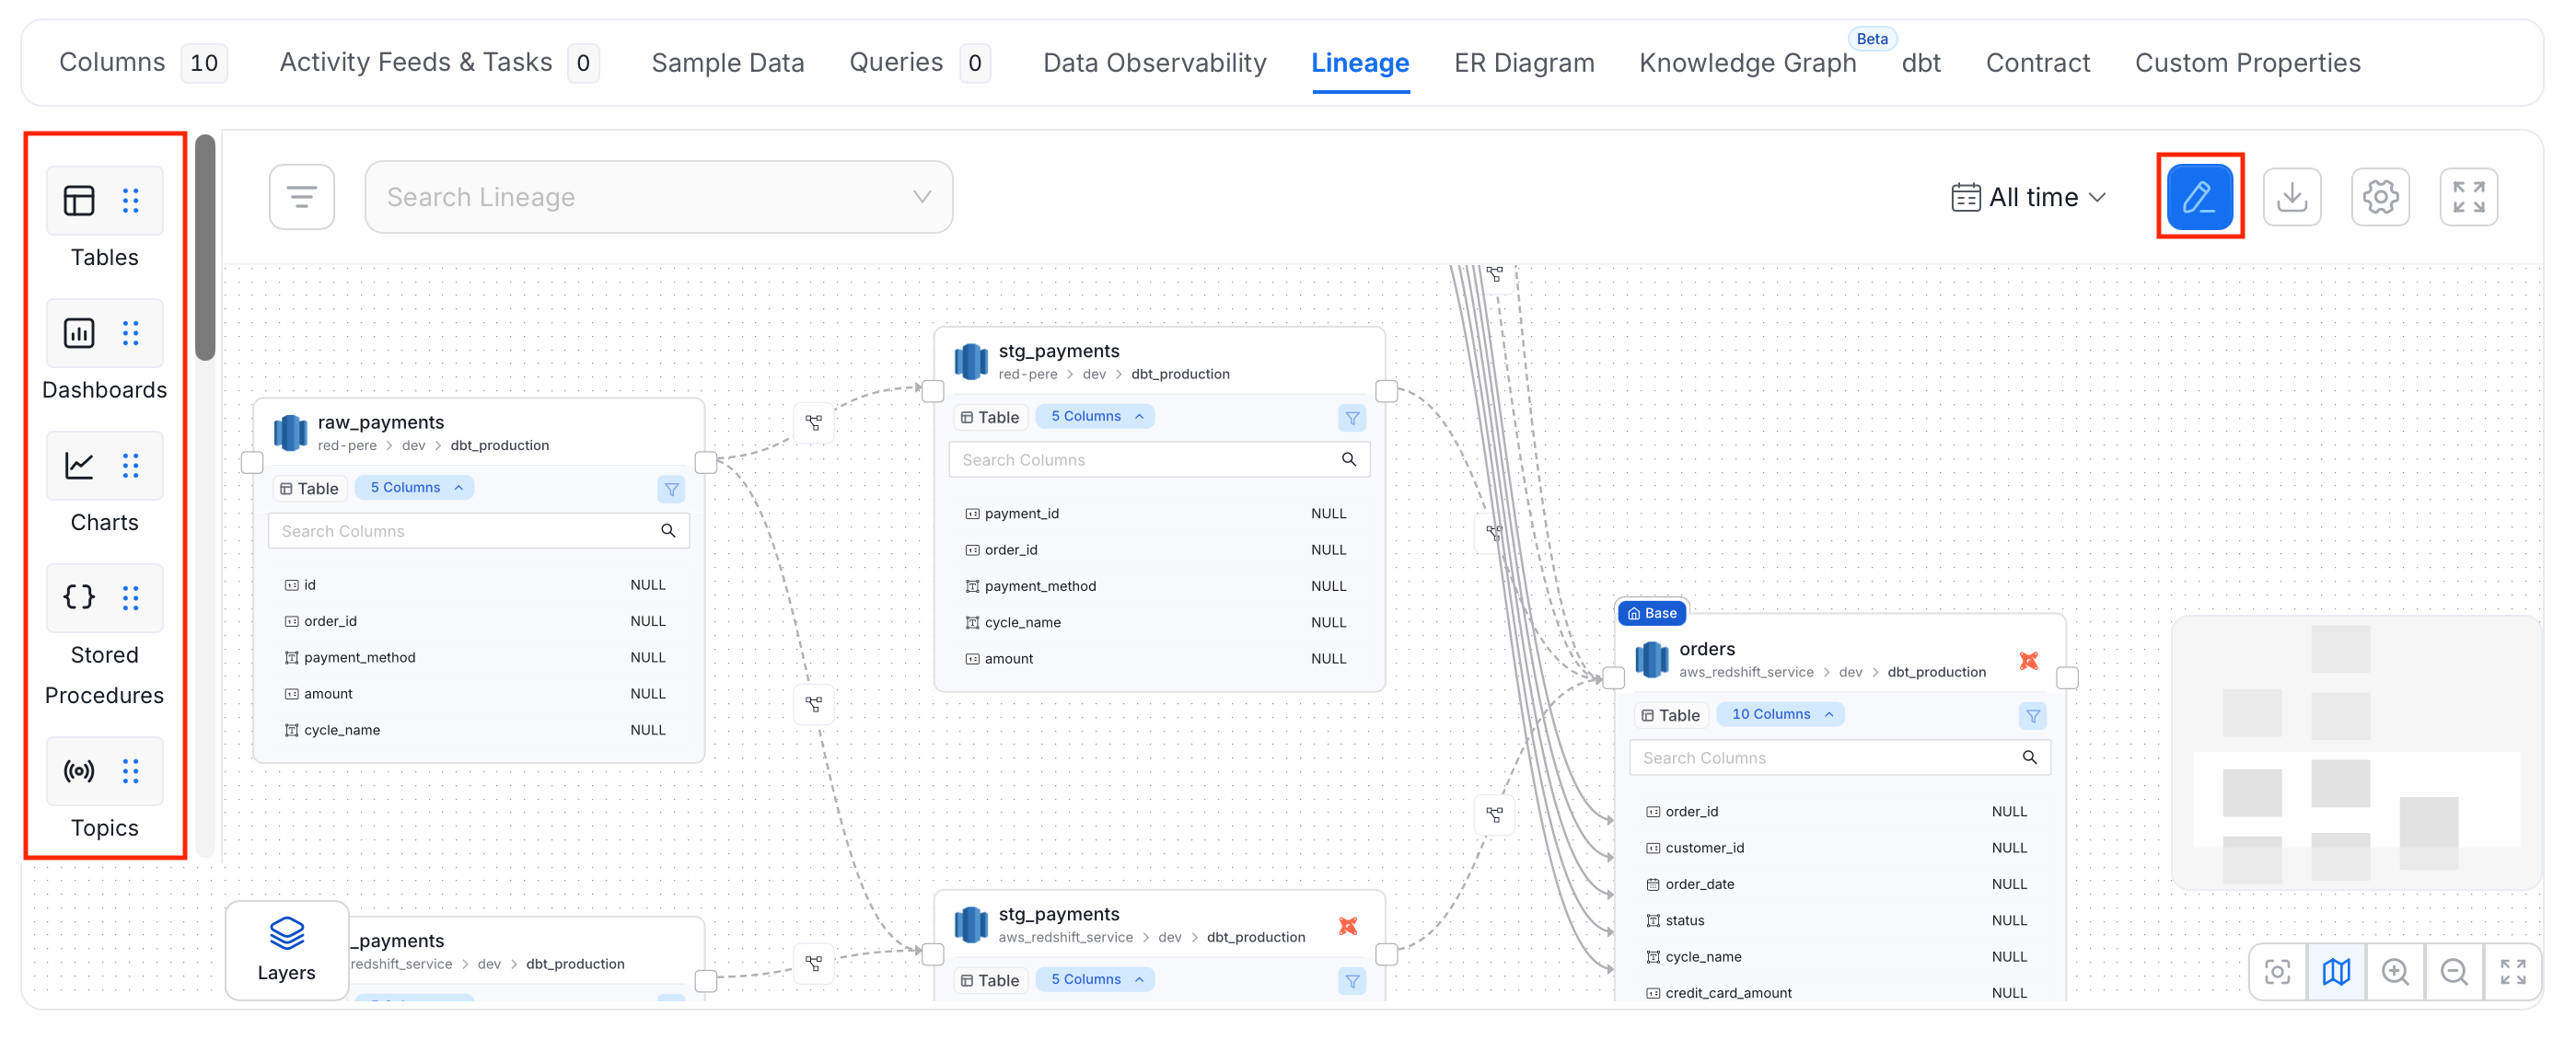
Step 2: Connect a Destination Asset
Select the data asset you want to link as a downstream node.- Choose the type of asset to connect — table, topic, dashboard, ML model, container, or pipeline.
- Search for and select the specific asset.
- Draw an edge between the two assets to create the lineage connection.
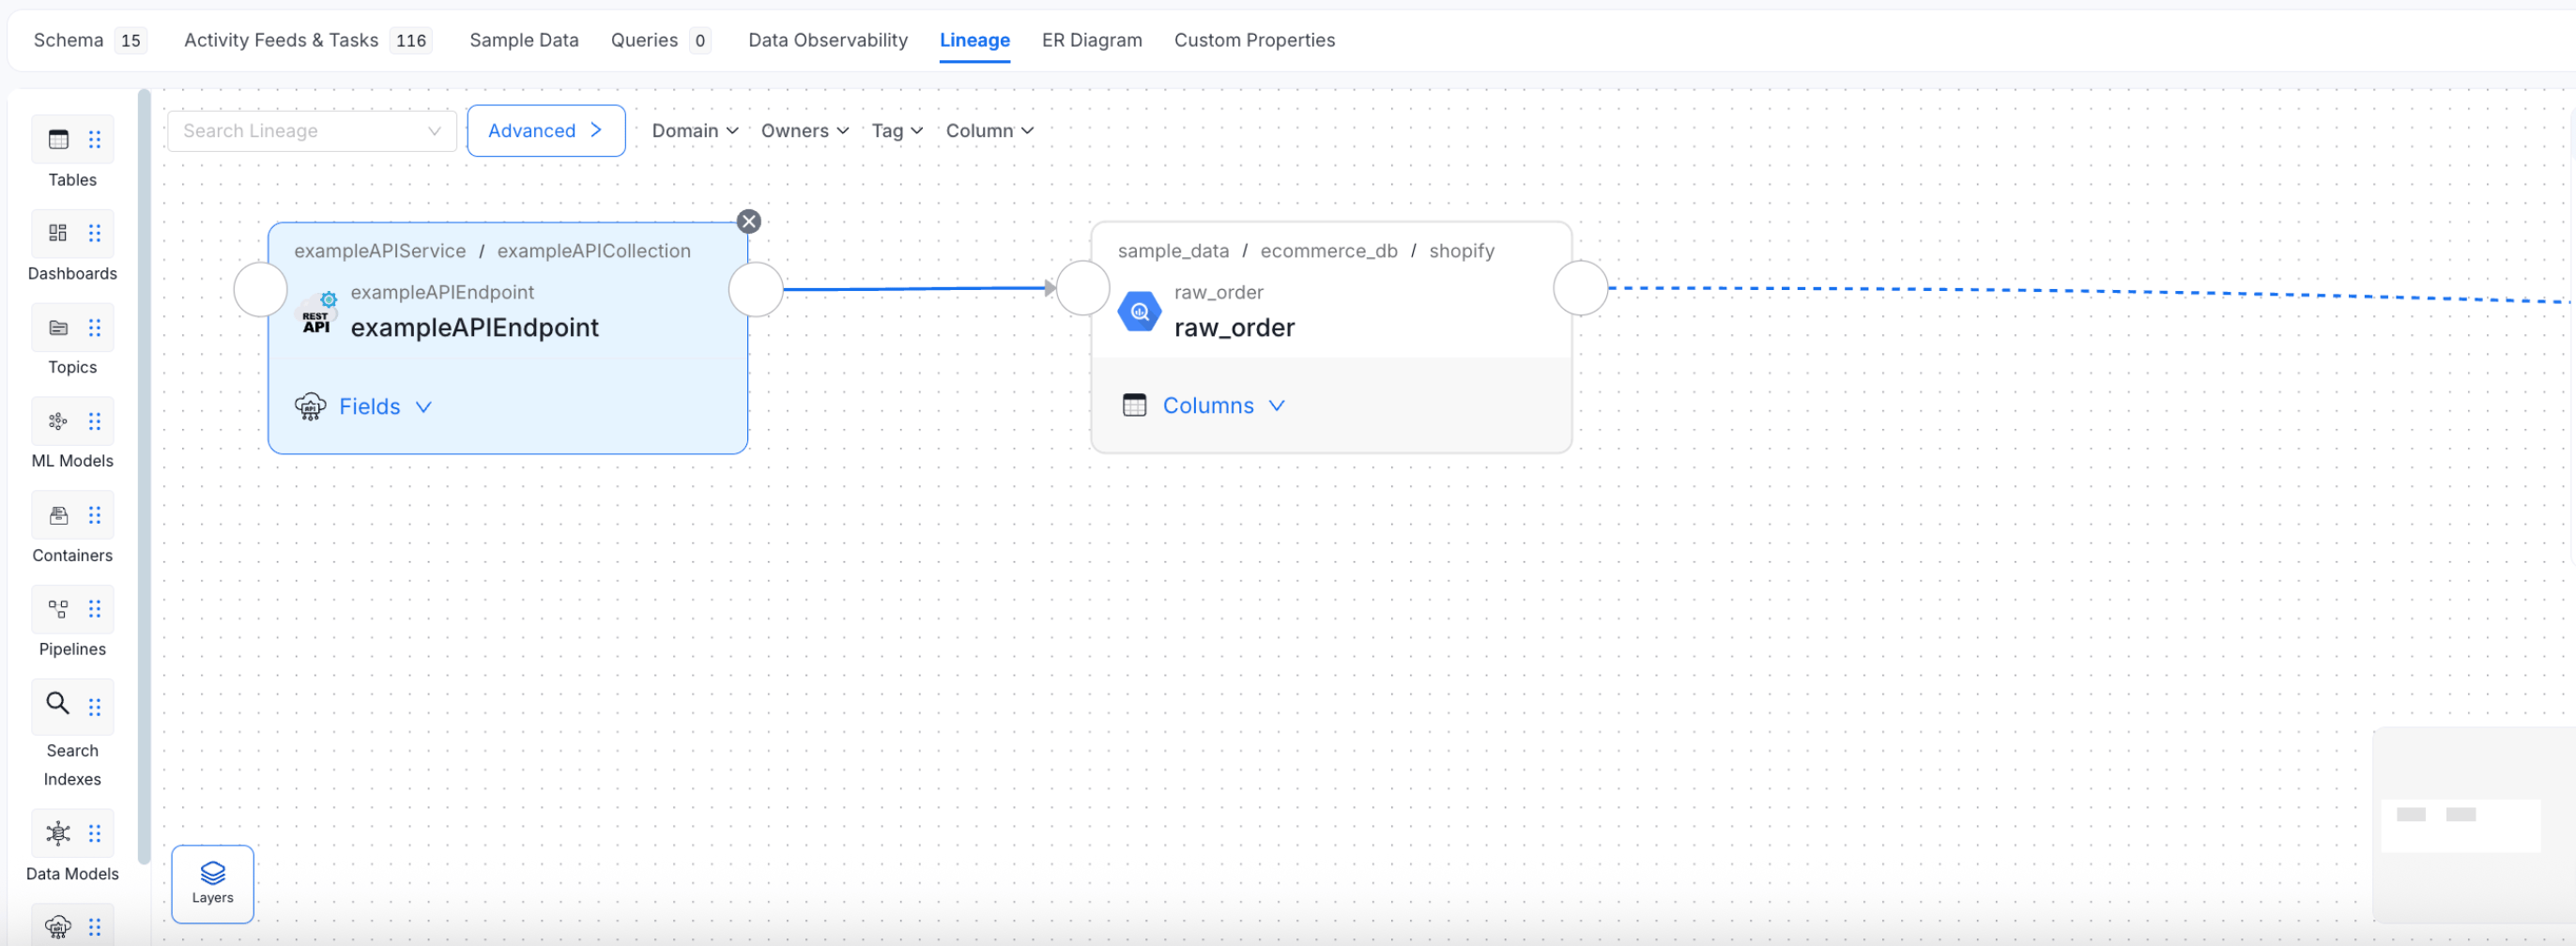
Step 3: Add Column-Level Lineage
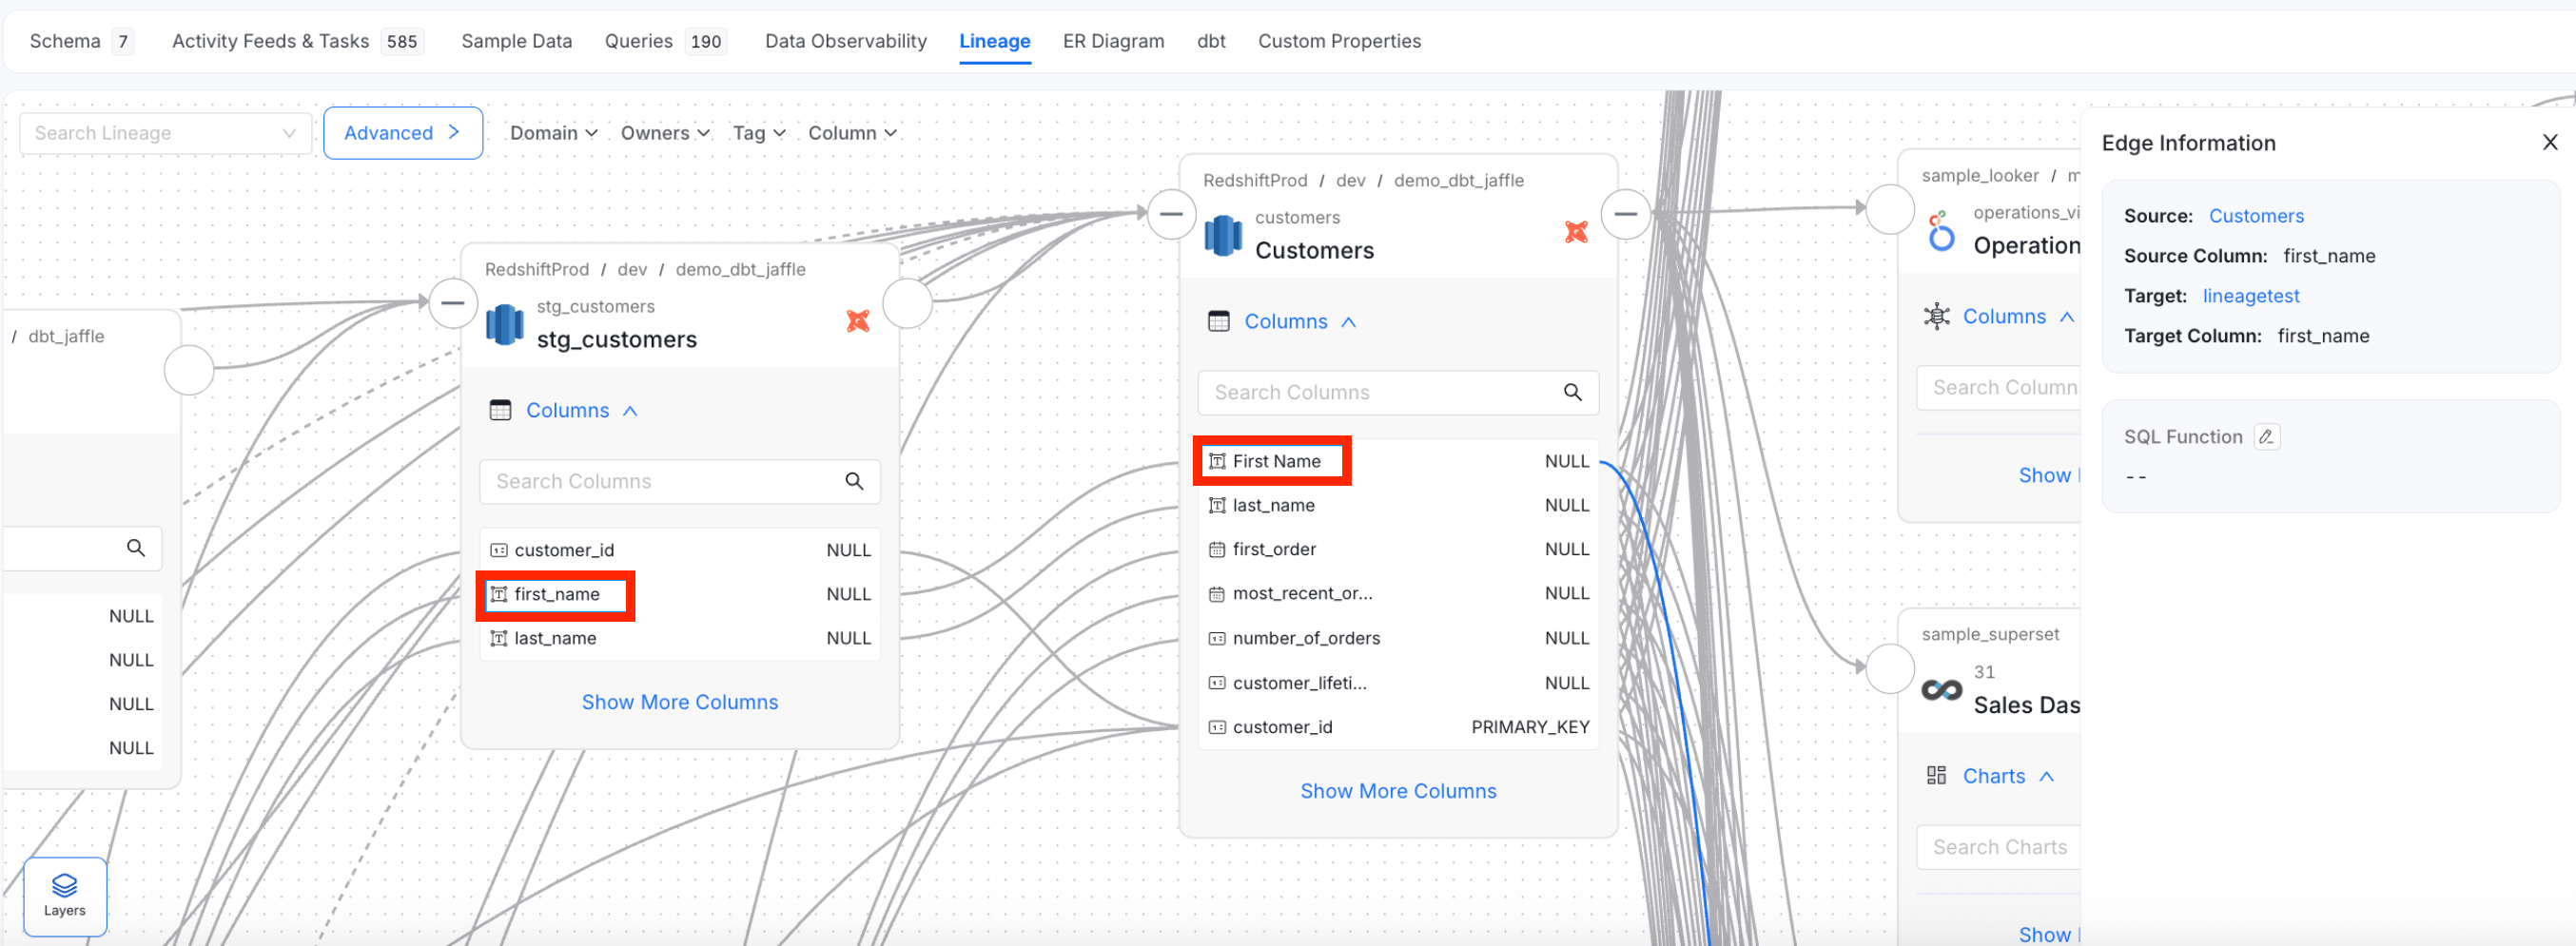
Expand a table node to link individual columns and trace field-level dependencies.- Click a table node to expand it and reveal its columns.
- Use the column anchor points to draw connections between matching columns across assets.
Video Walkthrough
Watch a quick demo of manually adding lineage.
Watch the lineage segment from the Collate Webinar (13:30 – 15:50).