
Set Up Automations
Step 1: Access the Automations Section
-
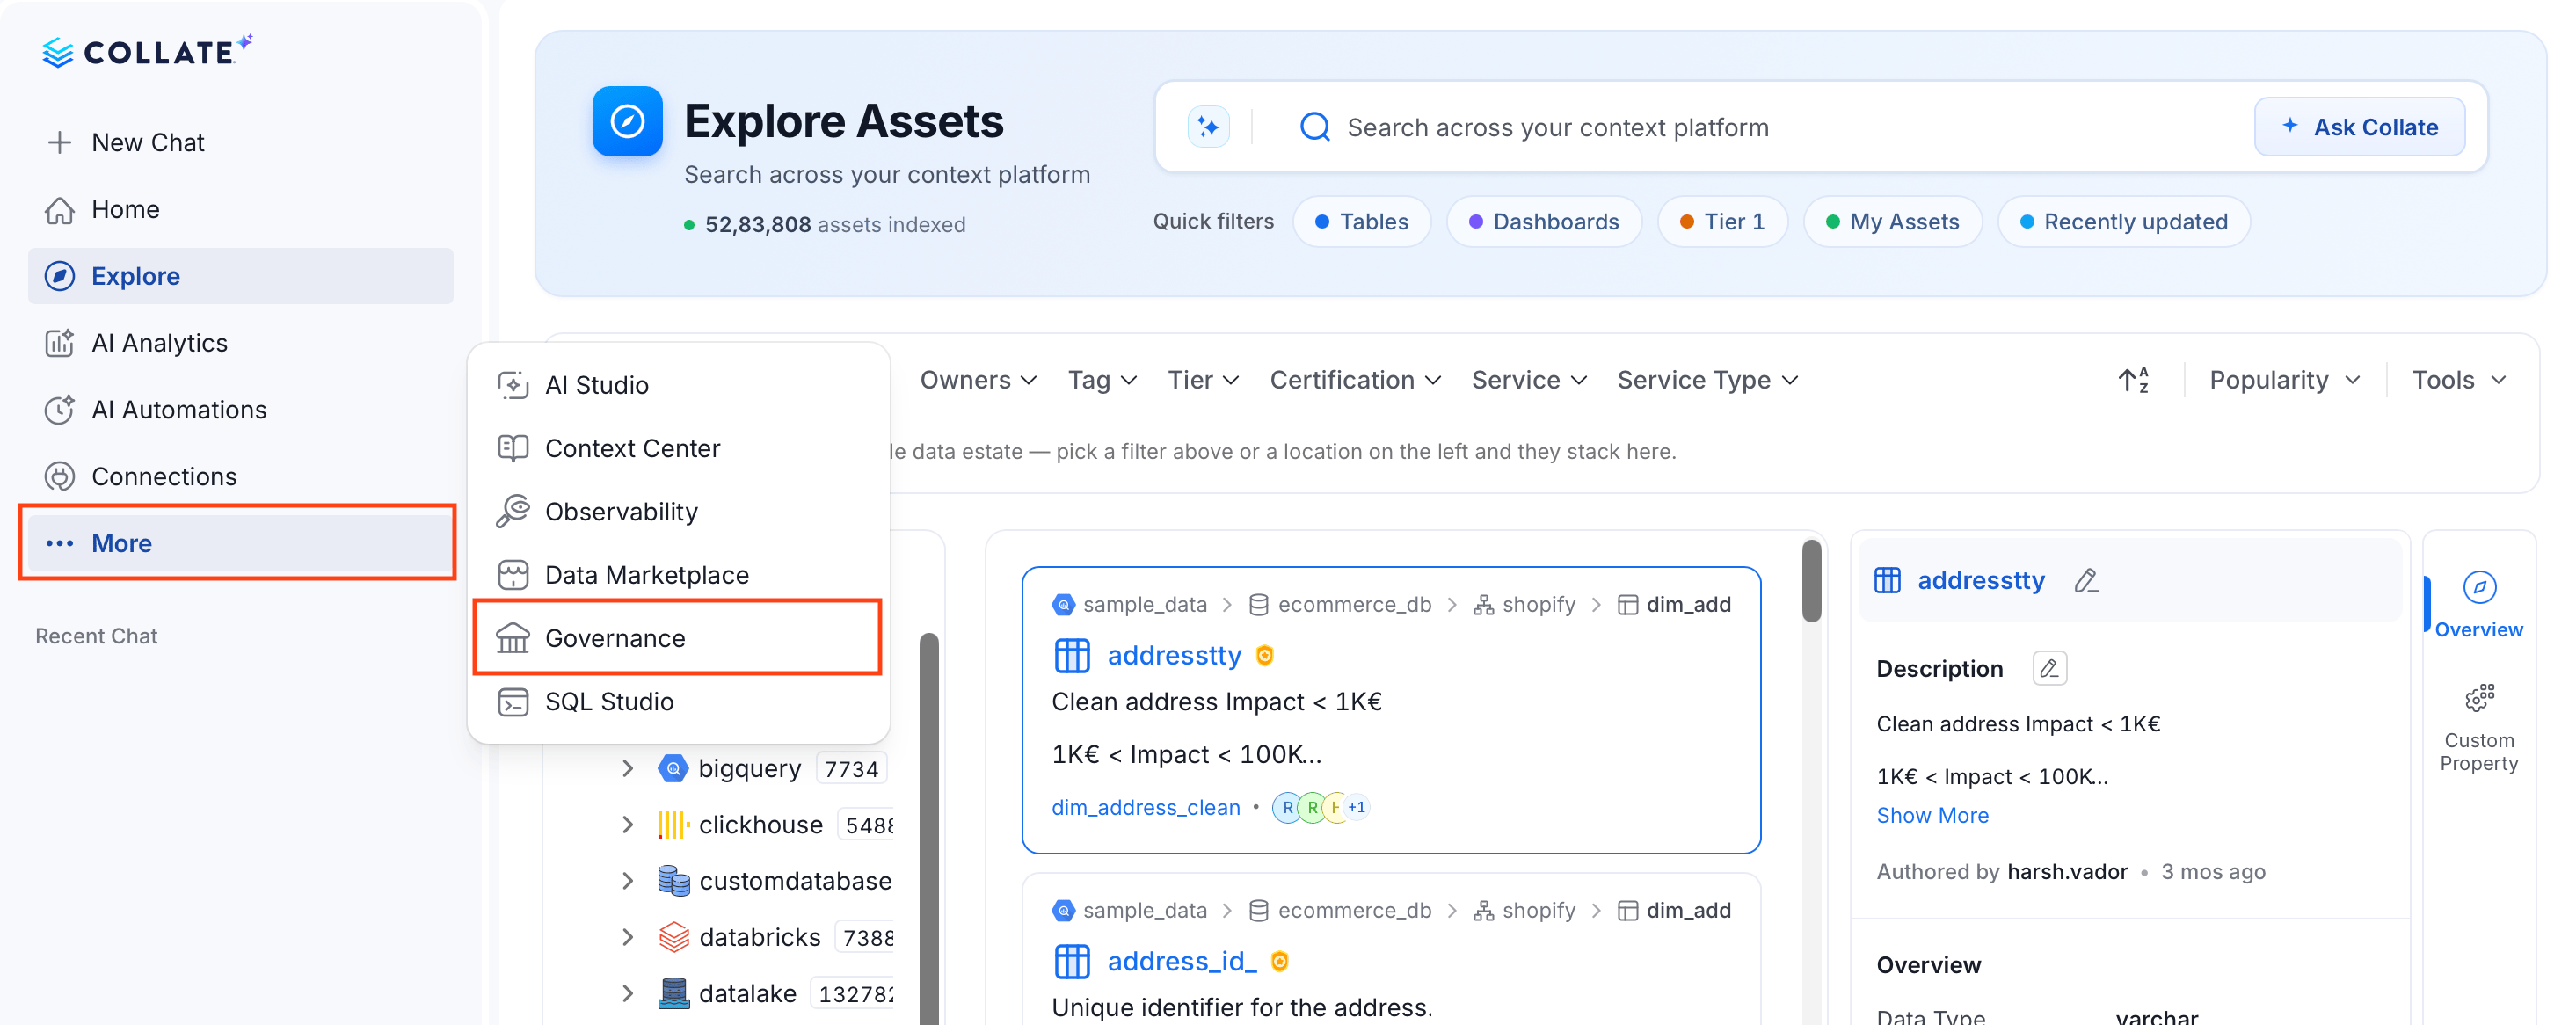
In the left navigation menu, click Governance.
-
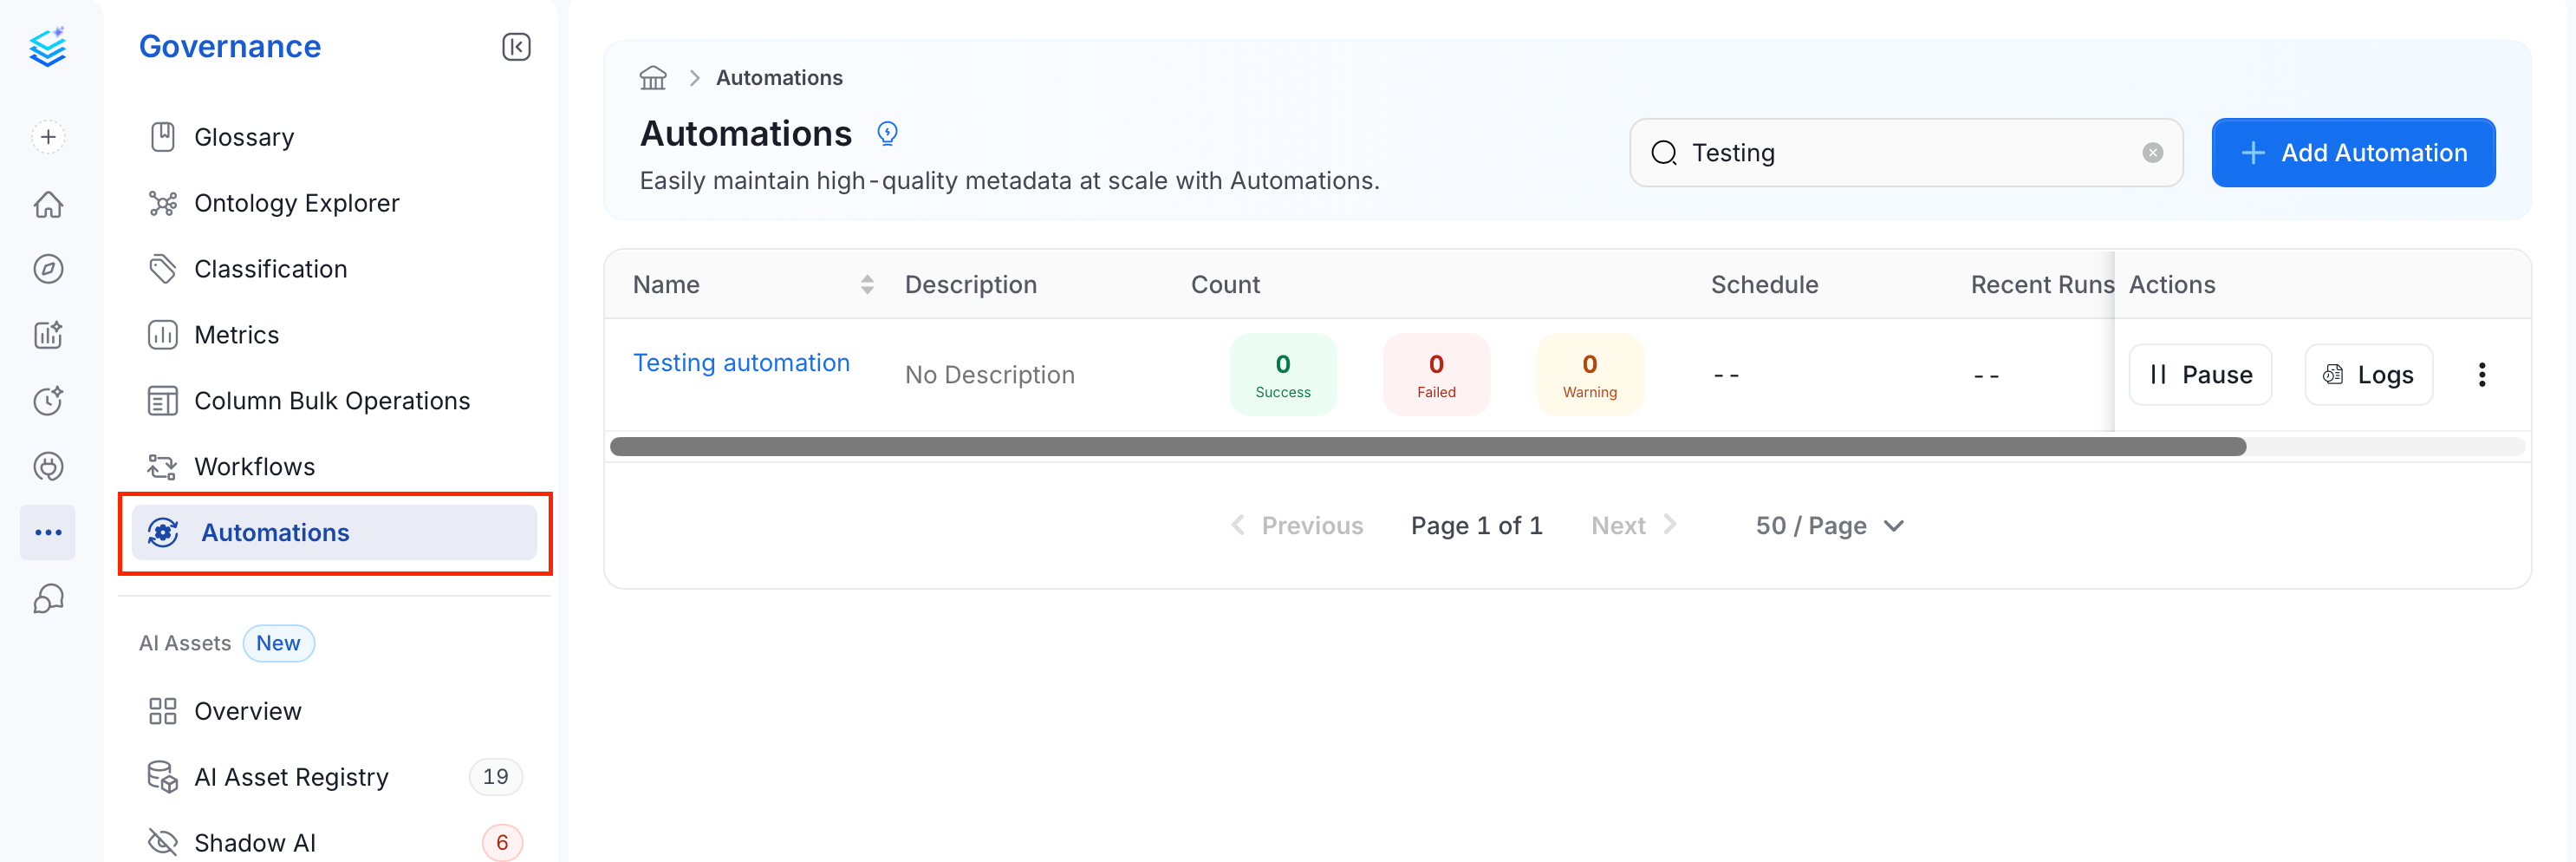
In the Governanace panel, click the Automations tab.
Step 2: Add a New Automation
On the Automations page, click + Add Automation.
Step 3: Fill in Automation Details
The Create Automation page opens with a two-step wizard: Configure Ingestion and Schedule Interval. On the first step, provide the following details:- Name (required): Give a meaningful name to the automation for easy identification.
-
Description: Add a brief description explaining what this automation will do (for example, “Daily metadata ingestion for database XYZ”).

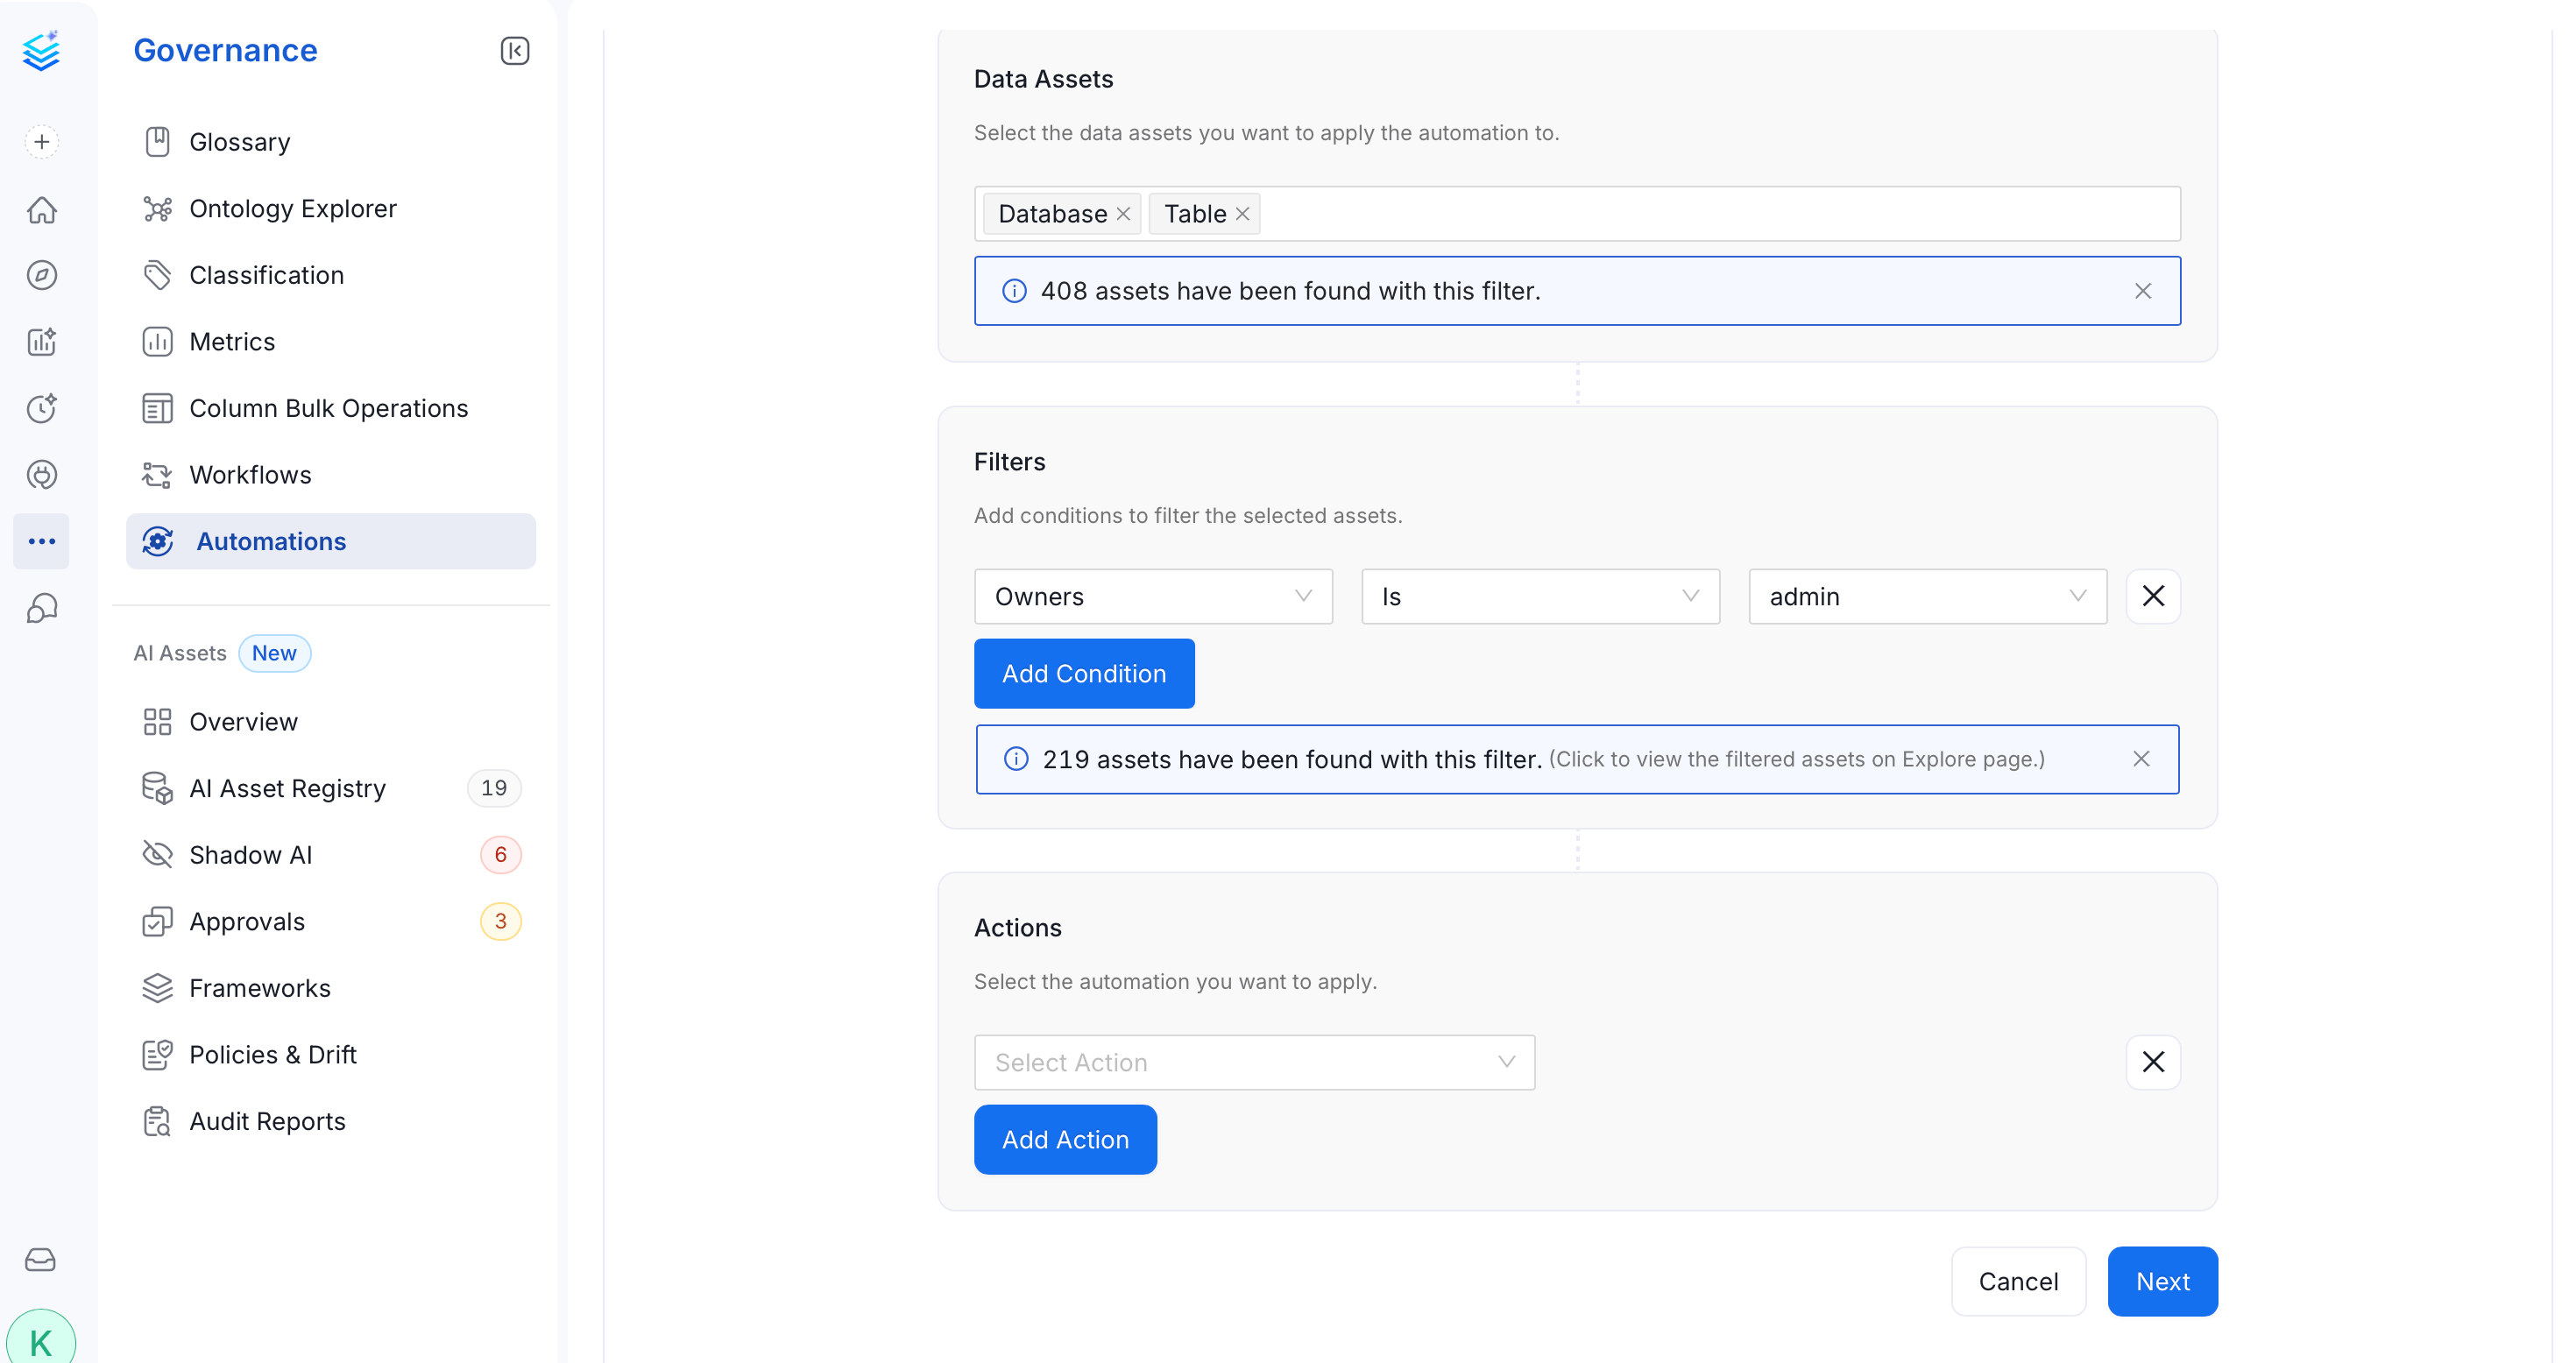
- Data Assets: Select the types of assets the automation should apply to (for example, Database, Table). Collate shows a count of matching assets as you make selections.
- Filters: Add conditions to narrow down the target assets (for example, Owner is “admin”). You can add multiple conditions using Add Condition. Collate shows a live count of assets matching the filter.
-
Actions: Select the action to apply to the matched assets using Add Action (for example, add tags, glossary terms). Use the Apply to Children option to apply tags and glossary terms at the column level:
- If a list of columns is specified, tags will only be applied to columns with matching names.
- By default, incoming tags will merge with existing tags.
- To overwrite existing tags with the new list, select the Overwrite Metadata option.
Step 4: Configure the Schedule Interval
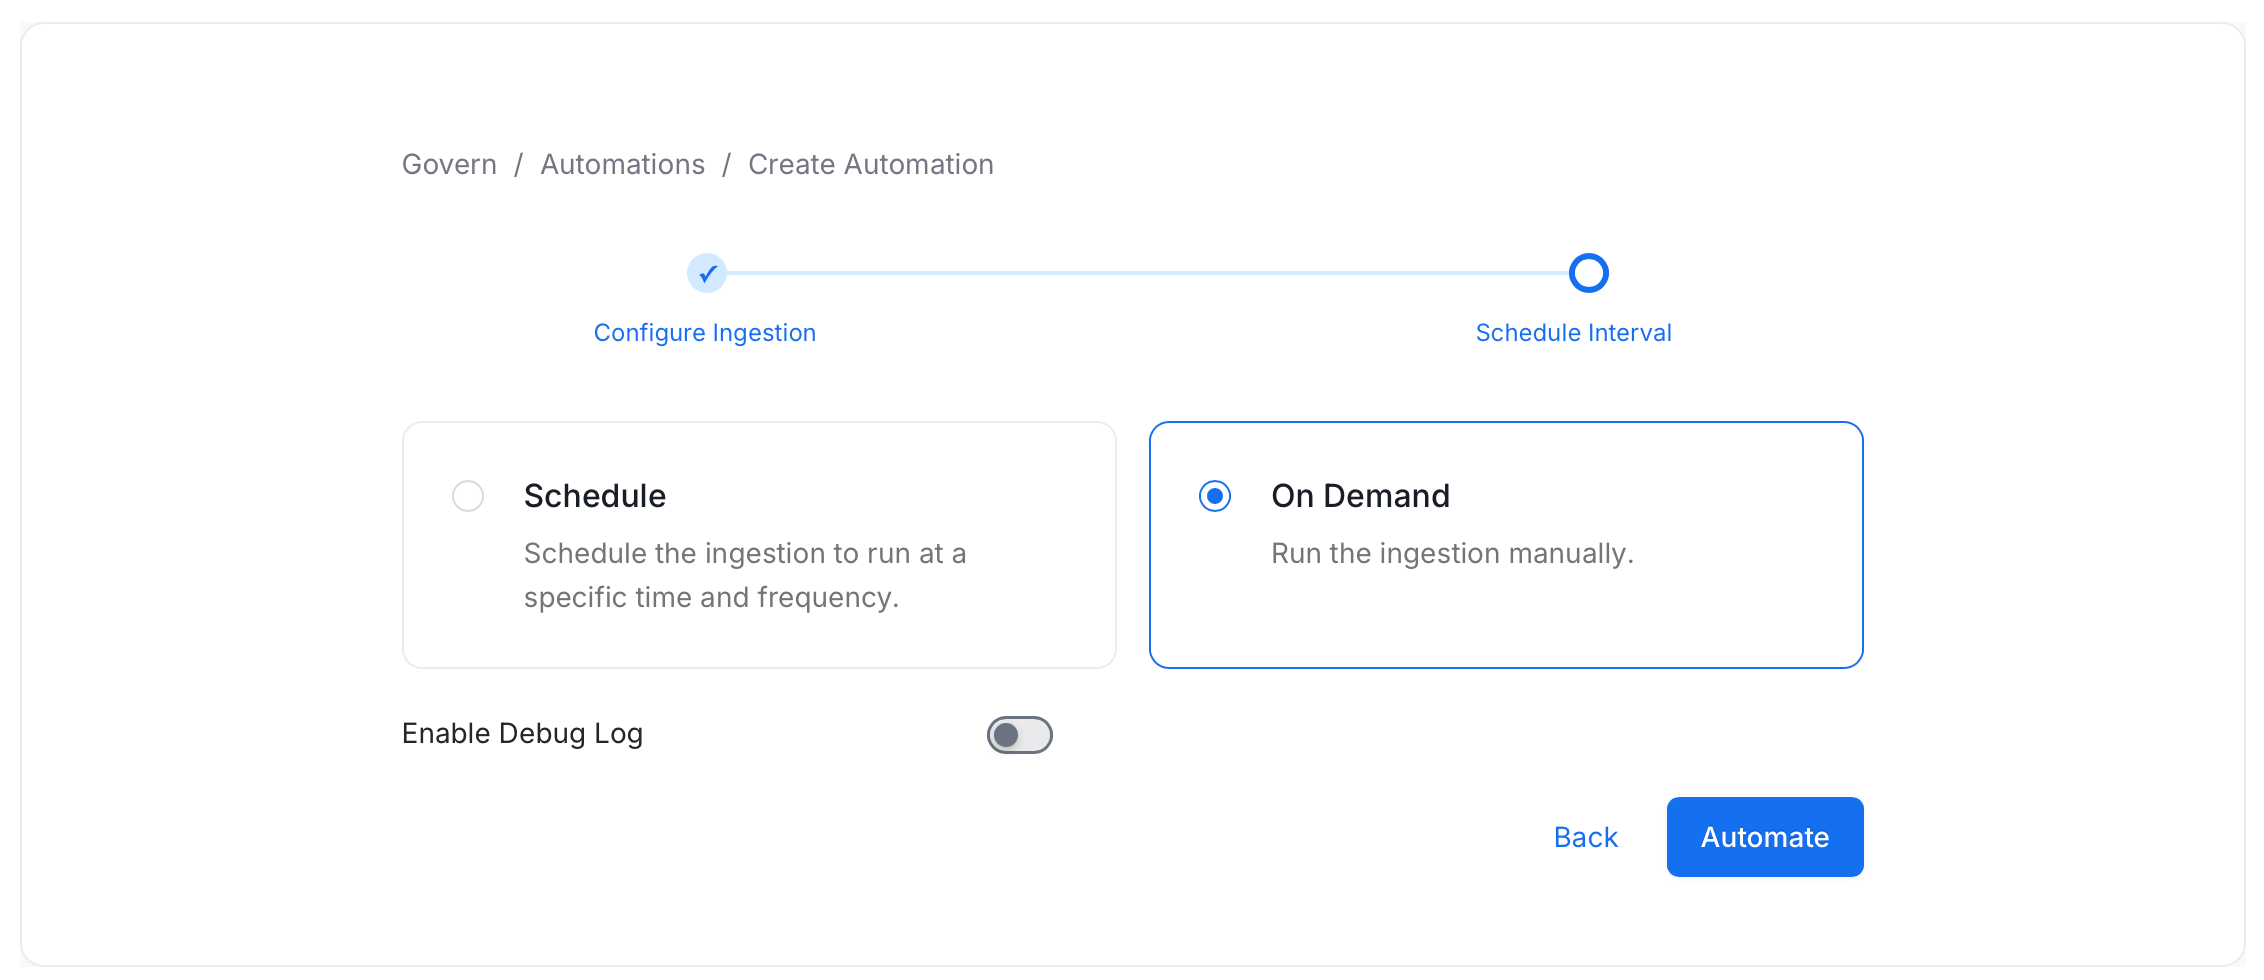
After filling in the required details, click Next. On the Schedule Interval step, choose how the automation should run:- Schedule: Run the automation at a specific time and frequency (for example, daily, weekly).
- On Demand: Run the automation manually whenever needed.
Step 5: Manage Your Automations
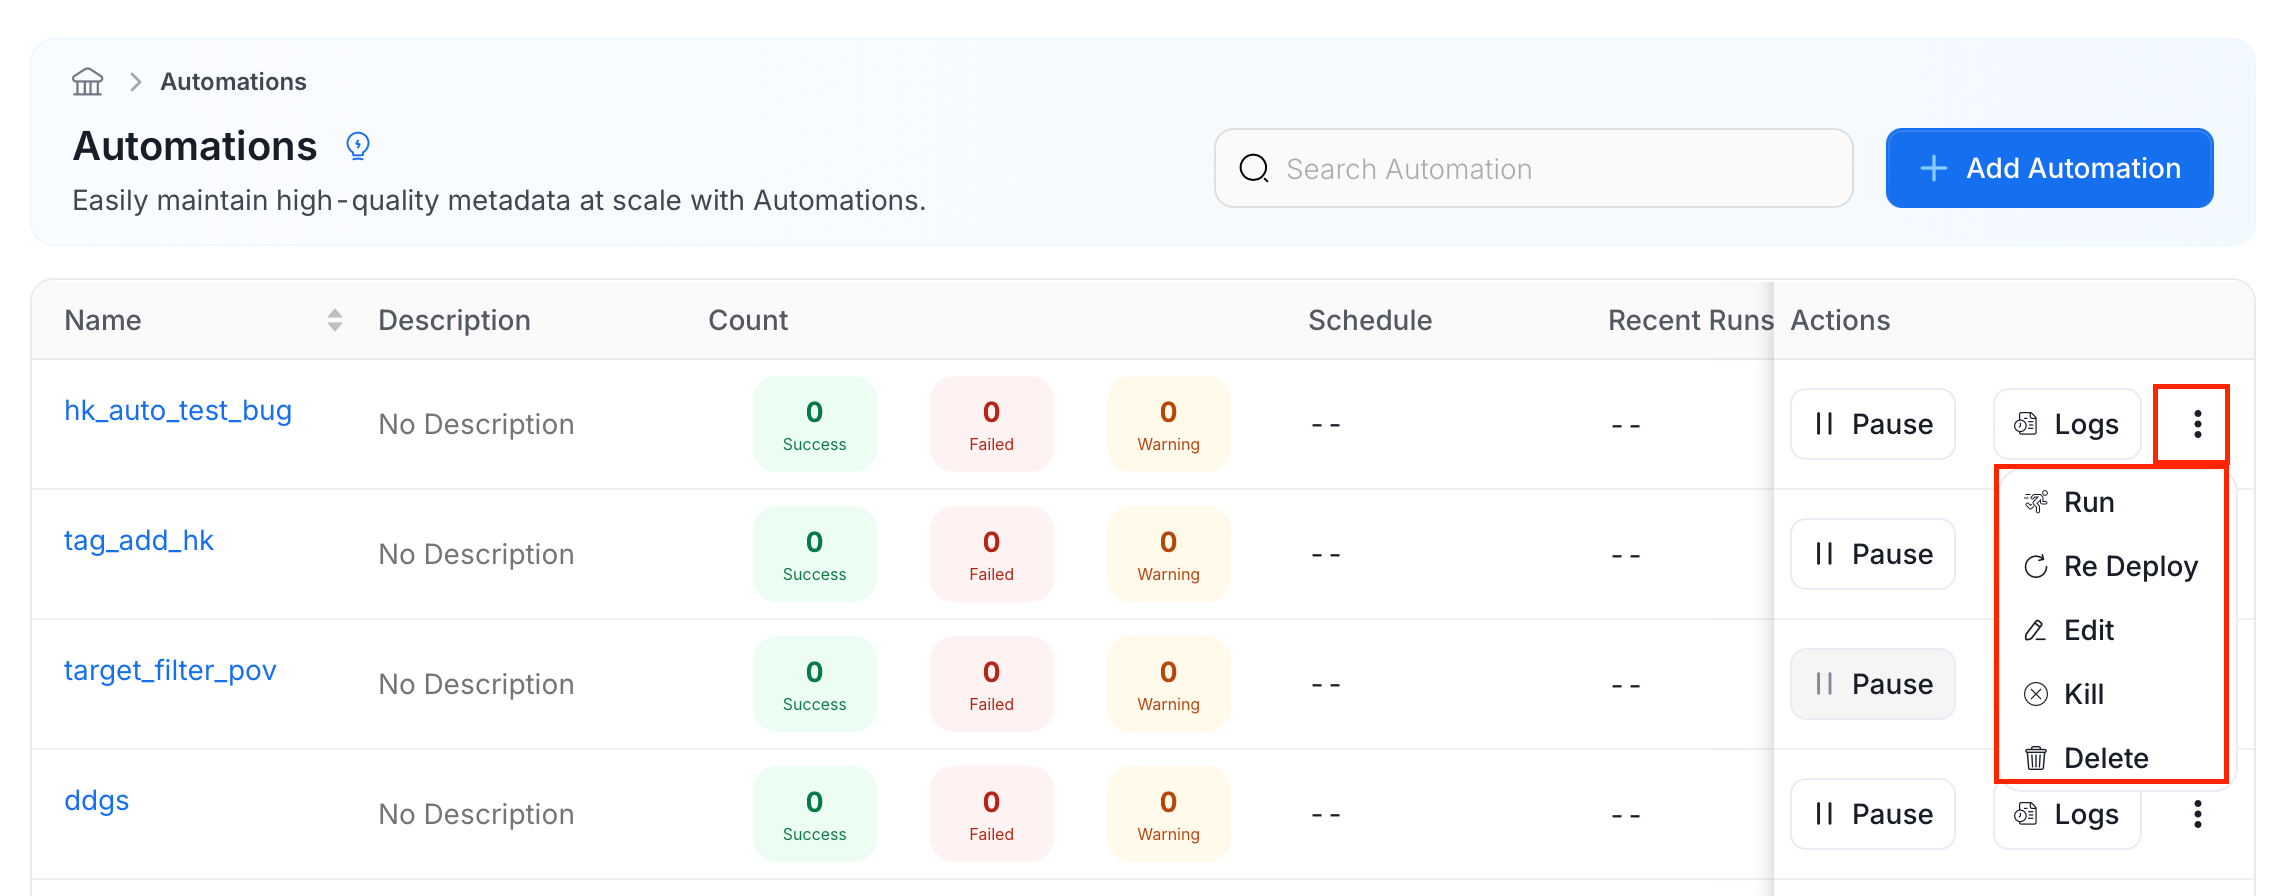
After completing the setup, your automation appears in the Automations list with columns for Name, Description, Count (Success, Failed, Warning), Schedule, Recent Runs, and Actions. To manage an automation, click the ⋮ icon next to the automation entry. The following options are available:- Run: Trigger the automation immediately.
- Re Deploy: Re-deploy the automation after making changes.
- Edit: Modify the automation’s configuration.
- Kill: Stop an automation that is currently running.
- Delete: Permanently remove the automation.
Tag Columns by Name Using Governance Automations
Use Governance Automations when you want to deterministically apply a tag to all columns matching a specific name — for example, all columns namedemail or person_id — without relying on sample data.
Example: Apply PII.Sensitive to all columns named email or person_id
- Go to Govern > Automations and click Add Automation.
- Enter a Name (for example,
PII column name tagging) and an optional Description. - Under Data Assets, click Add Source and select target sources.
- Under Actions, click Add Action and select Add Tags.
- Click + next to Tags and select
PII.Sensitive. - Enable the Apply to Children toggle. A Select Children field appears — enter the column names to match (for example,
email,person_id,customer_email). Tags will only be applied to columns whose names match this list. - Click Next, configure the schedule interval, and click Automate.