Query Execution
SQL Studio is an integrated SQL query interface that allows you to write, execute, and manage SQL queries directly against your configured database services (BigQuery, Snowflake, Trino, Redshift, PostgreSQL, MSSQL).Accessing SQL Studio
- Navigate to SQL Studio from the main navigation menu
- On first visit, you’ll see a landing page with available database services
- Services are grouped into:
- Configured: Services you’ve already connected to (ready to use)
- Needs Configuration: Services that require authentication
The SQL Studio Interface
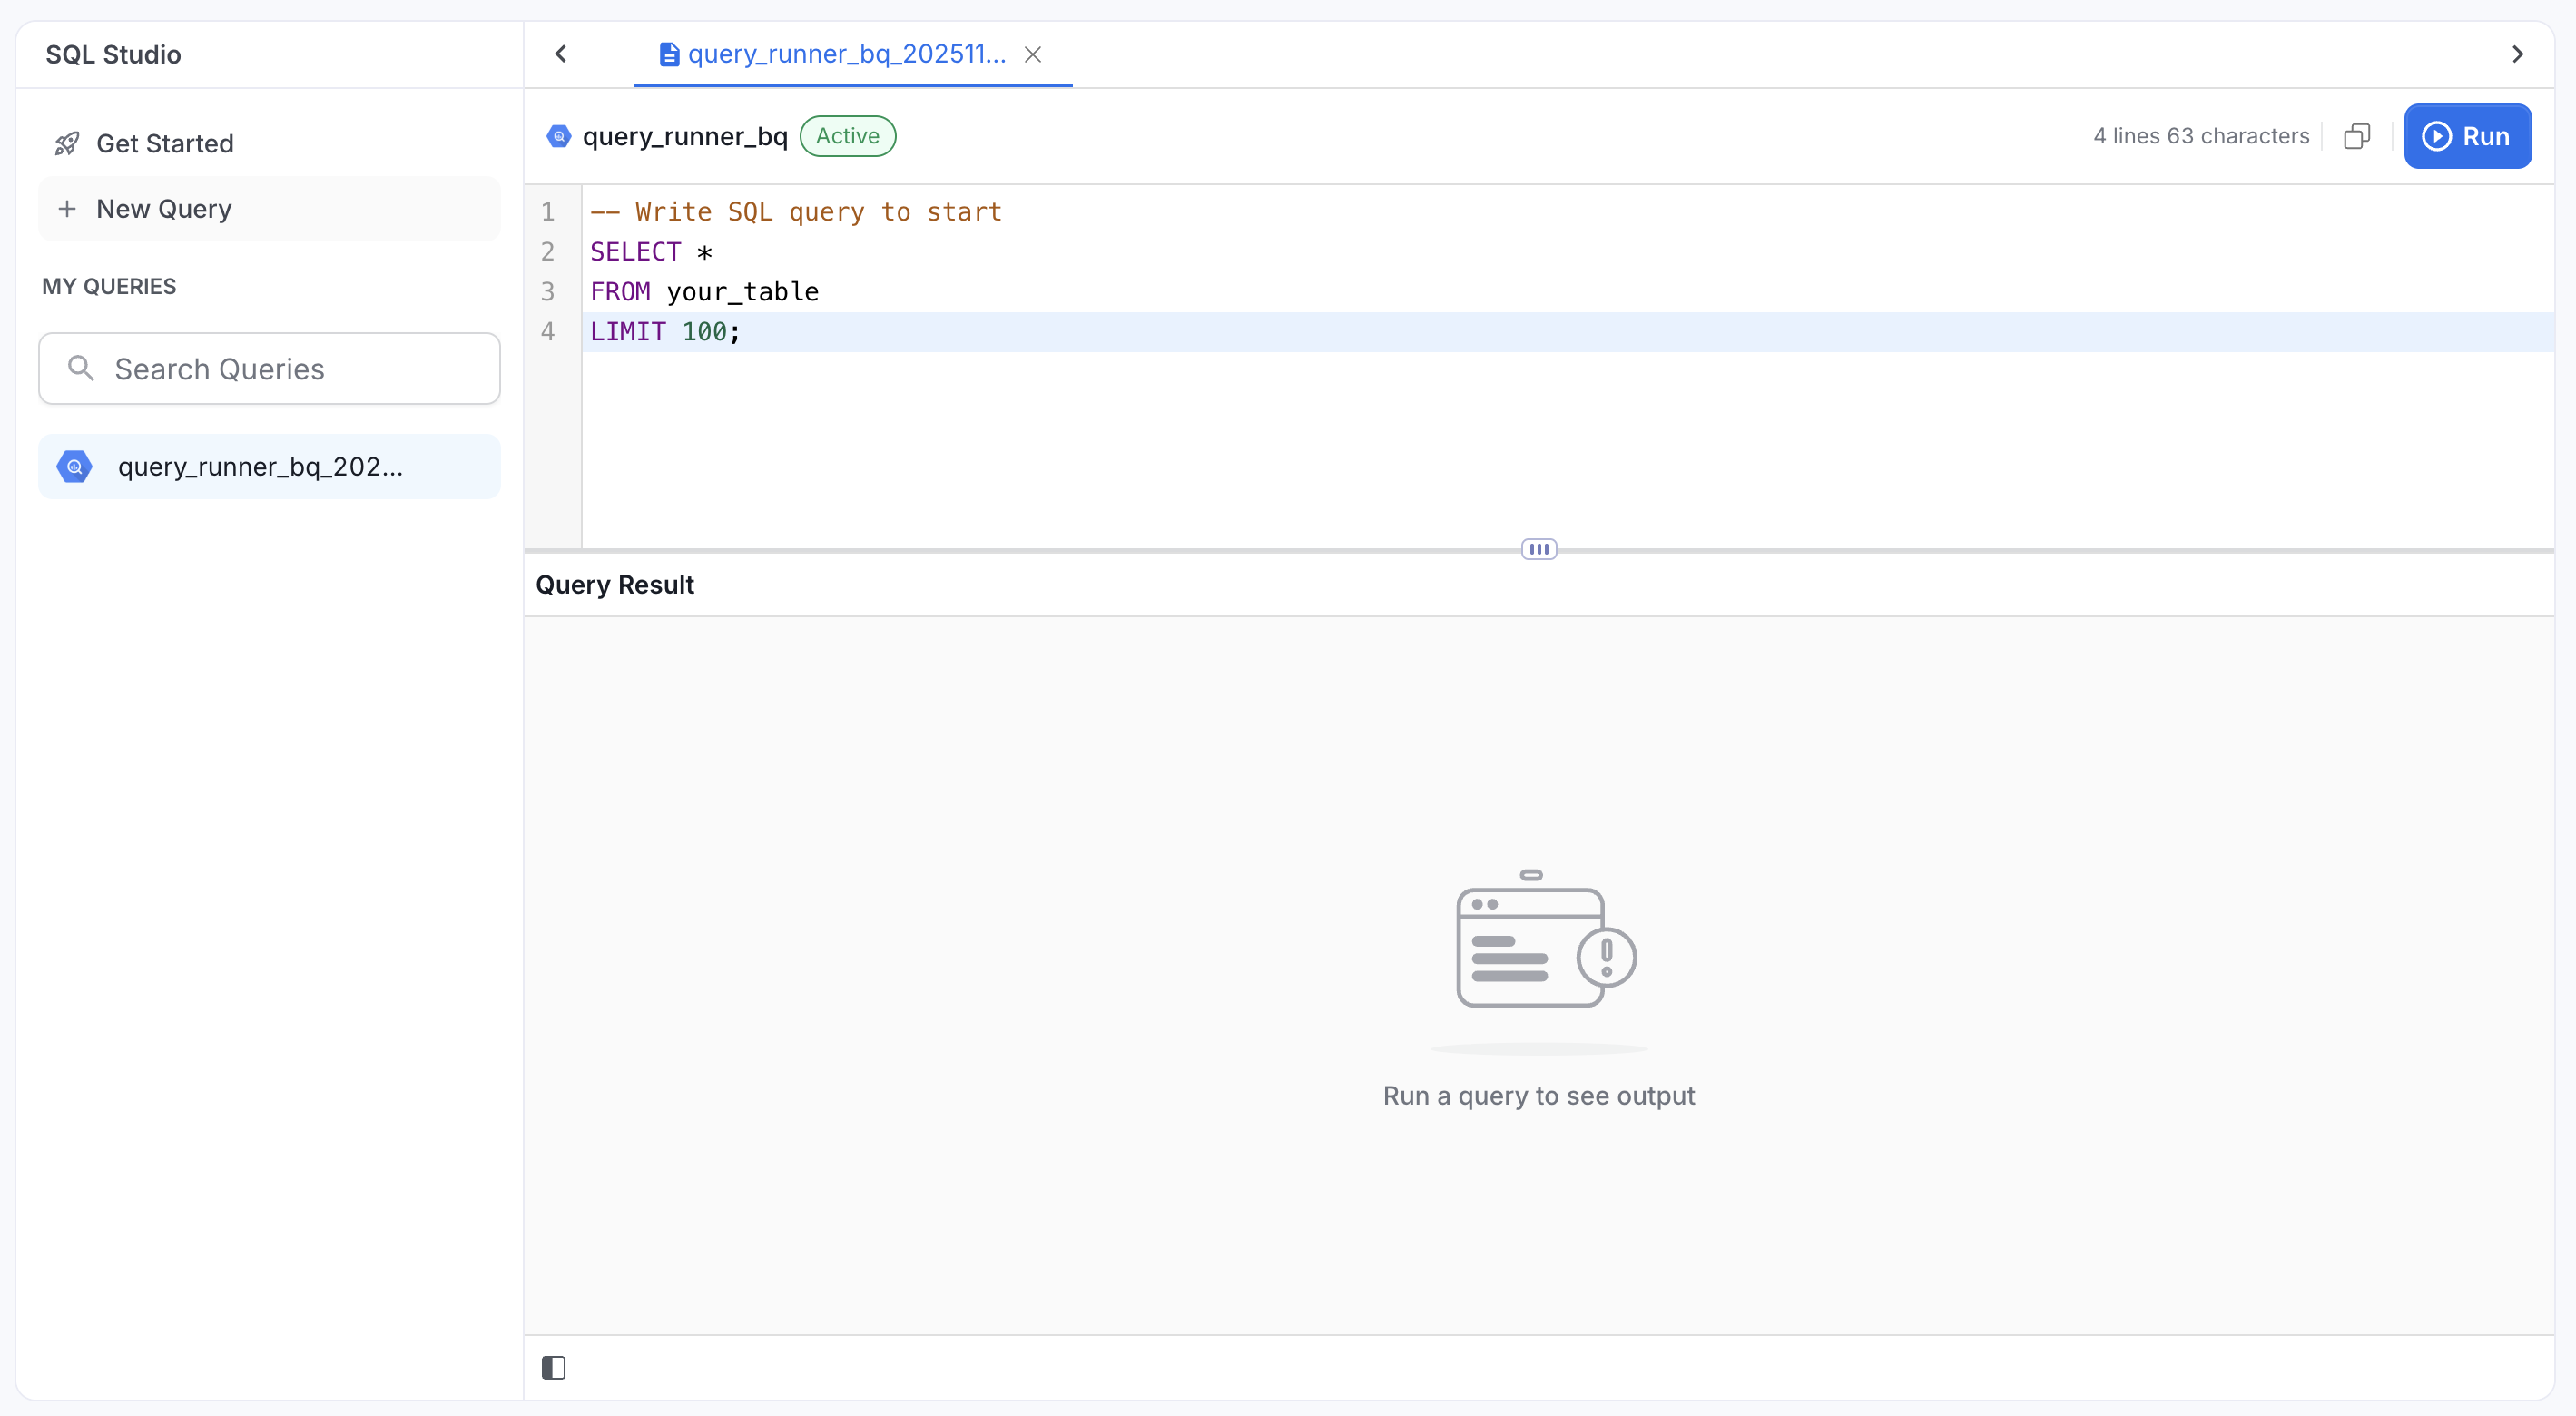
The SQL Studio has three main areas:- Left Sidebar: Database Explorer and saved queries
- Top Panel: SQL editor with tabs for multiple queries
- Bottom Panel: Query results
- Connected (green): Ready to execute queries
- Not Connected (gray): Click to authenticate
Writing Your First Query
Creating a New Query
- Click New Query from the sidebar (or click the + tab)
- Select a database service from the dropdown
- A new tab opens in the editor
Writing SQL
Write your SQL query in the editor. SQL Studio supports:- Syntax highlighting for SQL keywords
- Auto-complete for table names (type
FROMand start typing) - Multiple query tabs for working on different queries
Using the Database Explorer
The left sidebar shows your database hierarchy. You can:- Click ▶ to expand projects/databases/schemas
- Browse your tables
- Double-click a table to insert its name into the editor
Executing Queries
Running a Query
- Write your SQL query in the editor
- Click the Run button (▶), OR press
Cmd/Ctrl + Enter - Results appear in the bottom panel within seconds
What Happens When You Execute
- SQL Studio validates your query
- The query is sent to your database service
- Results are returned and displayed in the results panel
- You’ll see:
- Column headers from your SELECT statement
- Row data (up to 100 rows by default)
- Execution time and row count
Understanding Query Results
Results Panel
Results are displayed in a table below the editor:- Column Headers: Show column names from your SELECT statement
- Data Rows: Scrollable table with your query results
- Footer: Shows row count, execution time, and result limit status
Result Limits
- Default: 100 rows per query (configured by your administrator)
- Purpose: Prevent overwhelming the UI with large datasets
- Only the first 100 rows are displayed
- Footer shows: “100 rows (limit reached)”
- Use
LIMITandOFFSETto paginate through results:
Saving and Managing Queries
Auto-Save
Queries automatically save every 3 seconds as you type. You’ll see:- A dot indicator on the tab when there are unsaved changes
- The dot disappears after auto-save completes
Saving a Query
- Write your query in the editor
- Click the tab name to rename (or double-click)
- Enter a descriptive name
- Press Enter to save
Organizing Queries
From the Sidebar:- Search: Type to filter your saved queries
- My Queries: Lists all your saved queries
- Rename: Change the query name
- Duplicate: Create a copy of the query
- Delete: Remove the query (with confirmation)
Managing Multiple Tabs
- Open multiple queries in separate tabs
- Click the X on a tab to close
- Switch between tabs to work on different queries
- Each tab maintains its own execution state
Tips and Best Practices
Performance
-
Use LIMIT: Prevent accidental retrieval of millions of rows
-
Filter with WHERE: Reduce data at the source
-
**Avoid SELECT ***: Specify only needed columns
Productivity
- Use auto-complete: Type
FROMto see available tables - Keyboard shortcuts:
Cmd/Ctrl + Enterto run queries quickly - Rename queries: Use descriptive names for easy finding
- Organize with search: Use the sidebar search to filter queries
Query Writing
- Fully qualified names: Use
database.schema.tableformat to avoid ambiguity - Service-specific syntax: Refer to your database’s SQL documentation
- BigQuery: Uses backticks for identifiers:
`project.dataset.table` - Snowflake: Case-sensitive without quotes:
DATABASE.SCHEMA.TABLE - Trino: Supports standard SQL:
catalog.schema.table
- BigQuery: Uses backticks for identifiers:
Troubleshooting
”Query Failed”
Cause: SQL syntax error or permission issue Solution:- Check the error message in the results panel
- Verify your SQL syntax for your database service
- Ensure you have permissions to access the table
”Connection Timeout”
Cause: Query took too long to execute Solution:- Optimize your query (add WHERE filters, use LIMIT)
- Break large queries into smaller queries
- Contact your administrator if timeouts persist
”Service Not Available”
Cause: Service hasn’t been configured by administrator Solution:- Contact your administrator to enable SQL Studio for the service
No Tables in Auto-complete
Cause: Tables not ingested into Collate catalog Solution:- Ask your administrator to run metadata ingestion for the service
Connection Expired
Cause: Your authentication session has expired Solution:- Click the connection status indicator to re-authenticate
Next Steps
Now that you’re familiar with SQL Studio:- Explore the Database Explorer: Browse your databases and tables
- Build your query library: Save frequently-used queries for quick access
- Learn your database syntax: Refer to BigQuery, Snowflake, or Trino documentation
Need help? Contact your Collate administrator for configuration issues or refer to your database’s SQL documentation for syntax questions.