Requirements
PowerBI Admin and Non-Admin APIs:
While configuring the PowerBI ingestion you can choose whether to use the PowerBI Admin APIs to retrieve the metadata or use the PowerBI Non-Admin APIs. Please check below for the difference in their functionality:- Enabled (Use PowerBI Admin APIs) Using the admin APIs will fetch the dashboard and chart metadata from all the workspaces available in the PowerBI instance.
- Disabled (Use Non-Admin PowerBI APIs) Using the non-admin APIs will only fetch the dashboard and chart metadata from the workspaces that have the security group of the service principal assigned to them.
PowerBI Account Setup
Follow the steps below to configure the account setup for PowerBI connector:Step 1: Enable API permissions from the PowerBI Admin console
We extract the information from PowerBI using APIs, this is a manual step a PowerBI Admin needs to do to ensure we can get the right information. Login to the Power BI as Admin and fromTenant settings allow below permissions.
- Allow service principals to use Power BI APIs
- Allow service principals to use read-only Power BI admin APIs
- Enhance admin APIs responses with detailed metadata
Step 2: Create the App in Azure AD
Please follow the steps mentioned here for setting up the Azure AD application service principal.Step 3: Provide necessary API permissions to the Azure AD app
Go to theAzure Ad app registrations page, select your app and add the dashboard permissions to the app for PowerBI service and grant admin consent for the same:
The required permissions are:
Dashboard.Read.AllOptional Permissions: (Without granting these permissions, the dataset information cannot be retrieved and the datamodel and lineage processing will be skipped)Dataset.Read.All
Step 4: PowerBI Workspaces
The service principal does not take into account the default user workspaces e.gMy Workspace.
Create new workspaces in PowerBI by following the document here
For reference here is a thread referring to the same
Metadata Ingestion
Connection Details
Connection Details
clientId: PowerBI Client ID.
To get the client ID (also known as application ID), follow these steps:
- Log into Microsoft Azure.
- Search for App registrations and select the App registrations link.
- Select the Azure AD app you’re using for embedding your Power BI content.
- From the Overview section, copy the Application (client) ID. clientSecret: PowerBI Client Secret. To get the client secret, follow these steps:
- Log into Microsoft Azure.
- Search for App registrations and select the App registrations link.
- Select the Azure AD app you’re using for embedding your Power BI content.
- Under Manage, select Certificates & secrets.
- Under Client secrets, select New client secret.
- In the Add a client secret pop-up window, provide a description for your application secret, select when the application secret expires, and select Add.
- From the Client secrets section, copy the string in the Value column of the newly created application secret. tenantId: PowerBI Tenant ID. To get the tenant ID, follow these steps:
- Log into Microsoft Azure.
- Search for App registrations and select the App registrations link.
- Select the Azure AD app you’re using for Power BI.
- From the Overview section, copy the Directory (tenant) ID. scope: Service scope. To let OM use the Power BI APIs using your Azure AD app, you’ll need to add the following scopes:
- https://analysis.windows.net/powerbi/api/.default Instructions for adding these scopes to your app can be found by following this link: https://analysis.windows.net/powerbi/api/.default. authorityUri: Authority URI for the service. To identify a token authority, you can provide a URL that points to the authority in question. If you don’t specify a URL for the token authority, we’ll use the default value of https://login.microsoftonline.com/. hostPort: URL to the PowerBI instance. To connect with your Power BI instance, you’ll need to provide the host URL. If you’re using an on-premise installation of Power BI, this will be the domain name associated with your instance. If you don’t specify a host URL, we’ll use the default value of https://app.powerbi.com to connect with your Power BI instance. Pagination Entity Per Page: The pagination limit for Power BI APIs can be set using this parameter. The limit determines the number of records to be displayed per page. By default, the pagination limit is set to 100 records, which is also the maximum value allowed. Use Admin APIs: Option for using the PowerBI admin APIs: Refer to the section here to get more information.
- Enabled (Use PowerBI Admin APIs)
- Disabled (Use Non-Admin PowerBI APIs)
Test the Connection
Once the credentials have been added, click on Test Connection and Save the changes.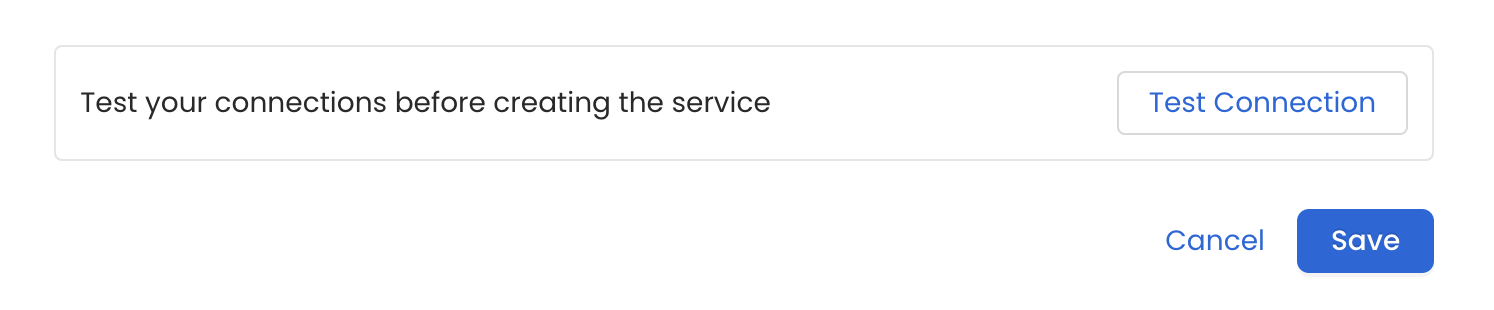
Configure Metadata Ingestion
In this step we will configure the metadata ingestion pipeline,
Please follow the instructions below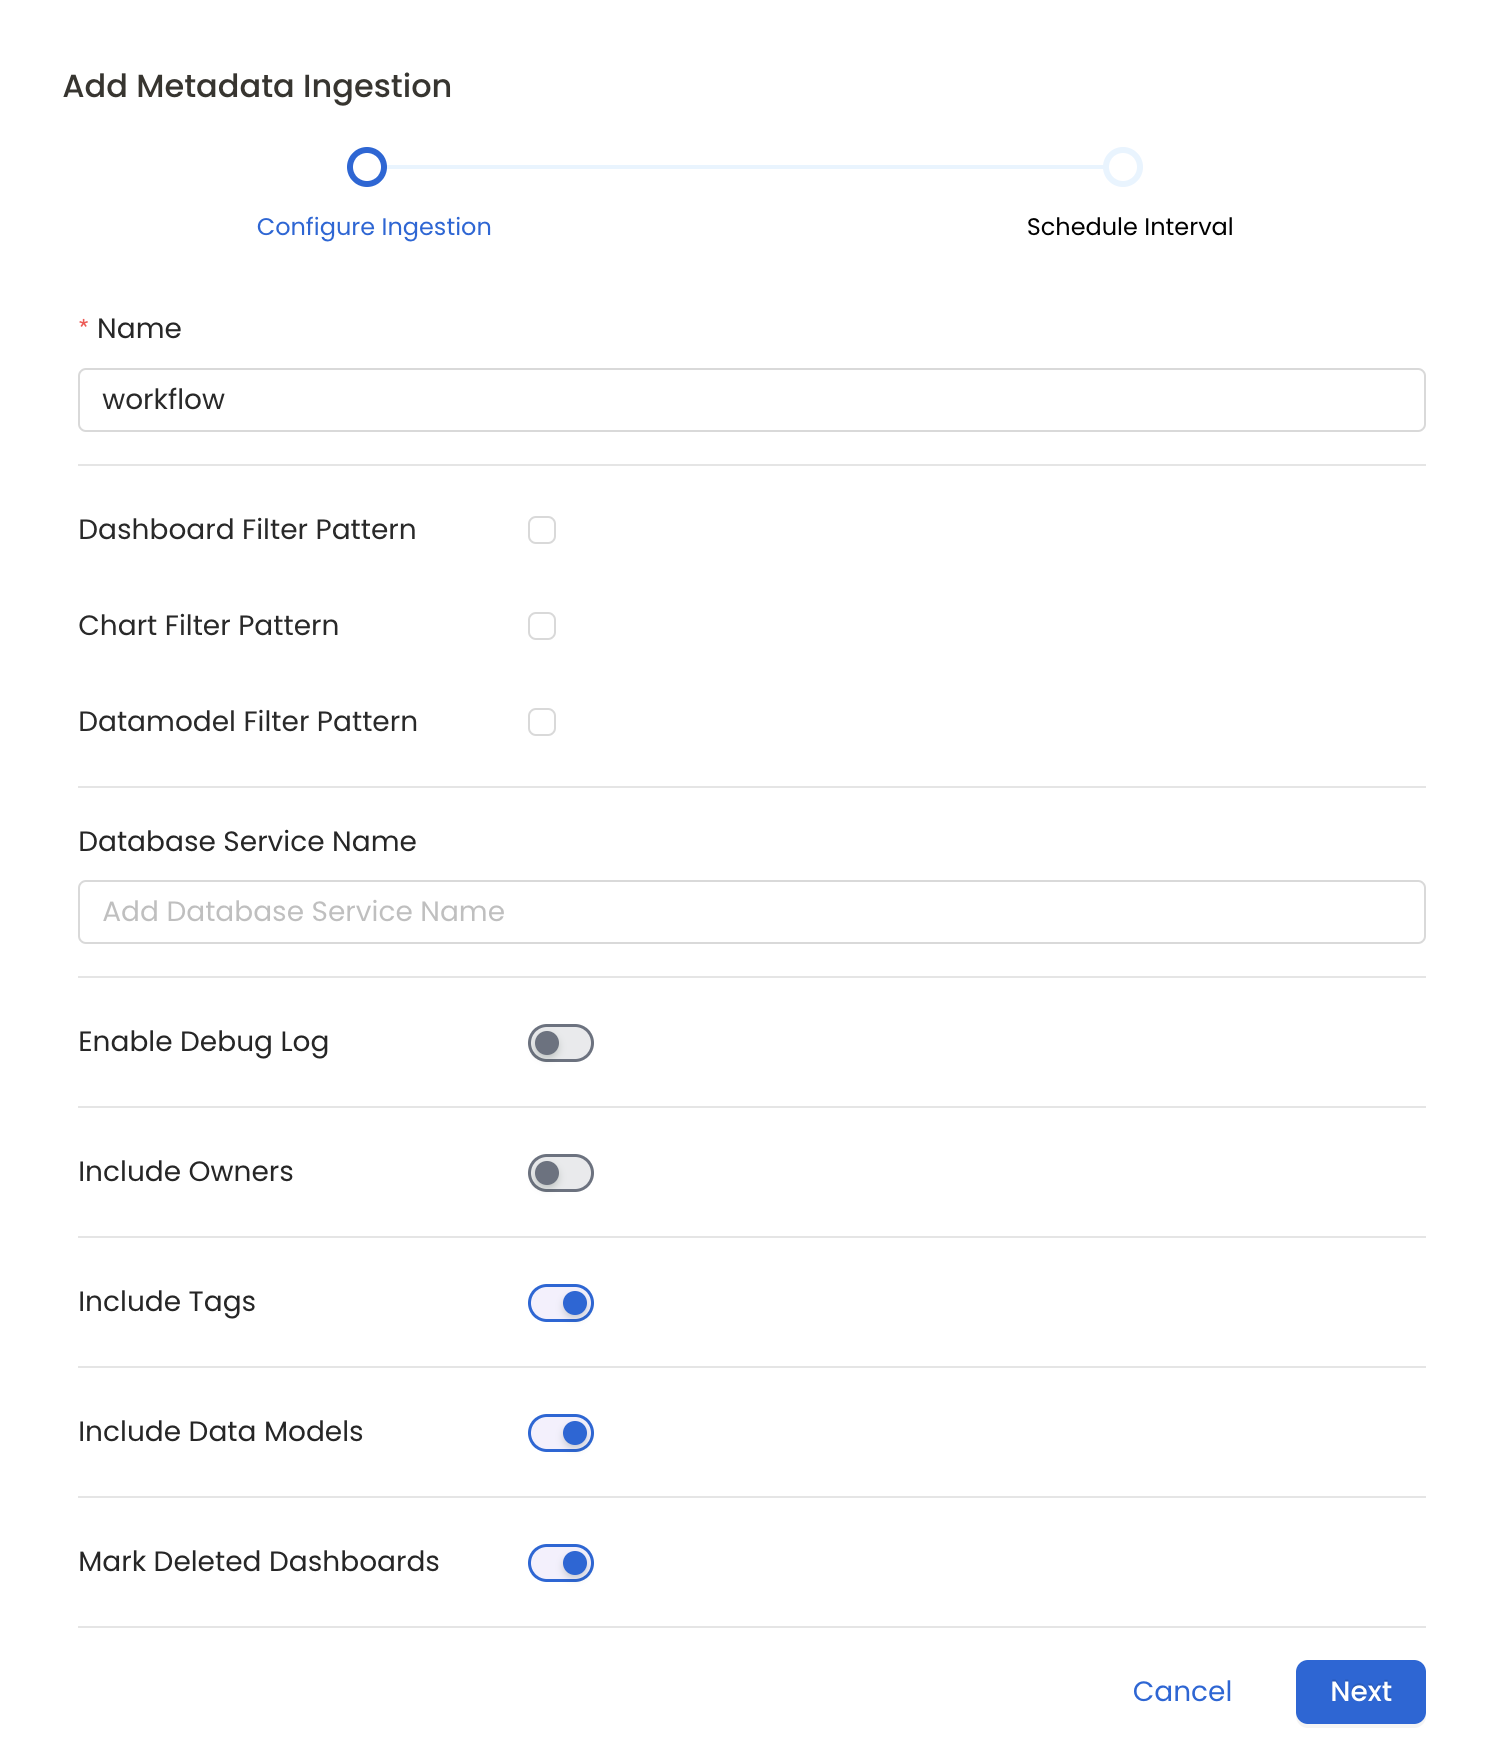
Metadata Ingestion Options
- Name: This field refers to the name of ingestion pipeline, you can customize the name or use the generated name.
- Dashboard Filter Pattern (Optional): Use it to control whether to include dashboard as part of metadata ingestion.
- Include: Explicitly include dashboards by adding a list of comma-separated regular expressions to the ‘Include’ field. OpenMetadata will include all dashboards with names matching one or more of the supplied regular expressions. All other dashboards will be excluded.
- Exclude: Explicitly exclude dashboards by adding a list of comma-separated regular expressions to the ‘Exclude’ field. OpenMetadata will exclude all dashboards with names matching one or more of the supplied regular expressions. All other dashboards will be included.
- projectFilterPattern: Filter the dashboards, charts and data sources by projects. Note that all of them support regex as include or exclude. E.g., “My project, My proj.*, .*Project”.
- Chart Pattern (Optional): Use it to control whether to include charts as part of metadata ingestion.
- Include: Explicitly include charts by adding a list of comma-separated regular expressions to the ‘Include’ field. OpenMetadata will include all charts with names matching one or more of the supplied regular expressions. All other charts will be excluded.
- Exclude: Explicitly exclude charts by adding a list of comma-separated regular expressions to the ‘Exclude’ field. OpenMetadata will exclude all charts with names matching one or more of the supplied regular expressions. All other charts will be included.
- Data Model Pattern (Optional): Use it to control whether to include data modes as part of metadata ingestion.
- Include: Explicitly include data models by adding a list of comma-separated regular expressions to the ‘Include’ field. OpenMetadata will include all data models with names matching one or more of the supplied regular expressions. All other data models will be excluded.
- Exclude: Explicitly exclude data models by adding a list of comma-separated regular expressions to the ‘Exclude’ field. OpenMetadata will exclude all data models with names matching one or more of the supplied regular expressions. All other data models will be included.
- Database Service Name (Optional): Enter the name of Database Service which is already ingested in OpenMetadata to create lineage between dashboards and database tables.
- Enable Debug Log (toggle): Set the ‘Enable Debug Log’ toggle to set the default log level to debug.
- Include Owners (toggle): Set the ‘Include Owners’ toggle to control whether to include owners to the ingested entity if the owner email matches with a user stored in the OM server as part of metadata ingestion. If the ingested entity already exists and has an owner, the owner will not be overwritten.
- Include Tags (toggle): Set the ‘Include Tags’ toggle to control whether to include tags in metadata ingestion.
- Include Data Models (toggle): Set the ‘Include Data Models’ toggle to control whether to include tags as part of metadata ingestion.
- Mark Deleted Dashboards (toggle): Set the ‘Mark Deleted Dashboards’ toggle to flag dashboards as soft-deleted if they are not present anymore in the source system.
- Include Draft Dashboard (toggle): Set the ‘Include Draft Dashboard’ toggle to include draft dashboards. By default it will include draft dashboards.
Schedule the Ingestion and Deploy
Scheduling can be set up at an hourly, daily, weekly, or manual cadence. The
timezone is in UTC. Select a Start Date to schedule for ingestion. It is
optional to add an End Date.Review your configuration settings. If they match what you intended,
click Deploy to create the service and schedule metadata ingestion.If something doesn’t look right, click the Back button to return to the
appropriate step and change the settings as needed.After configuring the workflow, you can click on Deploy to create the
pipeline.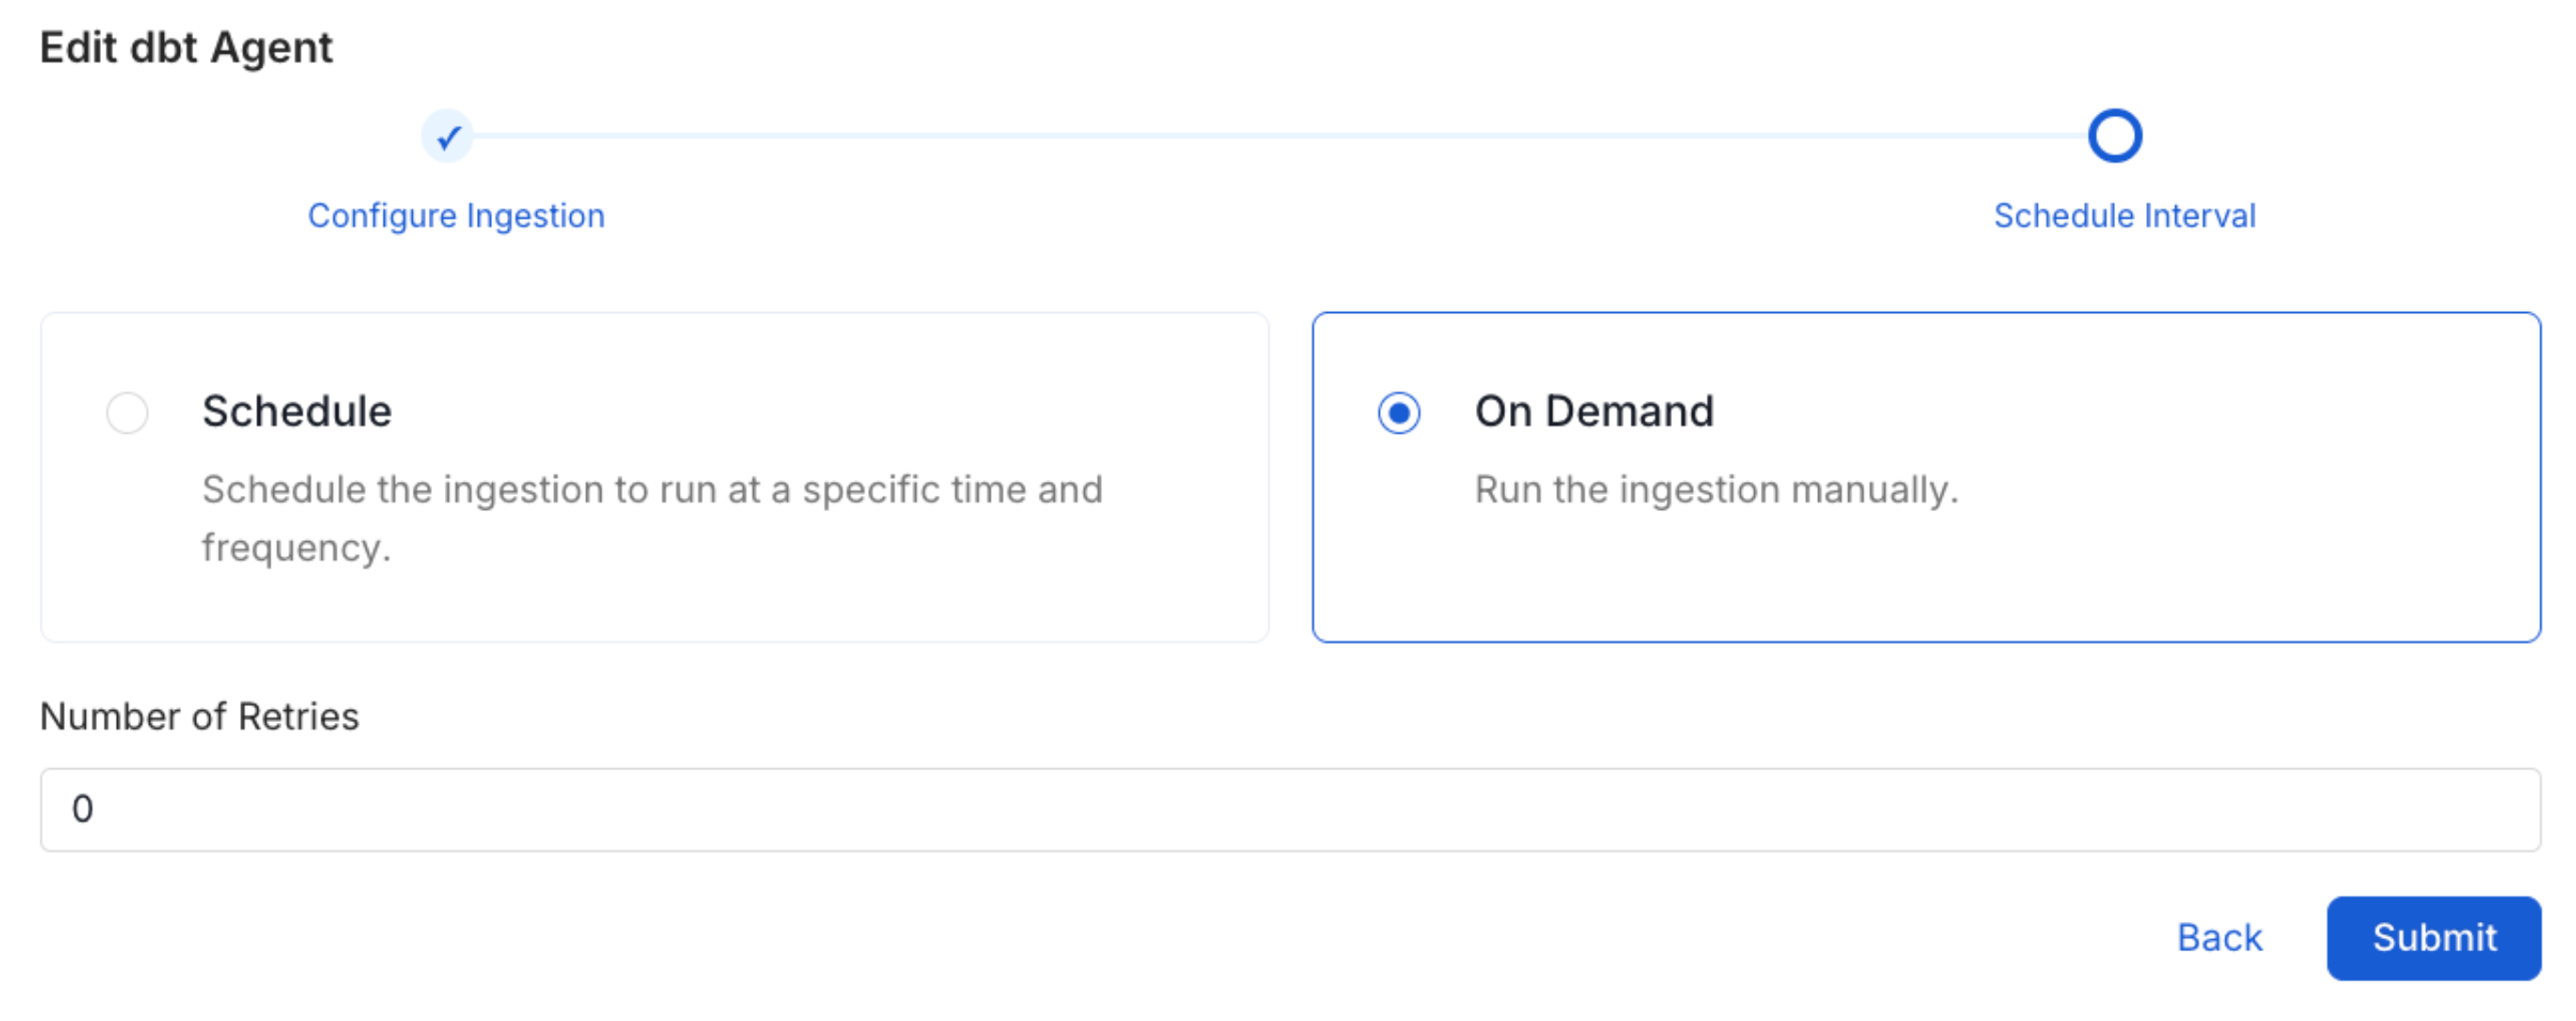
Lineage
To establish lineage from your database tables to dashboards, you must add the corresponding database service name.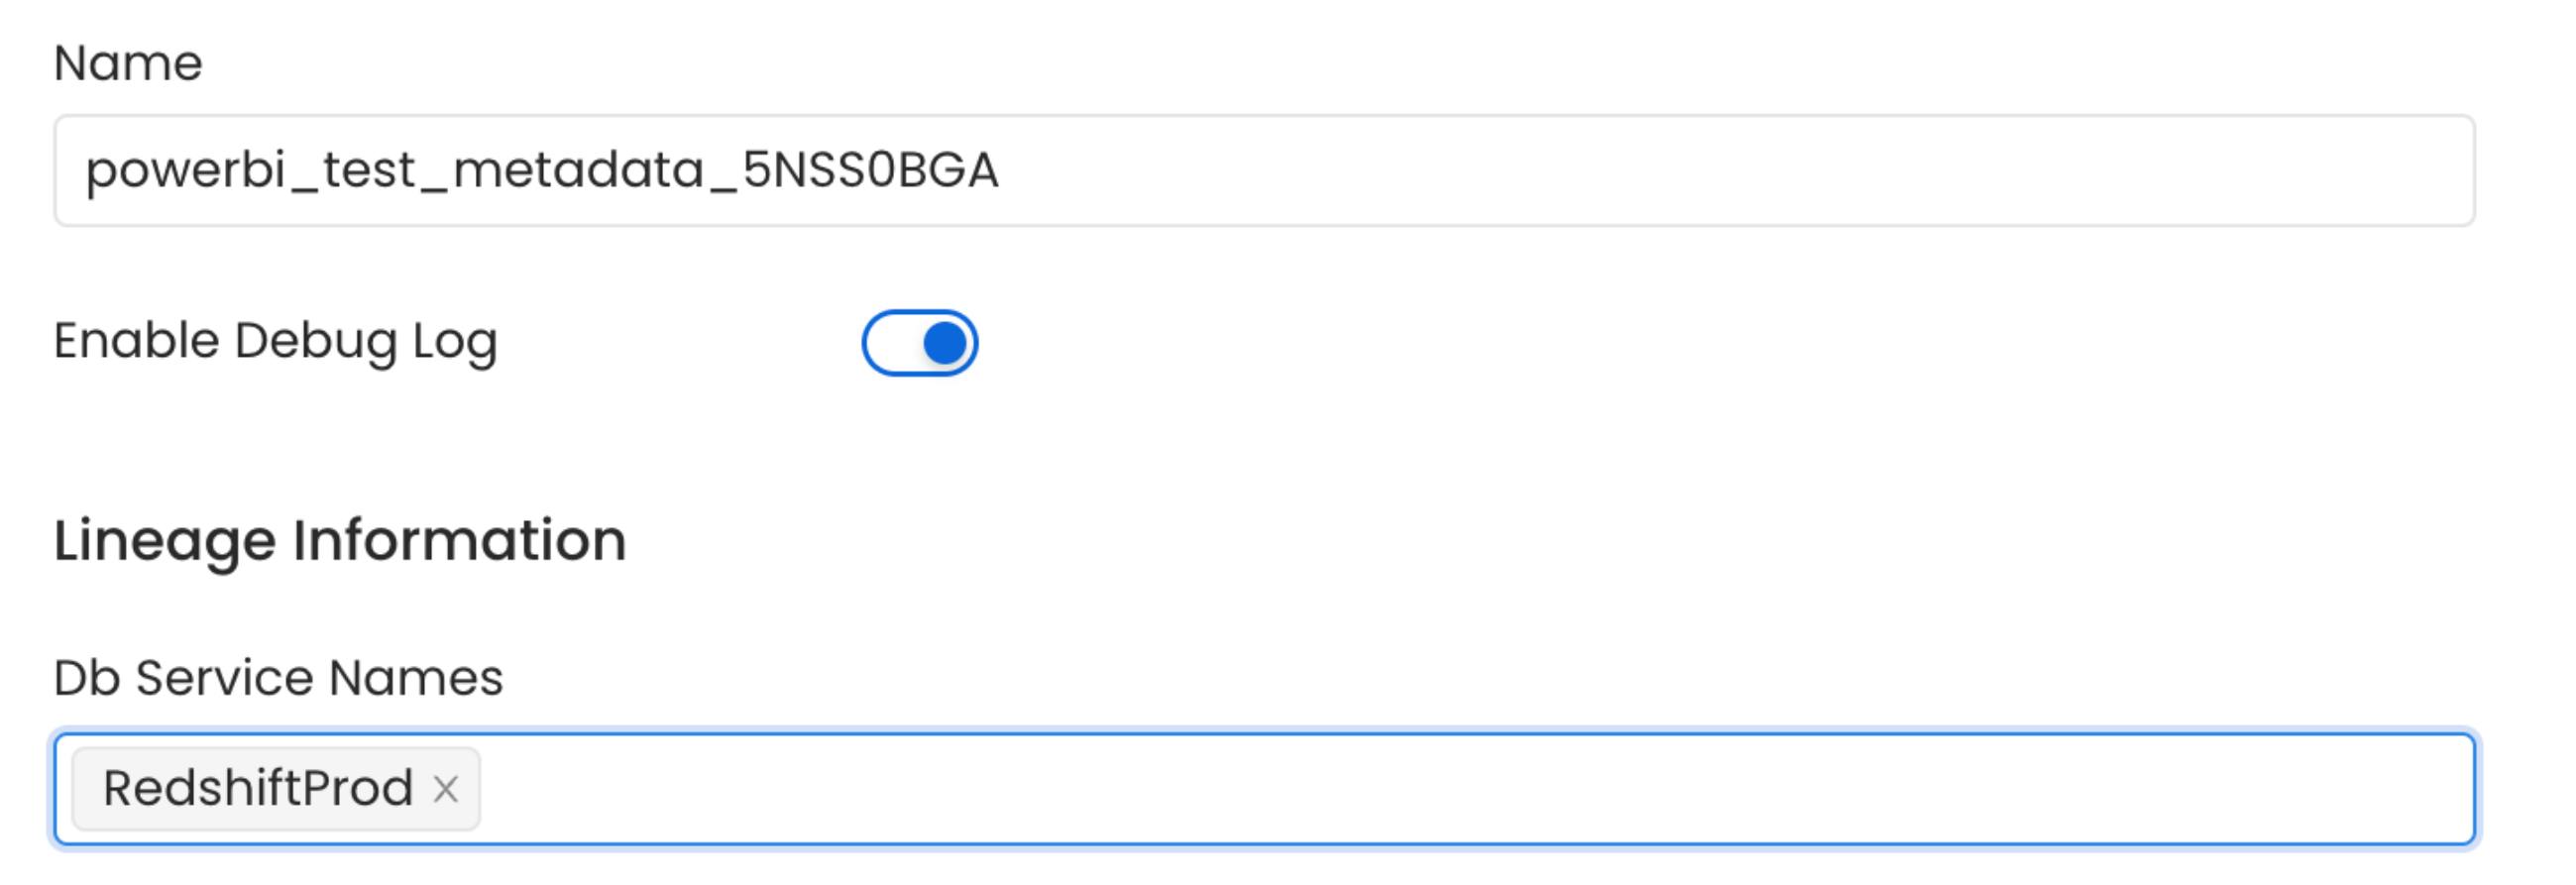
Troubleshooting
PowerBI Troubleshooting
Learn more about how to troubleshoot common PowerBI connector issues and resolve configuration or ingestion errors.