Requirements
We need the following permissions in Azure Data Lake Storage:ADLS Permissions
To extract metadata from Azure ADLS (Storage Account - StorageV2), you will need an App Registration with the following permissions on the Storage Account:- Storage Blob Data Contributor
- Storage Queue Data Contributor
Collate Manifest
In any other connector, extracting metadata happens automatically. In this case, we will be able to extract high-level metadata from buckets, but in order to understand their internal structure we need users to provide anopenmetadata.json
file at the bucket root.
Supported File Formats: [ "csv", "tsv", "avro", "parquet", "json", "json.gz", "json.zip" ]
You can learn more about this here. Keep reading for an example on the shape of the manifest file.
Collate Manifest
Our manifest file is defined as a JSON Schema, and can look like this:Global Manifest
You can also manage a single manifest file to centralize the ingestion process for any container, namedopenmetadata_storage_manifest.json.
You can also keep local manifests openmetadata.json in each container, but if possible, we will always try to pick up the global manifest during the ingestion.
Metadata Ingestion
1
Visit the Services Page
The first step is ingesting the metadata from your sources. Under
Settings, you will find a Services link an external source system to
OpenMetadata. Once a service is created, it can be used to configure
metadata, usage, and profiler workflows.
To visit the Services page, select Services from the Settings menu.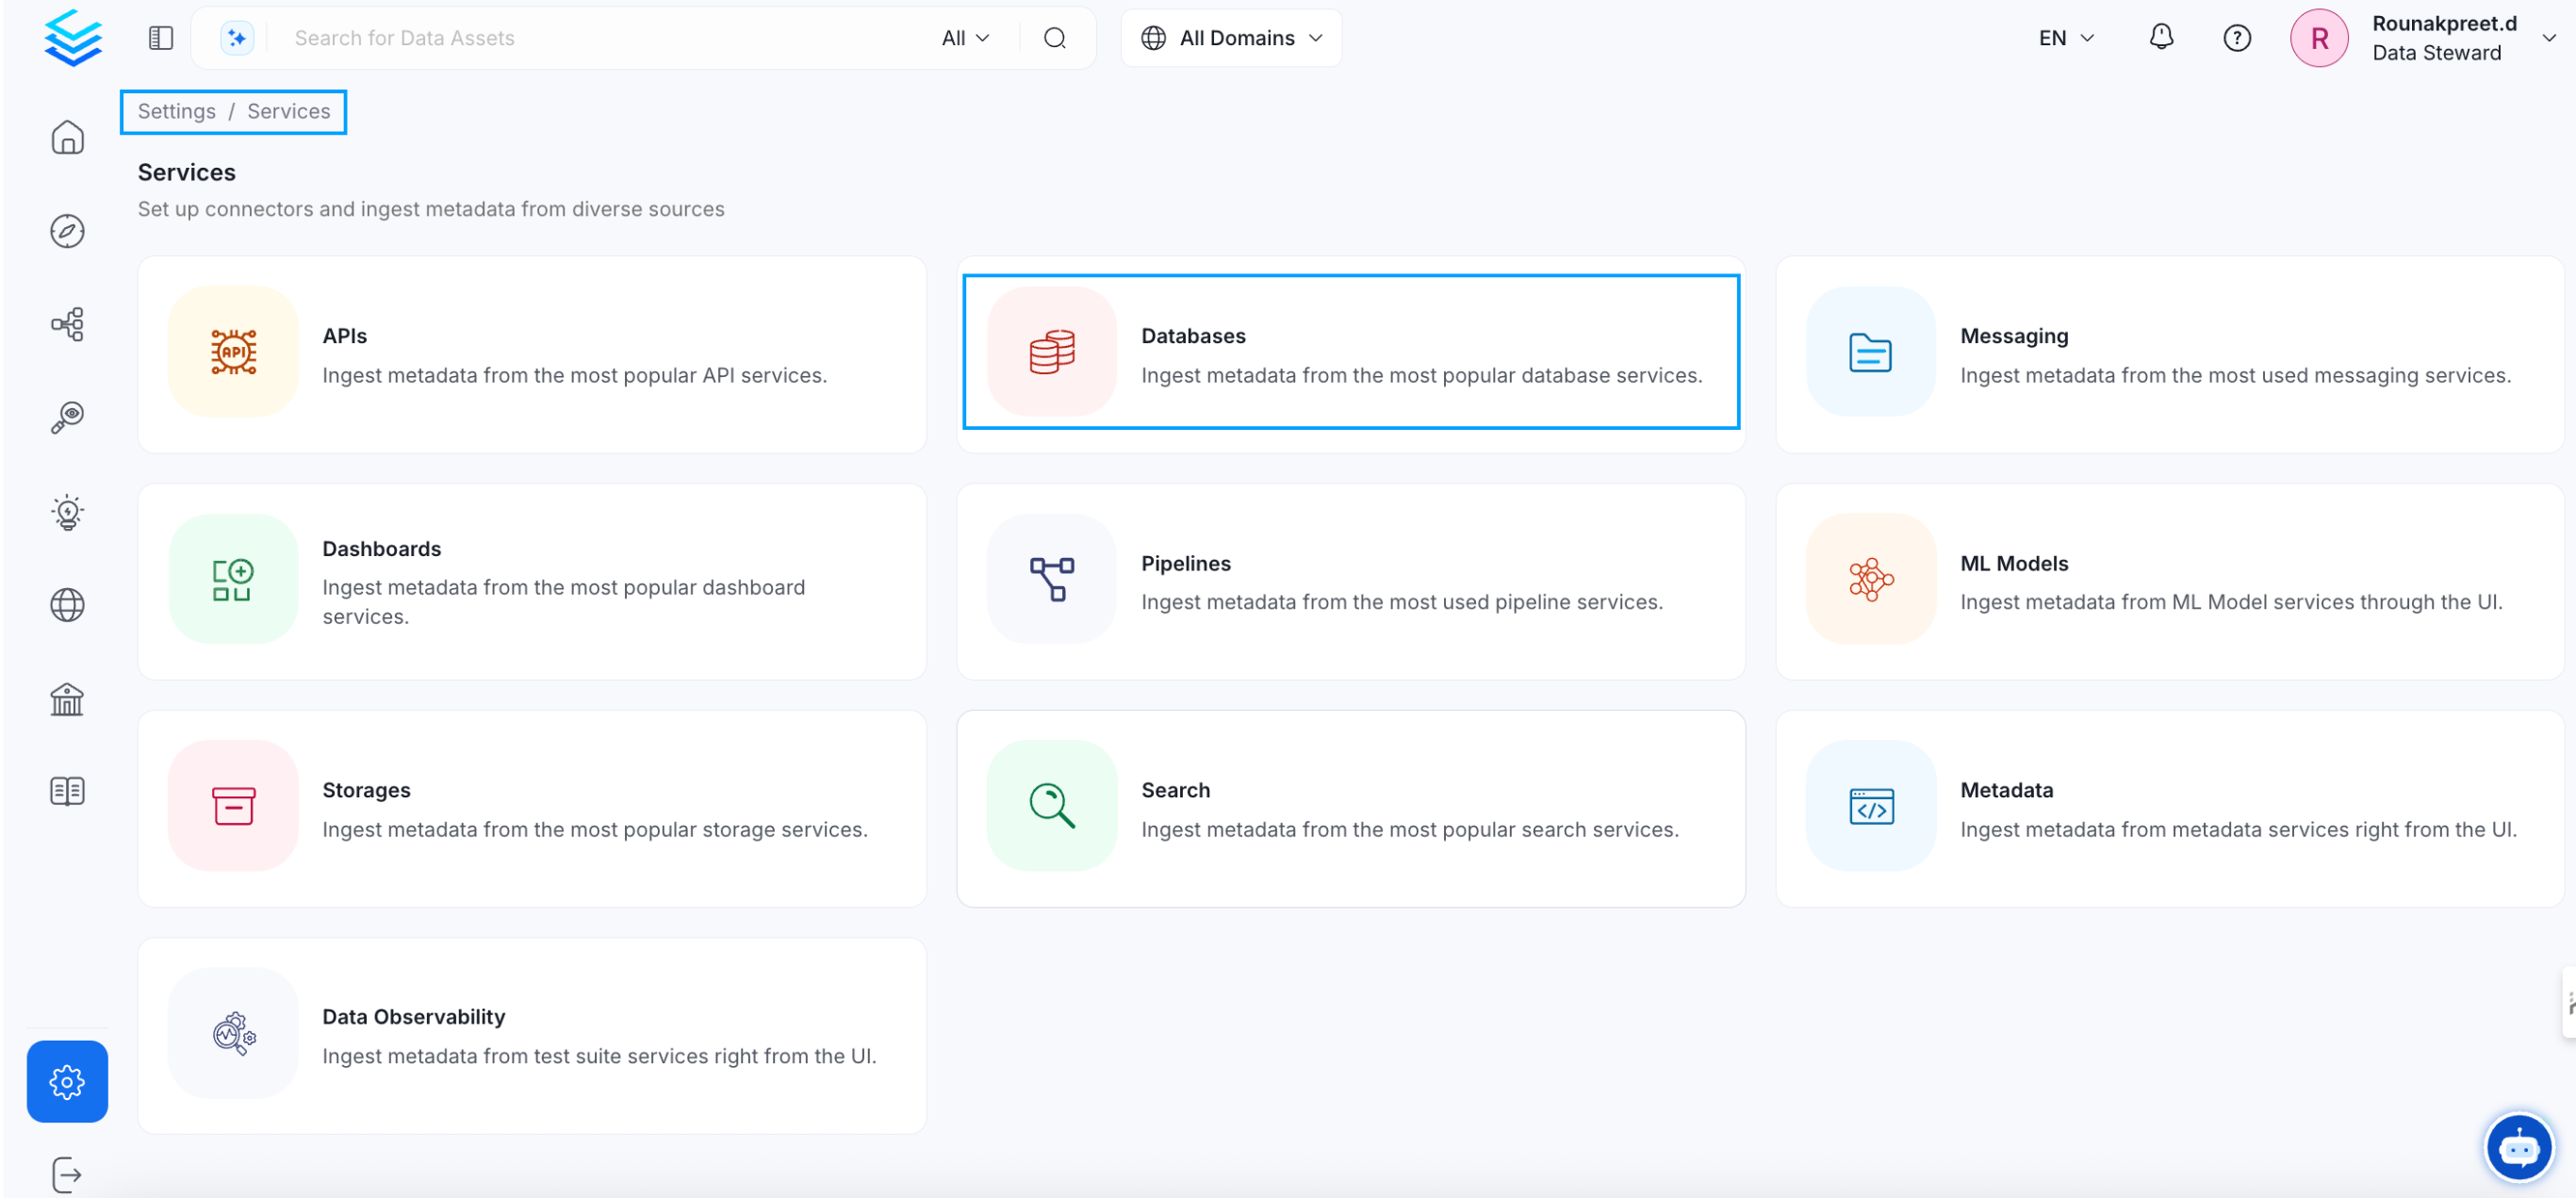
2
Create a New Service
Click on the ‘Add New Service’ button to start the Service creation.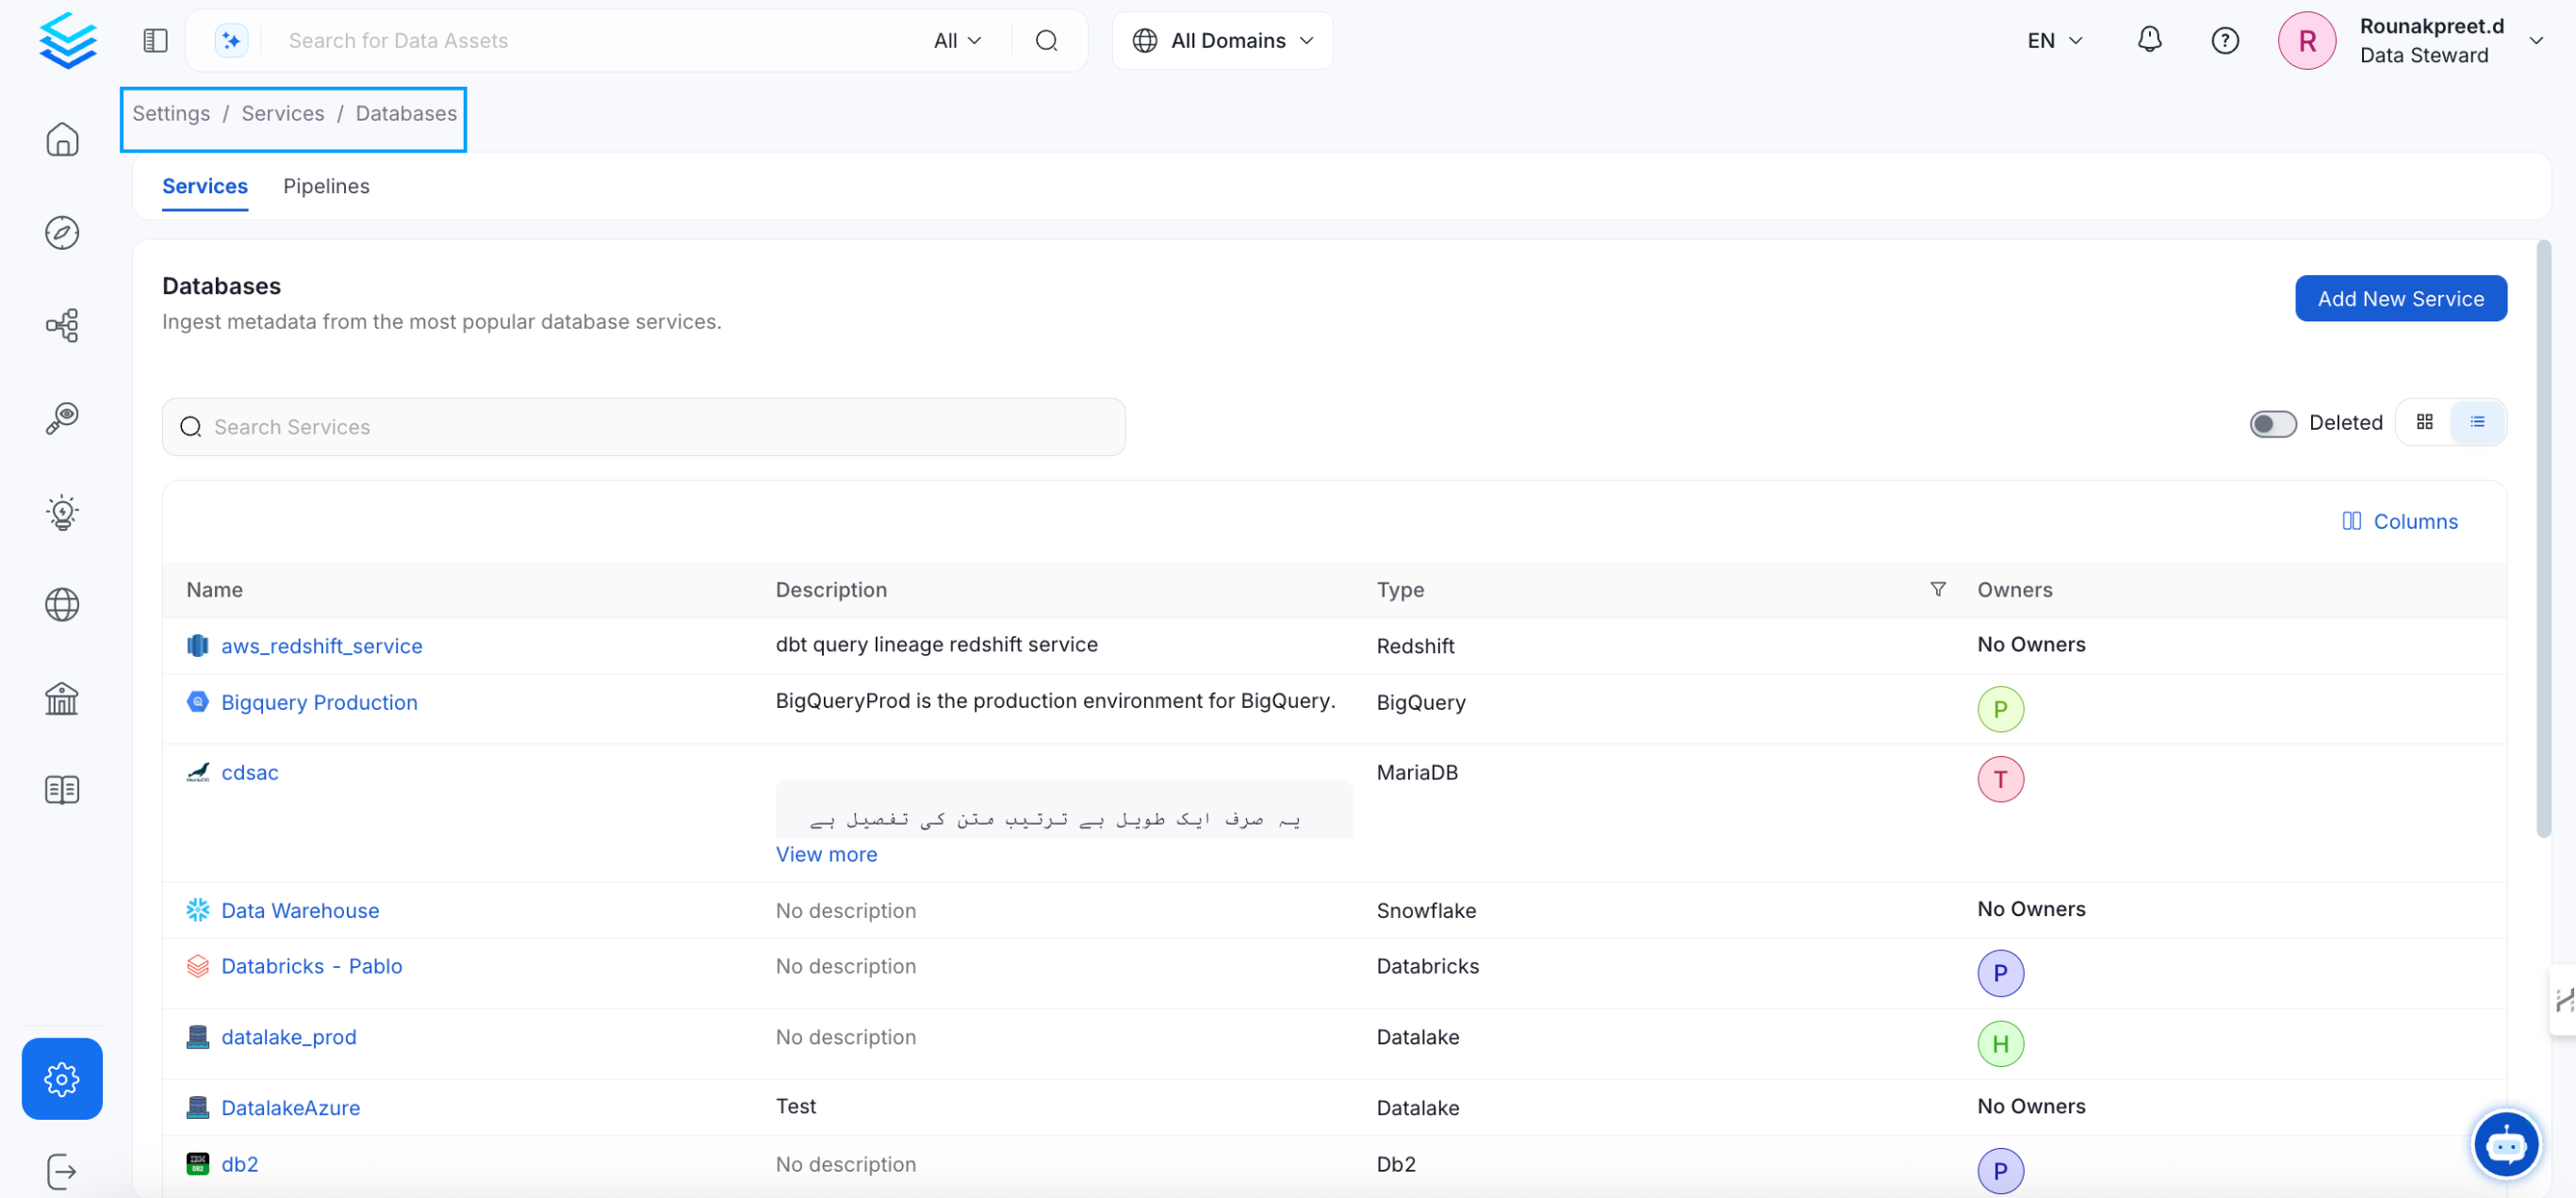
3
Select the Service Type
Select ADLS as the service type and click Next.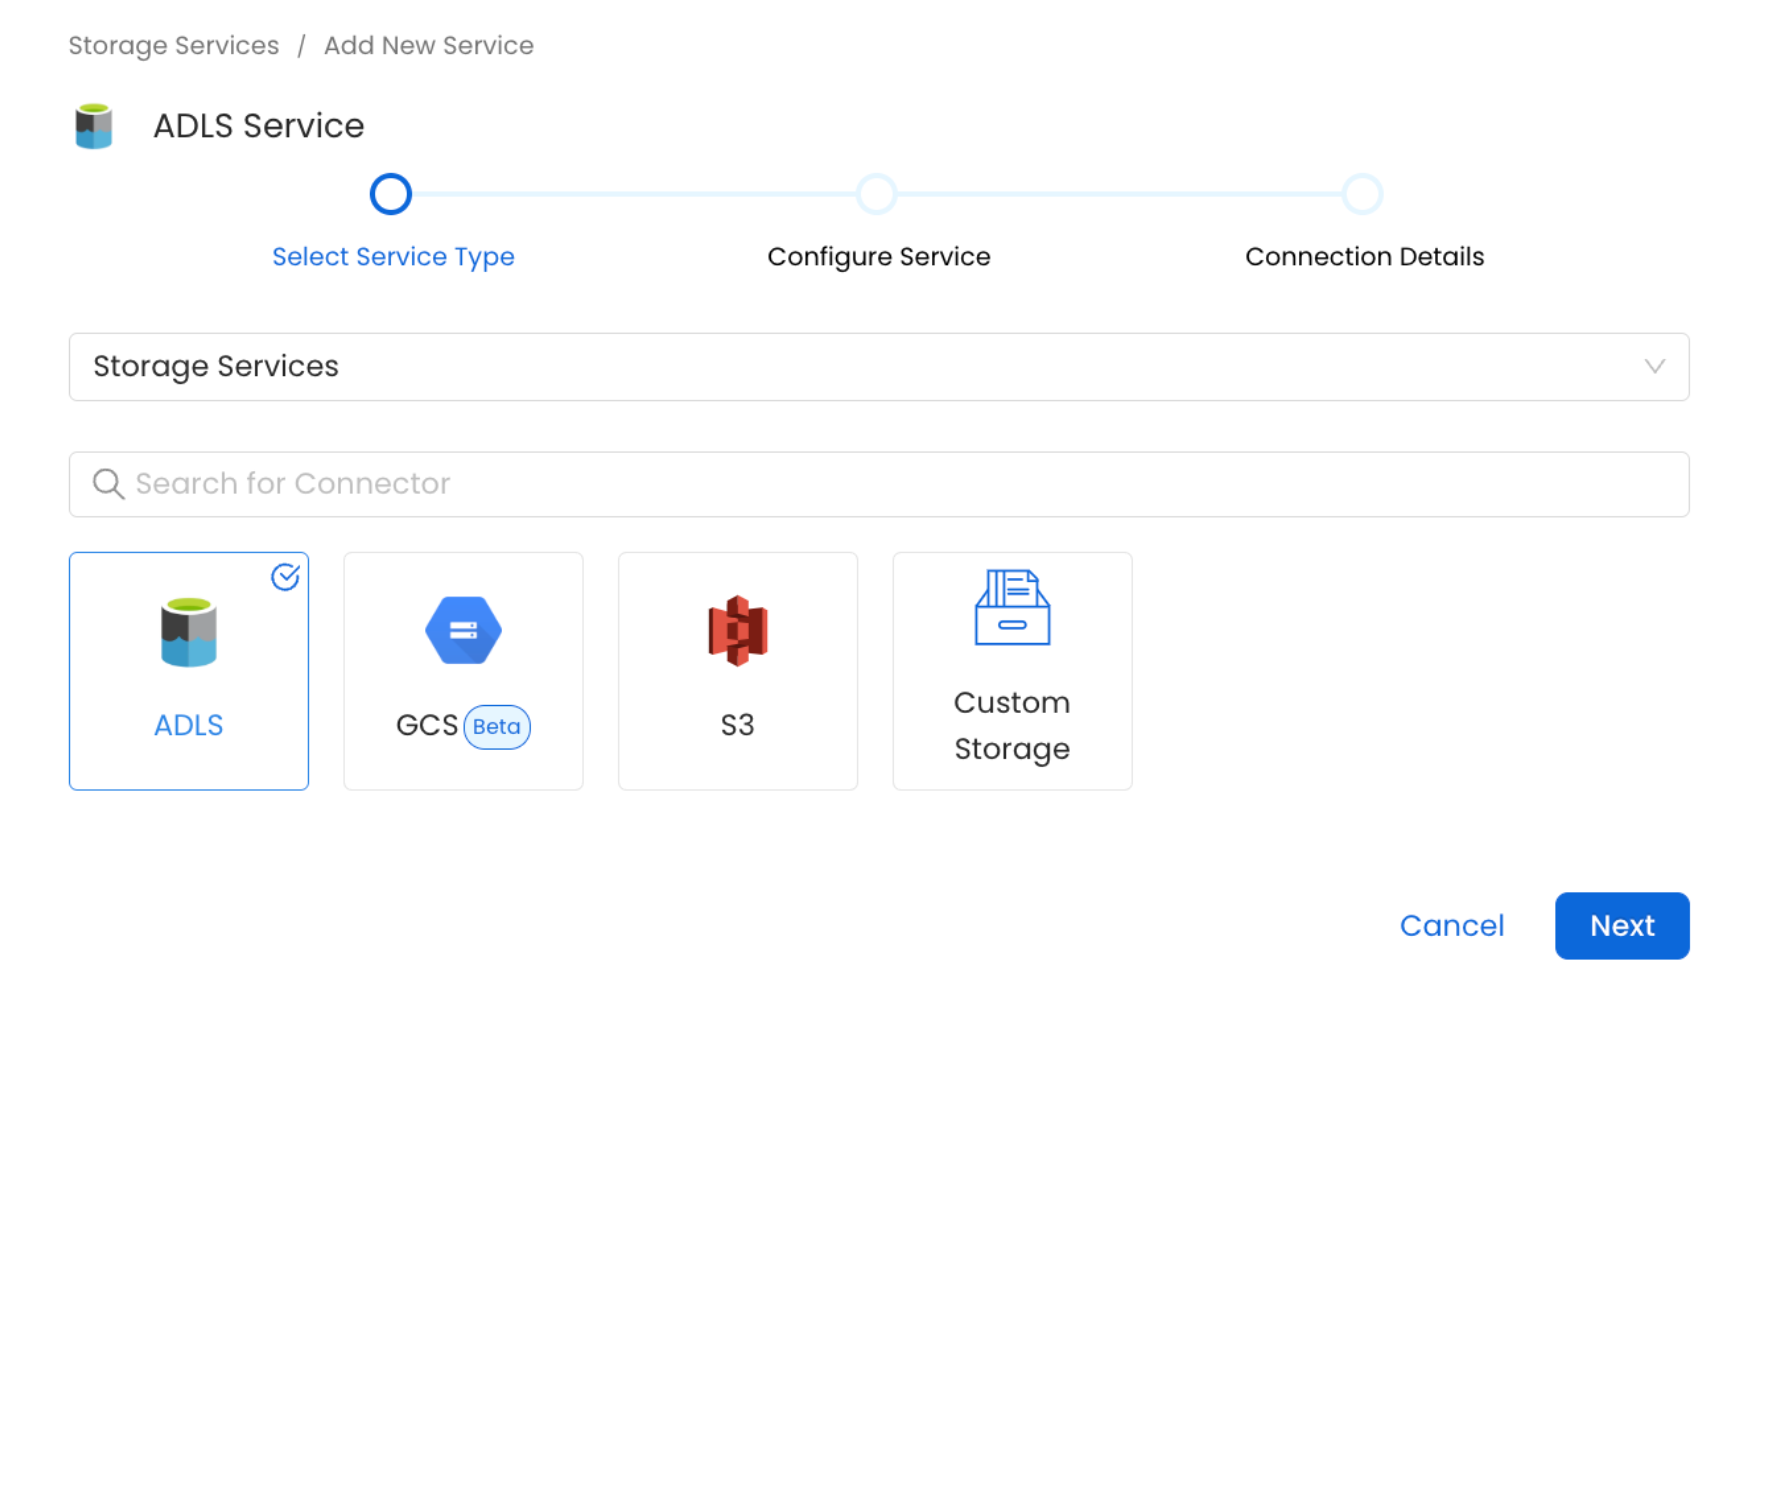
4
Name and Describe your Service
Provide a name and description for your service.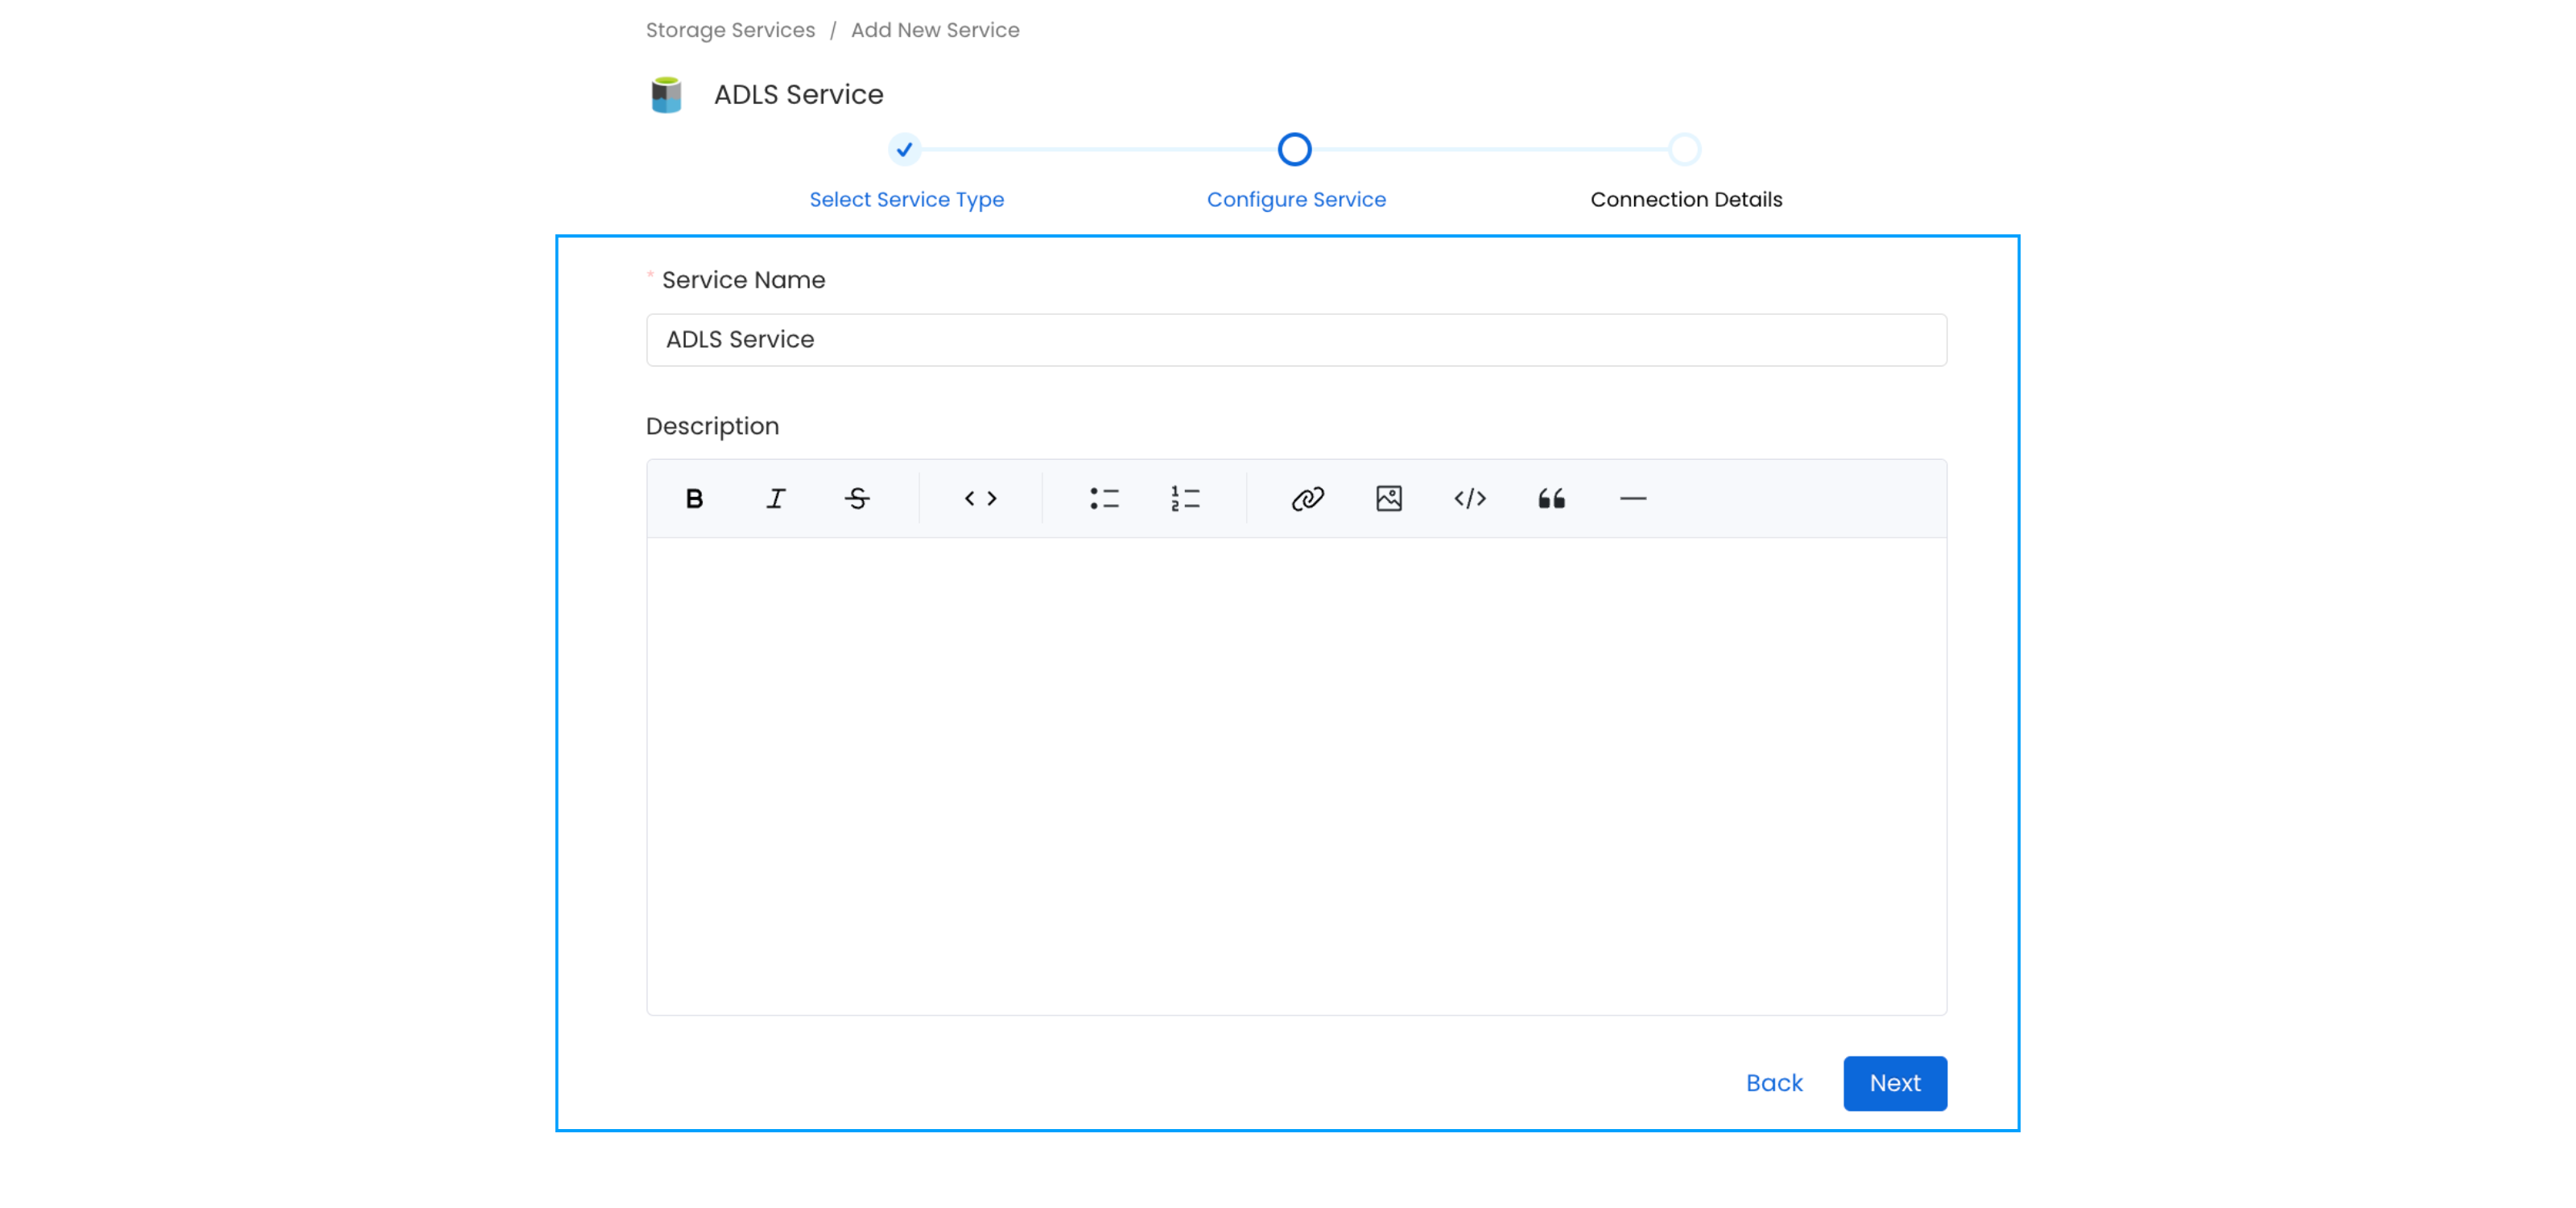
Service Name
OpenMetadata uniquely identifies services by their Service Name. Provide a name that distinguishes your deployment from other services, including the other Storage services that you might be ingesting metadata from.5
Configure the Service Connection
In this step, we will configure the connection settings required for
this connector. Please follow the instructions below to ensure that
you’ve configured the connector to read from your ADLS service as
desired.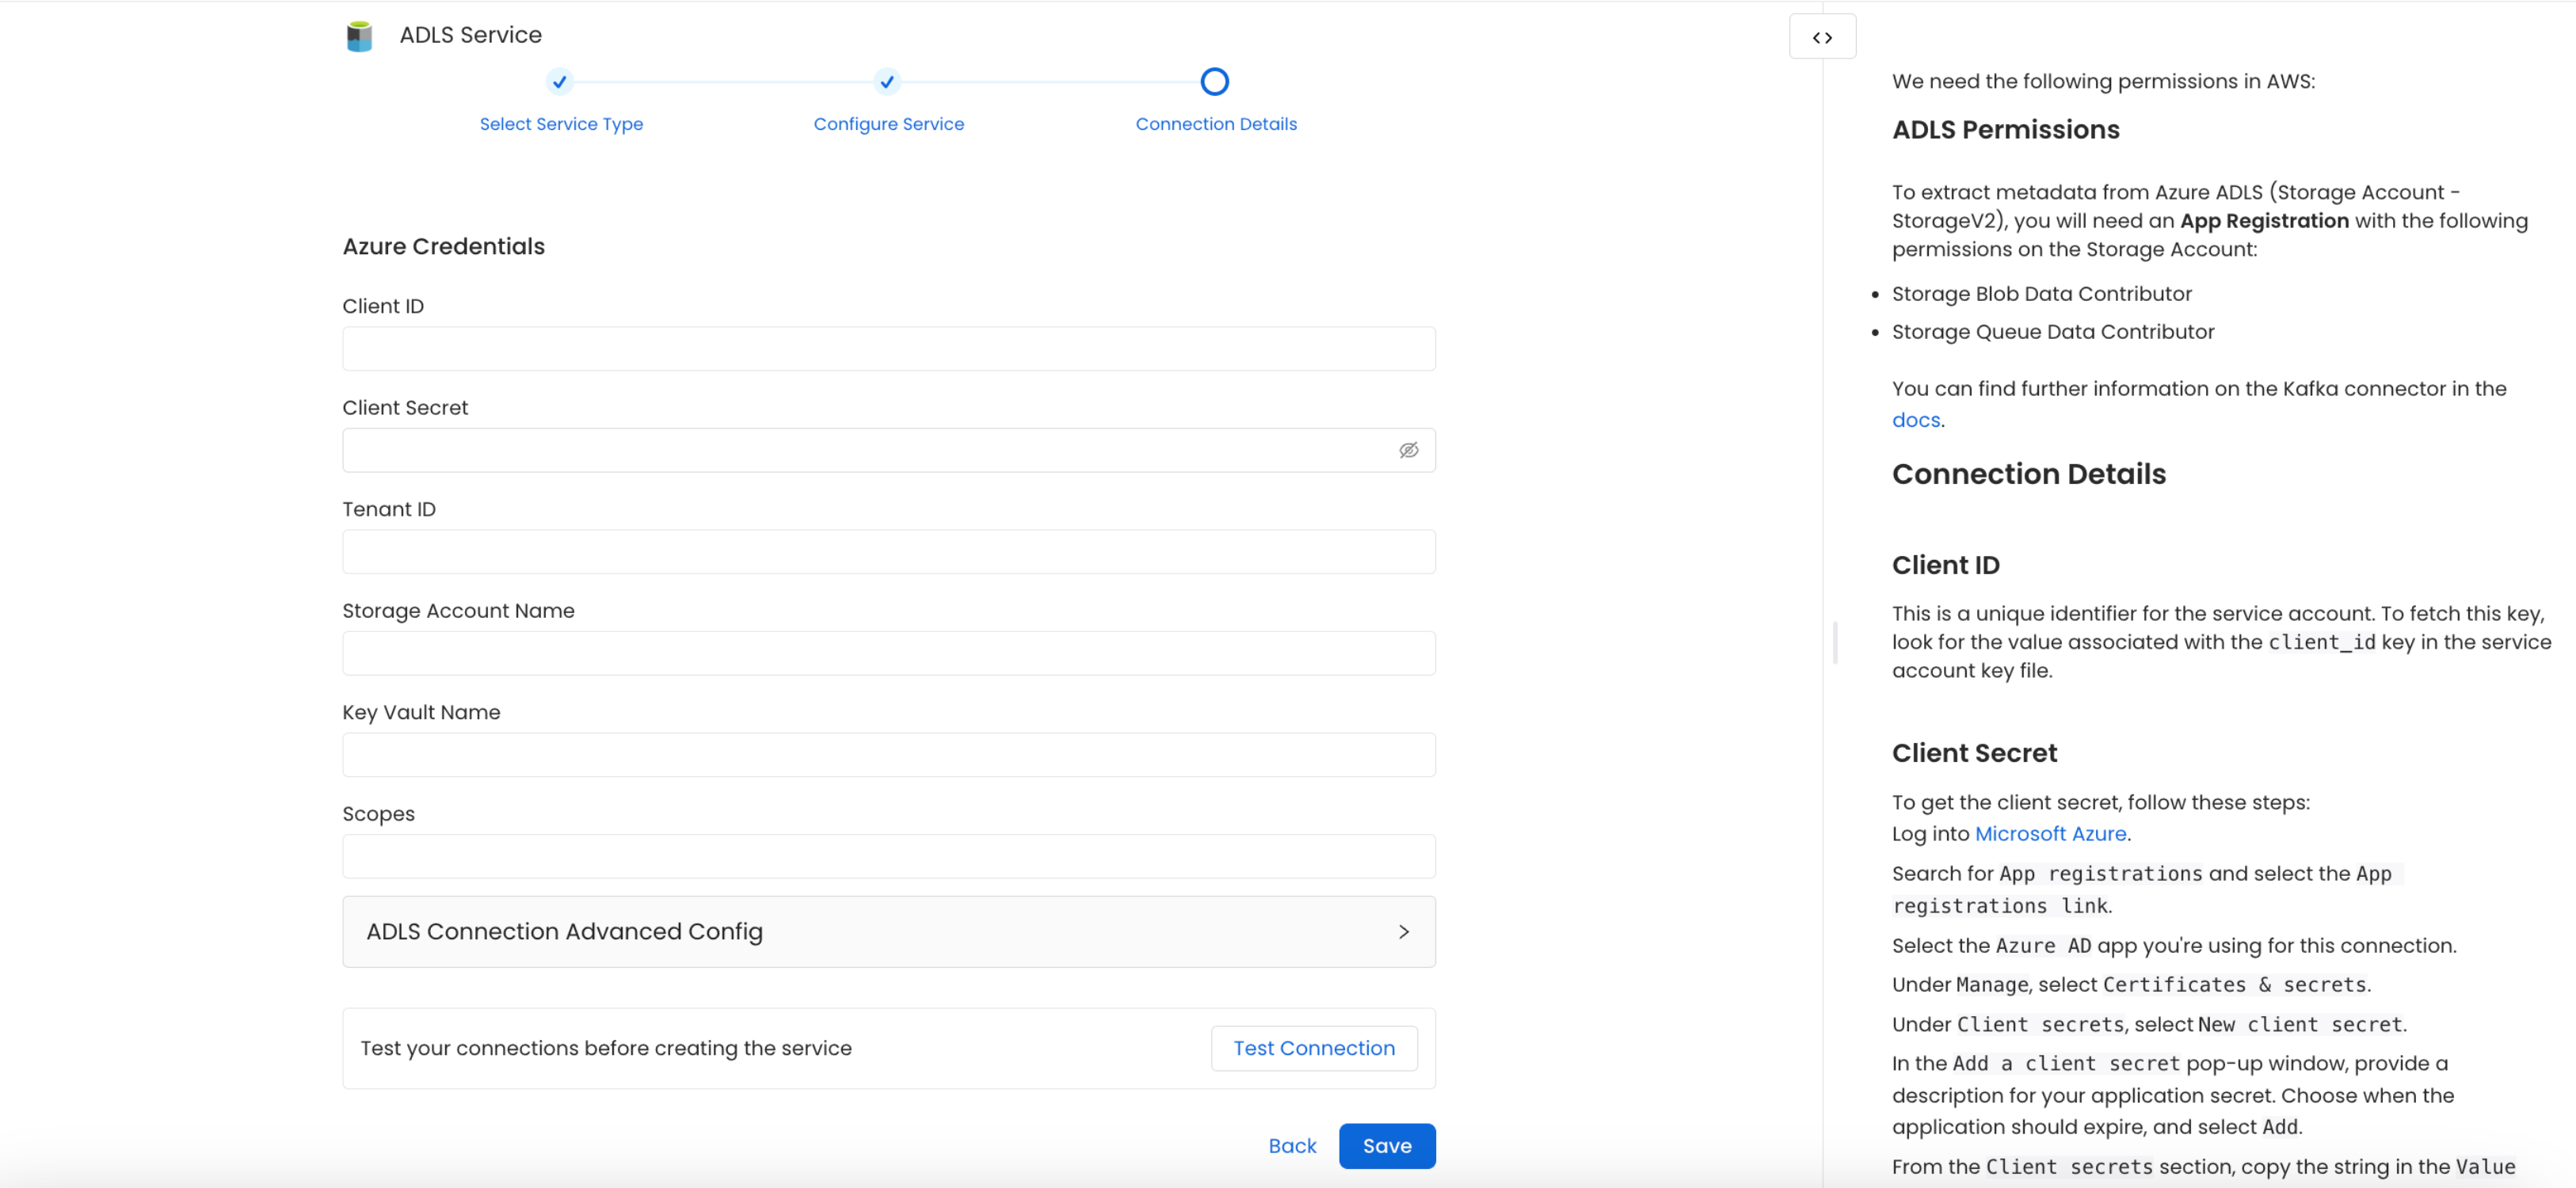
6
Connection Details
Client ID: This unique identifier is assigned to your Azure Service Principal App, serving as a key for authentication and authorization.
Client Secret: This confidential password is associated with the Service Principal, safeguarding access to Azure resources and ensuring secure communication.
Tenant ID: Identifying your Azure Subscription, the Tenant ID links your resources to a specific organization or account within the Azure Active Directory.
Storage Account Name: This is the user-defined name for your Azure Storage Account, providing a globally unique namespace for your data.
Key Vault Name: Azure Key Vault serves as a centralized secrets manager, securely storing and managing sensitive information, such as connection strings and cryptographic keys.
7
Test the Connection
Once the credentials have been added, click on Test Connection and Save the changes.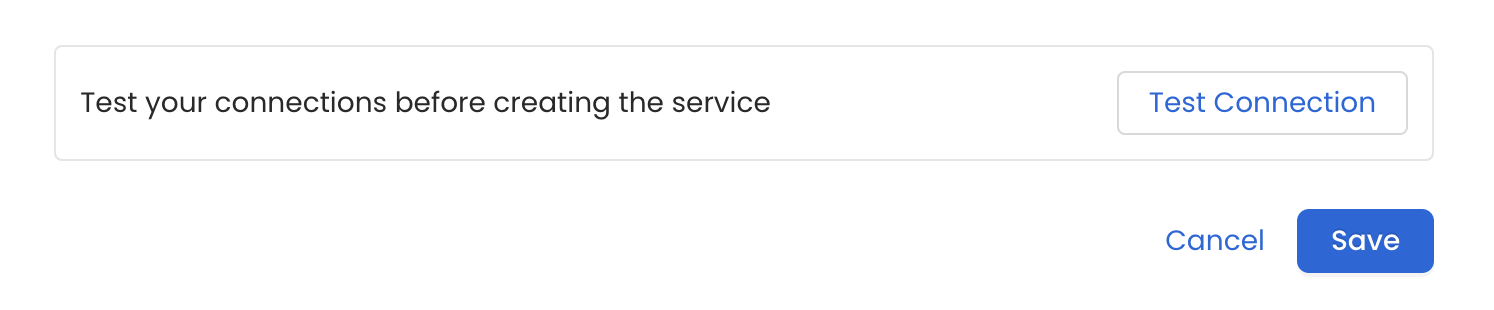
8
Configure Metadata Ingestion
In this step we will configure the metadata ingestion pipeline,
Please follow the instructions below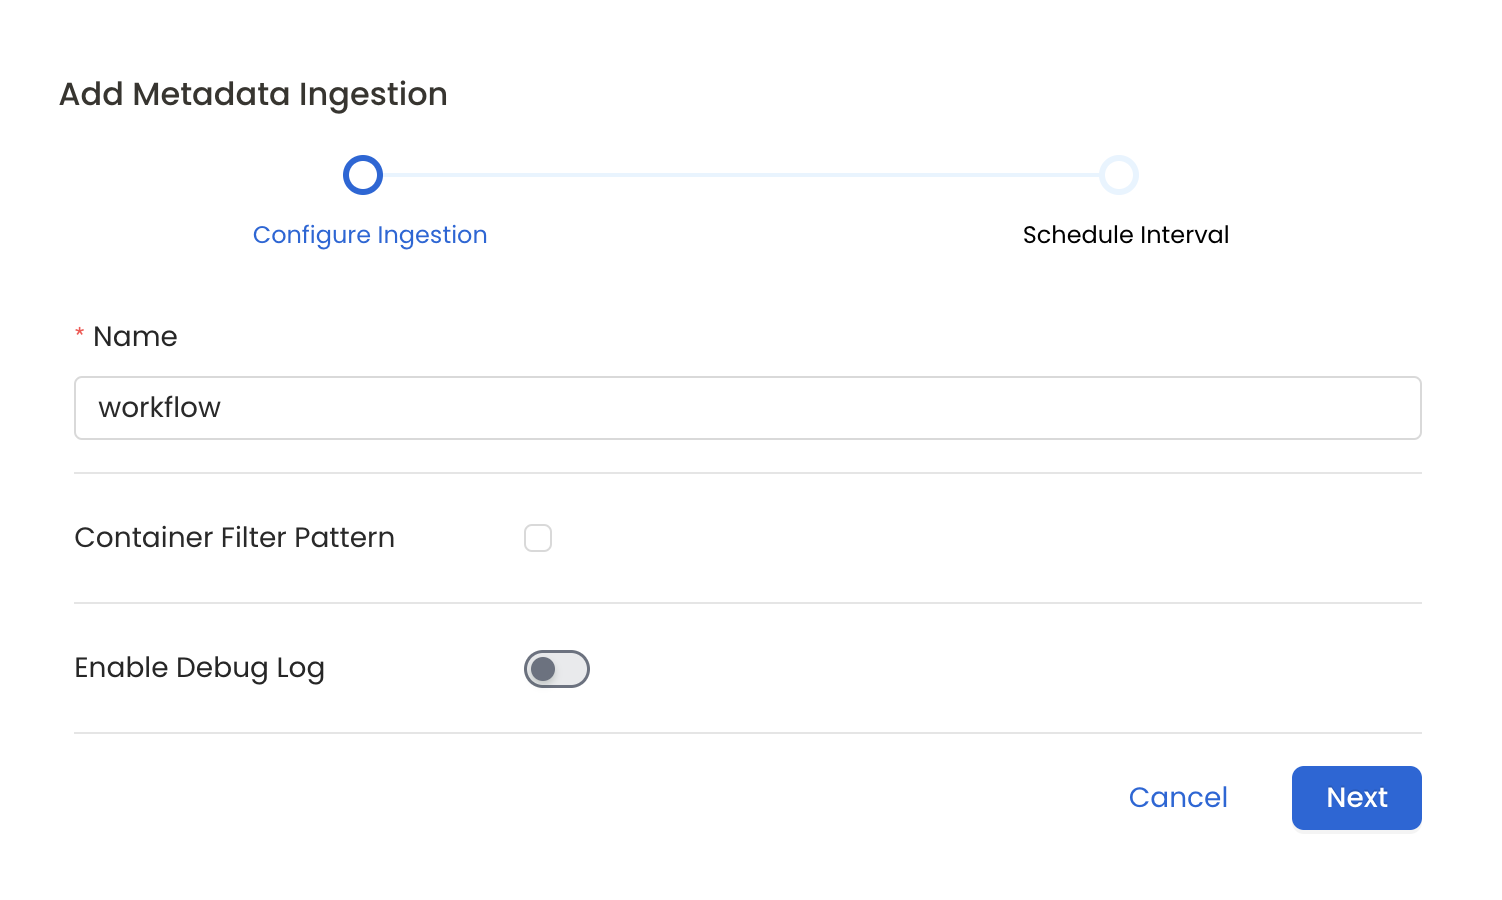
Metadata Ingestion Options
- Name: This field refers to the name of ingestion pipeline, you can customize the name or use the generated name.
- Container Filter Pattern (Optional): To control whether to include a container as part of metadata ingestion.
- Include: Explicitly include containers by adding a list of comma-separated regular expressions to the Include field. OpenMetadata will include all containers with names matching one or more of the supplied regular expressions. All other containers will be excluded.
- Exclude: Explicitly exclude containers by adding a list of comma-separated regular expressions to the Exclude field. OpenMetadata will exclude all containers with names matching one or more of the supplied regular expressions. All other containers will be included.
- Enable Debug Log (toggle): Set the Enable Debug Log toggle to set the default log level to debug.
- Storage Metadata Config Source: Here you can specify the location of your global manifest
openmetadata_storage_manifest.jsonfile. It can be located in S3, a local path or HTTP.
9
Schedule the Ingestion and Deploy
Scheduling can be set up at an hourly, daily, weekly, or manual cadence. The
timezone is in UTC. Select a Start Date to schedule for ingestion. It is
optional to add an End Date.Review your configuration settings. If they match what you intended,
click Deploy to create the service and schedule metadata ingestion.If something doesn’t look right, click the Back button to return to the
appropriate step and change the settings as needed.After configuring the workflow, you can click on Deploy to create the
pipeline.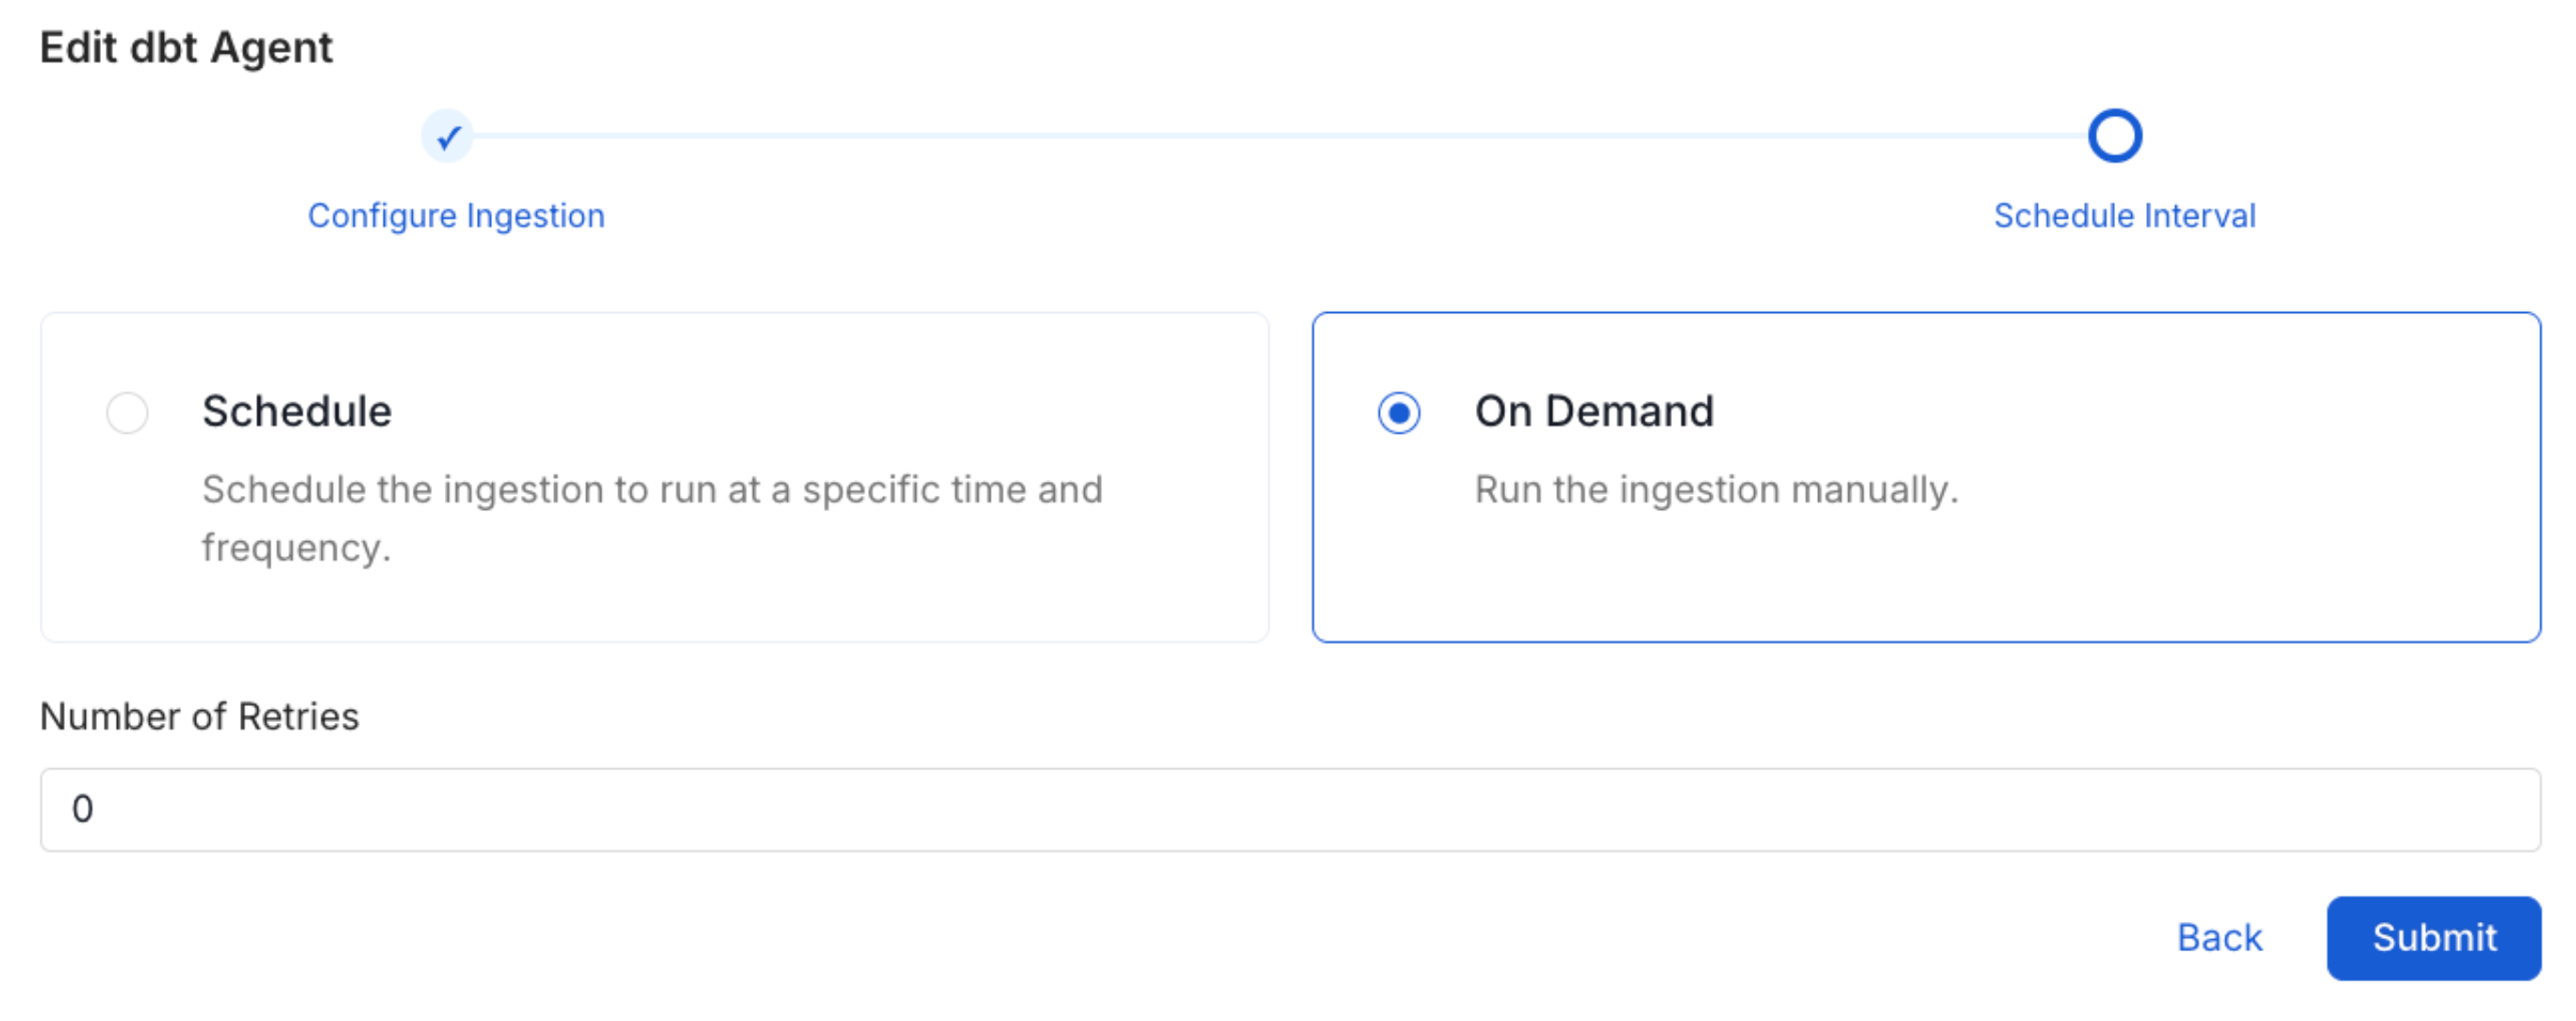
10
View the Ingestion Pipeline
Once the workflow has been successfully deployed, you can view the
Ingestion Pipeline running from the Service Page.
Troubleshooting
ADLS Troubleshooting
Learn more about how to troubleshoot common ADLS connector issues and resolve configuration or ingestion errors.