Requirements
Metadata
To extract metadata from MuleSoft Anypoint Platform, you need either:- Basic Authentication: Username and password with appropriate permissions
- OAuth 2.0 Connected App: Client ID and Client Secret for OAuth authentication
- Access and read applications in the specified organization
- Query CloudHub and Runtime Manager APIs
- Read environment configurations
Permissions
The authenticated user or connected app should have:- Read access to applications in the target organization and environments
- Permissions to view application details and configurations
- Access to CloudHub or Runtime Manager depending on deployment type
Metadata Ingestion
Connection Options
Connection Options
-
Host and Port: MuleSoft Anypoint Platform URL. Use
https://anypoint.mulesoft.comfor US cloud,https://eu1.anypoint.mulesoft.comfor EU cloud, or your on-premises URL. -
Authentication: Choose between two authentication methods:
- Basic Authentication: Provide username and password
- OAuth 2.0 Client Credentials (Connected App): Provide Client ID and Client Secret
- Organization ID (Optional): Anypoint Platform Organization ID. If not provided, the connector will use the user’s default organization.
- Environment ID (Optional): Anypoint Platform Environment ID. If not provided, the connector will discover all accessible environments.
- Application Filter Pattern (Optional): Regex to filter MuleSoft applications by name for selective ingestion.
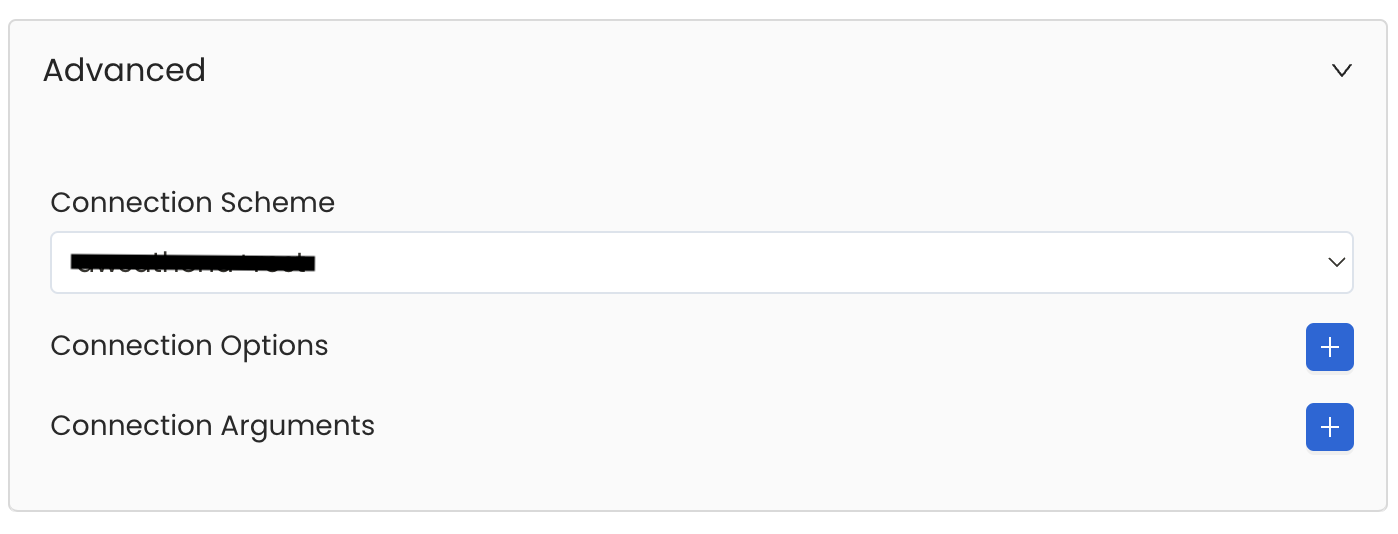
Advanced Configuration
Pipeline Services have an Advanced Configuration section where you can pass extra arguments to the connector.This would only be required to handle advanced connectivity scenarios or customizations.
- Connection Options (Optional): Enter the details for any additional connection options that can be sent to the pipeline service during the connection. These details must be added as Key-Value pairs.
-
Connection Arguments (Optional): Enter the details for any additional connection arguments such as security or protocol configs that can be sent during the connection. These details must be added as Key-Value pairs.
Test the Connection
Once the credentials have been added, click on Test Connection and Save the changes.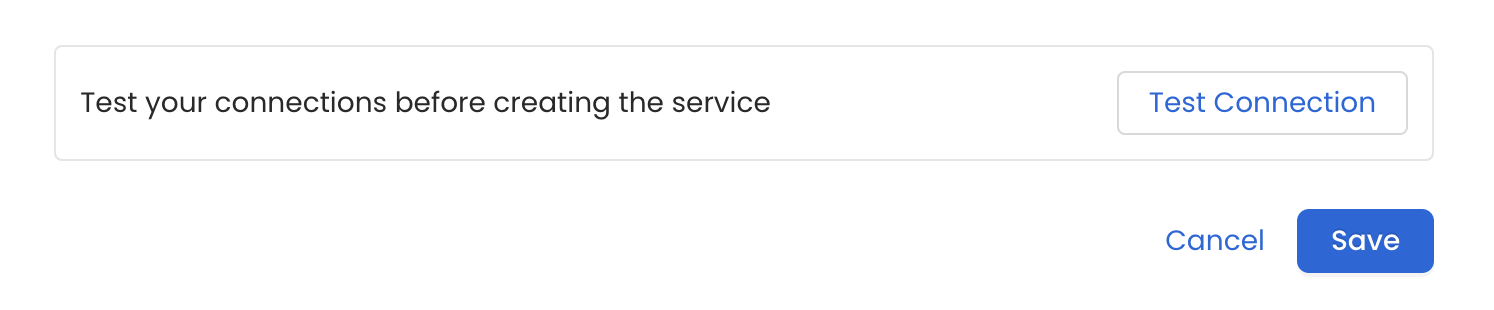
Configure Metadata Ingestion
In this step we will configure the metadata ingestion pipeline,
Please follow the instructions below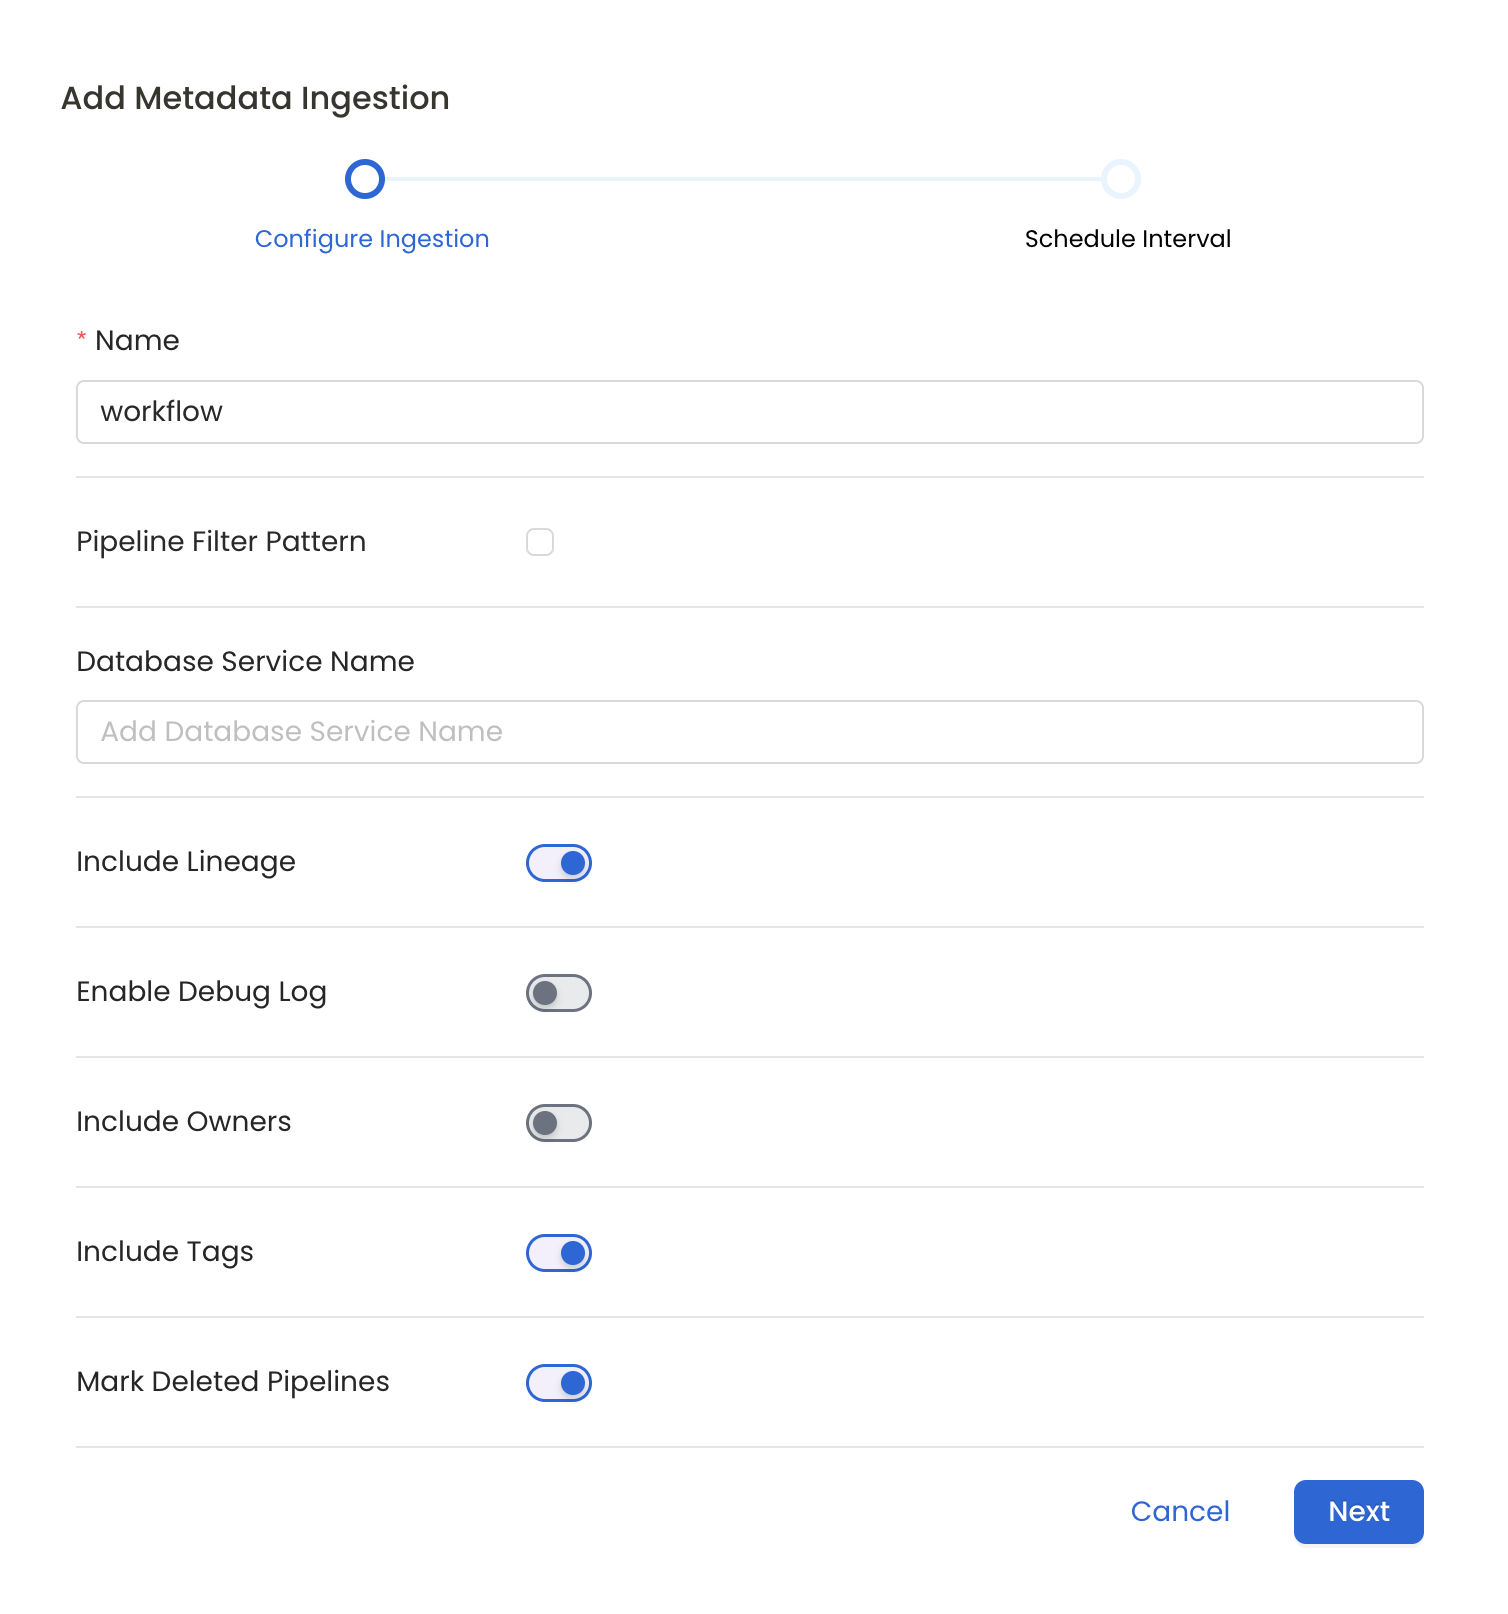
Metadata Ingestion Options
- Name: This field refers to the name of ingestion pipeline, you can customize the name or use the generated name.
- Pipeline Filter Pattern (Optional): Use to pipeline filter patterns to control whether or not to include pipeline as part of metadata ingestion.
- Include: Explicitly include pipeline by adding a list of comma-separated regular expressions to the Include field. OpenMetadata will include all pipeline with names matching one or more of the supplied regular expressions. All other schemas will be excluded.
- Exclude: Explicitly exclude pipeline by adding a list of comma-separated regular expressions to the Exclude field. OpenMetadata will exclude all pipeline with names matching one or more of the supplied regular expressions. All other schemas will be included.
- Include lineage (toggle): Set the Include lineage toggle to control whether to include lineage between pipelines and data sources as part of metadata ingestion.
- Enable Debug Log (toggle): Set the Enable Debug Log toggle to set the default log level to debug.
- Mark Deleted Pipelines (toggle): Set the Mark Deleted Pipelines toggle to flag pipelines as soft-deleted if they are not present anymore in the source system.
Schedule the Ingestion and Deploy
Scheduling can be set up at an hourly, daily, weekly, or manual cadence. The
timezone is in UTC. Select a Start Date to schedule for ingestion. It is
optional to add an End Date.Review your configuration settings. If they match what you intended,
click Deploy to create the service and schedule metadata ingestion.If something doesn’t look right, click the Back button to return to the
appropriate step and change the settings as needed.After configuring the workflow, you can click on Deploy to create the
pipeline.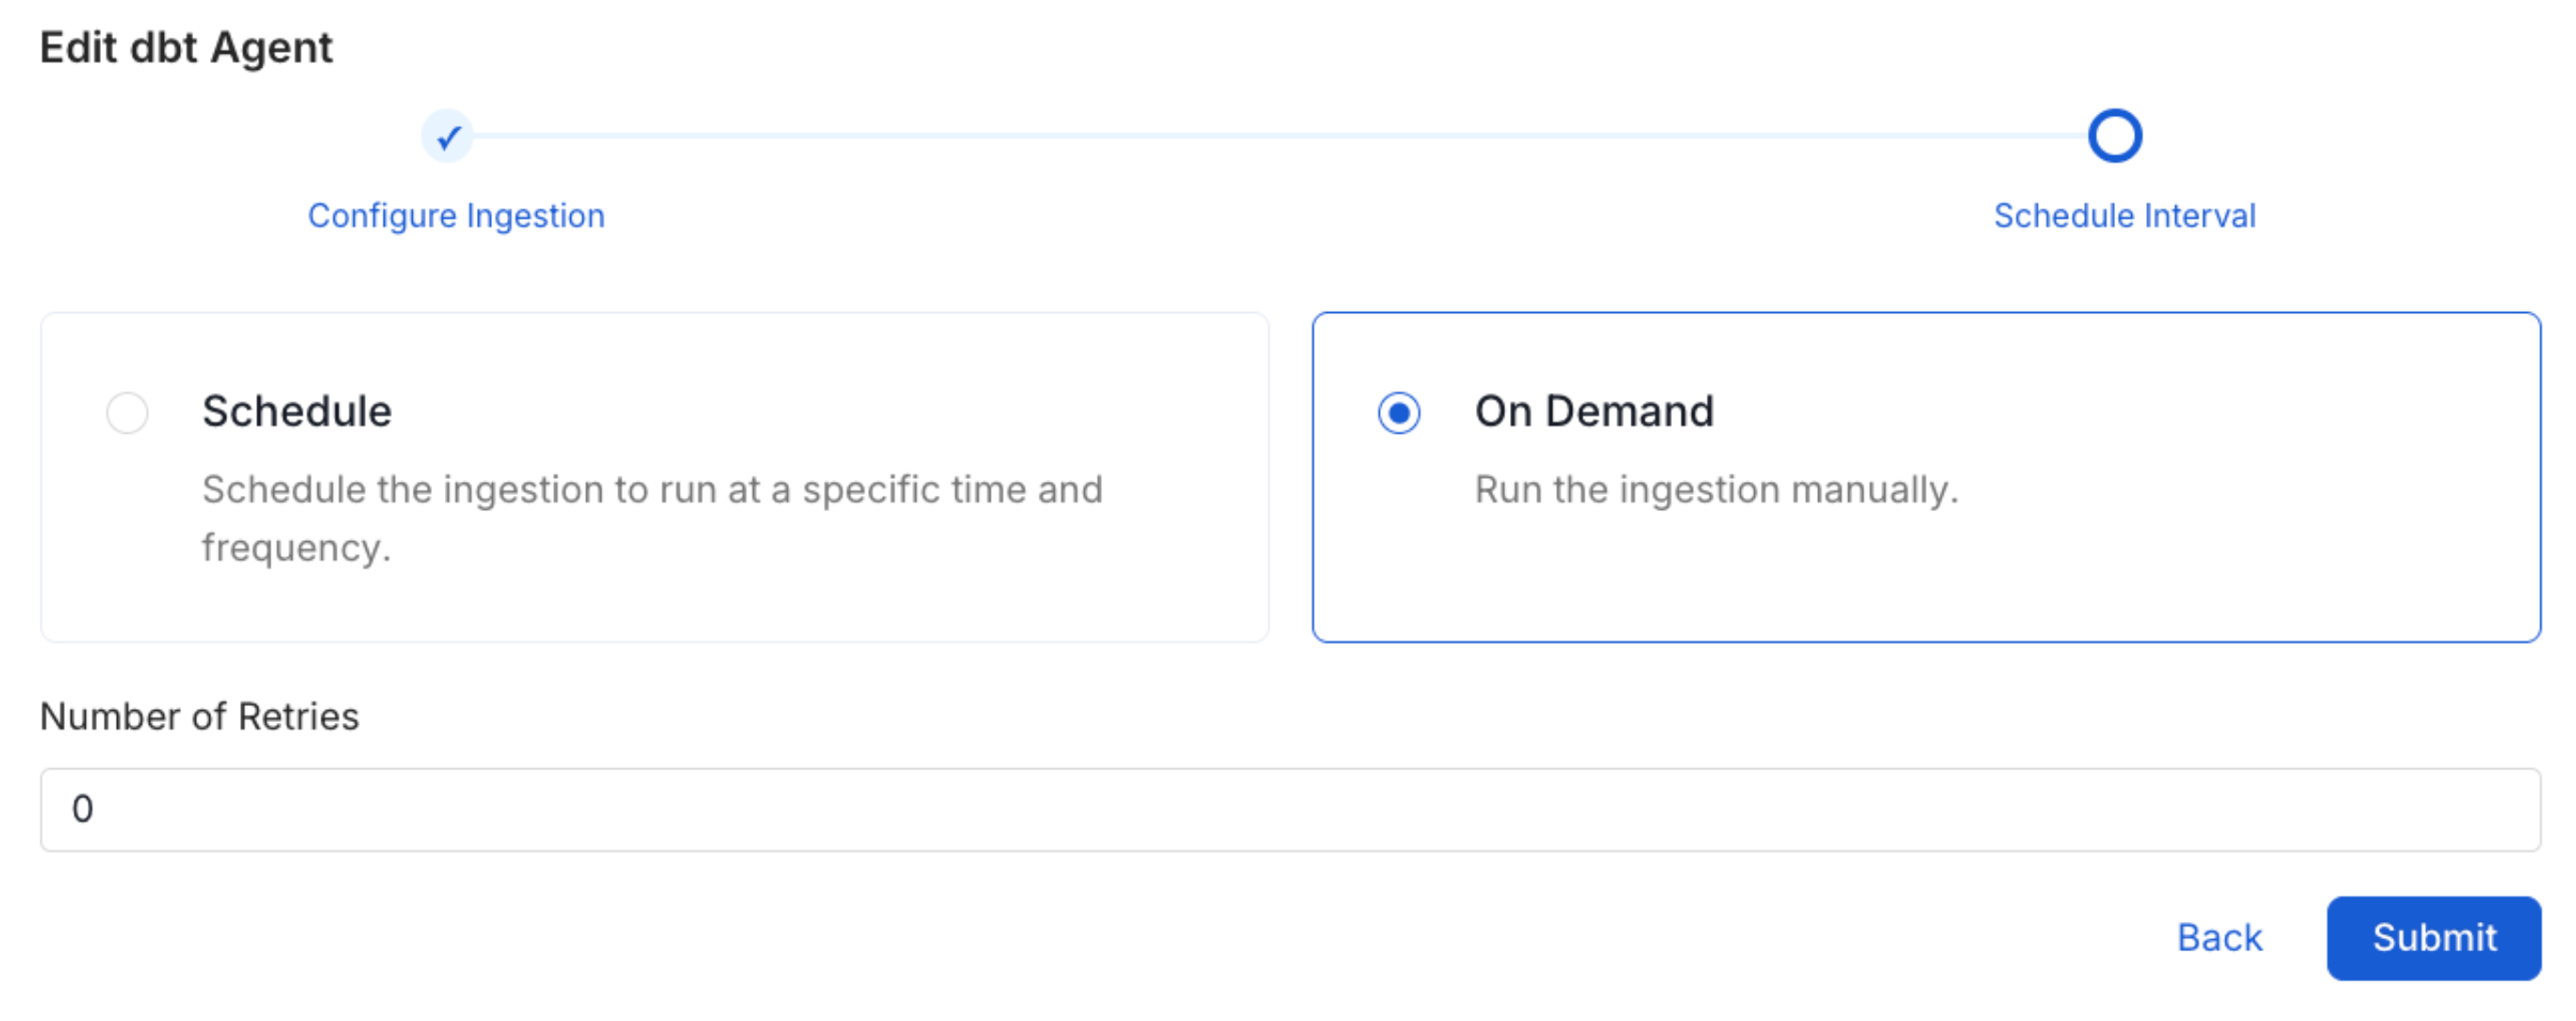
Troubleshooting
Mulesoft Troubleshooting
Learn more about how to troubleshoot common Mulesoft connector issues and resolve configuration or ingestion errors.
Related
Metadata Ingestion
Learn more about how to configure metadata ingestion workflows from the UI.
Ingestion Best Practices
Learn more about recommended ingestion setup and operations.