Requirements
To extract metadata from AWS Kinesis Firehose, you need to configure AWS credentials with appropriate permissions:- AWS Credentials: Valid AWS credentials (Access Key ID and Secret Access Key) or IAM role with permissions to access Kinesis Firehose
- Permissions Required:
firehose:DescribeDeliveryStream- To describe delivery stream detailsfirehose:ListDeliveryStreams- To list all delivery streamsdynamodb:describe_kinesis_streaming_destination- To describe dynamodb table destination kinesis stream
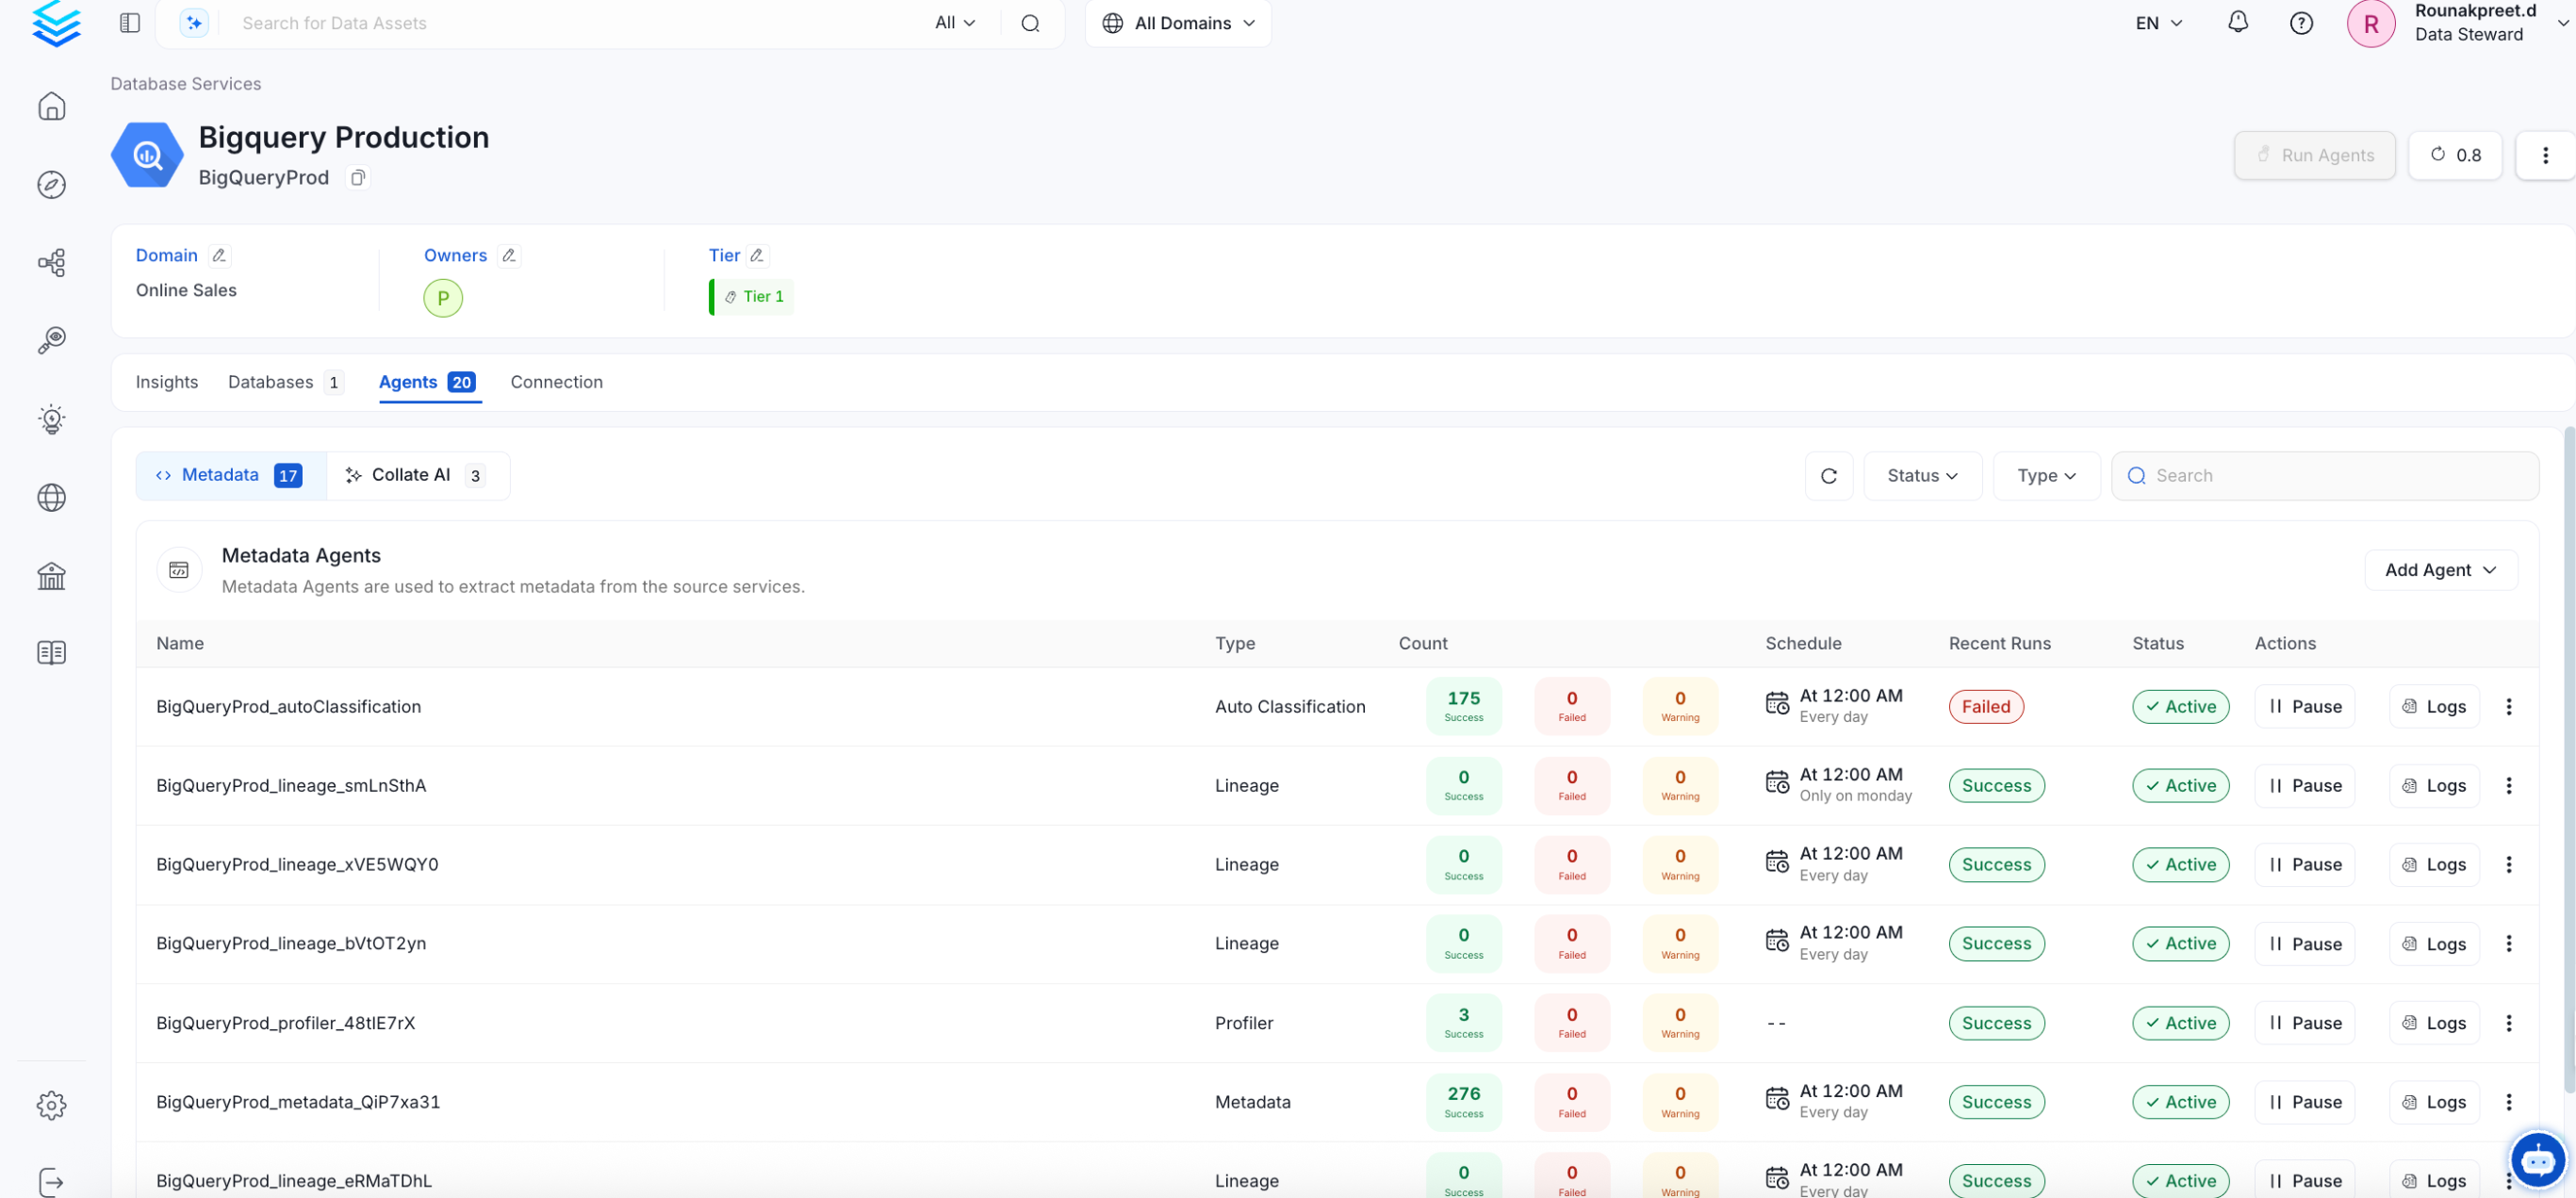
Metadata Ingestion
Connection Details
Connection Details
- AWS Access Key ID: AWS Access Key ID is a unique identifier for your AWS account. It is used in combination with the Secret Access Key to authenticate API requests to AWS services. This is an optional field if you are using IAM roles or AWS profiles for authentication.
- AWS Secret Access Key: AWS Secret Access Key is a secret key that is used in combination with the Access Key ID to cryptographically sign API requests to AWS services. Keep this value secure and never share it. This is an optional field if you are using IAM roles or AWS profiles for authentication.
-
AWS Region: AWS Region where your Kinesis Firehose delivery streams are deployed. This is a required field. Examples include:
us-east-1(US East - N. Virginia)us-west-2(US West - Oregon)eu-west-1(Europe - Ireland)ap-southeast-1(Asia Pacific - Singapore)
-
AWS Session Token: AWS Session Token is a temporary credential that is required when using temporary security credentials (such as those from AWS STS). This is typically used in scenarios involving:
- Federated user access
- Cross-account access
- Temporary credentials from AWS STS AssumeRole operations
-
Endpoint URL: Custom endpoint URL for AWS services. This is useful when:
- Connecting to AWS services through a VPC endpoint
- Using AWS compatible services (like MinIO for S3-compatible storage)
- Connecting to AWS GovCloud or other specialized AWS regions
https://firehose.us-east-1.amazonaws.com -
Profile Name: The name of an AWS profile configured in your AWS credentials file (
~/.aws/credentials). When specified, the connector will use the credentials associated with this profile. This is useful when you have multiple AWS accounts or different permission sets configured locally. Example profile names:defaultproductiondevelopment
-
Assume Role ARN: The Amazon Resource Name (ARN) of an IAM role to assume for accessing Kinesis Firehose resources. This is useful for cross-account access scenarios where the Kinesis Firehose delivery streams exist in a different AWS account.
Format:
arn:aws:iam::ACCOUNT_ID:role/ROLE_NAMEExample:arn:aws:iam::123456789012:role/KinesisFirehoseReadOnlyRoleWhen using Assume Role, ensure that:- The role has a trust relationship with the account making the request
- The role has necessary permissions to access Kinesis Firehose
-
Assume Role Session Name: A unique identifier for the assumed role session. This helps to distinguish between different sessions when the same role is assumed by different users or services. AWS uses this value in CloudTrail logs to help with auditing.
Default value:
OpenMetadataSessionYou can customize this to include information like:- Username or service name
- Environment (dev, staging, prod)
- Timestamp or unique identifier
-
Assume Role Source Identity: The source identity to associate with the assumed role session. This is an optional field that provides additional context about who or what is assuming the role. The source identity information appears in AWS CloudTrail logs and can be useful for auditing and compliance purposes.
Example:
openmetadata-ingestion-service -
Messaging Service Name: The Name of the ingested Kafka Messaging Service associated with this Firehose Pipeline Service upstream source.
Example:
local_kafka -
Pipeline Filter Pattern: A regular expression pattern to filter which Kinesis Firehose delivery streams to include or exclude during metadata extraction. This helps you control which pipelines are ingested into OpenMetadata.
Include Filter Examples:
.*prod.*- Include only delivery streams with “prod” in the name^analytics-.*- Include only delivery streams starting with “analytics-”.*-data-stream$- Include only delivery streams ending with “-data-stream”
.*test.*- Exclude delivery streams with “test” in the name^temp-.*- Exclude delivery streams starting with “temp-”
Test the Connection
Once the credentials have been added, click on Test Connection and Save the changes.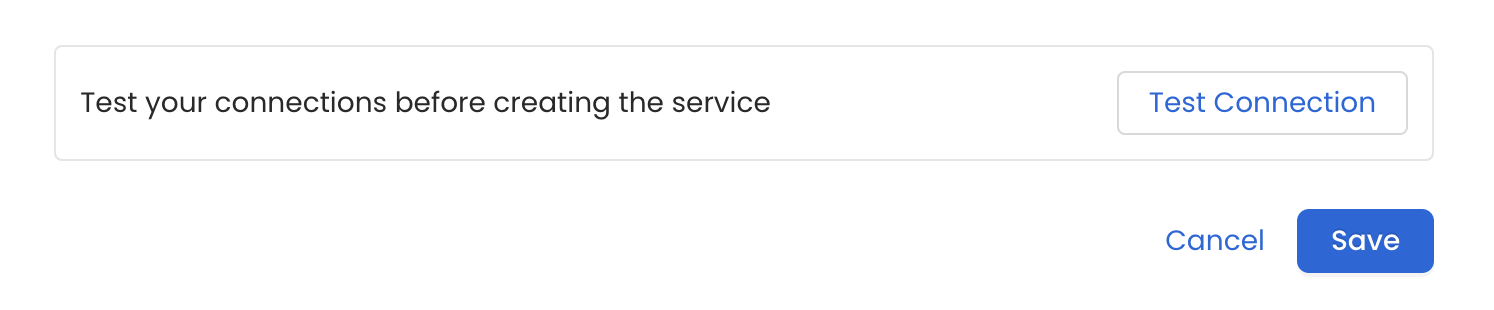
Configure Metadata Ingestion
In this step we will configure the metadata ingestion pipeline,
Please follow the instructions below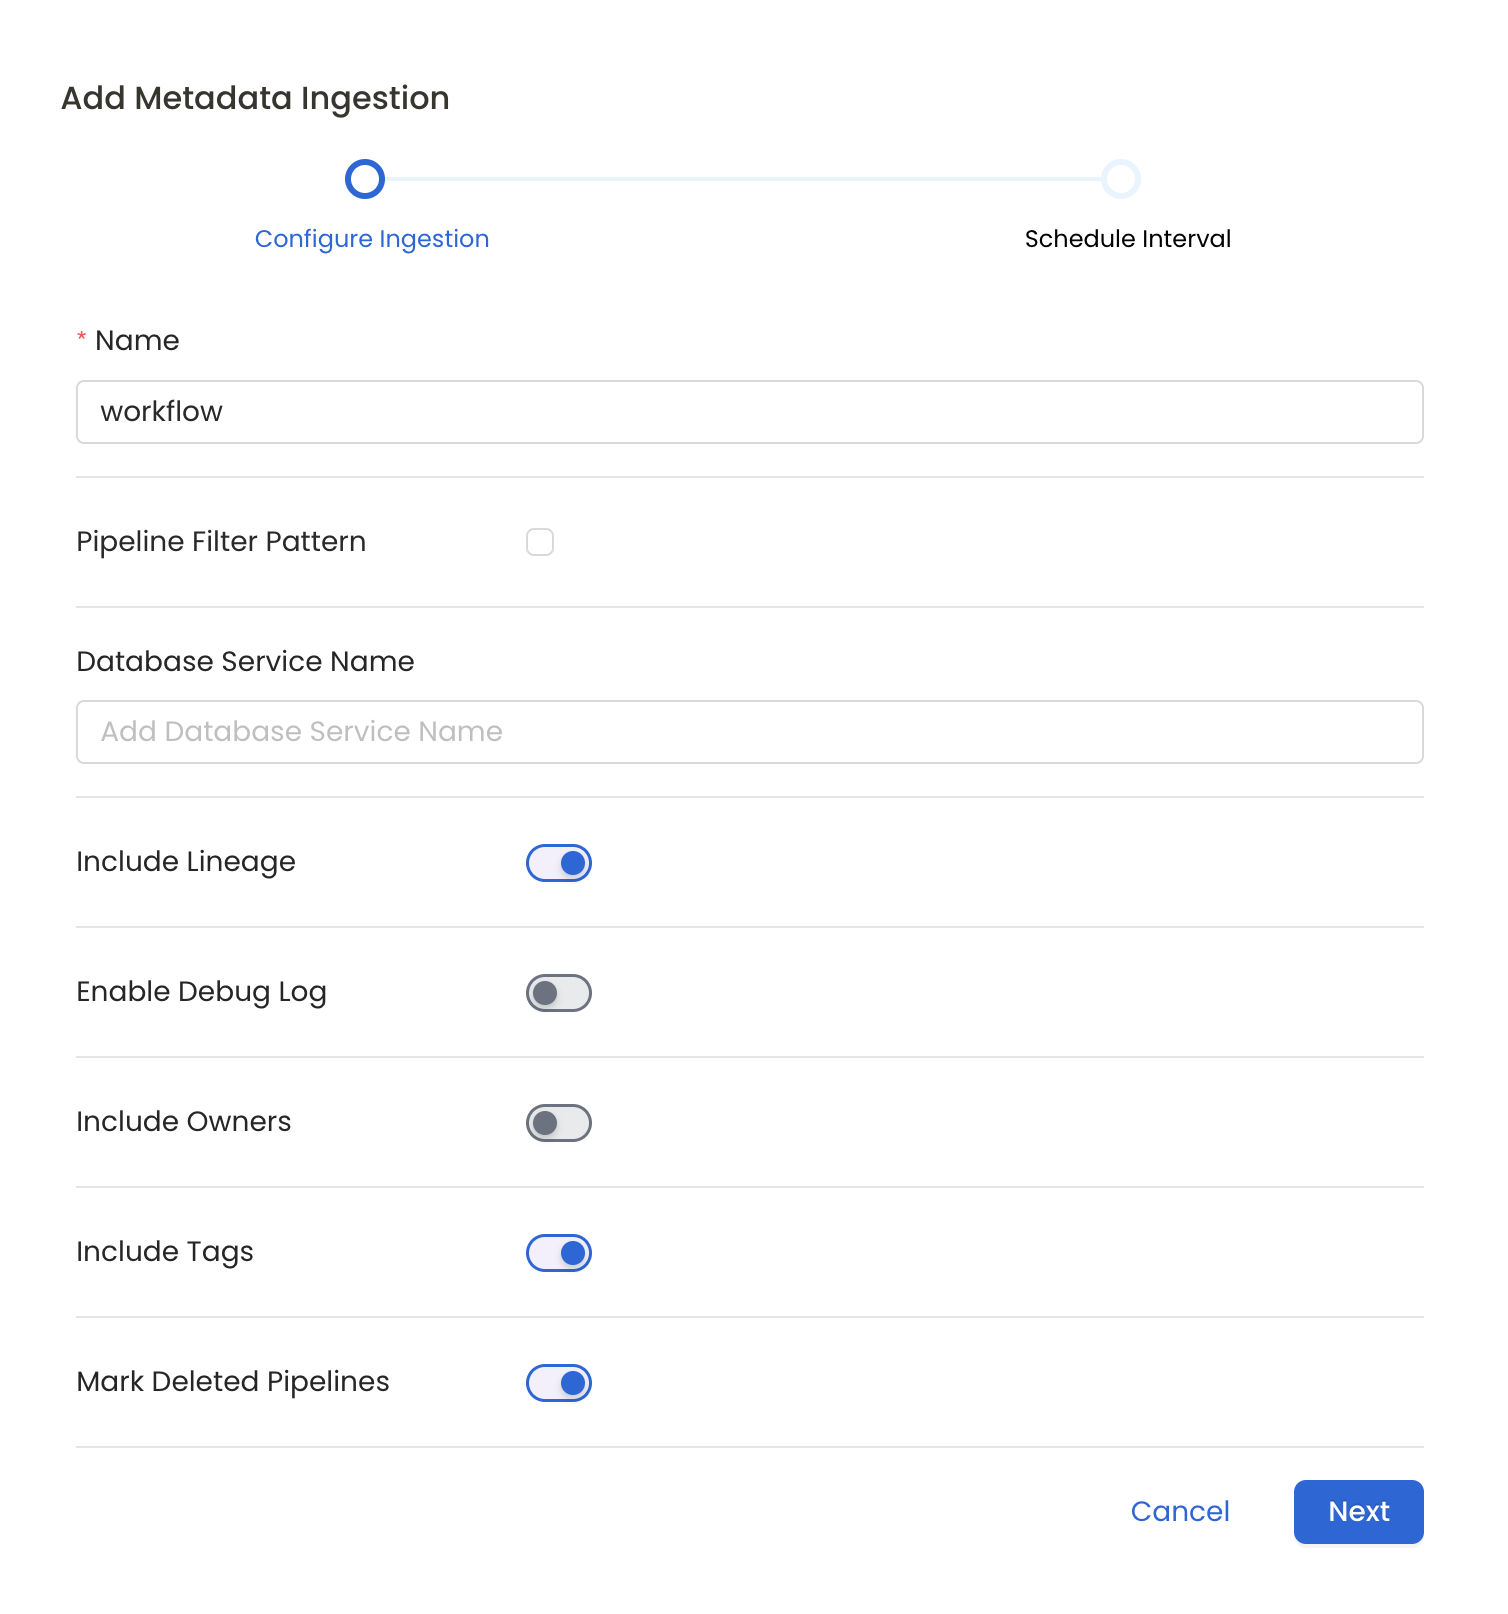
Metadata Ingestion Options
- Name: This field refers to the name of ingestion pipeline, you can customize the name or use the generated name.
- Pipeline Filter Pattern (Optional): Use to pipeline filter patterns to control whether or not to include pipeline as part of metadata ingestion.
- Include: Explicitly include pipeline by adding a list of comma-separated regular expressions to the Include field. OpenMetadata will include all pipeline with names matching one or more of the supplied regular expressions. All other schemas will be excluded.
- Exclude: Explicitly exclude pipeline by adding a list of comma-separated regular expressions to the Exclude field. OpenMetadata will exclude all pipeline with names matching one or more of the supplied regular expressions. All other schemas will be included.
- Include lineage (toggle): Set the Include lineage toggle to control whether to include lineage between pipelines and data sources as part of metadata ingestion.
- Enable Debug Log (toggle): Set the Enable Debug Log toggle to set the default log level to debug.
- Mark Deleted Pipelines (toggle): Set the Mark Deleted Pipelines toggle to flag pipelines as soft-deleted if they are not present anymore in the source system.
Schedule the Ingestion and Deploy
Scheduling can be set up at an hourly, daily, weekly, or manual cadence. The
timezone is in UTC. Select a Start Date to schedule for ingestion. It is
optional to add an End Date.Review your configuration settings. If they match what you intended,
click Deploy to create the service and schedule metadata ingestion.If something doesn’t look right, click the Back button to return to the
appropriate step and change the settings as needed.After configuring the workflow, you can click on Deploy to create the
pipeline.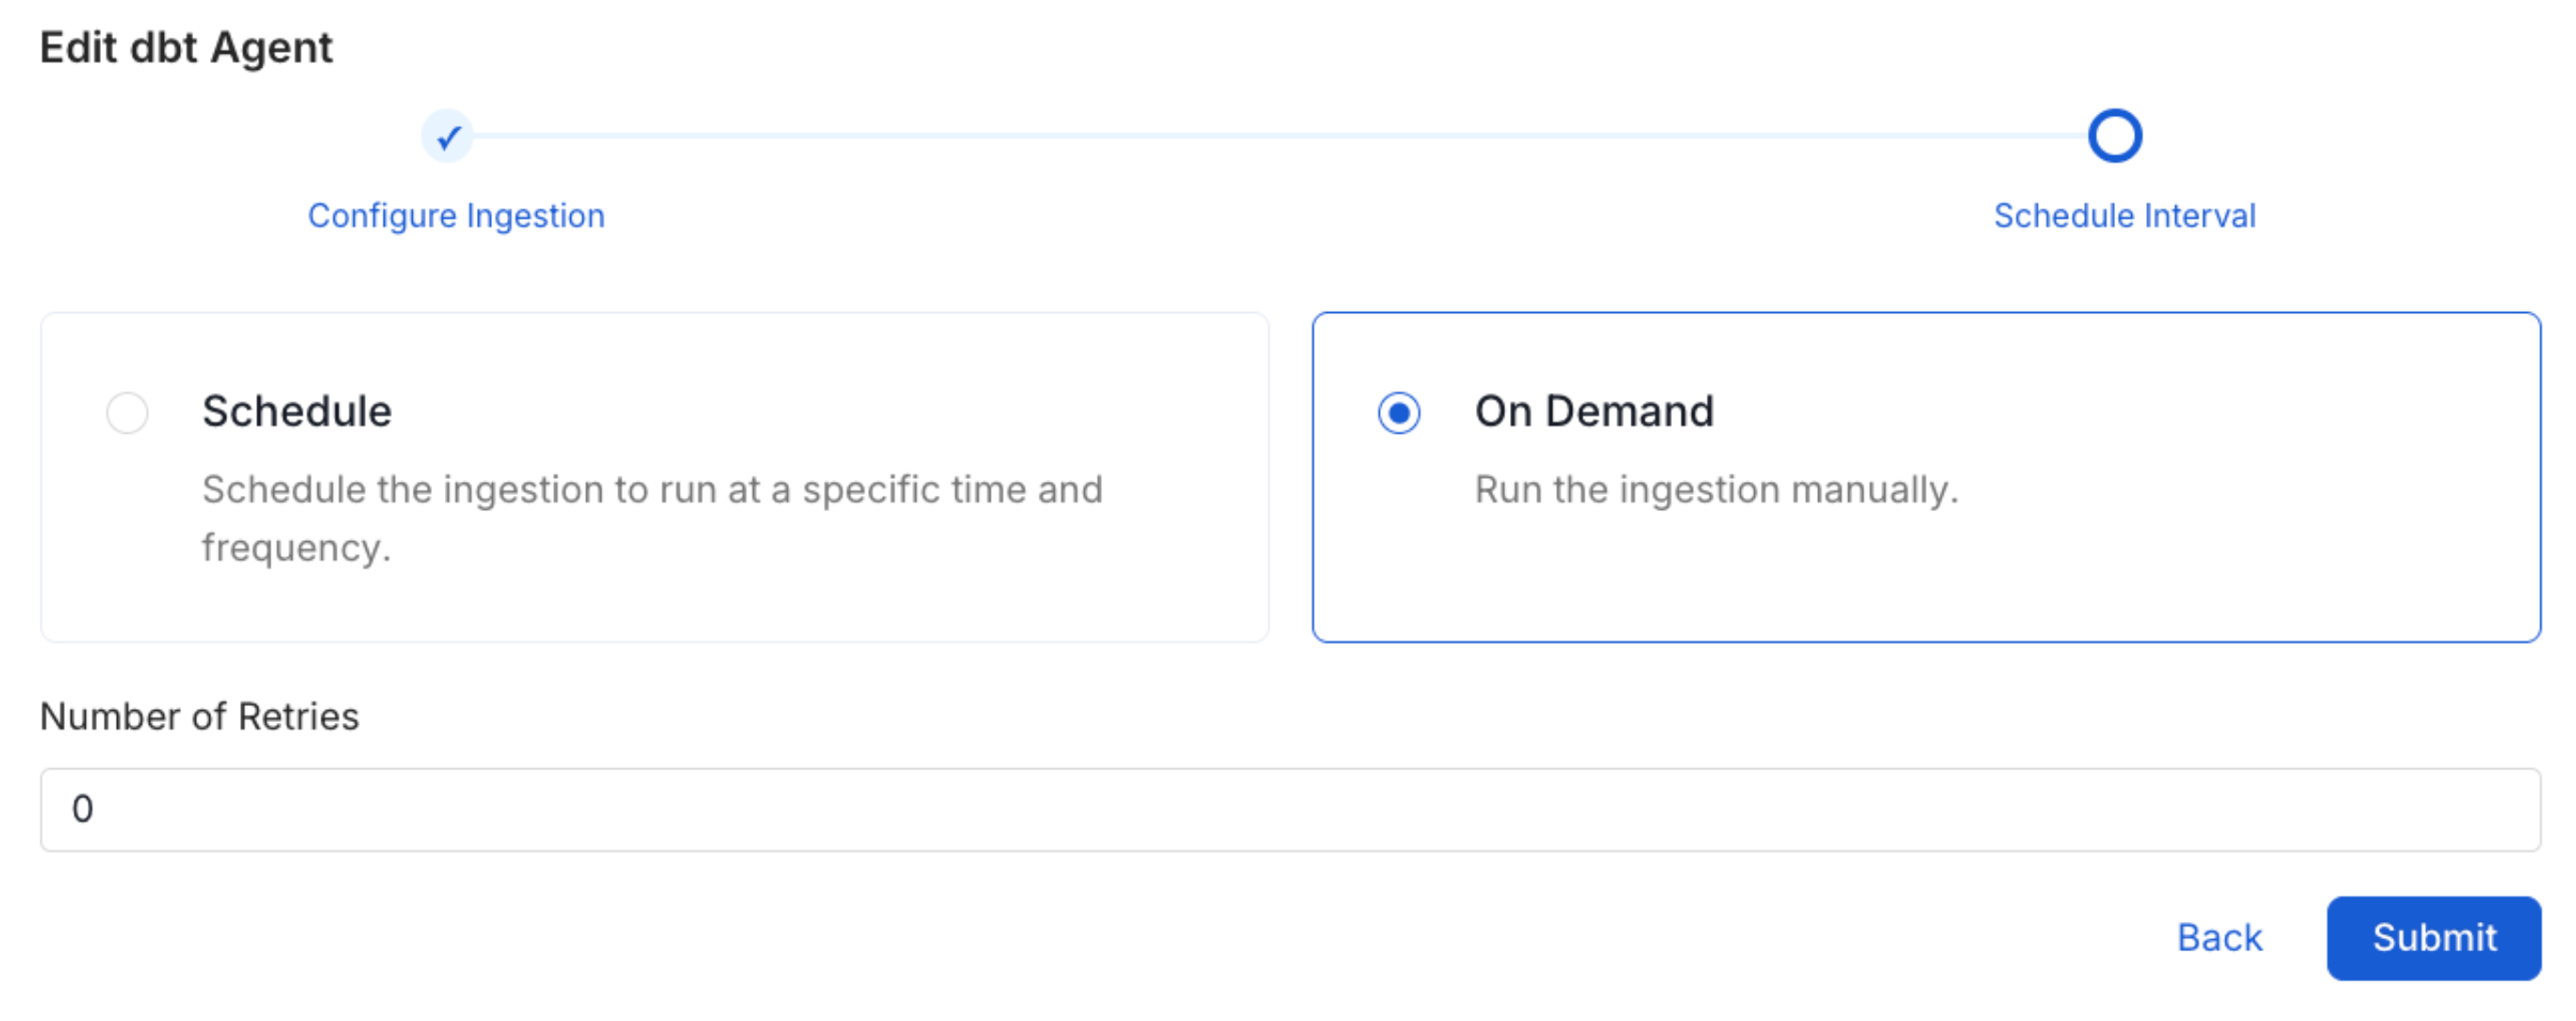
Troubleshooting
Kinesis Firehose Troubleshooting
Learn more about how to troubleshoot common Kinesis Firehose connector issues and resolve configuration or ingestion errors.