Requirements
Data Factory Versions
The Ingestion framework uses Azure Data Factory APIs to connect to the Data Factory and fetch metadata. You can find further information on the Azure Data Factory connector in the docs.Permissions
Ensure that the service principal or managed identity you’re using has the necessary permissions in the Data Factory resource (Reader, Contributor or Data Factory Contributor role at minimum).Metadata Ingestion
Connection Details
Connection Details
- Subscription ID: Your Azure subscription’s unique identifier. In the Azure portal, navigate to Subscriptions > Your Subscription > Overview. You’ll see the subscription ID listed there.
- Resource Group name : This is the name of the resource group that contains your Data Factory instance. In the Azure portal, navigate to Resource Groups. Find your resource group, and note the name.
- Azure Data Factory name : The name of your Data Factory instance. In the Azure portal, navigate to Data Factories and find your Data Factory. The Data Factory name will be listed there.
- Azure Data Factory pipeline runs day filter : The days range when filtering pipeline runs. It specifies how many days back from the current date to look for pipeline runs, and filter runs within the given period of days. Default is
7days.Optional
Azure Data Factory Configuration
- Client ID : To get the Client ID (also known as application ID), follow these steps:
- Log into Microsoft Azure.
- Search for
App registrationsand select theApp registrations link. - Select the
Azure ADapp you’re using for this connection. - From the Overview section, copy the
Application (client) ID.
- Client Secret : To get the client secret, follow these steps:
- Log into Microsoft Azure.
- Search for
App registrationsand select theApp registrations link. - Select the
Azure ADapp you’re using for this connection. - Under
Manage, selectCertificates & secrets. - Under
Client secrets, selectNew client secret. - In the
Add a client secretpop-up window, provide a description for your application secret. Choose when the application should expire, and selectAdd. - From the
Client secretssection, copy the string in theValuecolumn of the newly created application secret.
- Tenant ID : To get the tenant ID, follow these steps:
- Log into Microsoft Azure.
- Search for
App registrationsand select theApp registrations link. - Select the
Azure ADapp you’re using for Power BI. - From the
Overviewsection, copy theDirectory (tenant) ID.
- Account Name : Here are the step-by-step instructions for finding the account name for an Azure Data Lake Storage account:
- Sign in to the Azure portal and navigate to the
Storage accountspage. - Find the Data Lake Storage account you want to access and click on its name.
- In the account overview page, locate the
Account namefield. This is the unique identifier for the Data Lake Storage account. - You can use this account name to access and manage the resources associated with the account, such as creating and managing containers and directories.
Test the Connection
Once the credentials have been added, click on Test Connection and Save the changes.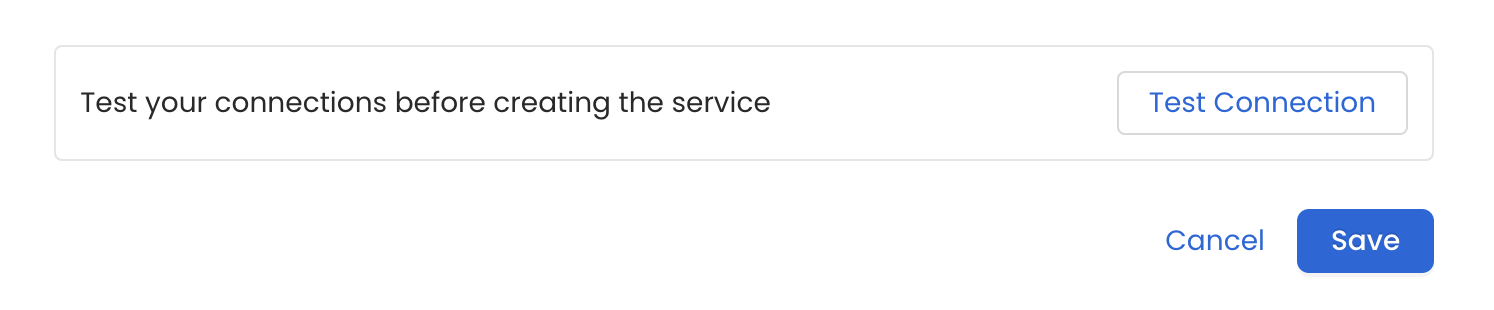
Configure Metadata Ingestion
In this step we will configure the metadata ingestion pipeline,
Please follow the instructions below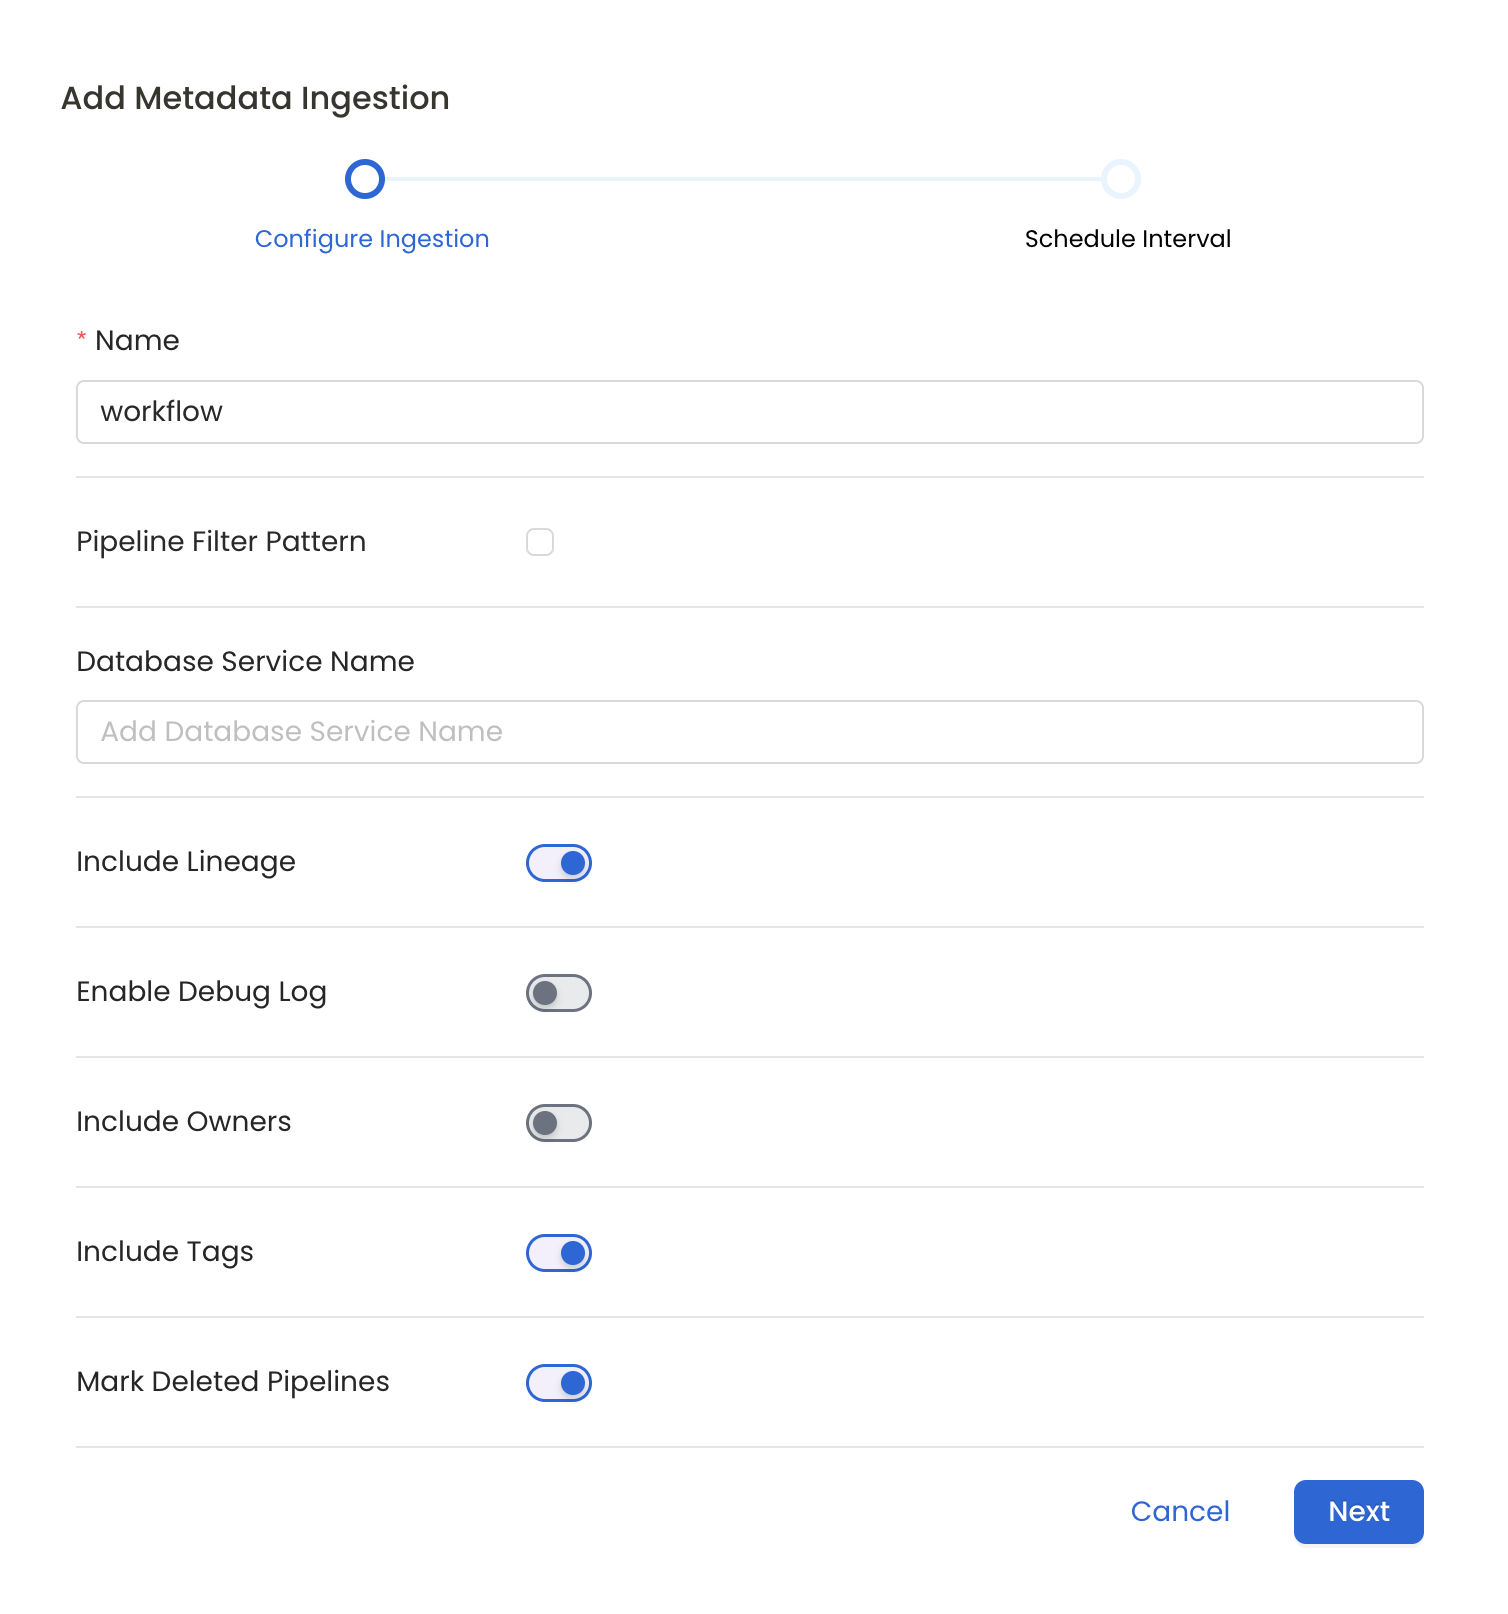
Metadata Ingestion Options
- Name: This field refers to the name of ingestion pipeline, you can customize the name or use the generated name.
- Pipeline Filter Pattern (Optional): Use to pipeline filter patterns to control whether or not to include pipeline as part of metadata ingestion.
- Include: Explicitly include pipeline by adding a list of comma-separated regular expressions to the Include field. OpenMetadata will include all pipeline with names matching one or more of the supplied regular expressions. All other schemas will be excluded.
- Exclude: Explicitly exclude pipeline by adding a list of comma-separated regular expressions to the Exclude field. OpenMetadata will exclude all pipeline with names matching one or more of the supplied regular expressions. All other schemas will be included.
- Include lineage (toggle): Set the Include lineage toggle to control whether to include lineage between pipelines and data sources as part of metadata ingestion.
- Enable Debug Log (toggle): Set the Enable Debug Log toggle to set the default log level to debug.
- Mark Deleted Pipelines (toggle): Set the Mark Deleted Pipelines toggle to flag pipelines as soft-deleted if they are not present anymore in the source system.
Schedule the Ingestion and Deploy
Scheduling can be set up at an hourly, daily, weekly, or manual cadence. The
timezone is in UTC. Select a Start Date to schedule for ingestion. It is
optional to add an End Date.Review your configuration settings. If they match what you intended,
click Deploy to create the service and schedule metadata ingestion.If something doesn’t look right, click the Back button to return to the
appropriate step and change the settings as needed.After configuring the workflow, you can click on Deploy to create the
pipeline.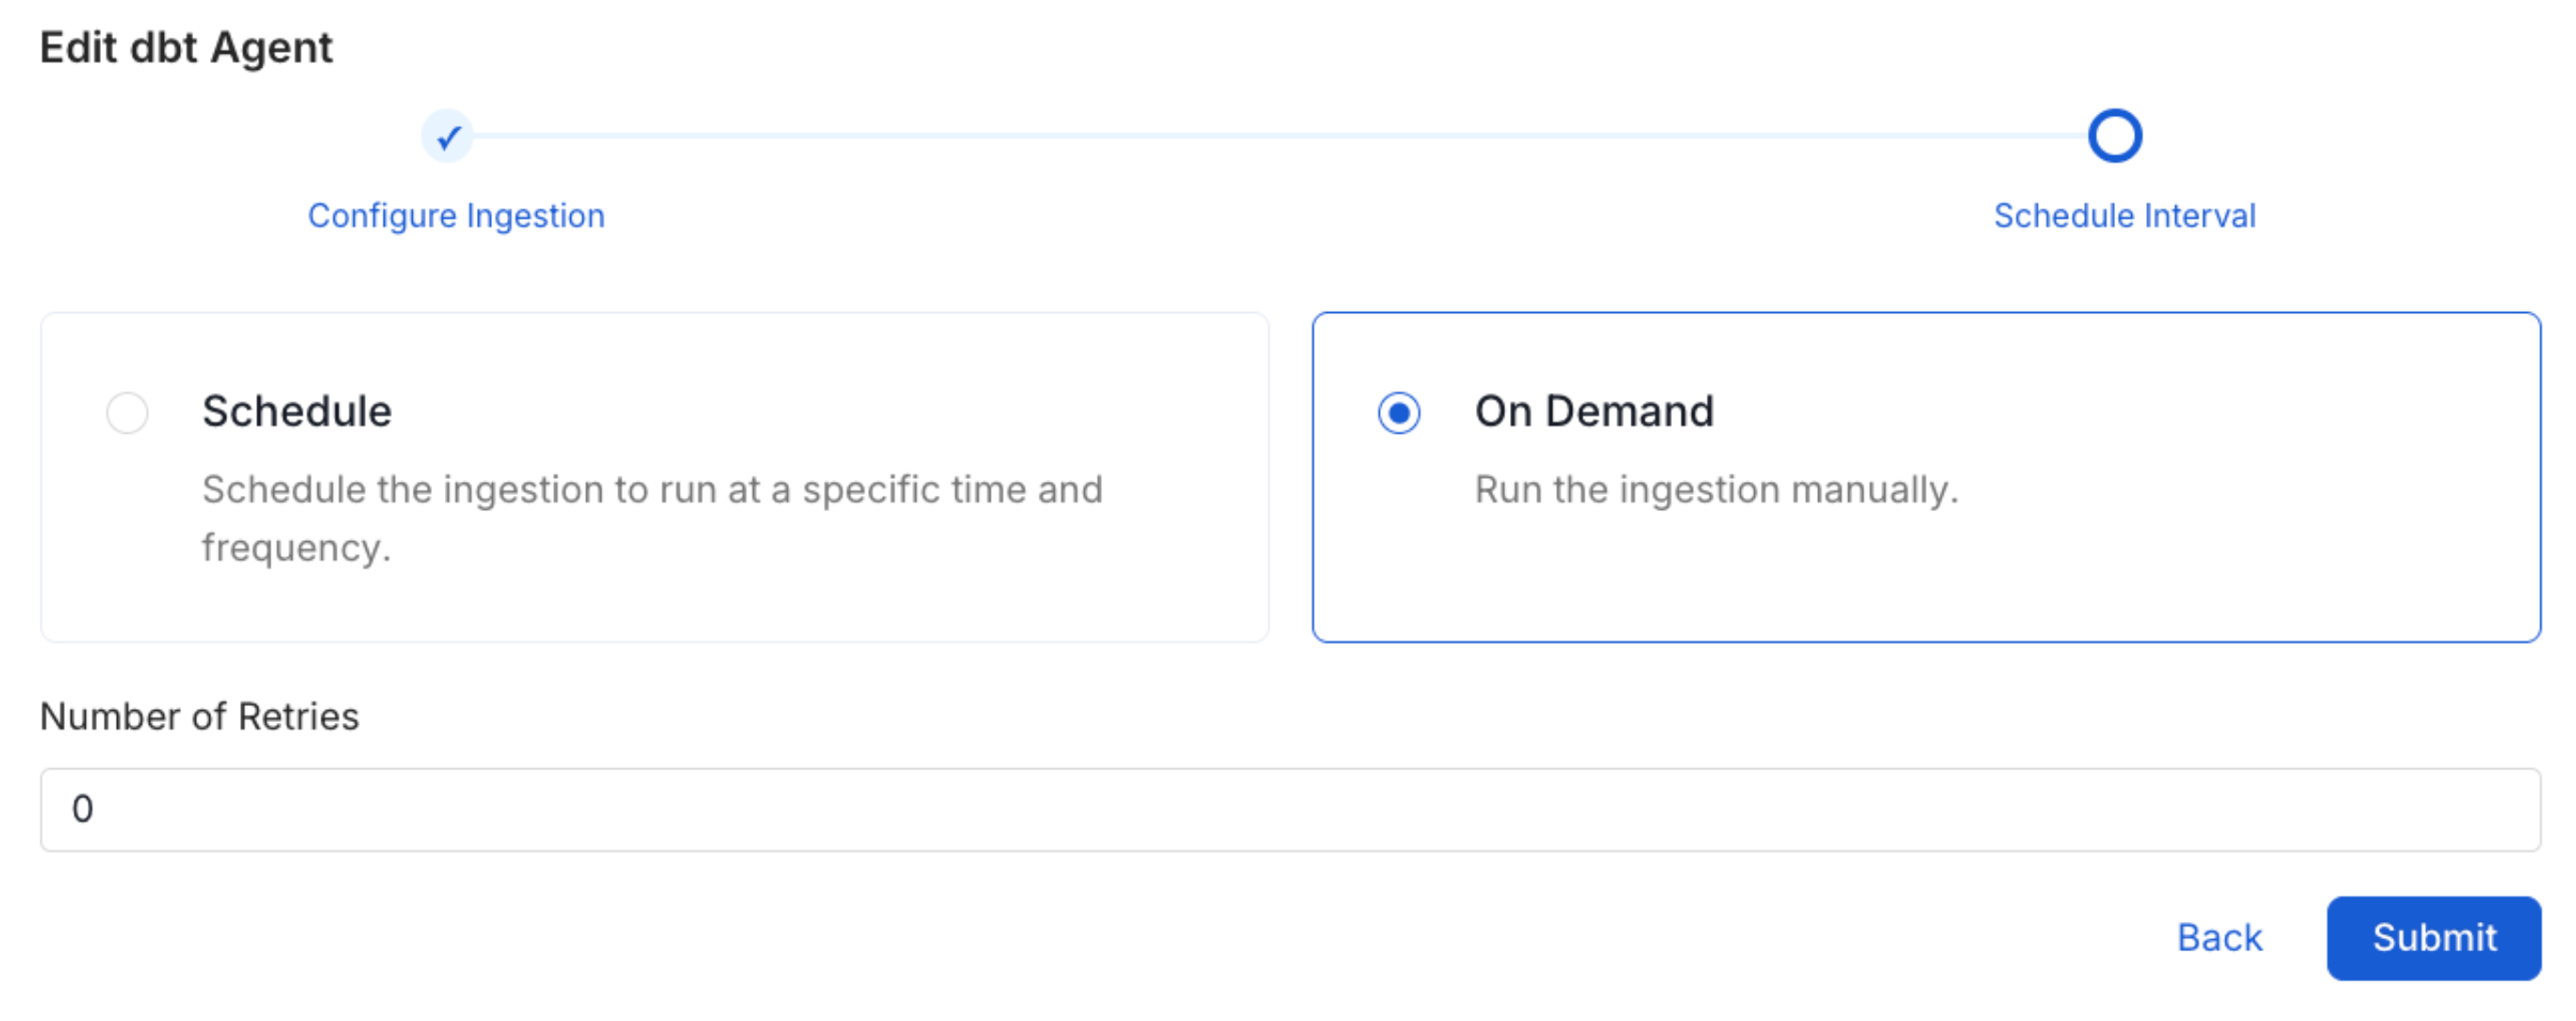
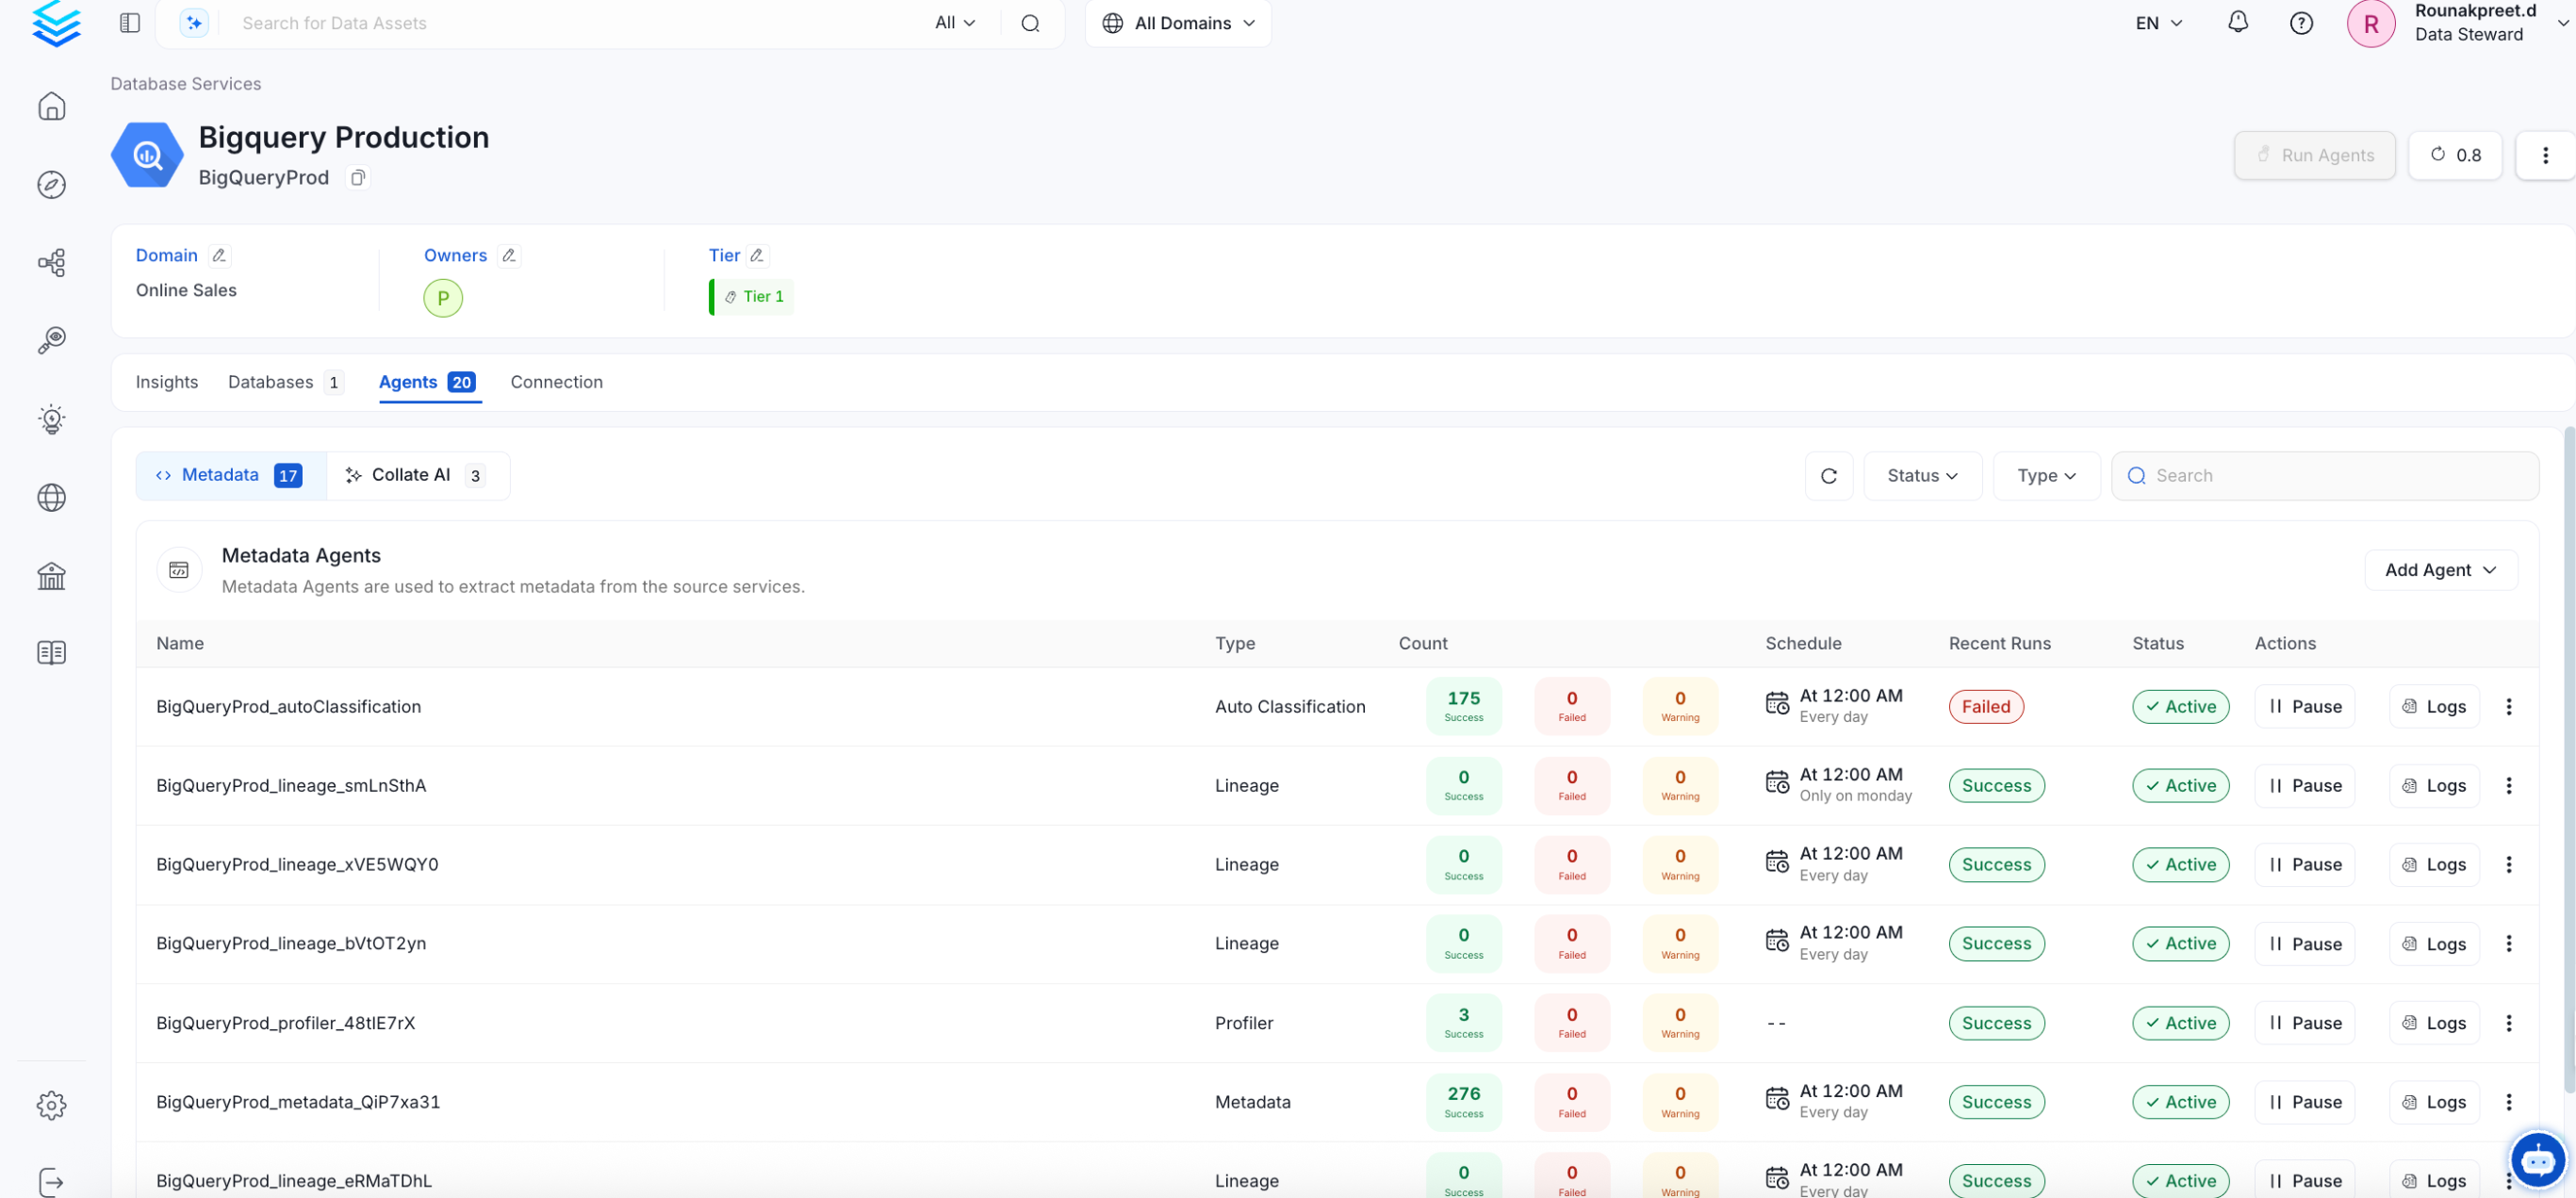
Displaying Lineage Information
Steps to retrieve and display the lineage information for a Data Factory service.- Ingest Source and Sink Database Metadata: Identify both the source and sink database used by the Azure Data Factory service for example Redshift. Ingest metadata for these database.
- Ingest Data Factory Service Metadata: Finally, Ingest your Data Factory service. By successfully completing these steps, the lineage information for the service will be displayed.
Missing Lineage
If lineage information is not displayed for a Data Factory service, follow these steps to diagnose the issue.- Permissions: Ensure that the service principal or managed identity you’re using has the necessary permissions in the Data Factory resource. (Reader, Contributor or Data Factory Contributor role at minimum).
- Metadata Ingestion: Ensure that metadata for both the source and sink database is ingested and passed to the lineage system. This typically involves configuring the relevant connectors to capture and transmit this information.
- Run Successful: Ensure that the Pipeline Run is successful.
Troubleshooting
Data Factory Troubleshooting
Learn more about how to troubleshoot common Data Factory connector issues and resolve configuration or ingestion errors.