Requirements
1. Create Database & Messaging Services
You need to create at least a Database Service before ingesting the metadata from Atlas. Make sure to note down the name, since we will use it to create Atlas Service. For example, to create a Hive Service you can follow these steps:2. Atlas Metadata Ingestion
Then, prepare the Atlas Service and configure the Ingestion:Connection Details
1
Connection Details
- Host and Port: Host and port of the Atlas service.
- Username: username to connect to Atlas. This user should have privileges to read all the metadata in Atlas.
- Password: password to connect to Atlas.
- databaseServiceName: source database of the data source. This is the service we created before: e.g.,
local_hive. - messagingServiceName: messaging service source of the data source.
- Entity Type: Name of the entity type in Atlas.
2
Test the Connection
Once the credentials have been added, click on Test Connection and Save the changes.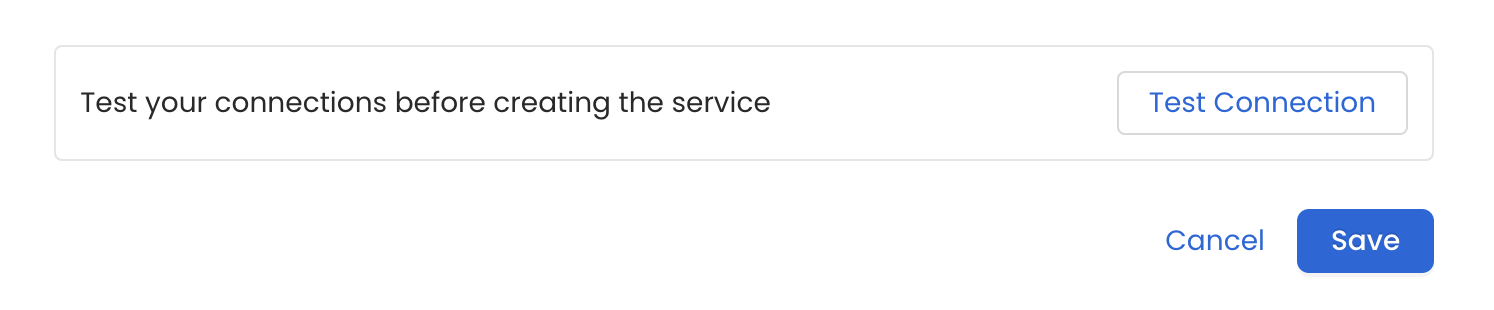
3
Configure Metadata Ingestion
In this step we will configure the metadata ingestion pipeline,
Please follow the instructions below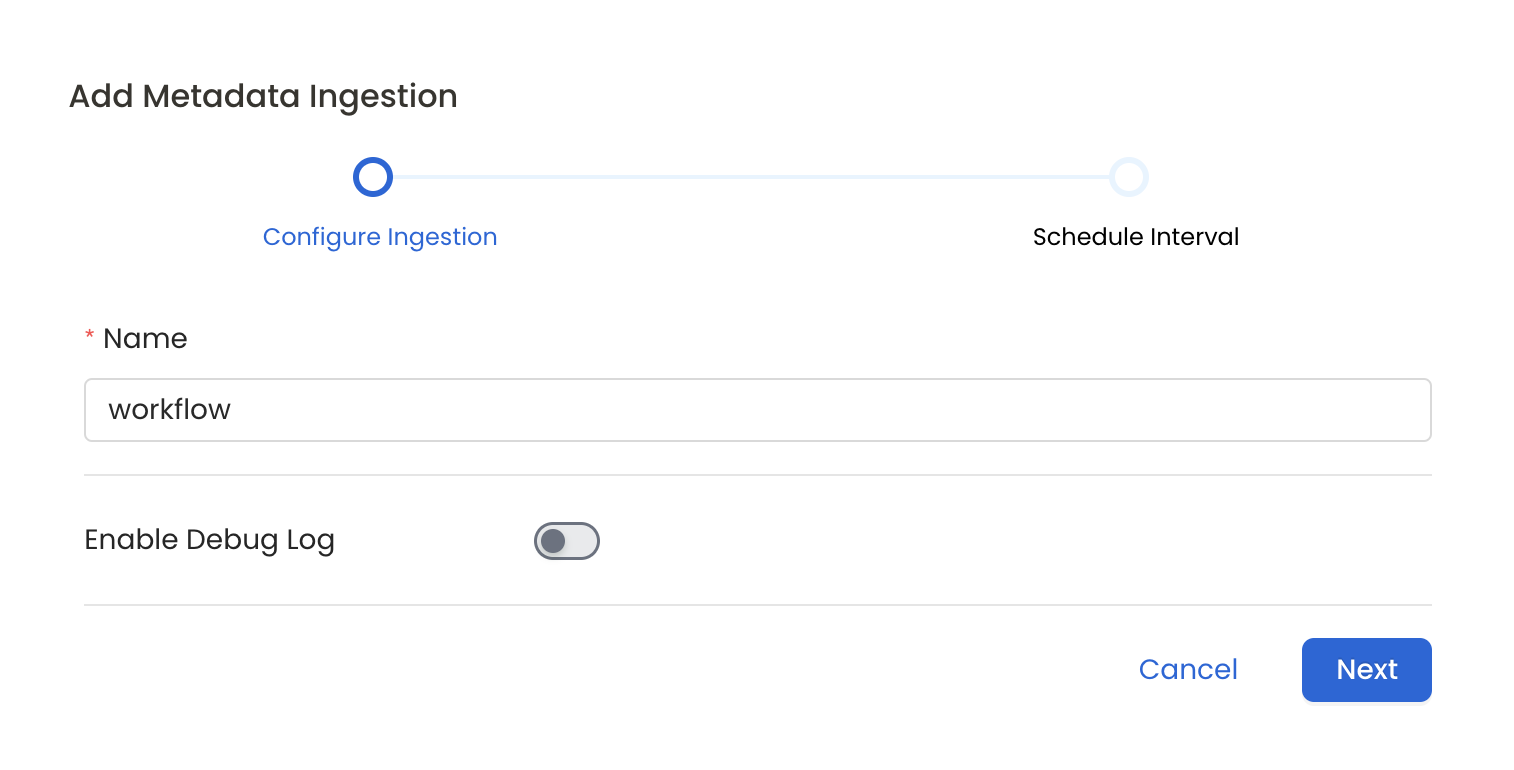
4
Schedule the Ingestion and Deploy
Scheduling can be set up at an hourly, daily, weekly, or manual cadence. The
timezone is in UTC. Select a Start Date to schedule for ingestion. It is
optional to add an End Date.Review your configuration settings. If they match what you intended,
click Deploy to create the service and schedule metadata ingestion.If something doesn’t look right, click the Back button to return to the
appropriate step and change the settings as needed.After configuring the workflow, you can click on Deploy to create the
pipeline.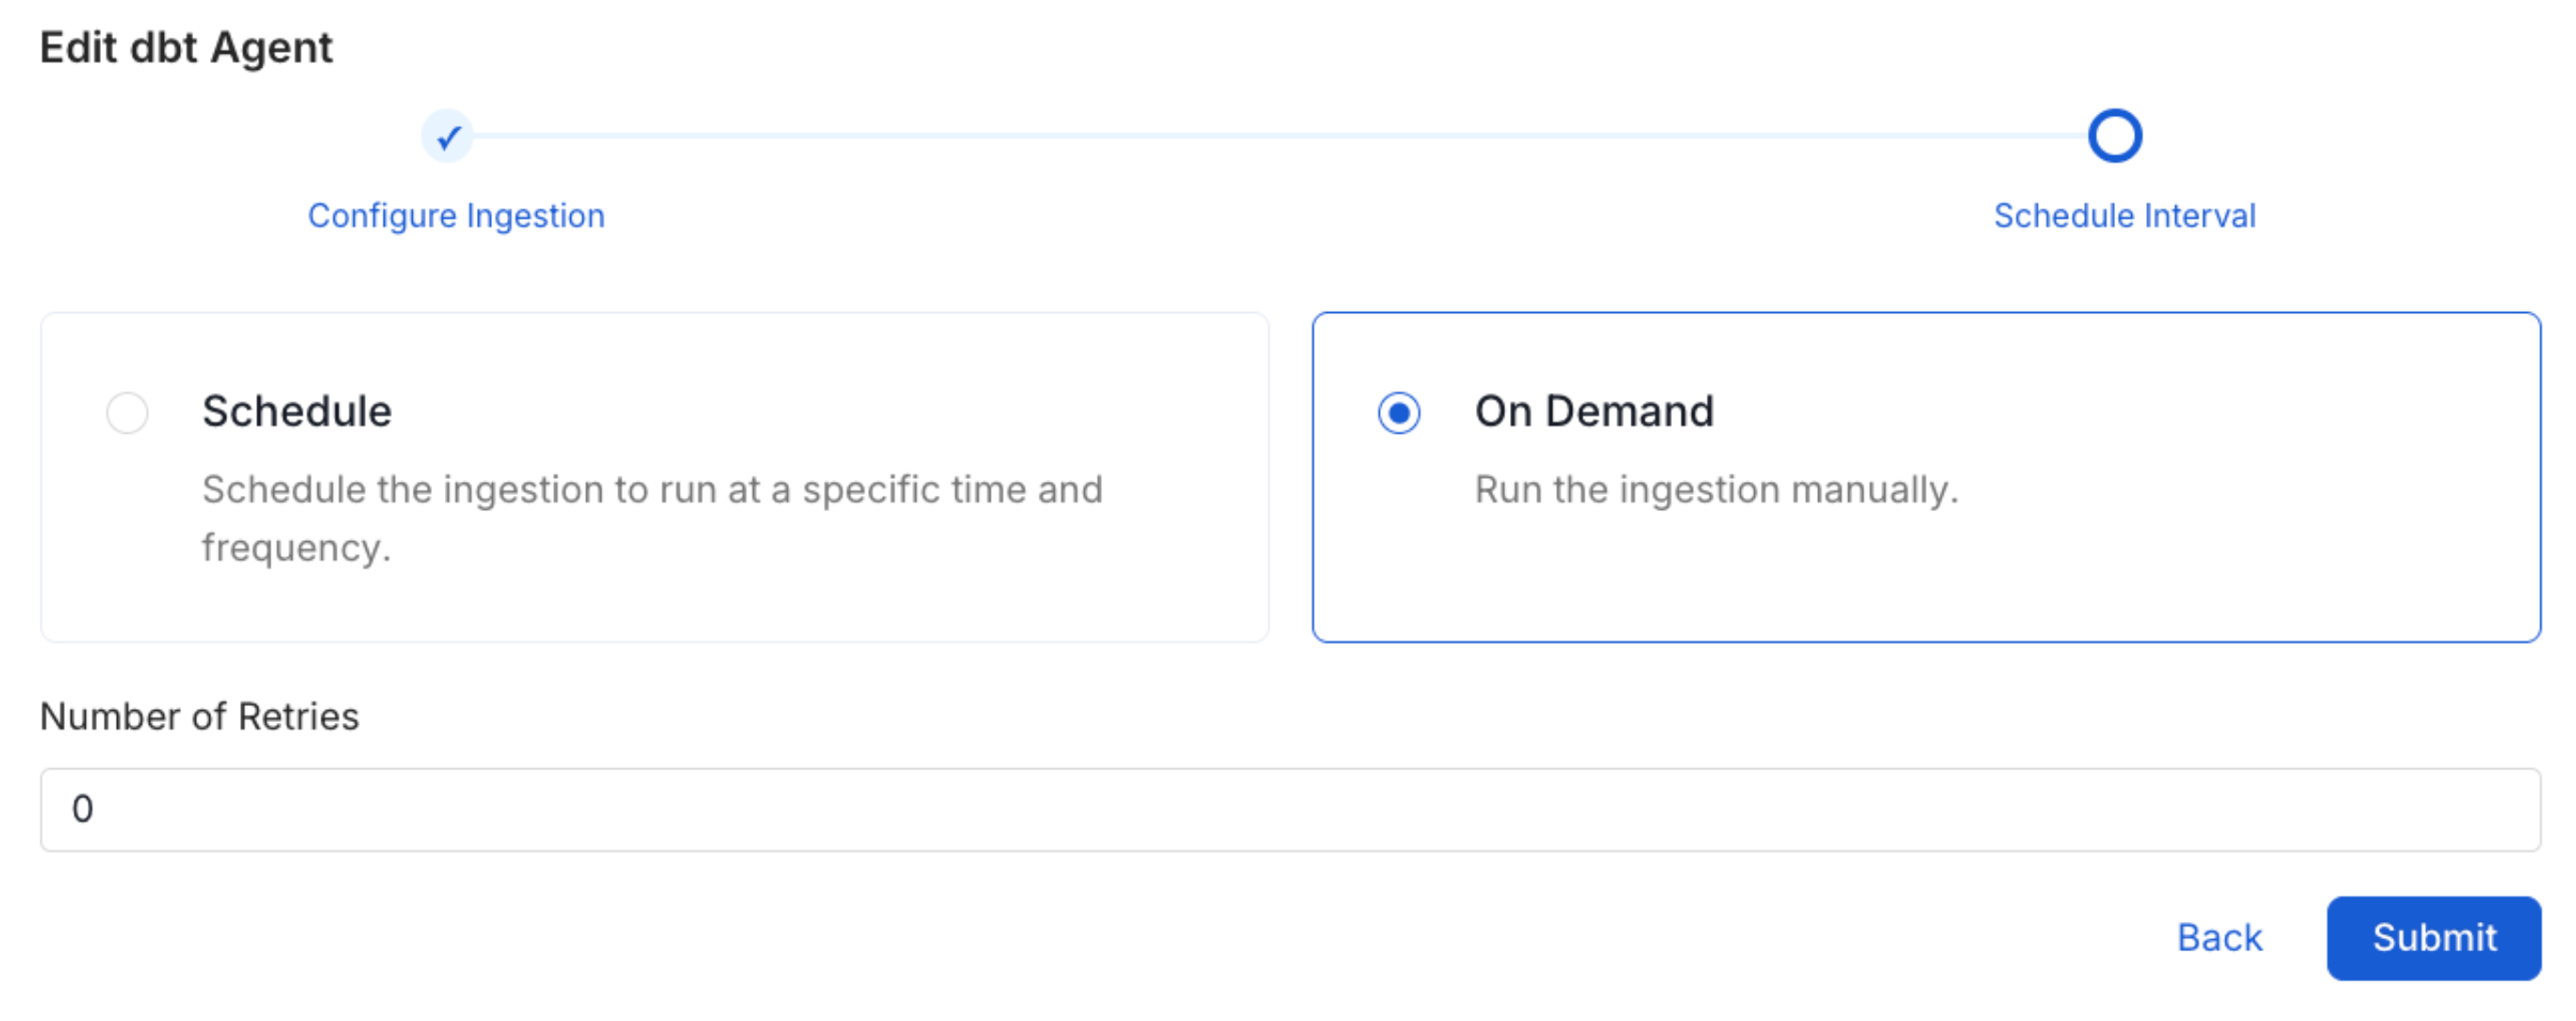
5
View the Ingestion Pipeline
Once the workflow has been successfully deployed, you can view the
Ingestion Pipeline running from the Service Page.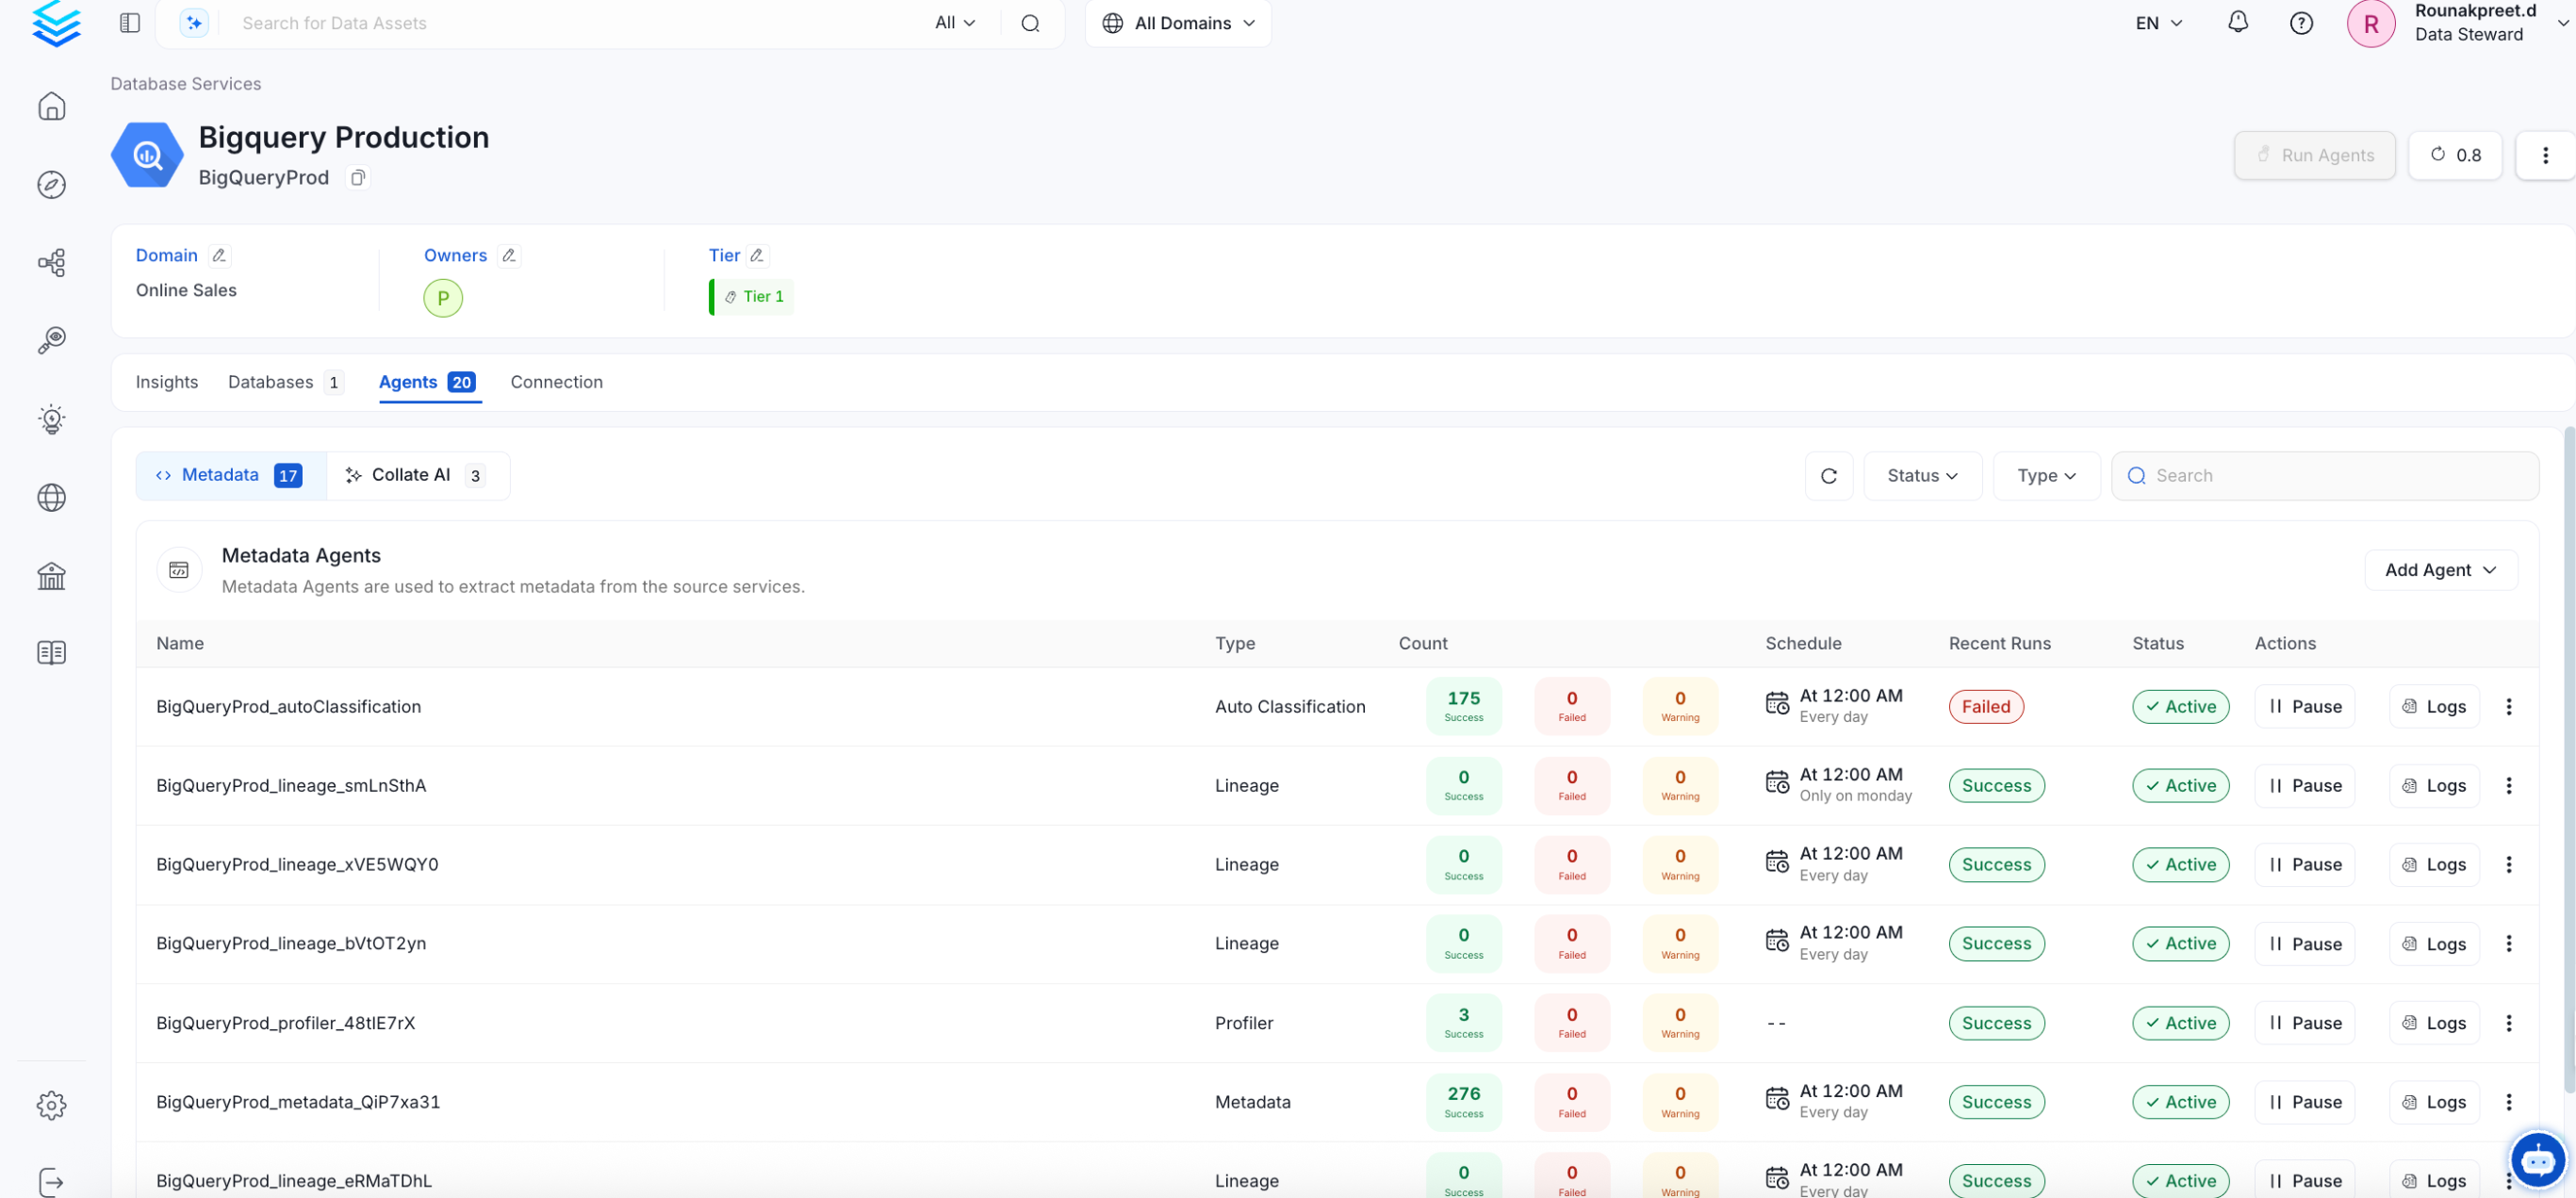
Troubleshooting
Atlas Troubleshooting
Learn more about how to troubleshoot common Atlas connector issues and resolve configuration or ingestion errors.