How to Run the Connector Externally
To run the Ingestion via the UI you’ll need to use the OpenMetadata Ingestion Container, which comes shipped with custom Airflow plugins to handle the workflow deployment. If, instead, you want to manage your workflows externally on your preferred orchestrator, you can check the following docs to run the Ingestion Framework anywhere.External Schedulers
Get more information about running the Ingestion Framework Externally
Requirements
The connector usesPOST requests to write the data into Alation.
Hence, user credentials or an access token with Source Admin, Catalog Admin, or Server Admin permissions will be required.
Follow the link here to create the access token.
Data Mapping and Assumptions
Following entities are supported and will be mapped from OpenMetadata to the entities in Alation.Metadata Ingestion
Then, prepare the Alation Sink Service and configure the Ingestion:Connection Details
1
Connection Details
- Host and Port: Host and port of the Alation service.
- Authentication Types:
- Basic Authentication
- Username: The name of the user whose credentials will be used to sign in.
- Password: The password of the user.
- Access Token Authentication The access token created using the steps mentioned here can directly be entered. We’ll use that directly to authenticate the Alation APIs
- accessToken: Generated access token
- Project Name: Project name used to create the refresh token. It can be anything.
- Pagination Limit: Pagination limit used for Alation APIs pagination
- DataSource Links: Add a custom mapping between OpenMetadata databases and Alation DataSources.
If this mapping is present, the connector will only look for the data source in Alation to create other entities inside it. It will not create the data source in Alation, so it needs to be created beforehand.
The mapping needs to be of the format
alation_datasource_id: openmetadata_database_fqnHerealation_datasource_idcorresponds to the numerical ID of the data source in Alation. Andopenmetadata_database_fqncorresponds to the fullyQualifiedName of the database in OpenMetadata. Below is an example of the mapping:
2
Test the Connection
Once the credentials have been added, click on Test Connection and Save the changes.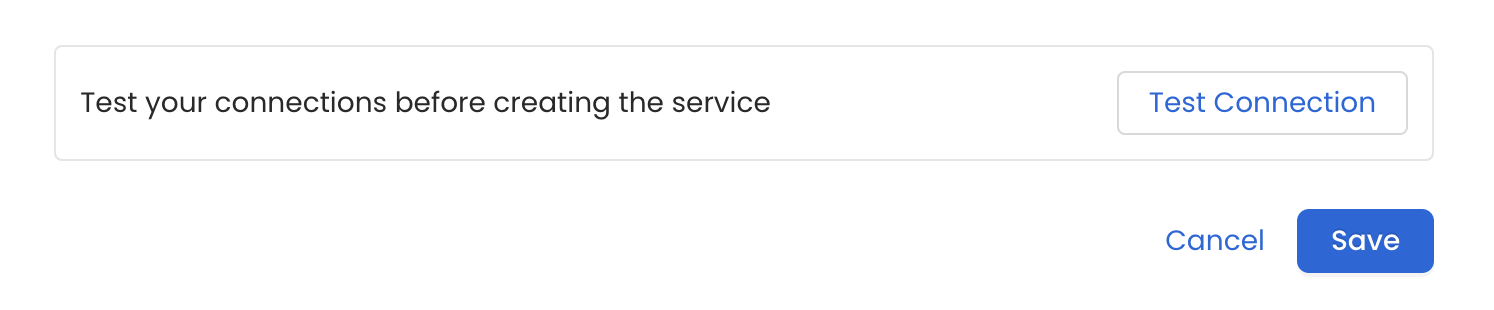
3
Configure Metadata Ingestion
In this step we will configure the metadata ingestion pipeline,
Please follow the instructions below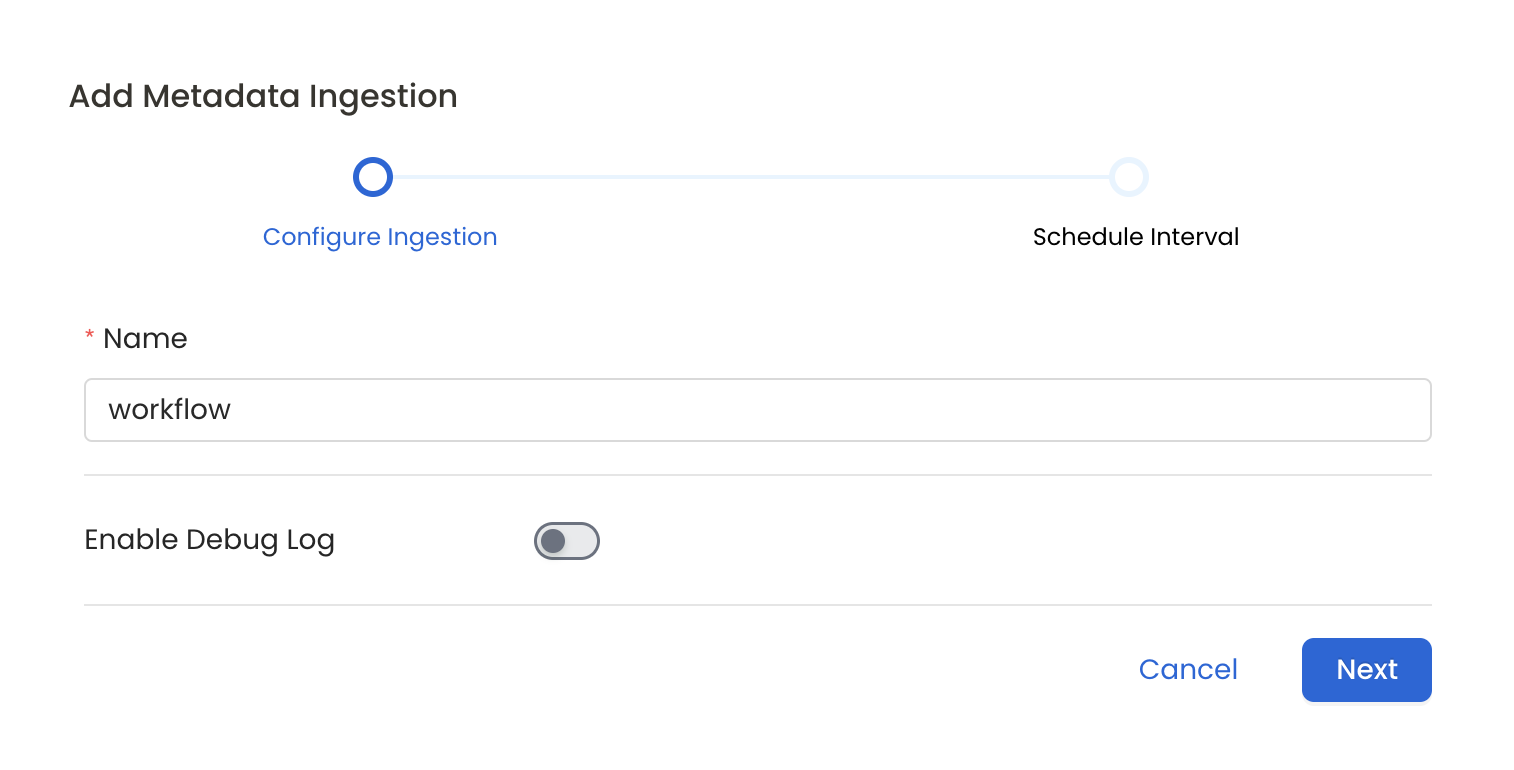
4
Schedule the Ingestion and Deploy
Scheduling can be set up at an hourly, daily, weekly, or manual cadence. The
timezone is in UTC. Select a Start Date to schedule for ingestion. It is
optional to add an End Date.Review your configuration settings. If they match what you intended,
click Deploy to create the service and schedule metadata ingestion.If something doesn’t look right, click the Back button to return to the
appropriate step and change the settings as needed.After configuring the workflow, you can click on Deploy to create the
pipeline.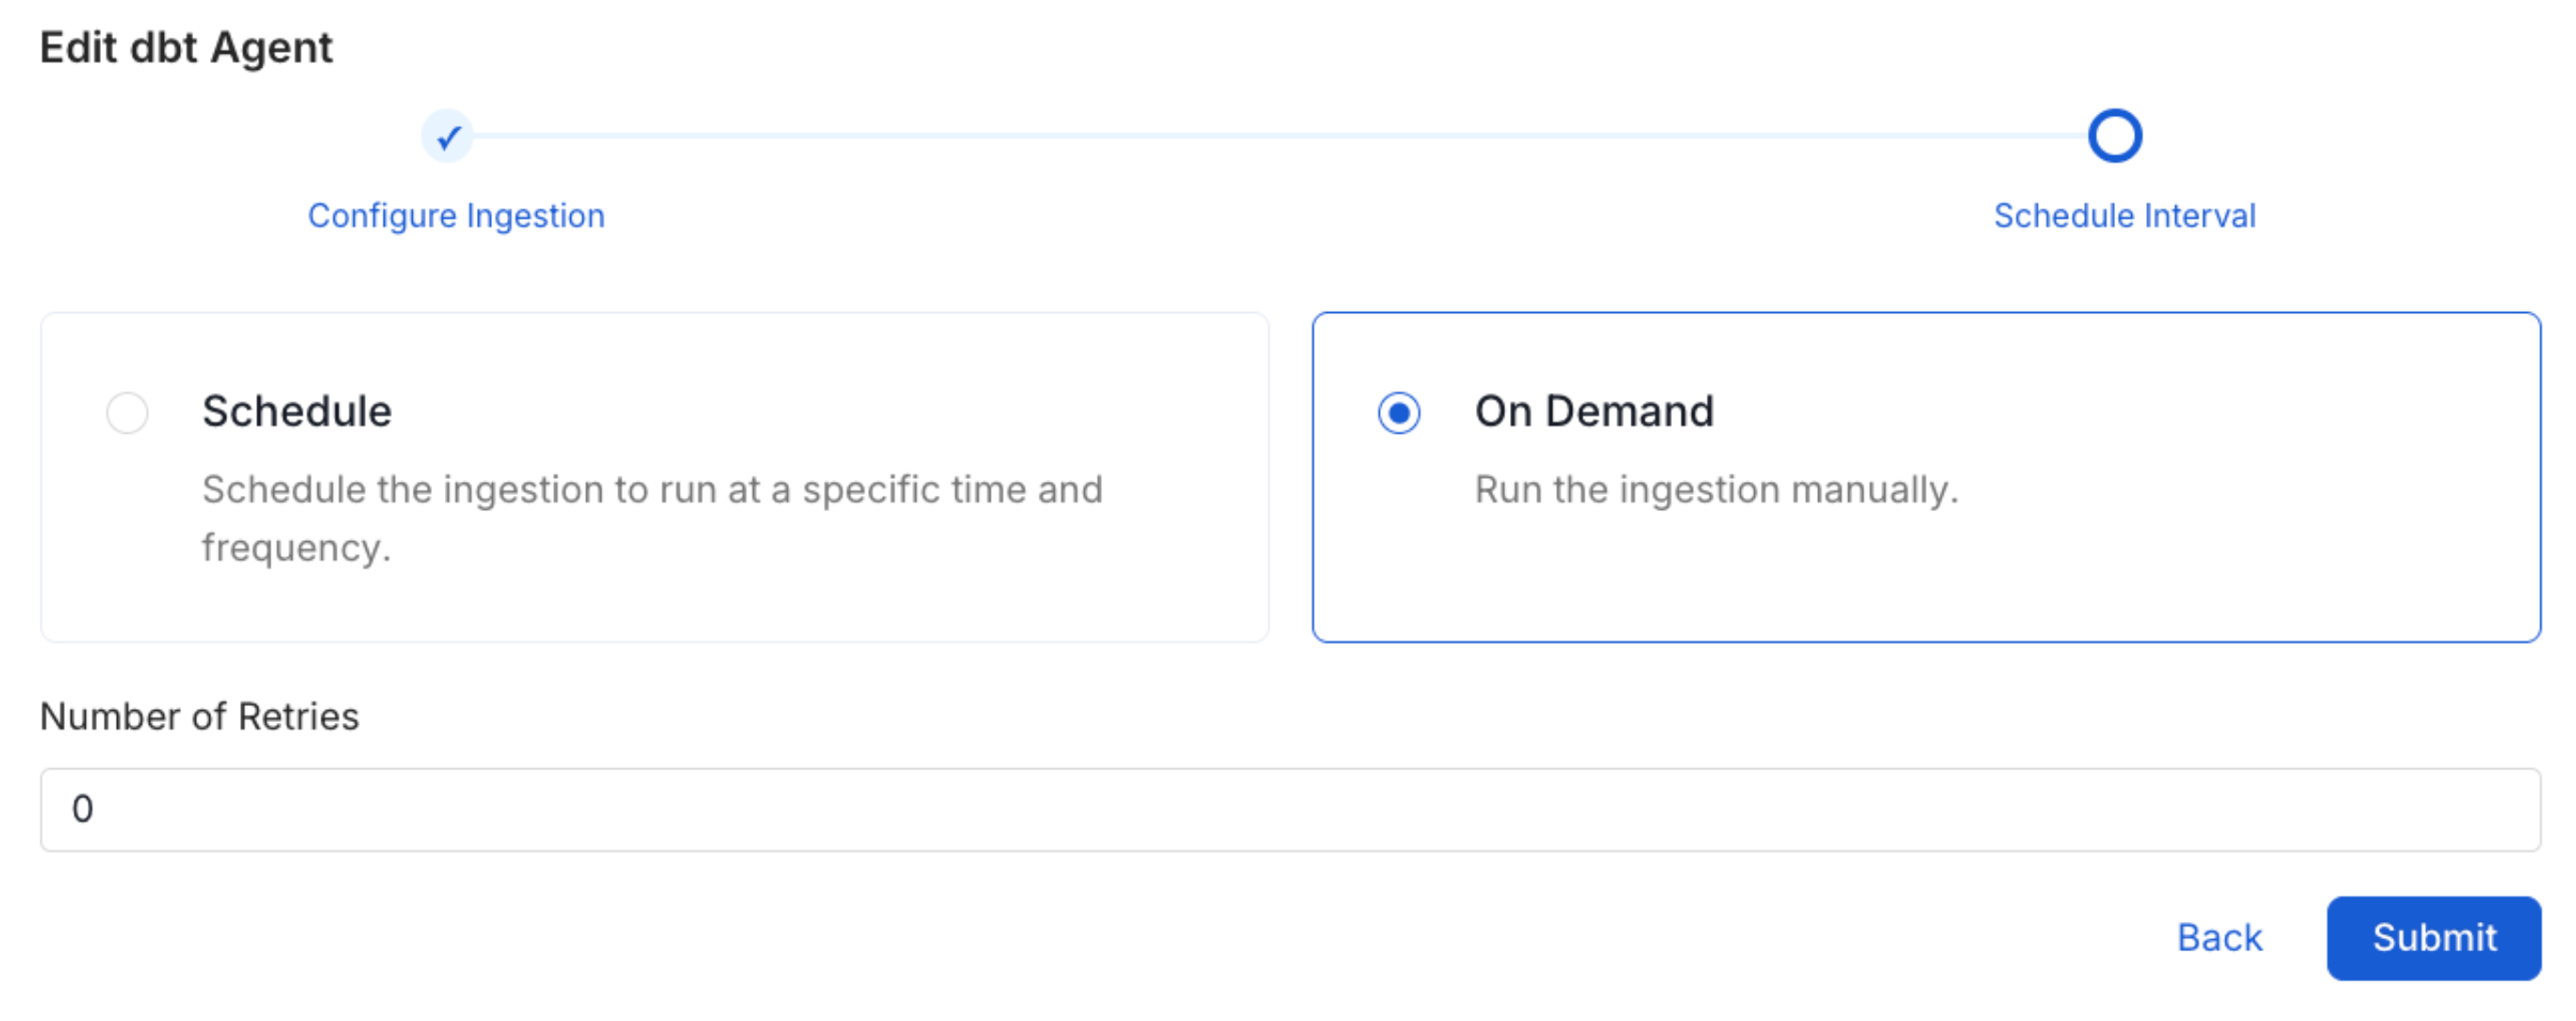
5
View the Ingestion Pipeline
Once the workflow has been successfully deployed, you can view the
Ingestion Pipeline running from the Service Page.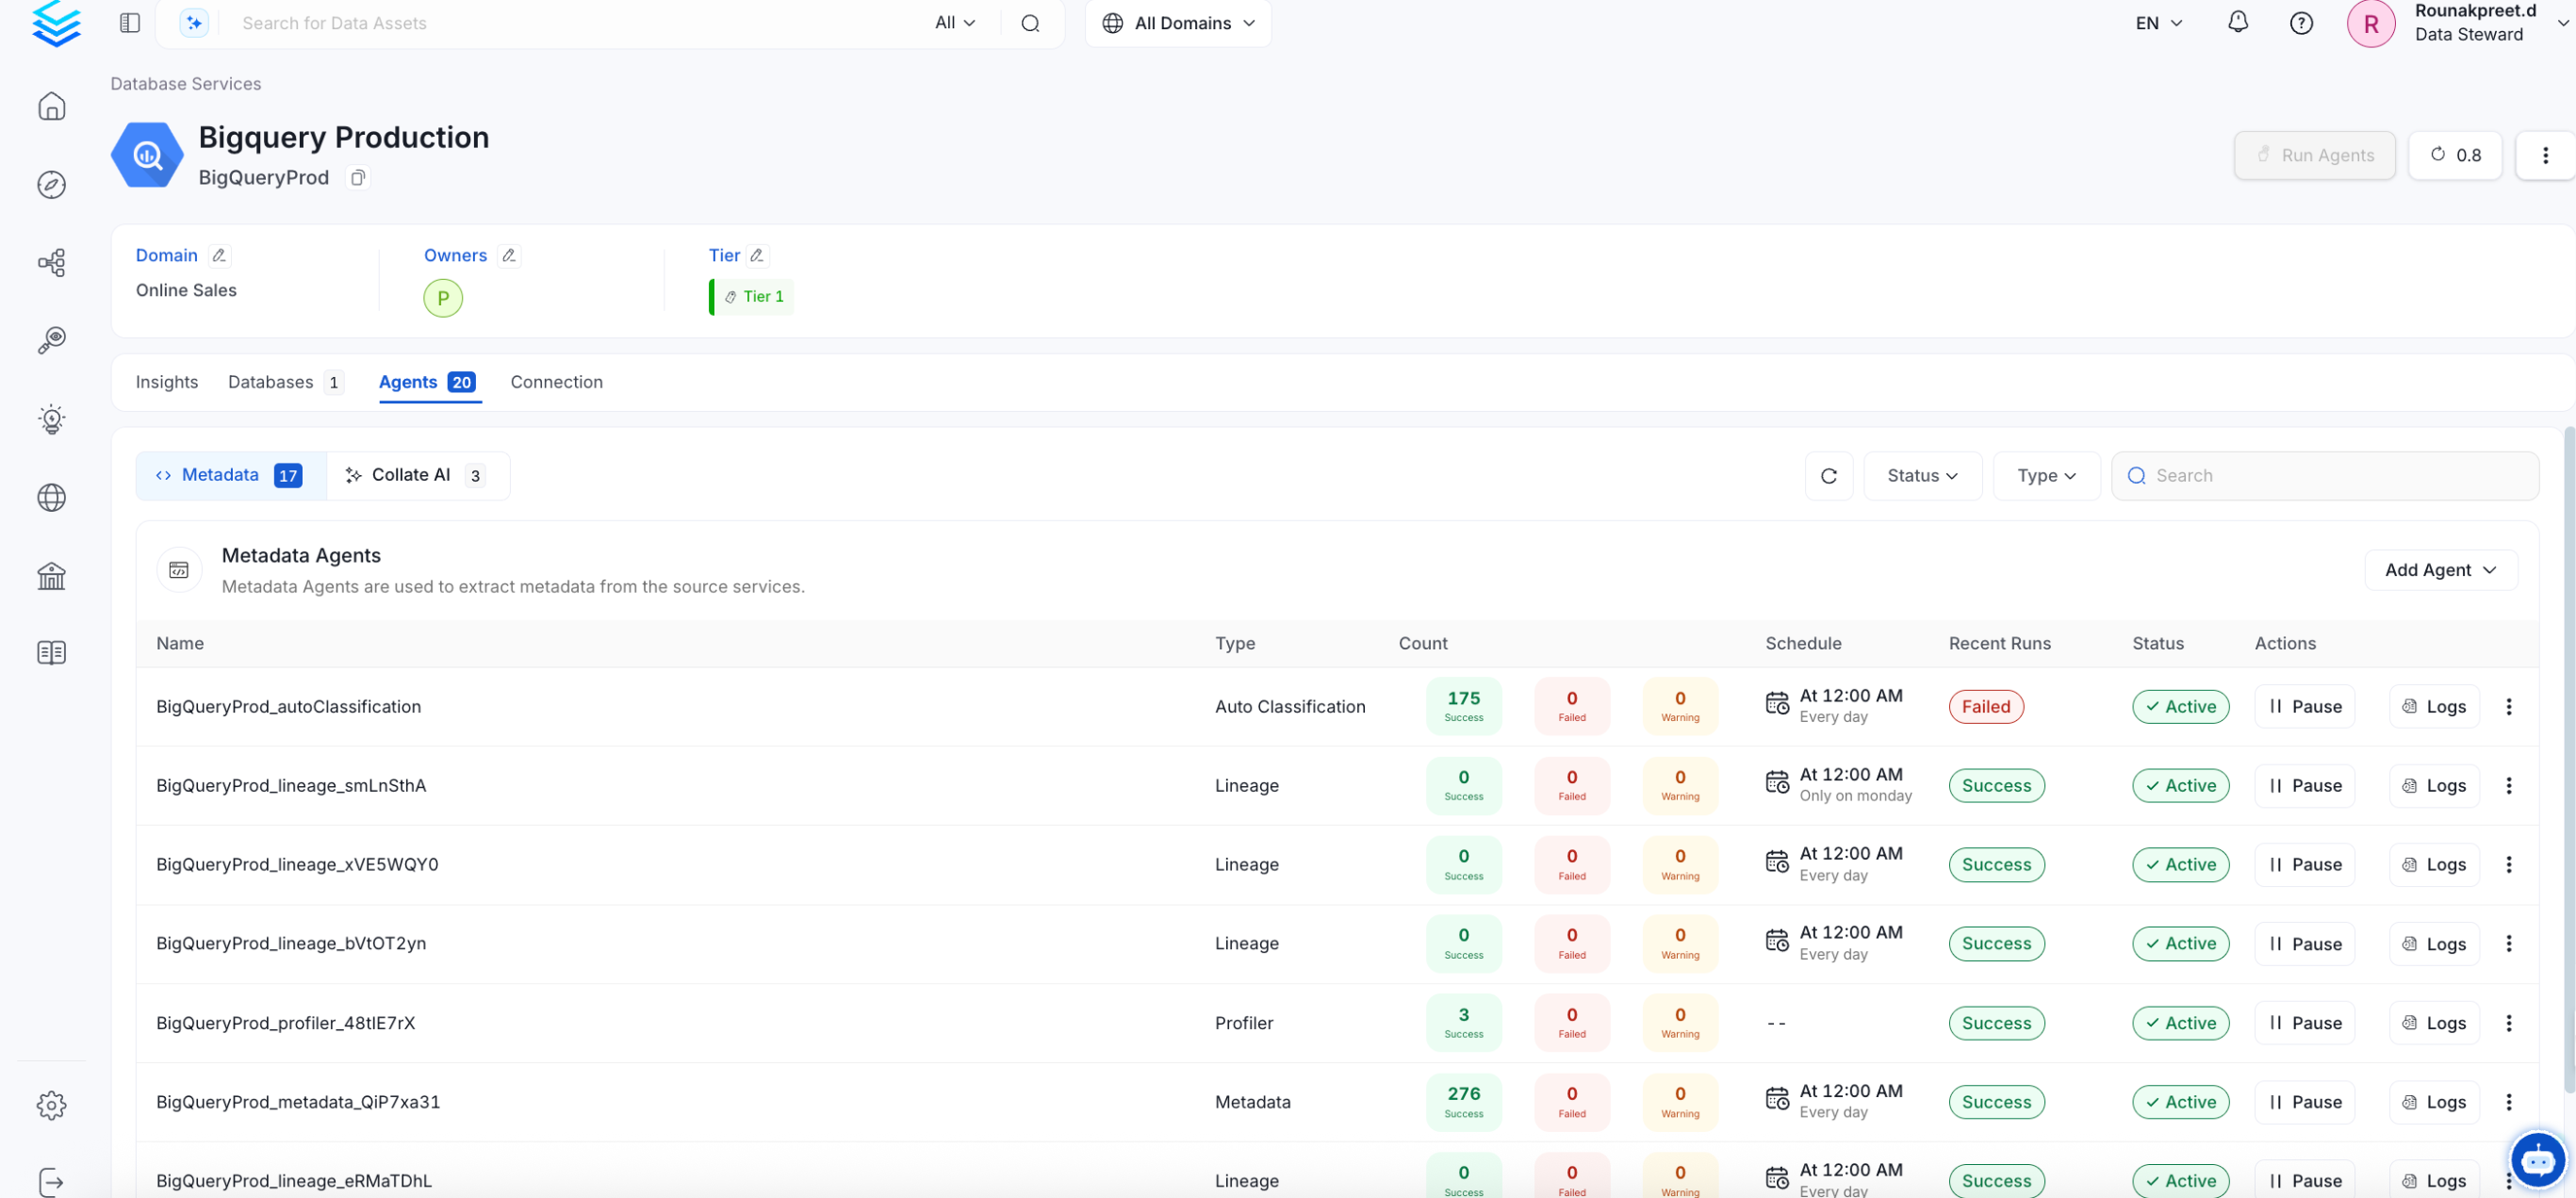
Troubleshooting
AlationSink Troubleshooting
Learn more about how to troubleshoot common AlationSink connector issues and resolve configuration or ingestion errors.