> ## Documentation Index
> Fetch the complete documentation index at: https://docs.getcollate.io/llms.txt
> Use this file to discover all available pages before exploring further.
# Invite Users
> Add team members to Collate 2.0, assign roles, and organize users into teams.
# Invite Users
Collate 2.0 is built for collaboration. Invite your data engineers, analysts, and governance leads so they can discover data, review lineage, and participate in governance workflows.
## Invite a user
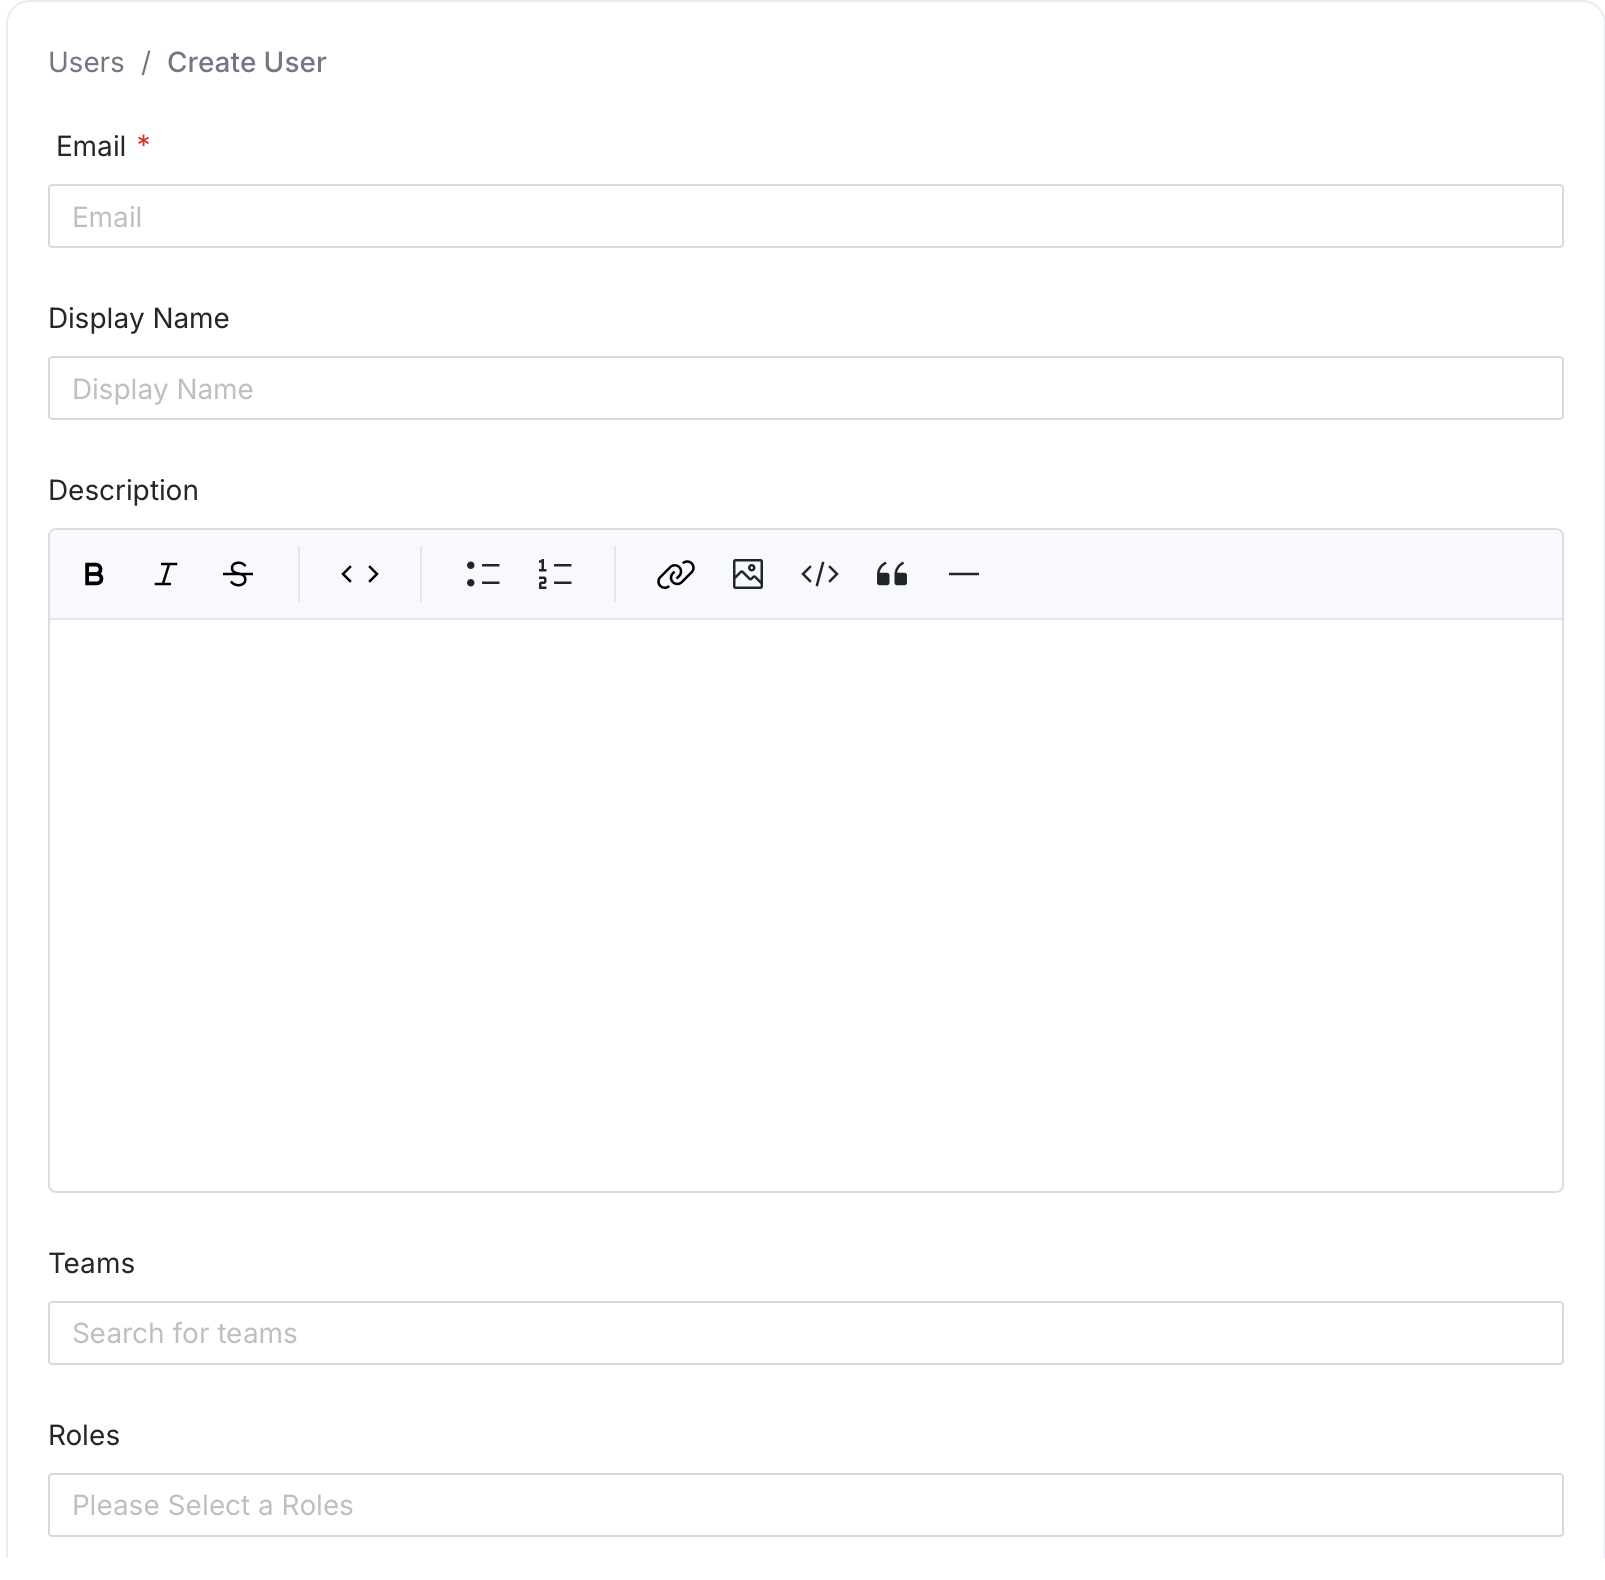
1. Select the **Profile** icon and navigate to **Settings** > **Team & User Management** > **Users**.
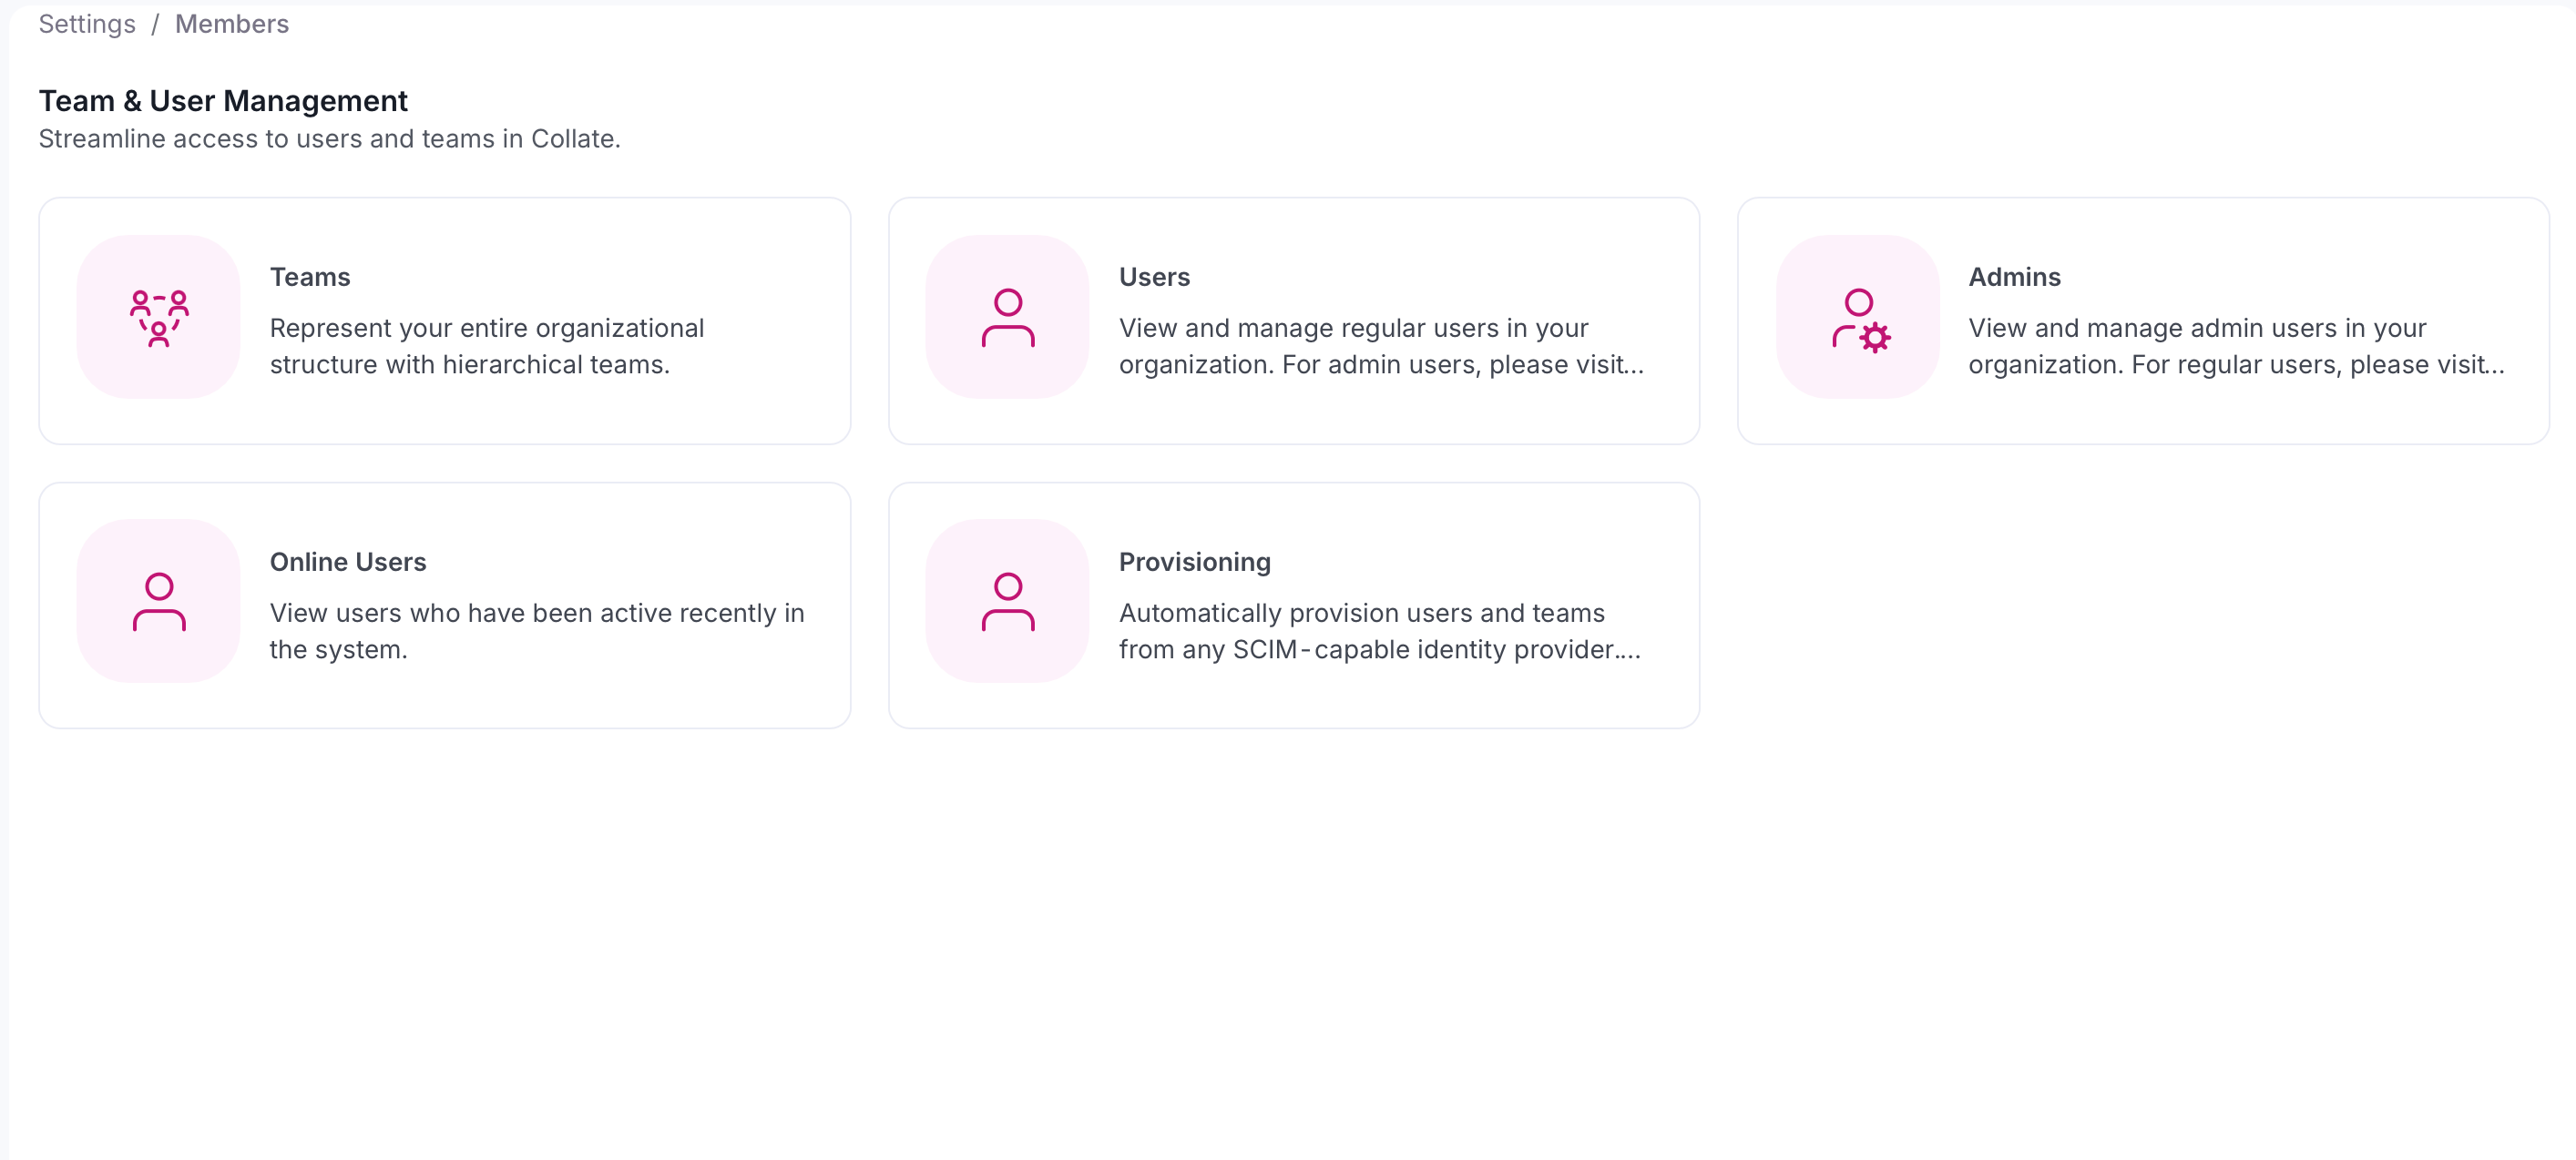 2. Click **Add User**.
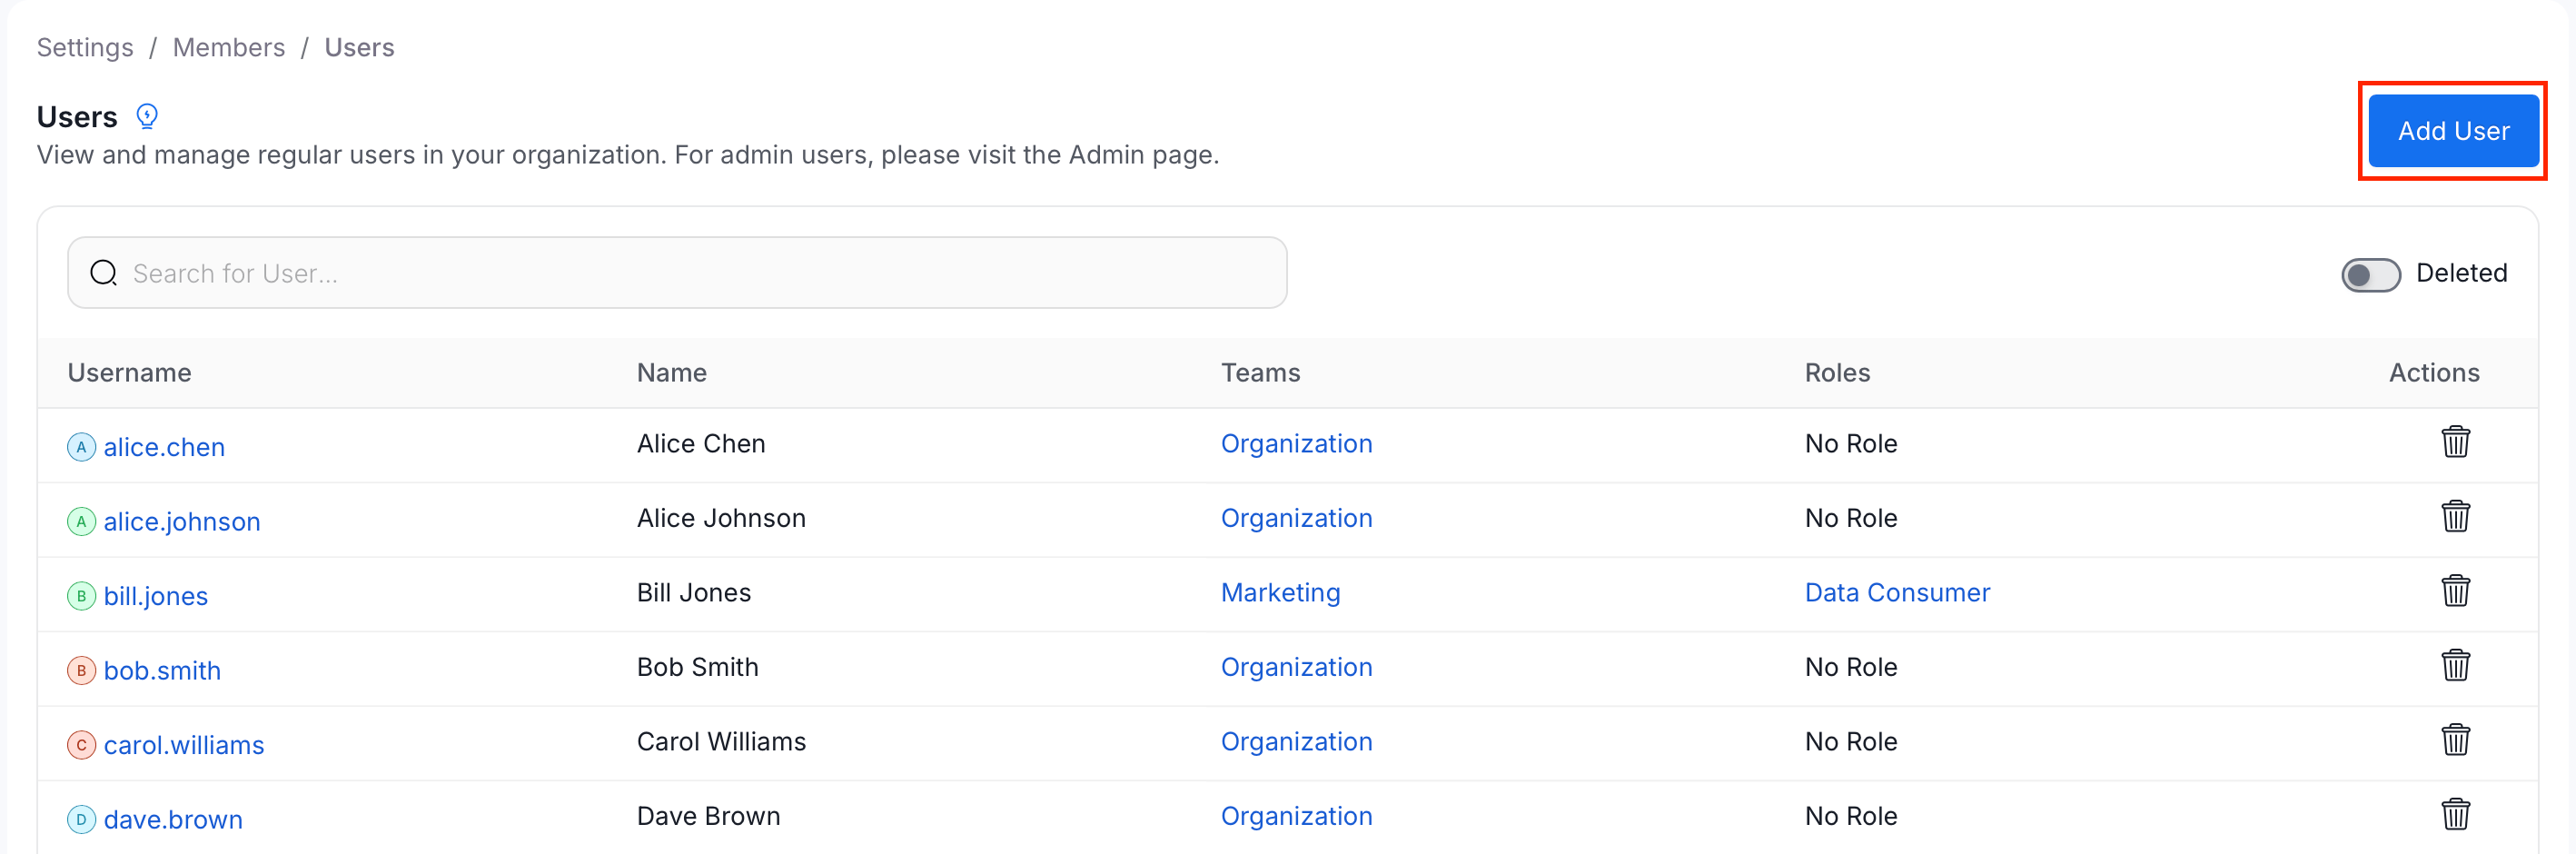 3. Fill in the following details and click **Create**:
* **Email** (required) — The user's email address.
* **Display Name** (optional) — The name shown in the Collate UI.
* **Description** (optional) — Add context about the user's role or responsibilities.
* **Teams** (optional) — Search and select one or more teams to assign the user to.
* **Roles** (optional) — Select one or more roles to assign directly to the user.
* **Admin** (optional) — Toggle on to grant the user full admin access.
3. Fill in the following details and click **Create**:
* **Email** (required) — The user's email address.
* **Display Name** (optional) — The name shown in the Collate UI.
* **Description** (optional) — Add context about the user's role or responsibilities.
* **Teams** (optional) — Search and select one or more teams to assign the user to.
* **Roles** (optional) — Select one or more roles to assign directly to the user.
* **Admin** (optional) — Toggle on to grant the user full admin access.
 **Tip**: Users inherit the roles assigned to their teams. Additional roles can be assigned directly to a user when they need permissions beyond what their team provides.
**Note**: If you were invited by email, you need to finish setting up your account before you can log in. If your company uses SSO (single sign-on), your account is created automatically the first time you log in.
## Roles
Collate uses role-based access control (RBAC). The built-in roles are:
| Role | What they can do |
| ----------------- | ------------------------------------------------------------------- |
| **Admin** | Full access — manage users, settings, policies, and all data assets |
| **Data Steward** | Manage glossary, classification, governance workflows, and tags |
| **Data Consumer** | Browse, search, and follow data assets; raise access requests |
You can also create custom roles with fine-grained permissions under **Settings** > **Roles & Policies**.
## Teams
Teams let you group users by function such as Data Engineering, Analytics, and Finance. Teams can own data assets, be assigned governance tasks, and receive notifications.
1. Select the **Profile** icon and navigate to **Settings** > **Team & User Management** > **Teams**.
**Tip**: Users inherit the roles assigned to their teams. Additional roles can be assigned directly to a user when they need permissions beyond what their team provides.
**Note**: If you were invited by email, you need to finish setting up your account before you can log in. If your company uses SSO (single sign-on), your account is created automatically the first time you log in.
## Roles
Collate uses role-based access control (RBAC). The built-in roles are:
| Role | What they can do |
| ----------------- | ------------------------------------------------------------------- |
| **Admin** | Full access — manage users, settings, policies, and all data assets |
| **Data Steward** | Manage glossary, classification, governance workflows, and tags |
| **Data Consumer** | Browse, search, and follow data assets; raise access requests |
You can also create custom roles with fine-grained permissions under **Settings** > **Roles & Policies**.
## Teams
Teams let you group users by function such as Data Engineering, Analytics, and Finance. Teams can own data assets, be assigned governance tasks, and receive notifications.
1. Select the **Profile** icon and navigate to **Settings** > **Team & User Management** > **Teams**.
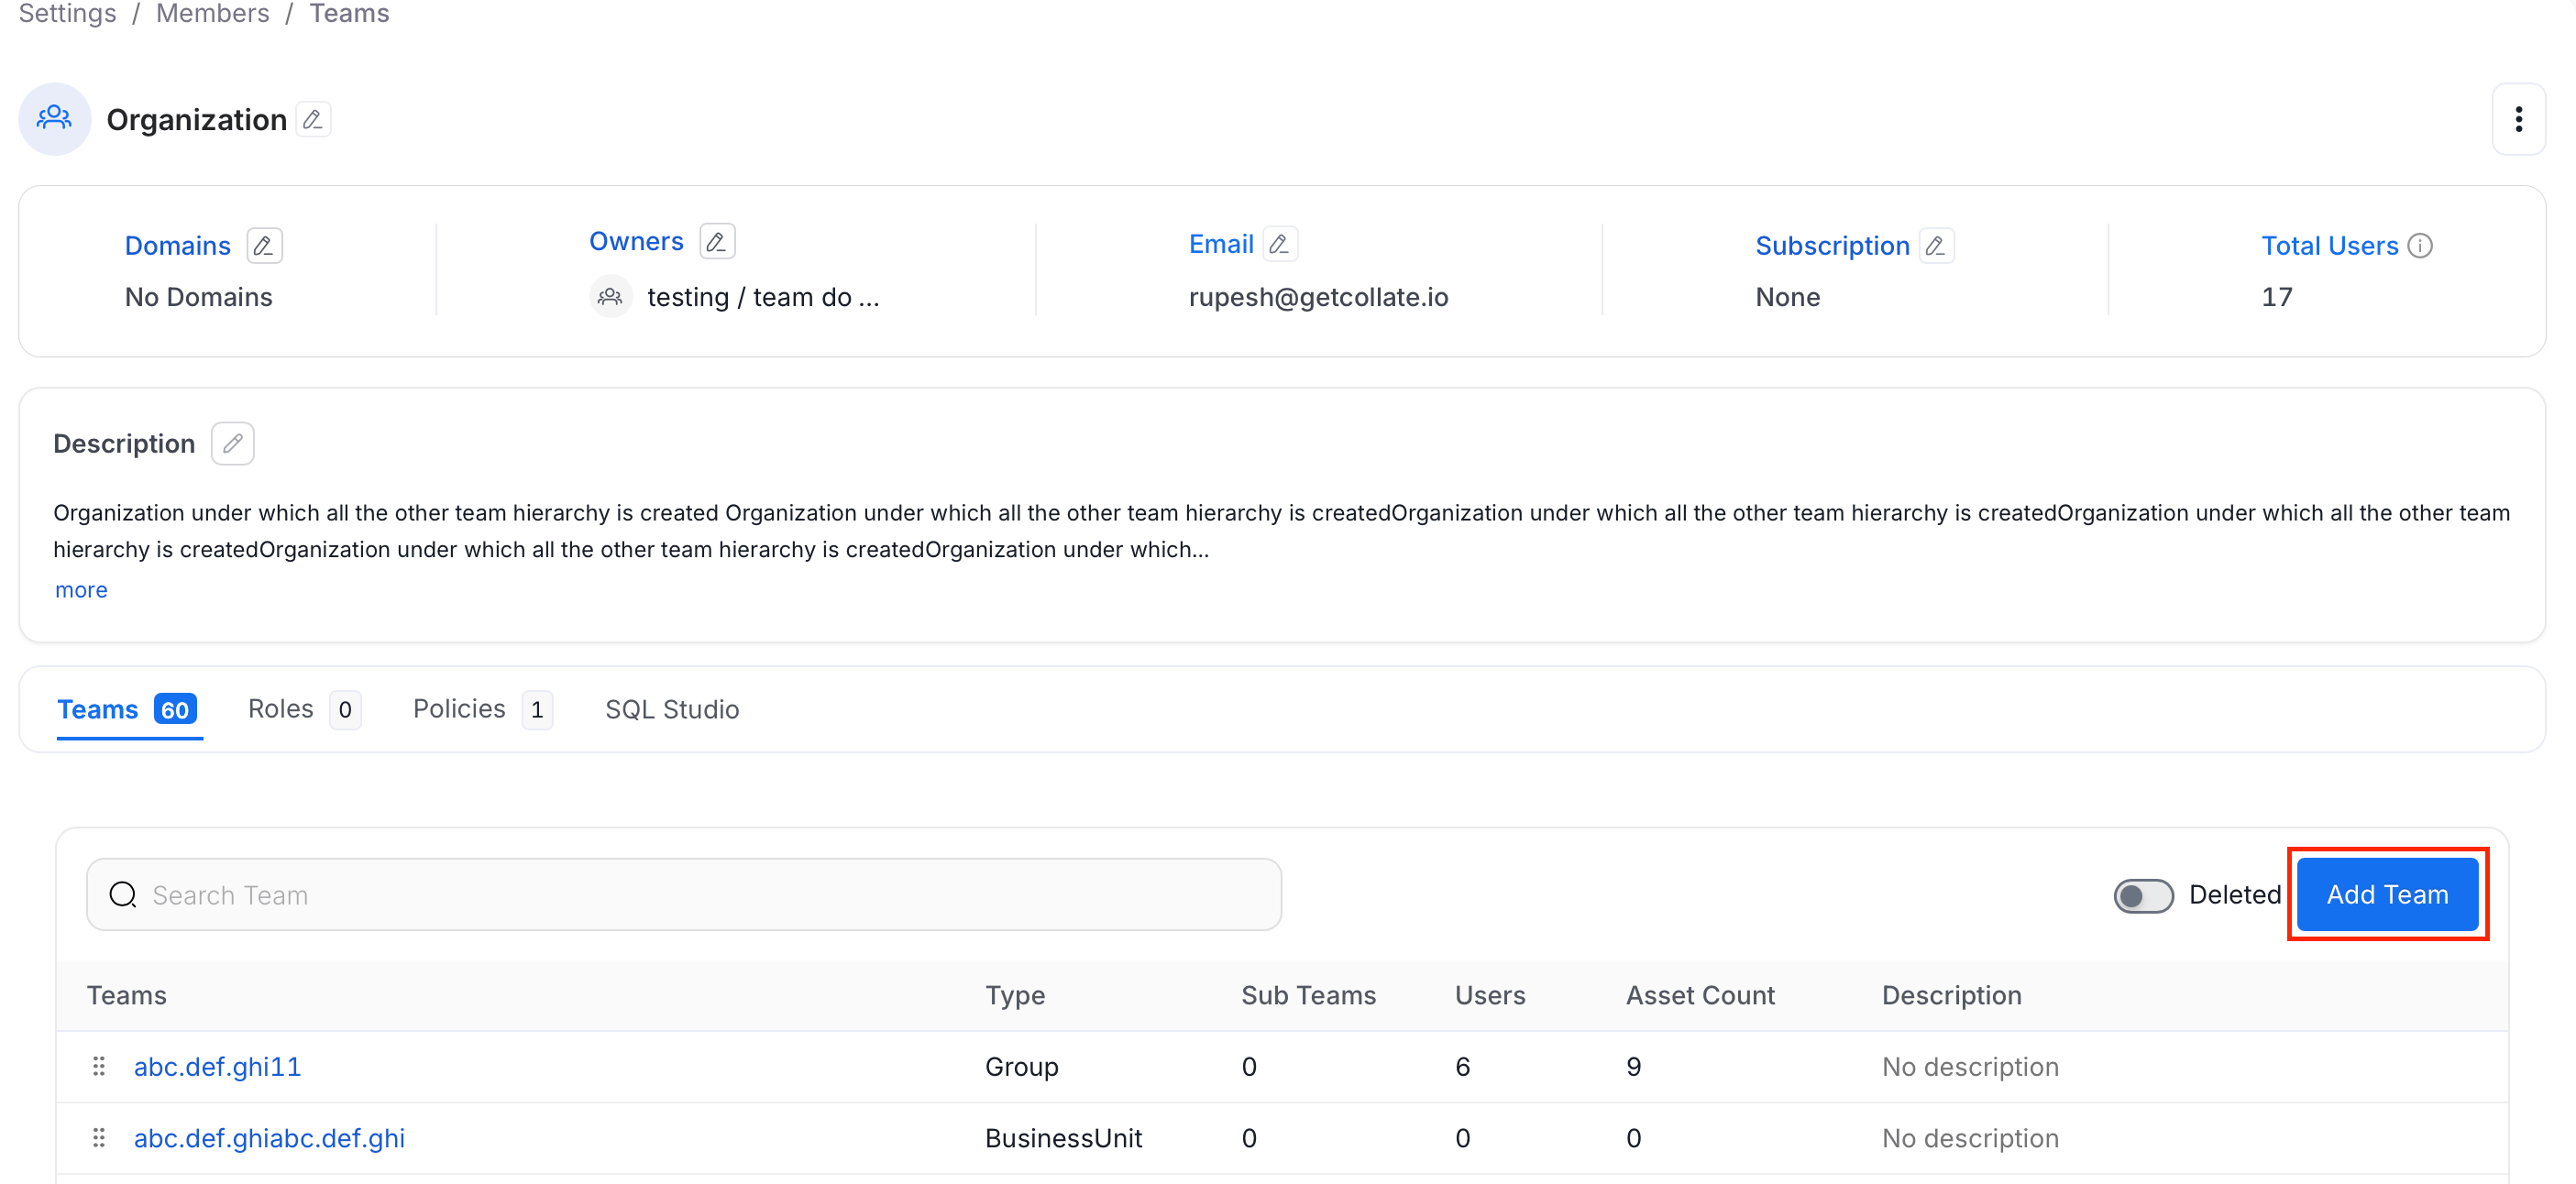
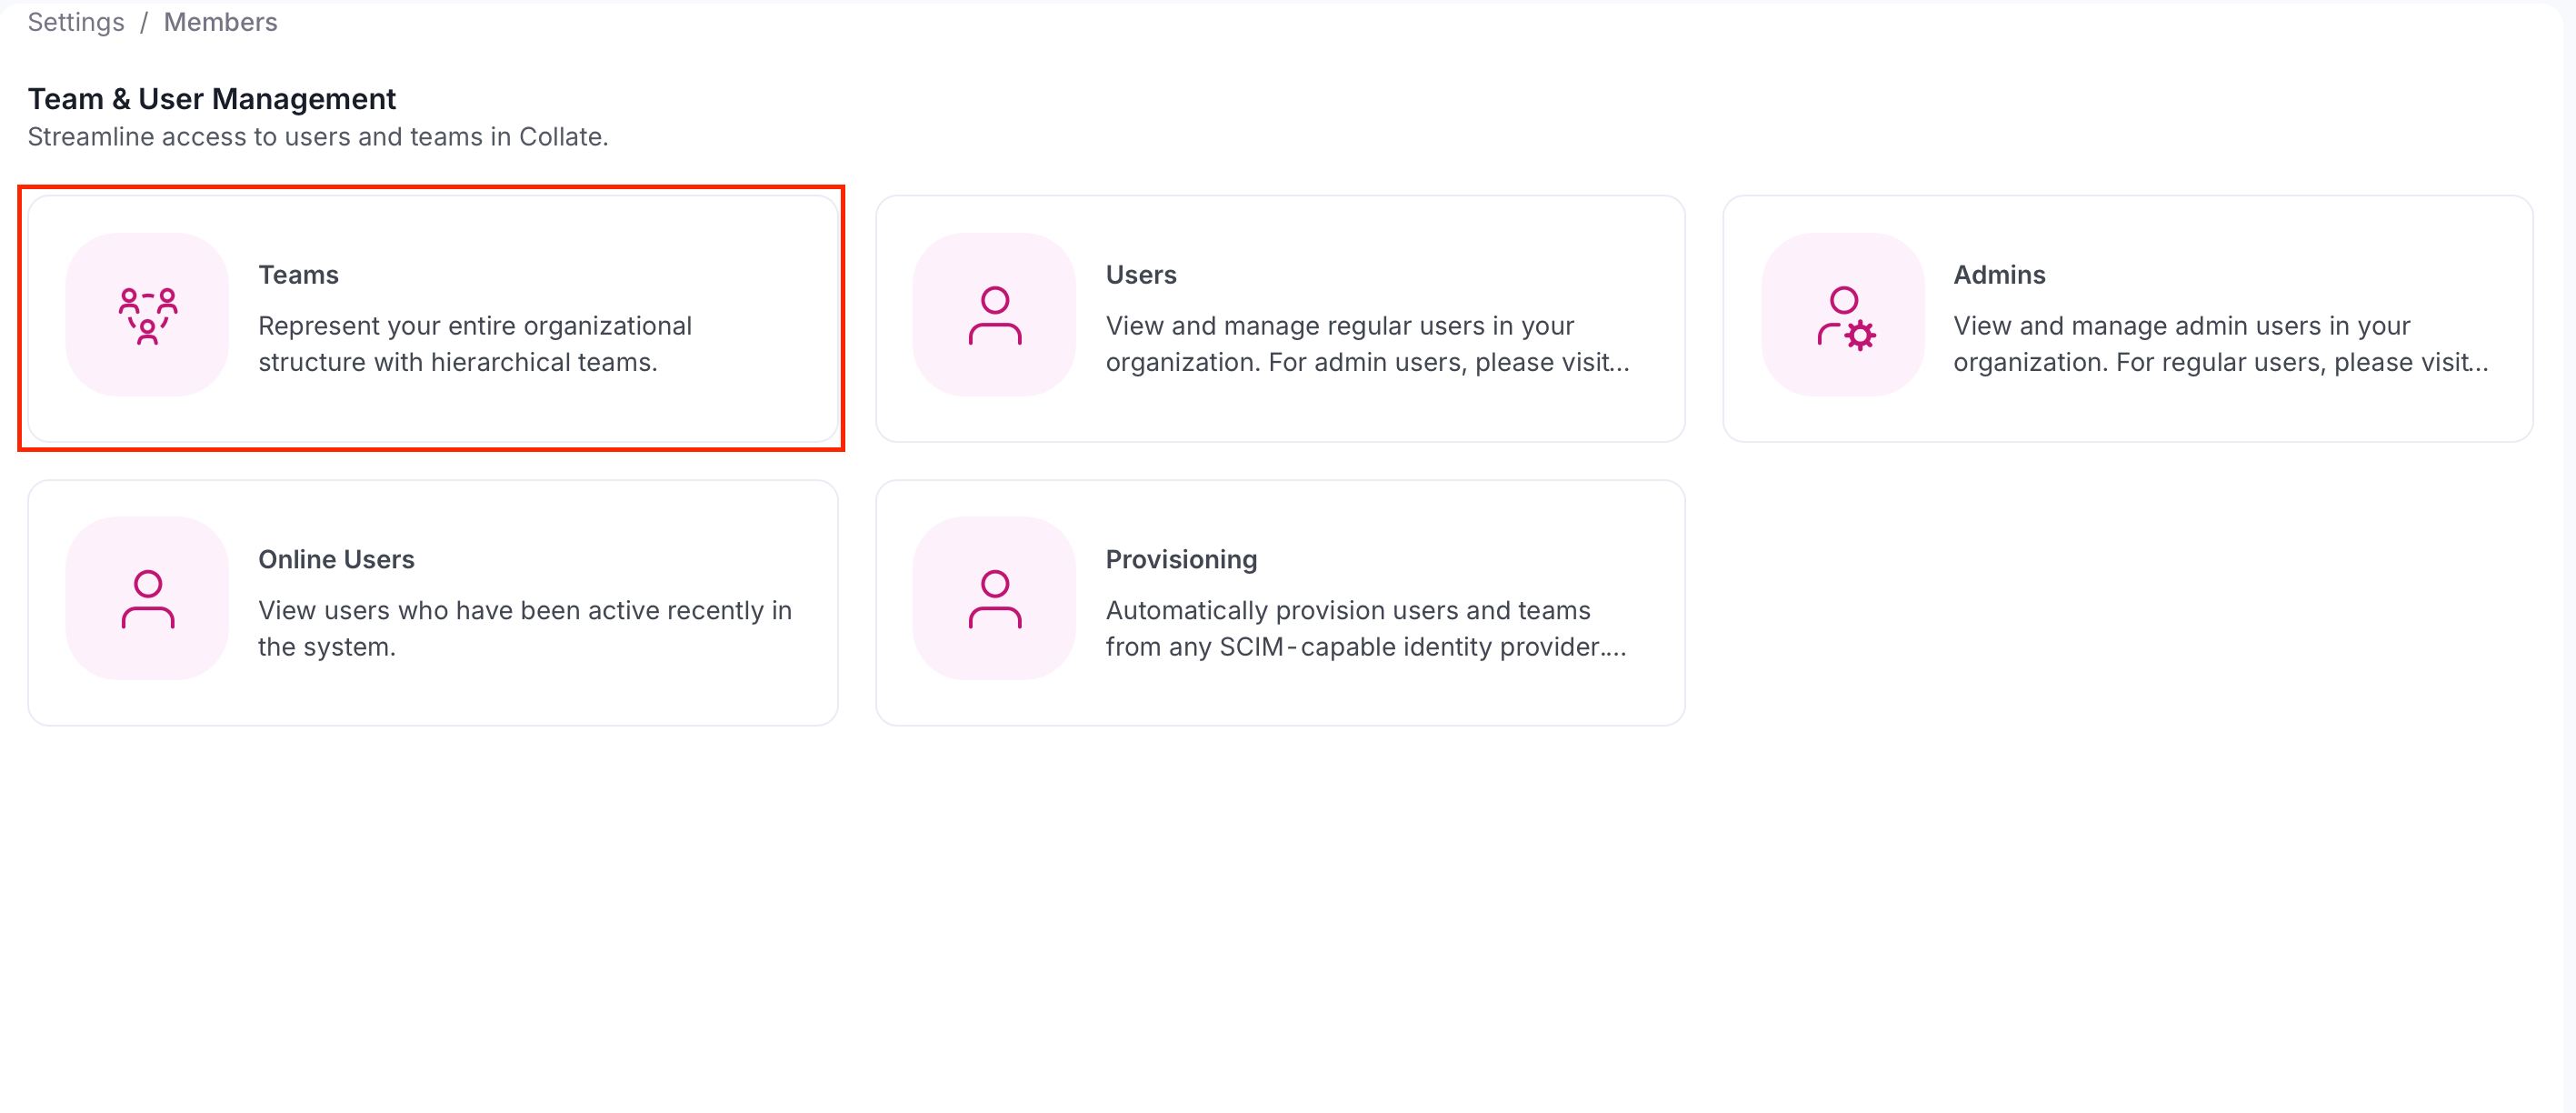 2. Click **Add Team**.
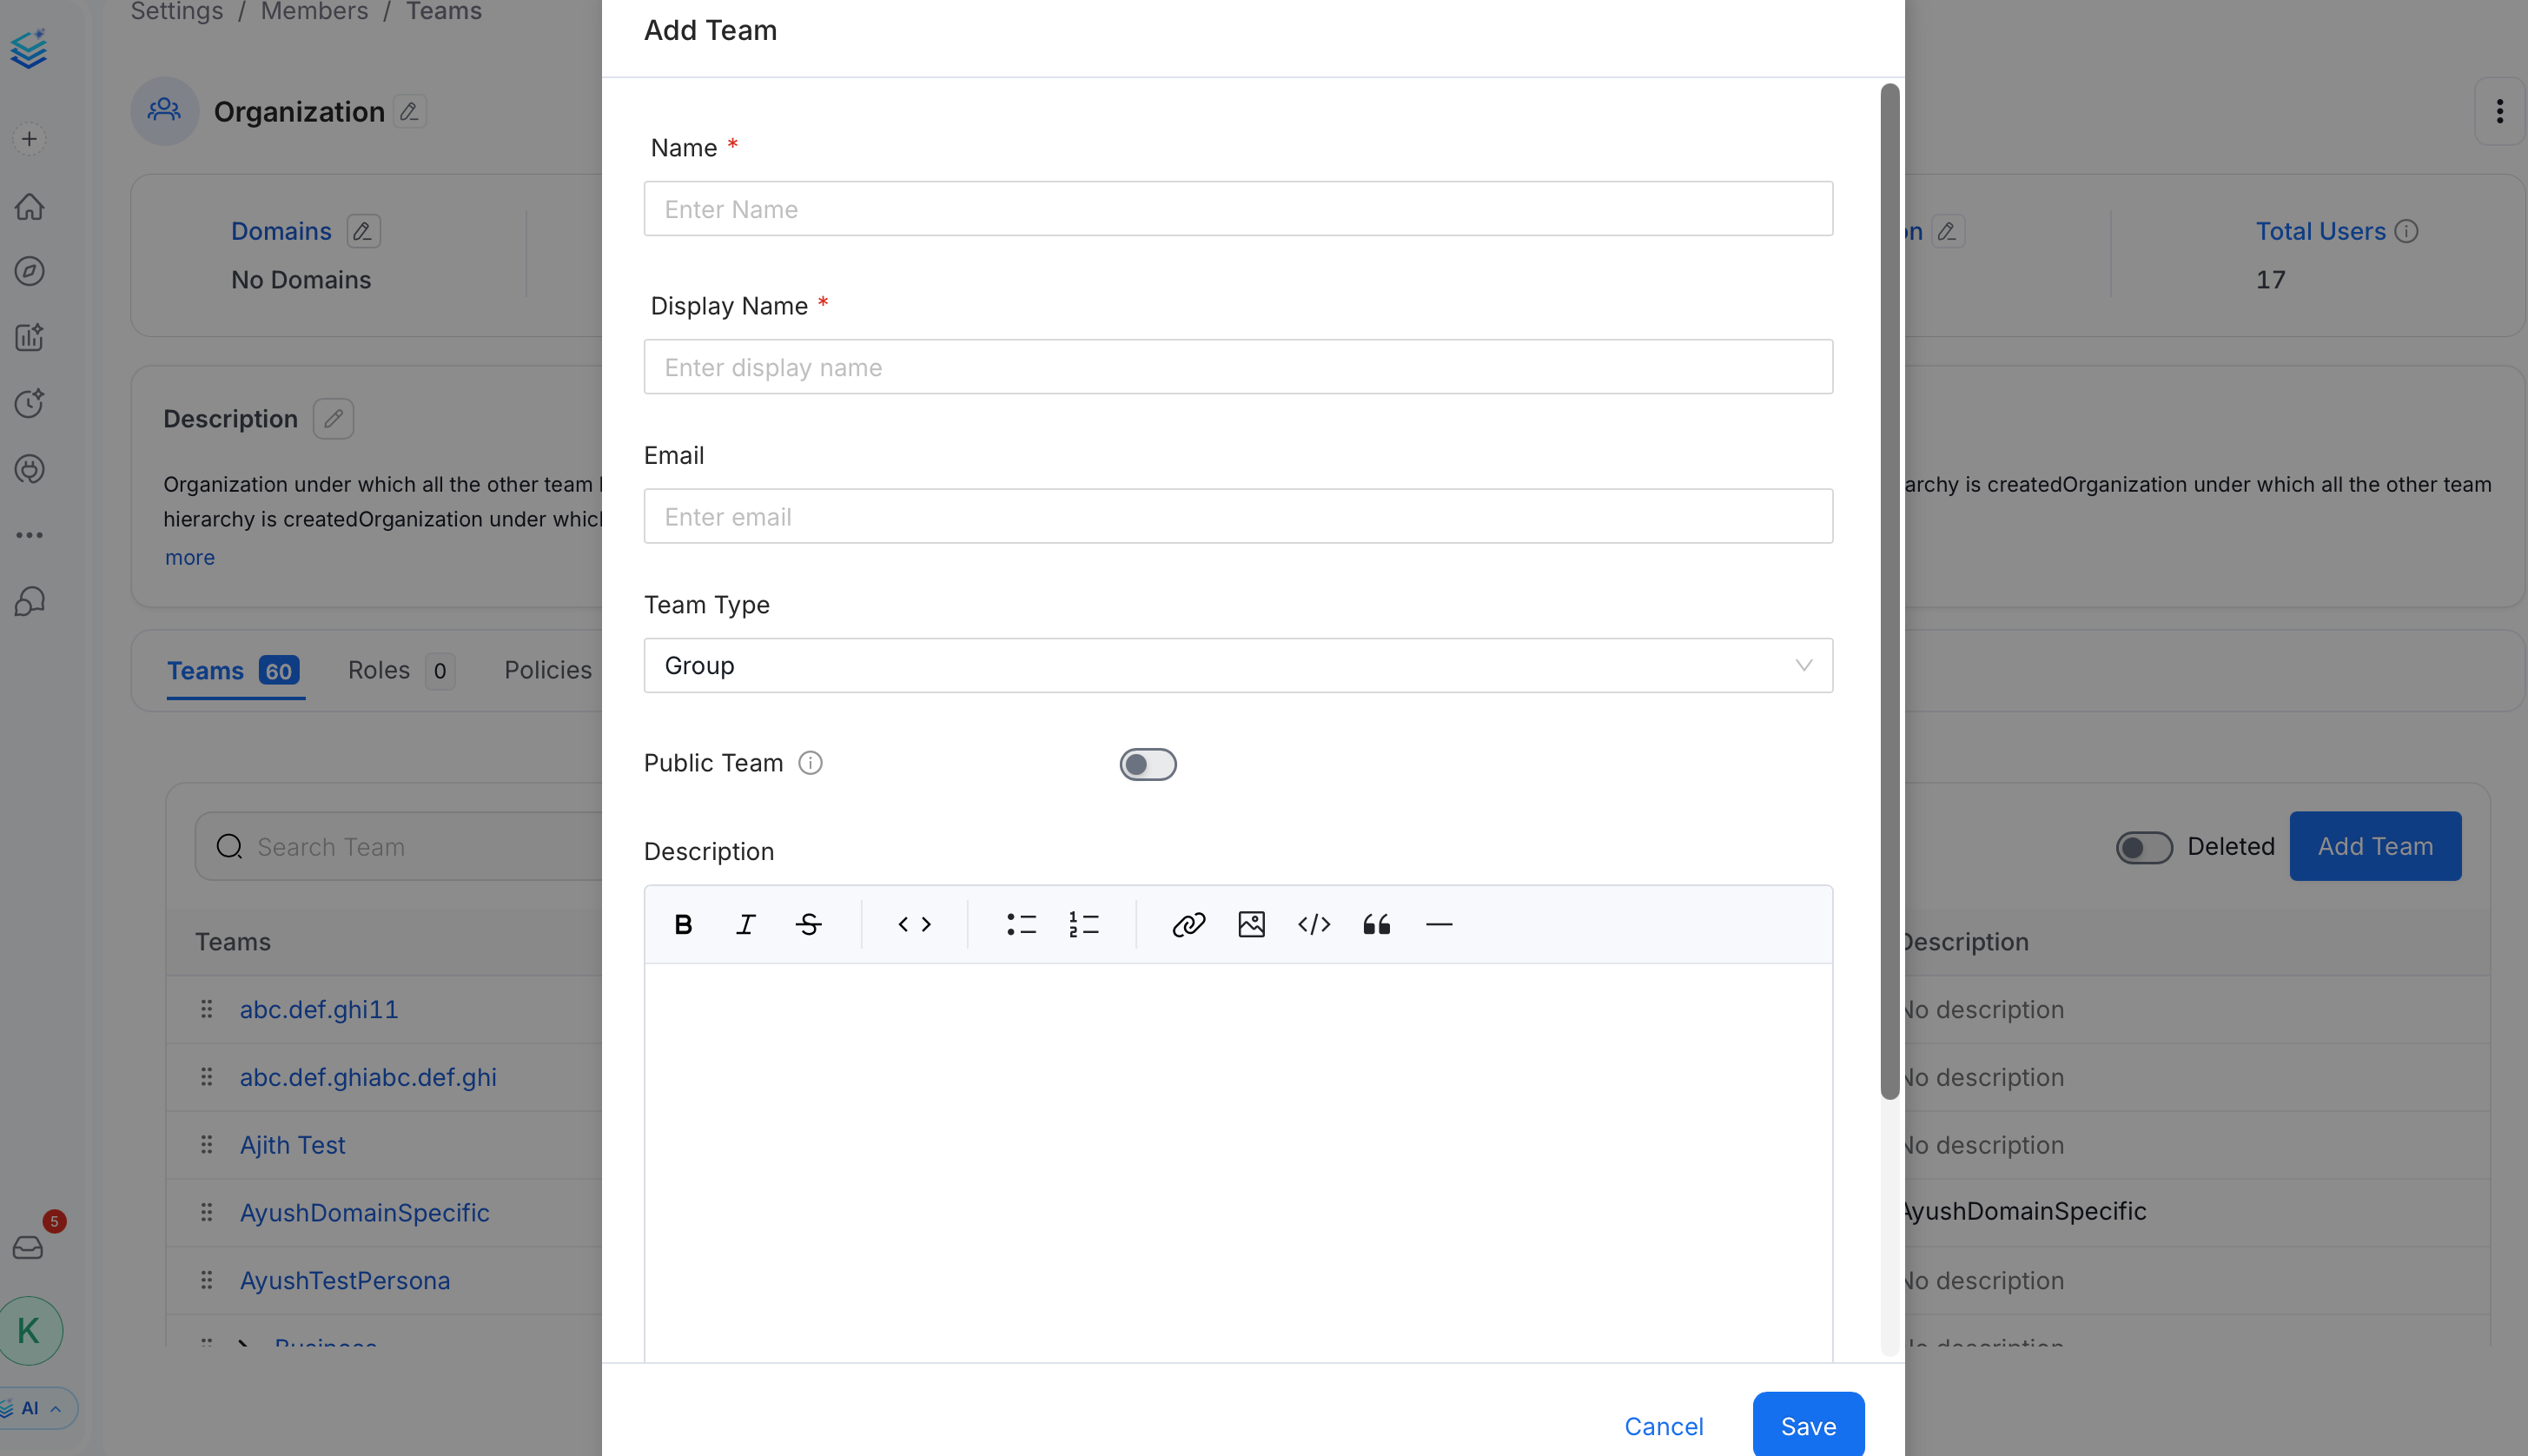
 3. In the **Add Team** panel, fill the following details and click **Save**:
* **Name** (required) — A unique identifier for the team.
* **Display Name** (required) — The human-readable name shown in the Collate UI.
* **Email** (optional) — A contact email address for the team.
* **Team Type** — Select the type that matches this team's role in your hierarchy. The available options depend on the parent team's type. See [Team Structure in Collate](/ai-2-0/admin-guide/teams-and-users/team-structure-openmetadata).
* **Public Team** — Toggle on to allow anyone in the organization to join, view data, and collaborate without an explicit invitation.
* **Description** (optional) — Add context about the team's purpose.
3. In the **Add Team** panel, fill the following details and click **Save**:
* **Name** (required) — A unique identifier for the team.
* **Display Name** (required) — The human-readable name shown in the Collate UI.
* **Email** (optional) — A contact email address for the team.
* **Team Type** — Select the type that matches this team's role in your hierarchy. The available options depend on the parent team's type. See [Team Structure in Collate](/ai-2-0/admin-guide/teams-and-users/team-structure-openmetadata).
* **Public Team** — Toggle on to allow anyone in the organization to join, view data, and collaborate without an explicit invitation.
* **Description** (optional) — Add context about the team's purpose.
 **Important**:
* The team type cannot be changed after a **Group** team is created.
* Only teams of type **Group** can own data assets.
## Bulk invite via SSO
If your organisation uses an identity provider (Okta, Azure AD, Google Workspace, etc.), you can configure SSO and SCIM to provision users automatically. See [SSO](/ai-2-0/how-to-guides/sso) for setup instructions.
**Important**:
* The team type cannot be changed after a **Group** team is created.
* Only teams of type **Group** can own data assets.
## Bulk invite via SSO
If your organisation uses an identity provider (Okta, Azure AD, Google Workspace, etc.), you can configure SSO and SCIM to provision users automatically. See [SSO](/ai-2-0/how-to-guides/sso) for setup instructions.