> ## Documentation Index
> Fetch the complete documentation index at: https://docs.getcollate.io/llms.txt
> Use this file to discover all available pages before exploring further.
# Local Ingestion Agent
> Deploy the Collate Local Ingestion Agent to run metadata ingestion inside your own infrastructure, without exposing your network to external connections.
# Local Ingestion Agent
The Local Ingestion Agent lets you securely push metadata from your own infrastructure into Collate — without exposing your internal systems or relying on additional server infrastructure. It's the right choice when you need to run connectors on-premises and want to be up and running from your local system.
Unlike the Hybrid Ingestion Runner, the Local Ingestion Agent doesn't require a Kubernetes cluster or any cloud infrastructure — just Docker.
With the Local Ingestion Agent, you can:
* Set up ingestion workflows from a UI.
* Run end-to-end metadata extraction workflows: metadata, profiling, lineage, usage, dbt, auto-classification, and data quality.
**Note**:
**Before you start**: Contact [Collate support](mailto:free-tier-support@getcollate.io) to get your Docker credentials before setting up the Local Ingestion Agent.
## Setting Up the Collate Ingestion Agent
Follow these steps to install, connect, and configure the Local Ingestion Agent on your machine.
### Step 1: Install and Start the Agent
You need Docker installed on your laptop. Run the following commands:
1. Authenticate with the Docker registry using the credentials provided by Collate support. For example, the following command shows the registry URL specific to AWS provided by Collate:
```shell theme={null}
docker login --username AWS -p eyJwY... 118146679784.dkr.ecr.eu-west-1.amazonaws.com
```
2. Run the Docker image to start the Local Agent:
```shell theme={null}
docker run -it --rm -p 8001:8001 -e CL_BASE_DIR='/collate/collate-local-webserver/' -v ./.collate:/collate/collate-local-webserver/.collate 118146679784.dkr.ecr.eu-west-1.amazonaws.com/collate-customers-local-ingestion:
```
**Note**: Replace `` with your Collate instance version. For example, `1.11.1`.
### Step 2: Connect the Agent to Collate
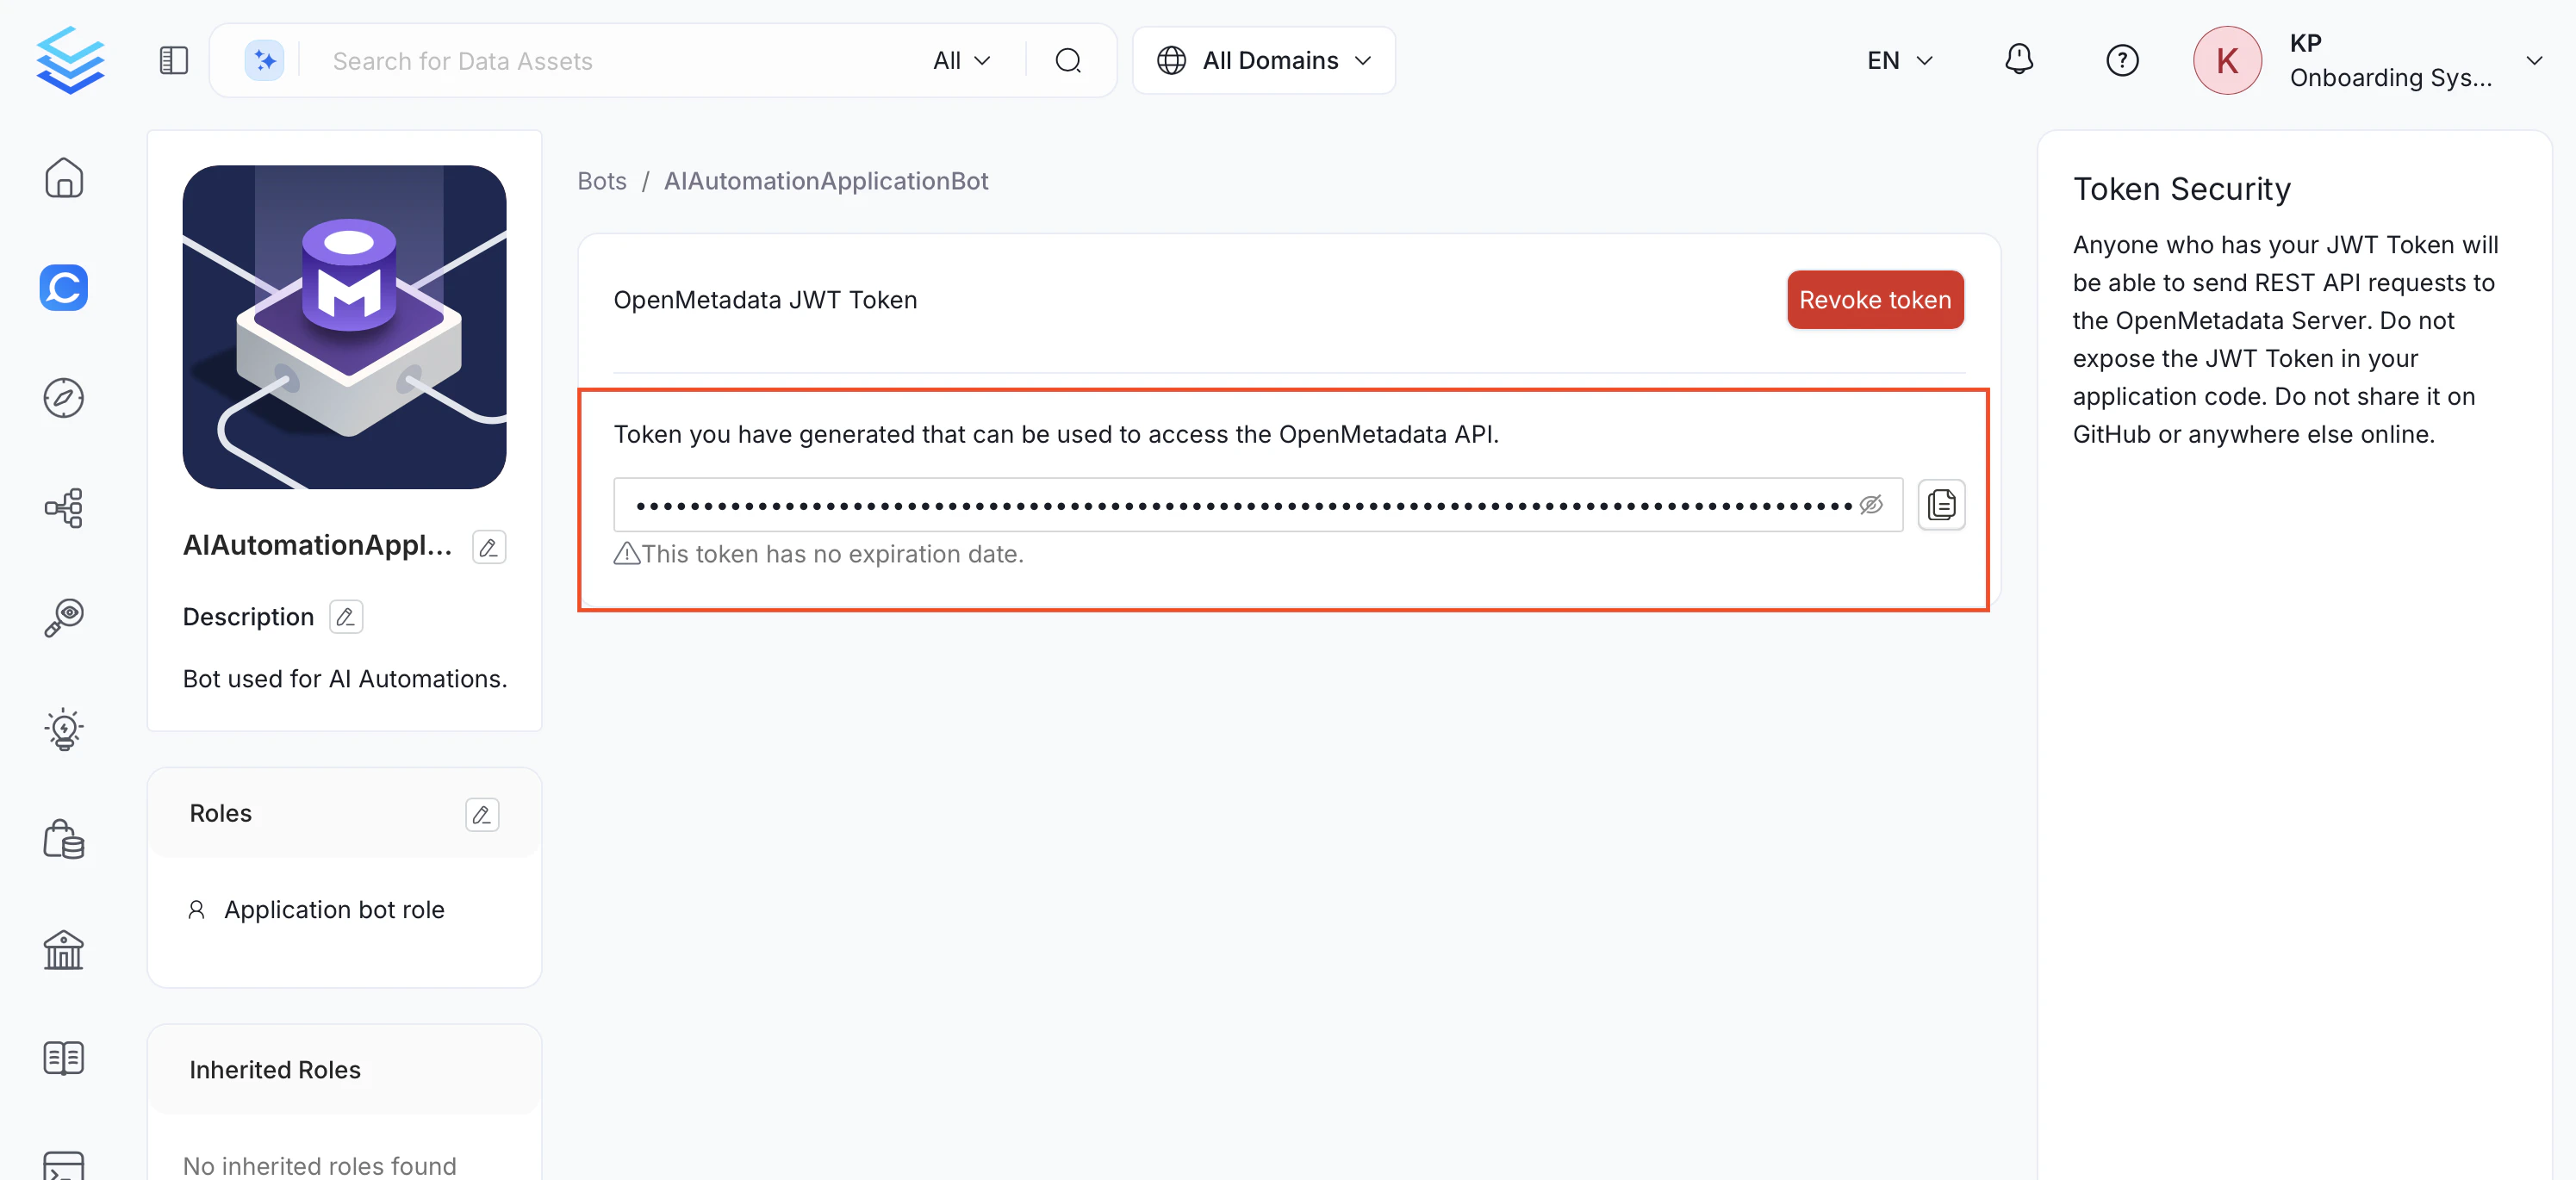
Generate a JWT token from your Collate instance and use it to authenticate the agent.
1. In your web browser, navigate to `http://localhost:8001` to open the local agent UI.
2. Enter your Collate platform URL (for example, `https://.getcollate.io/api`).
3. In your Collate instance, navigate to **Settings** > **Bots**.
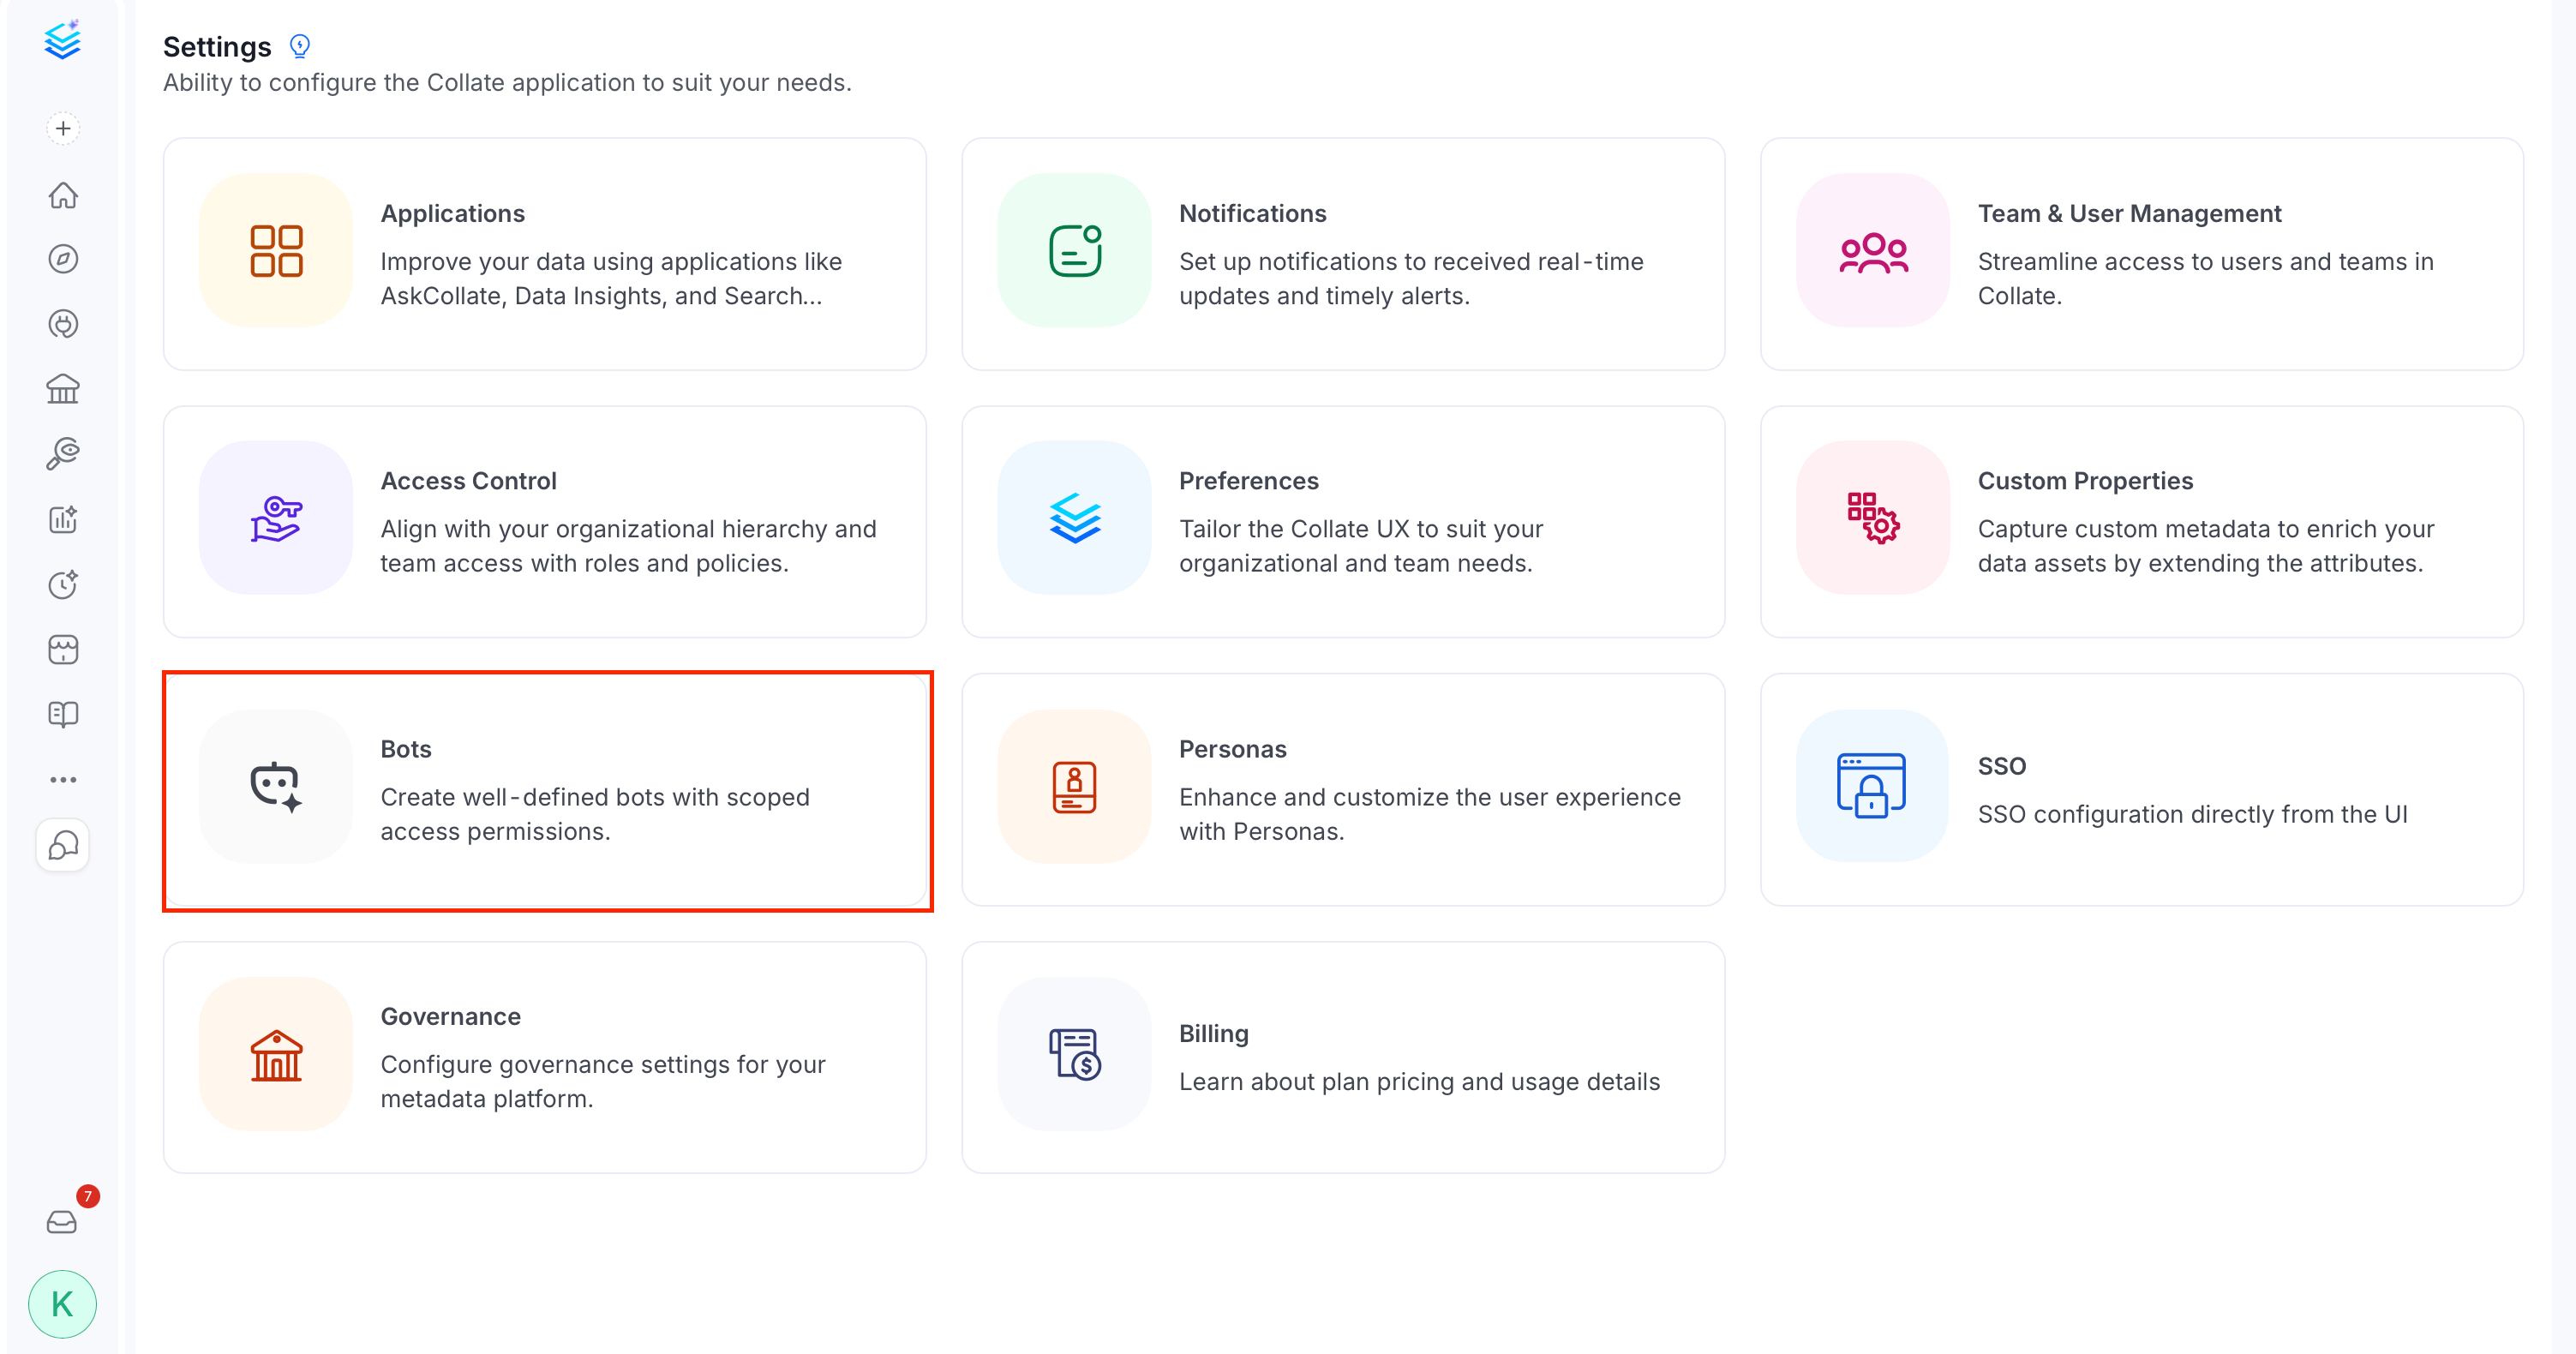 4. Click **Add Bot**.
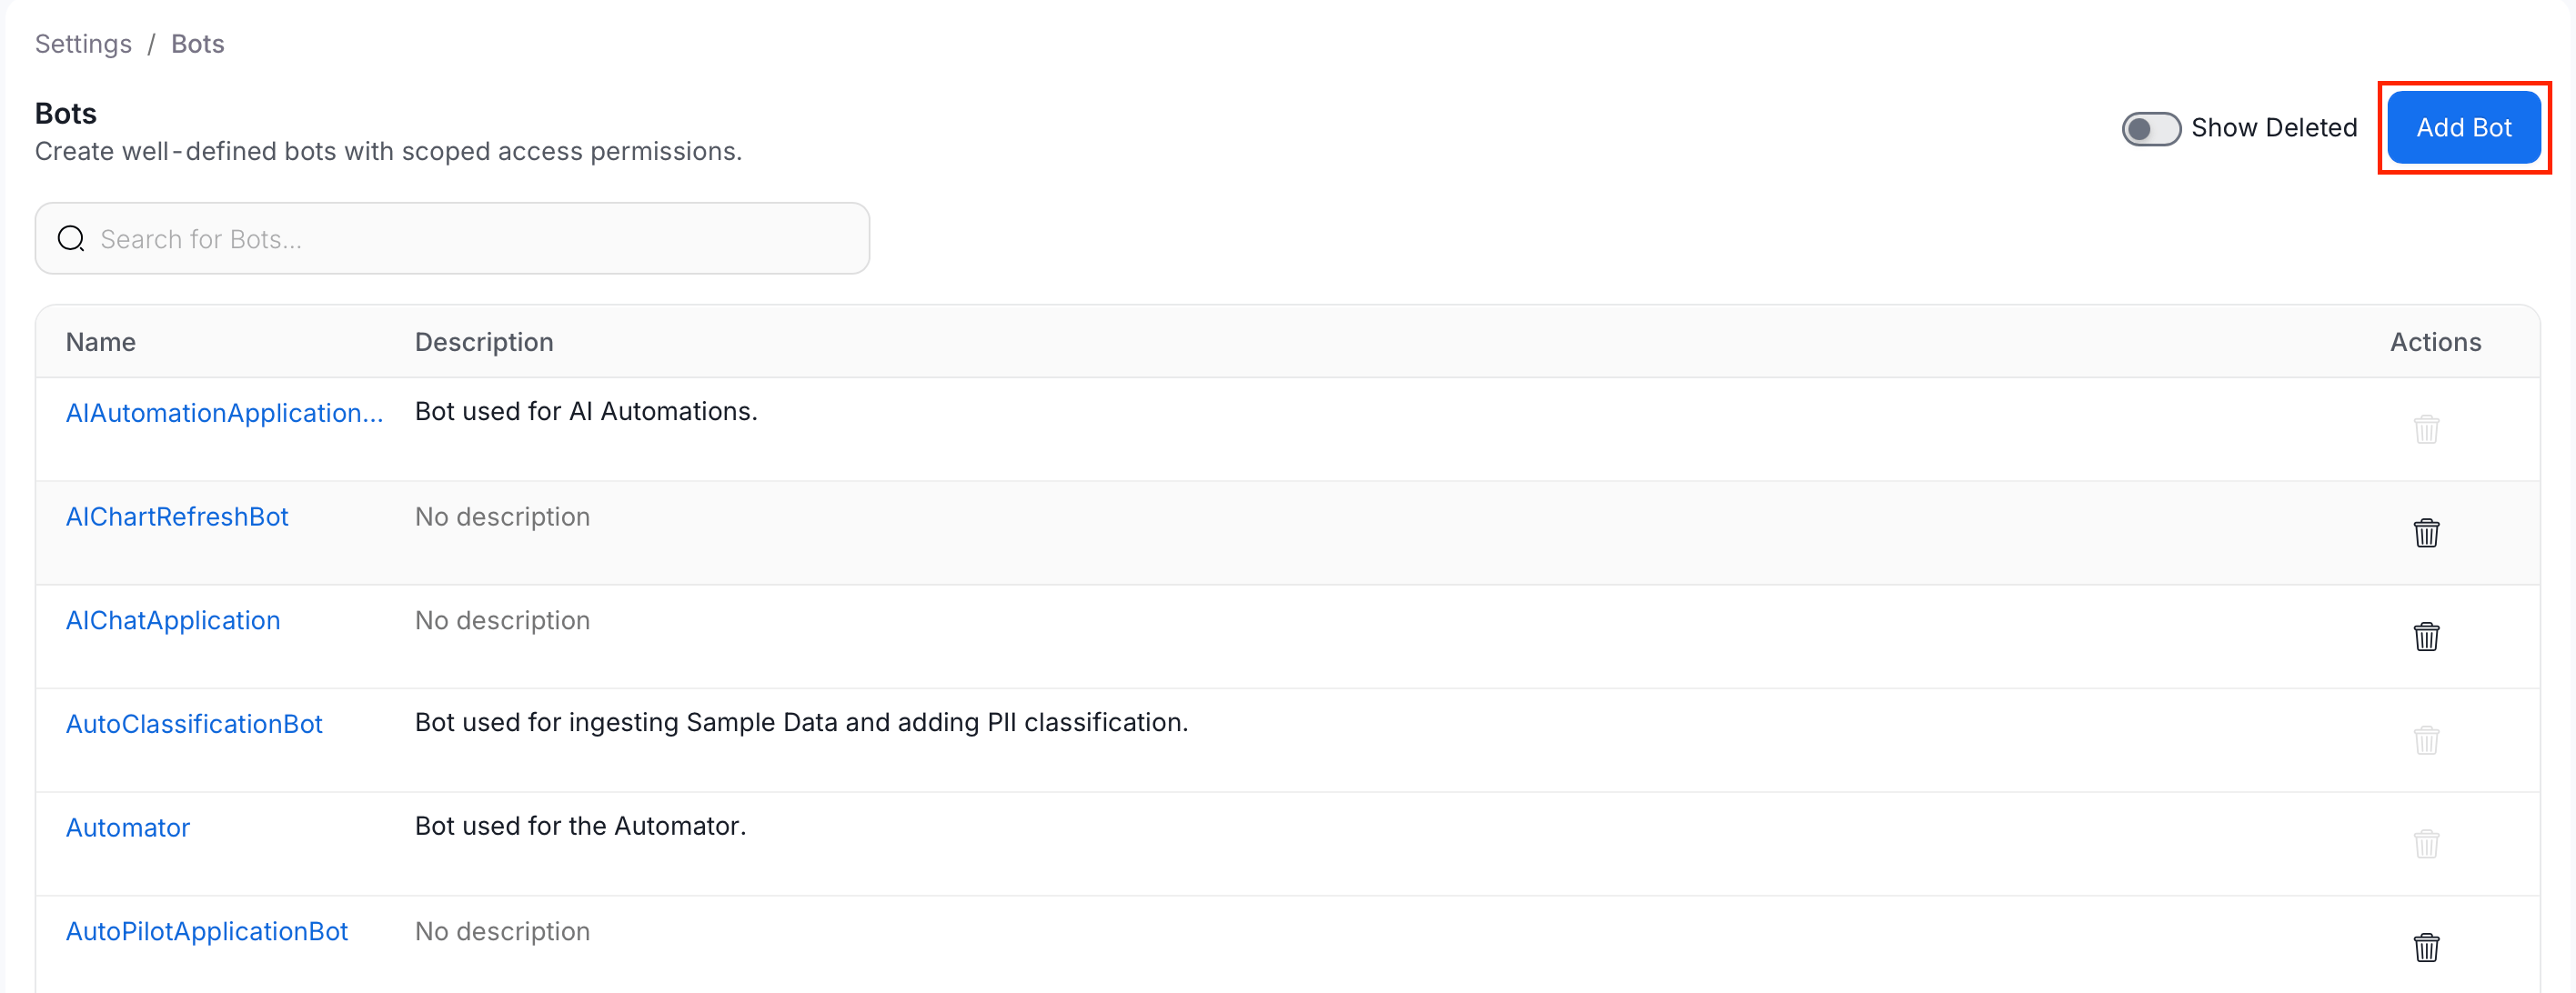 5. Fill in the following details and click **Create**:
* **Email**: The bot's login email, used as its username for authentication.
* **Display Name**: The name shown for this bot throughout the Collate UI.
* **Token Expiration**: How long the generated JWT stays valid before you need to regenerate it: `1 Hour`, `1`, `7`, `30`, `60`, or `90` days, or `Unlimited`.
* **Allow Impersonation**: Lets this bot act on behalf of other users. Your policies control which users can be impersonated; admins and other bots are excluded by default. You can only turn this on while creating the bot, not afterward.
* **Description** (optional): A description of what this bot is used for.
5. Fill in the following details and click **Create**:
* **Email**: The bot's login email, used as its username for authentication.
* **Display Name**: The name shown for this bot throughout the Collate UI.
* **Token Expiration**: How long the generated JWT stays valid before you need to regenerate it: `1 Hour`, `1`, `7`, `30`, `60`, or `90` days, or `Unlimited`.
* **Allow Impersonation**: Lets this bot act on behalf of other users. Your policies control which users can be impersonated; admins and other bots are excluded by default. You can only turn this on while creating the bot, not afterward.
* **Description** (optional): A description of what this bot is used for.
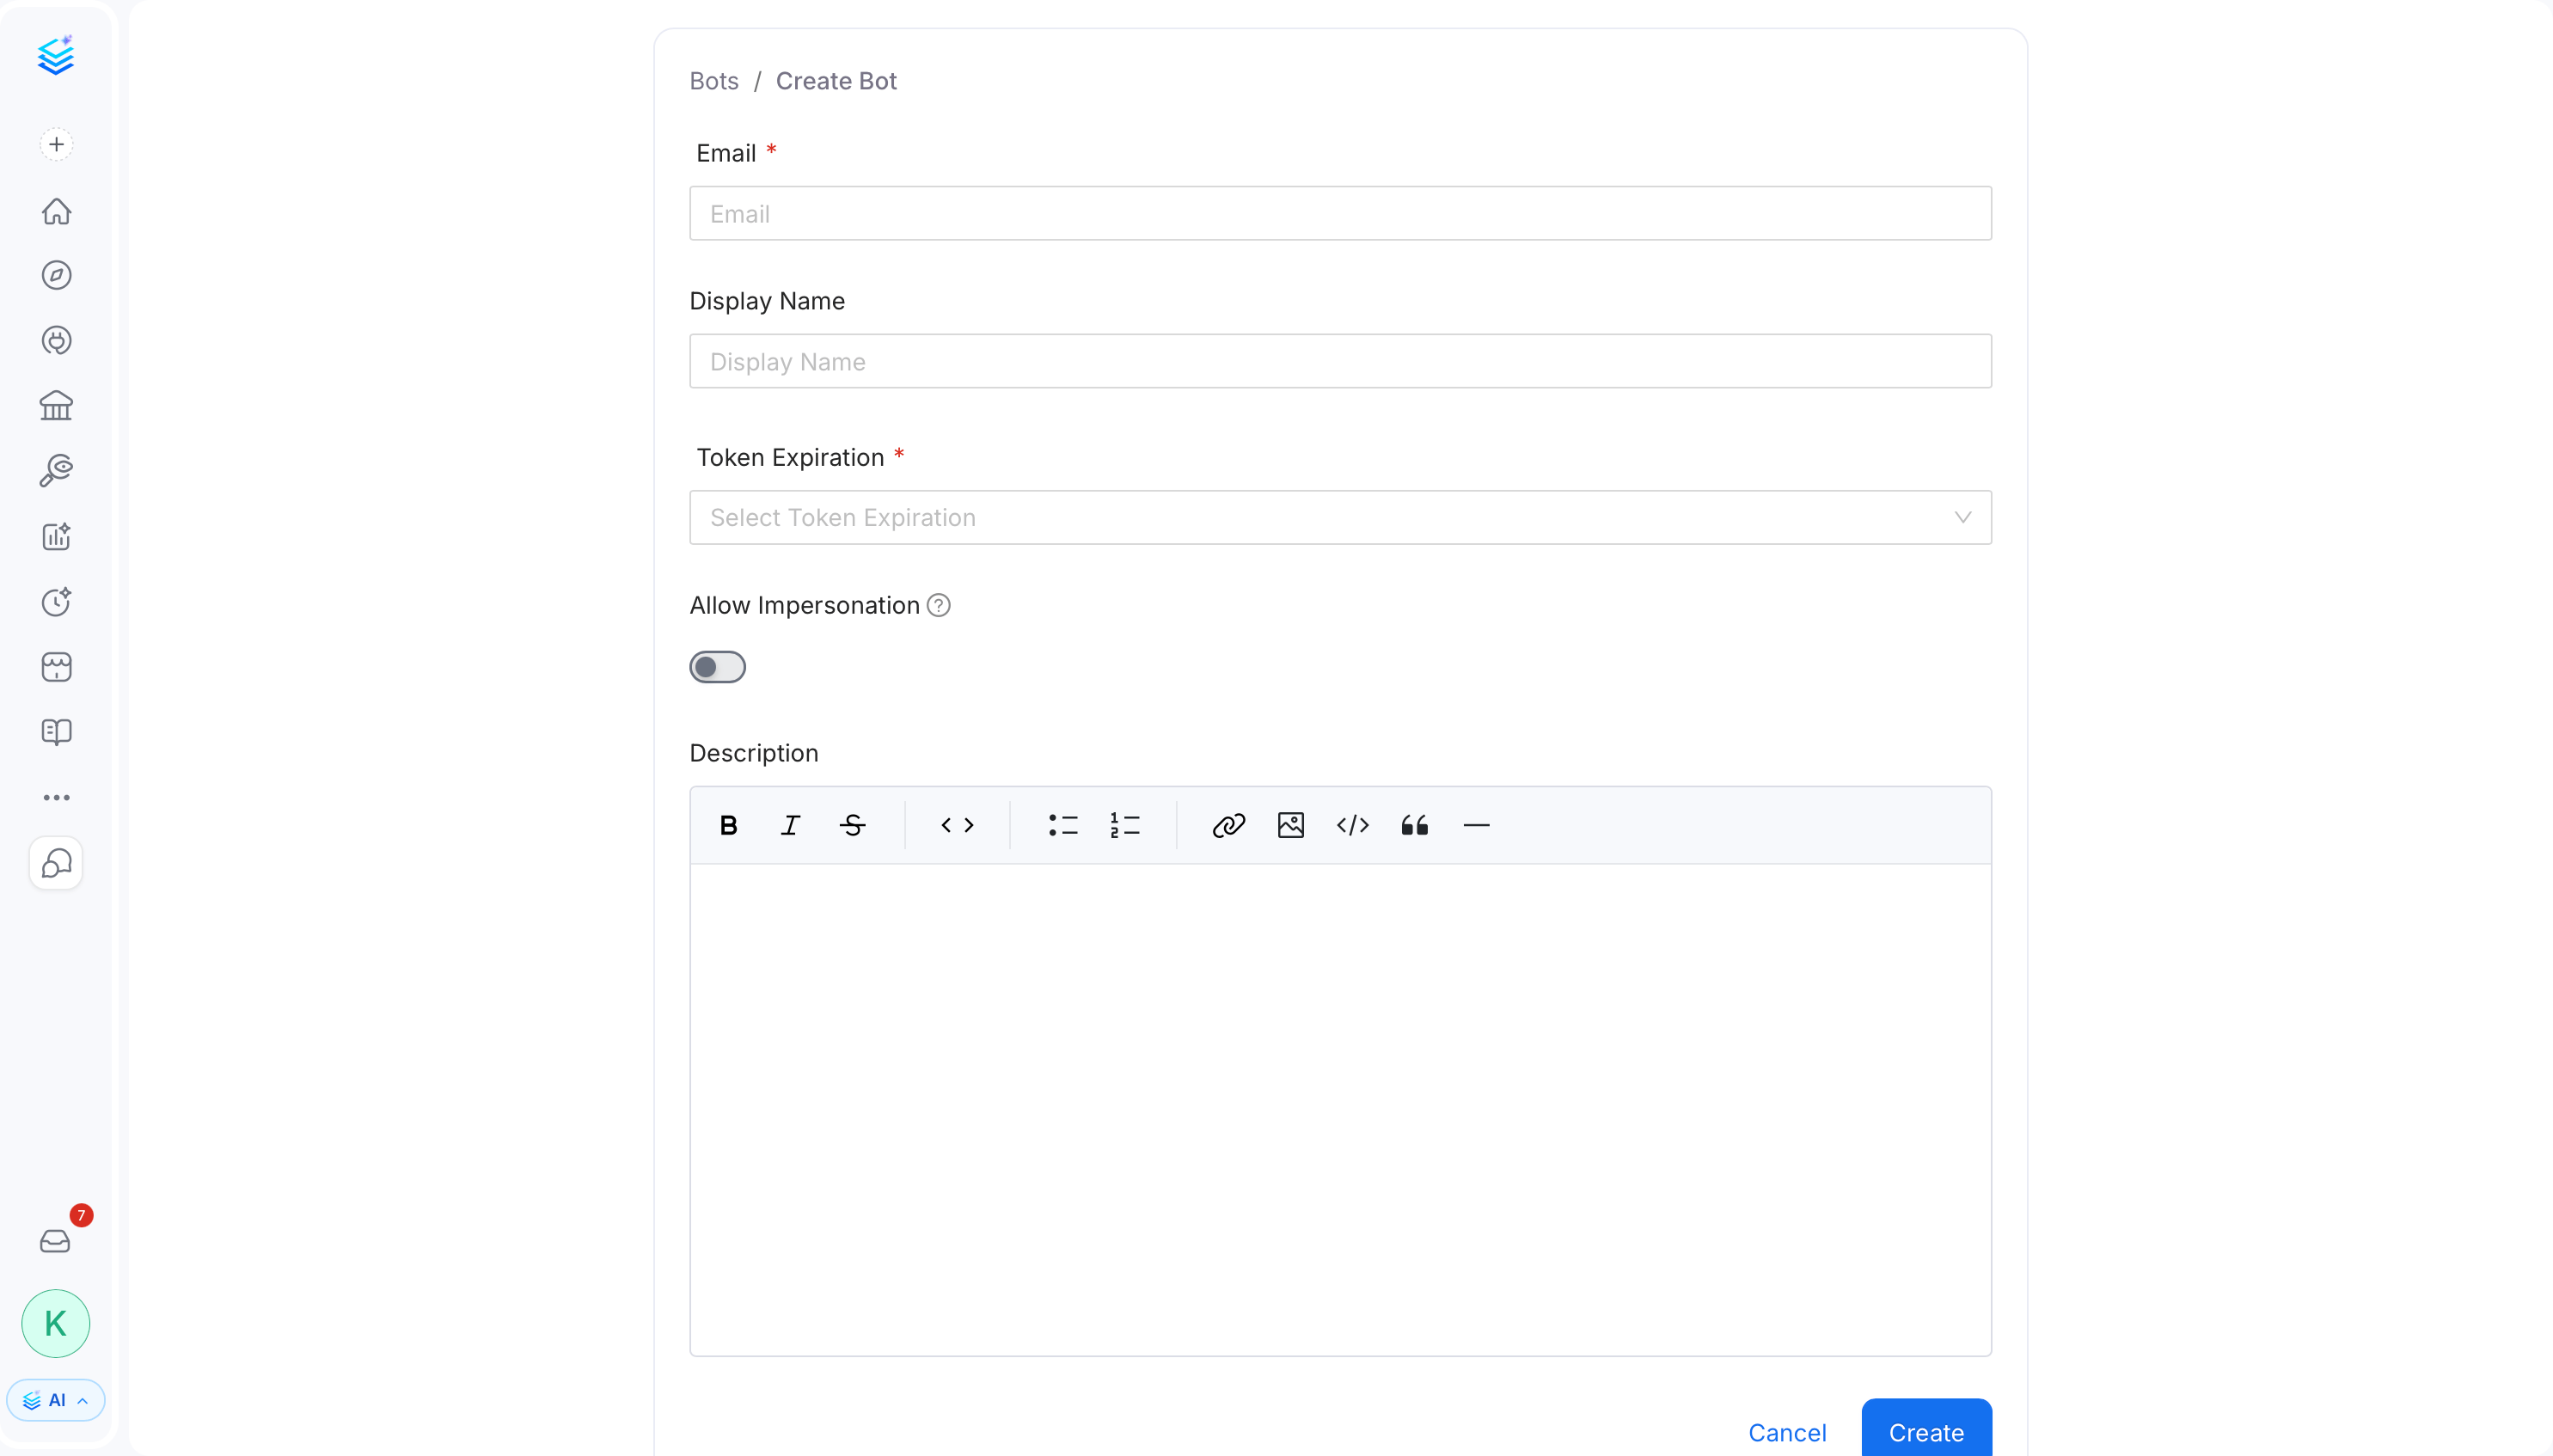 6. In the **Bots** home page, search and select the bot you created.
7. Assign the appropriate roles. Typically **Default Bot Role** and **Ingestion Bot Role**.
6. In the **Bots** home page, search and select the bot you created.
7. Assign the appropriate roles. Typically **Default Bot Role** and **Ingestion Bot Role**.
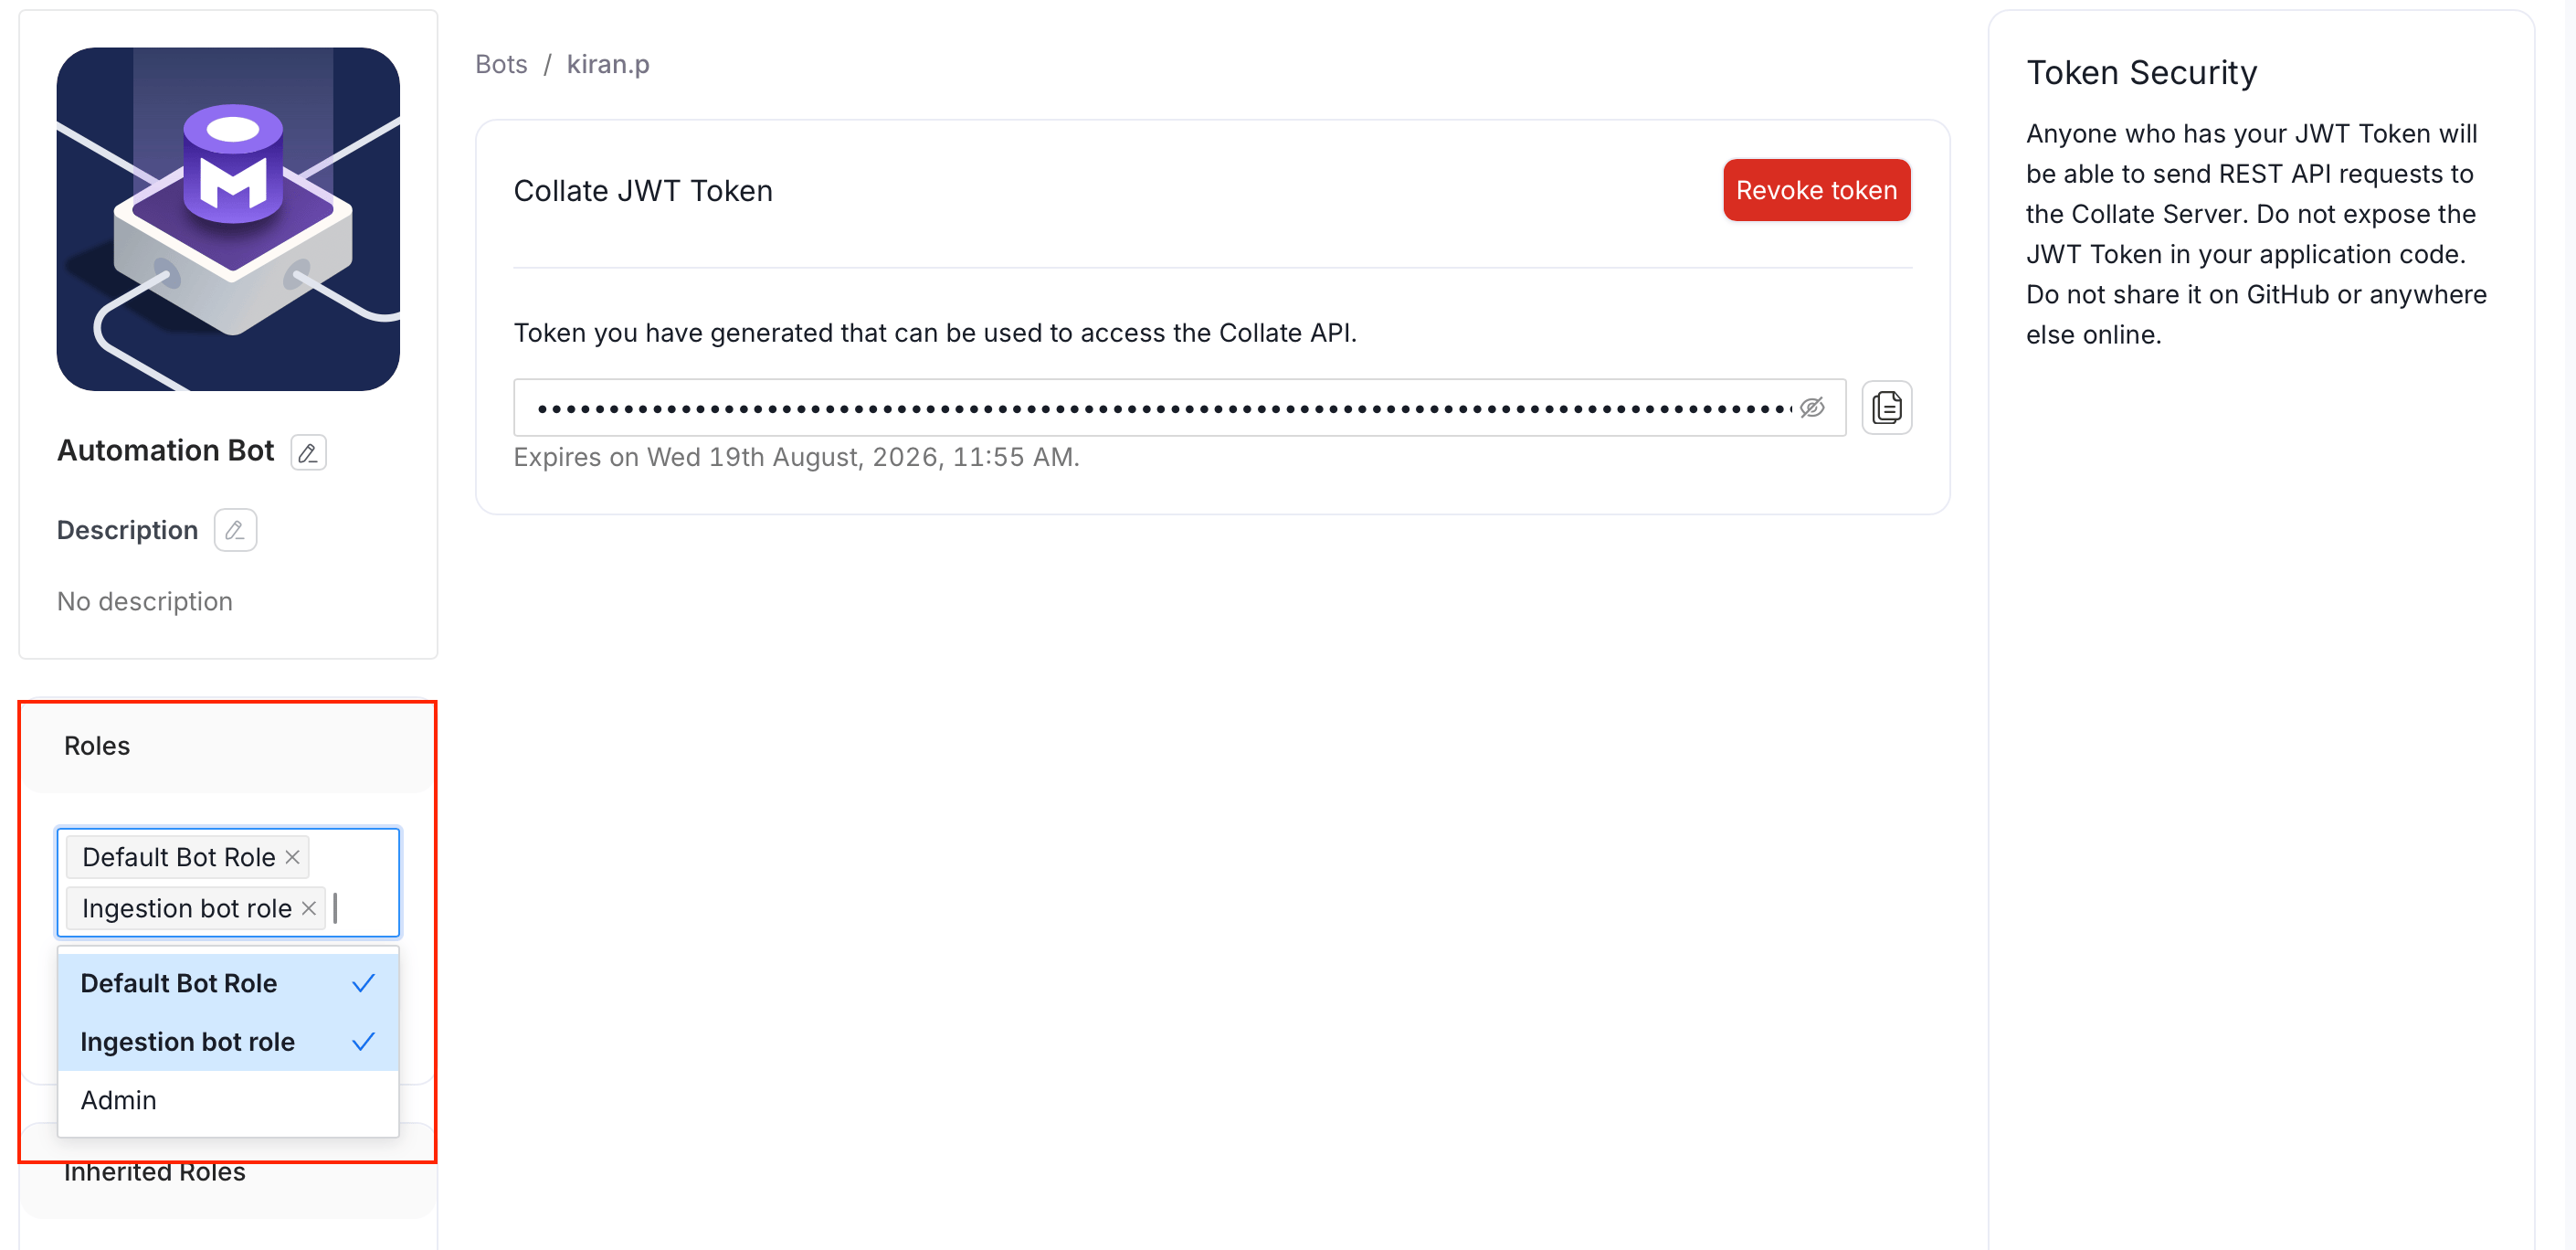 8. Copy the generated JWT token and save it for use in step 2 below.
 ### Step 3: Add a New Service
Add a data service in the Local Collate UI and verify the connection before running ingestion.
1. From the left navigation bar, navigate to the **Connections** and click **Add New Service**.
2. On the **Add New Service** page, select the service type and click the connector you want to add.
3. Enter a unique service name. Optionally, add a description.
4. Fill the connection details.
5. Click **Test Connection** to verify the connection is successful.
### Step 4: Verify Ingested Data
Confirm that metadata from your data source is now visible in the Collate platform.
1. Return to the Collate platform at `https://.getcollate.io` and refresh the database services page. Your new service will appear there now.
2. Verify that the ingested metadata, including schemas, tables, and column details, is available.
### Step 5: Configure Metadata Agent and Schedule Ingestion
To configure the metadata agent and schedule the ingestion, see [Step 2 - Configure Metadata Agent and Schedule Ingestion](/ai-2-0/getting-started/lets-get-started/ingest-metadata).
## Troubleshooting
### Cannot connect to a data source on Windows when running via WSL/Docker
If the Local Ingestion Agent is running inside Docker on WSL and your data source
(for example, SQL Server) is installed on the Windows host, using `localhost` or
`127.0.0.1` as the hostname will fail — inside a Docker container these addresses
refer to the container itself, not the Windows machine.
Use `host.docker.internal` as the hostname instead.
### Connection tested successfully but not appearing in the services list
If you clicked **Test Connection** and it passed but the service does not appear in the connection list, the service was likely tested from the form without being saved.
**Fix**: Go back to **Settings** > **Services**, click **+ Add New Service**, complete all the steps, and make sure to save the service before testing the connection.
## Additional Features
The Collate Ingestion Agent supports various ingestion workflows, letting you:
* **Generate YAML Configurations** — Download YAML files for external scheduling.
* **Manage Ingestion Types** — Run metadata, profiling, lineage, usage, and other workflows as needed.
* **Monitor Progress** — View logs and monitor real-time ingestion activity.
### Step 3: Add a New Service
Add a data service in the Local Collate UI and verify the connection before running ingestion.
1. From the left navigation bar, navigate to the **Connections** and click **Add New Service**.
2. On the **Add New Service** page, select the service type and click the connector you want to add.
3. Enter a unique service name. Optionally, add a description.
4. Fill the connection details.
5. Click **Test Connection** to verify the connection is successful.
### Step 4: Verify Ingested Data
Confirm that metadata from your data source is now visible in the Collate platform.
1. Return to the Collate platform at `https://.getcollate.io` and refresh the database services page. Your new service will appear there now.
2. Verify that the ingested metadata, including schemas, tables, and column details, is available.
### Step 5: Configure Metadata Agent and Schedule Ingestion
To configure the metadata agent and schedule the ingestion, see [Step 2 - Configure Metadata Agent and Schedule Ingestion](/ai-2-0/getting-started/lets-get-started/ingest-metadata).
## Troubleshooting
### Cannot connect to a data source on Windows when running via WSL/Docker
If the Local Ingestion Agent is running inside Docker on WSL and your data source
(for example, SQL Server) is installed on the Windows host, using `localhost` or
`127.0.0.1` as the hostname will fail — inside a Docker container these addresses
refer to the container itself, not the Windows machine.
Use `host.docker.internal` as the hostname instead.
### Connection tested successfully but not appearing in the services list
If you clicked **Test Connection** and it passed but the service does not appear in the connection list, the service was likely tested from the form without being saved.
**Fix**: Go back to **Settings** > **Services**, click **+ Add New Service**, complete all the steps, and make sure to save the service before testing the connection.
## Additional Features
The Collate Ingestion Agent supports various ingestion workflows, letting you:
* **Generate YAML Configurations** — Download YAML files for external scheduling.
* **Manage Ingestion Types** — Run metadata, profiling, lineage, usage, and other workflows as needed.
* **Monitor Progress** — View logs and monitor real-time ingestion activity.