{icon &&
 }
}
{name}
{stage}Feature List
{totalAvailableFeatures.map(feature =>
✓ {feature}
)}
{unavailableFeatures.map(feature =>
✕ {feature}
)}
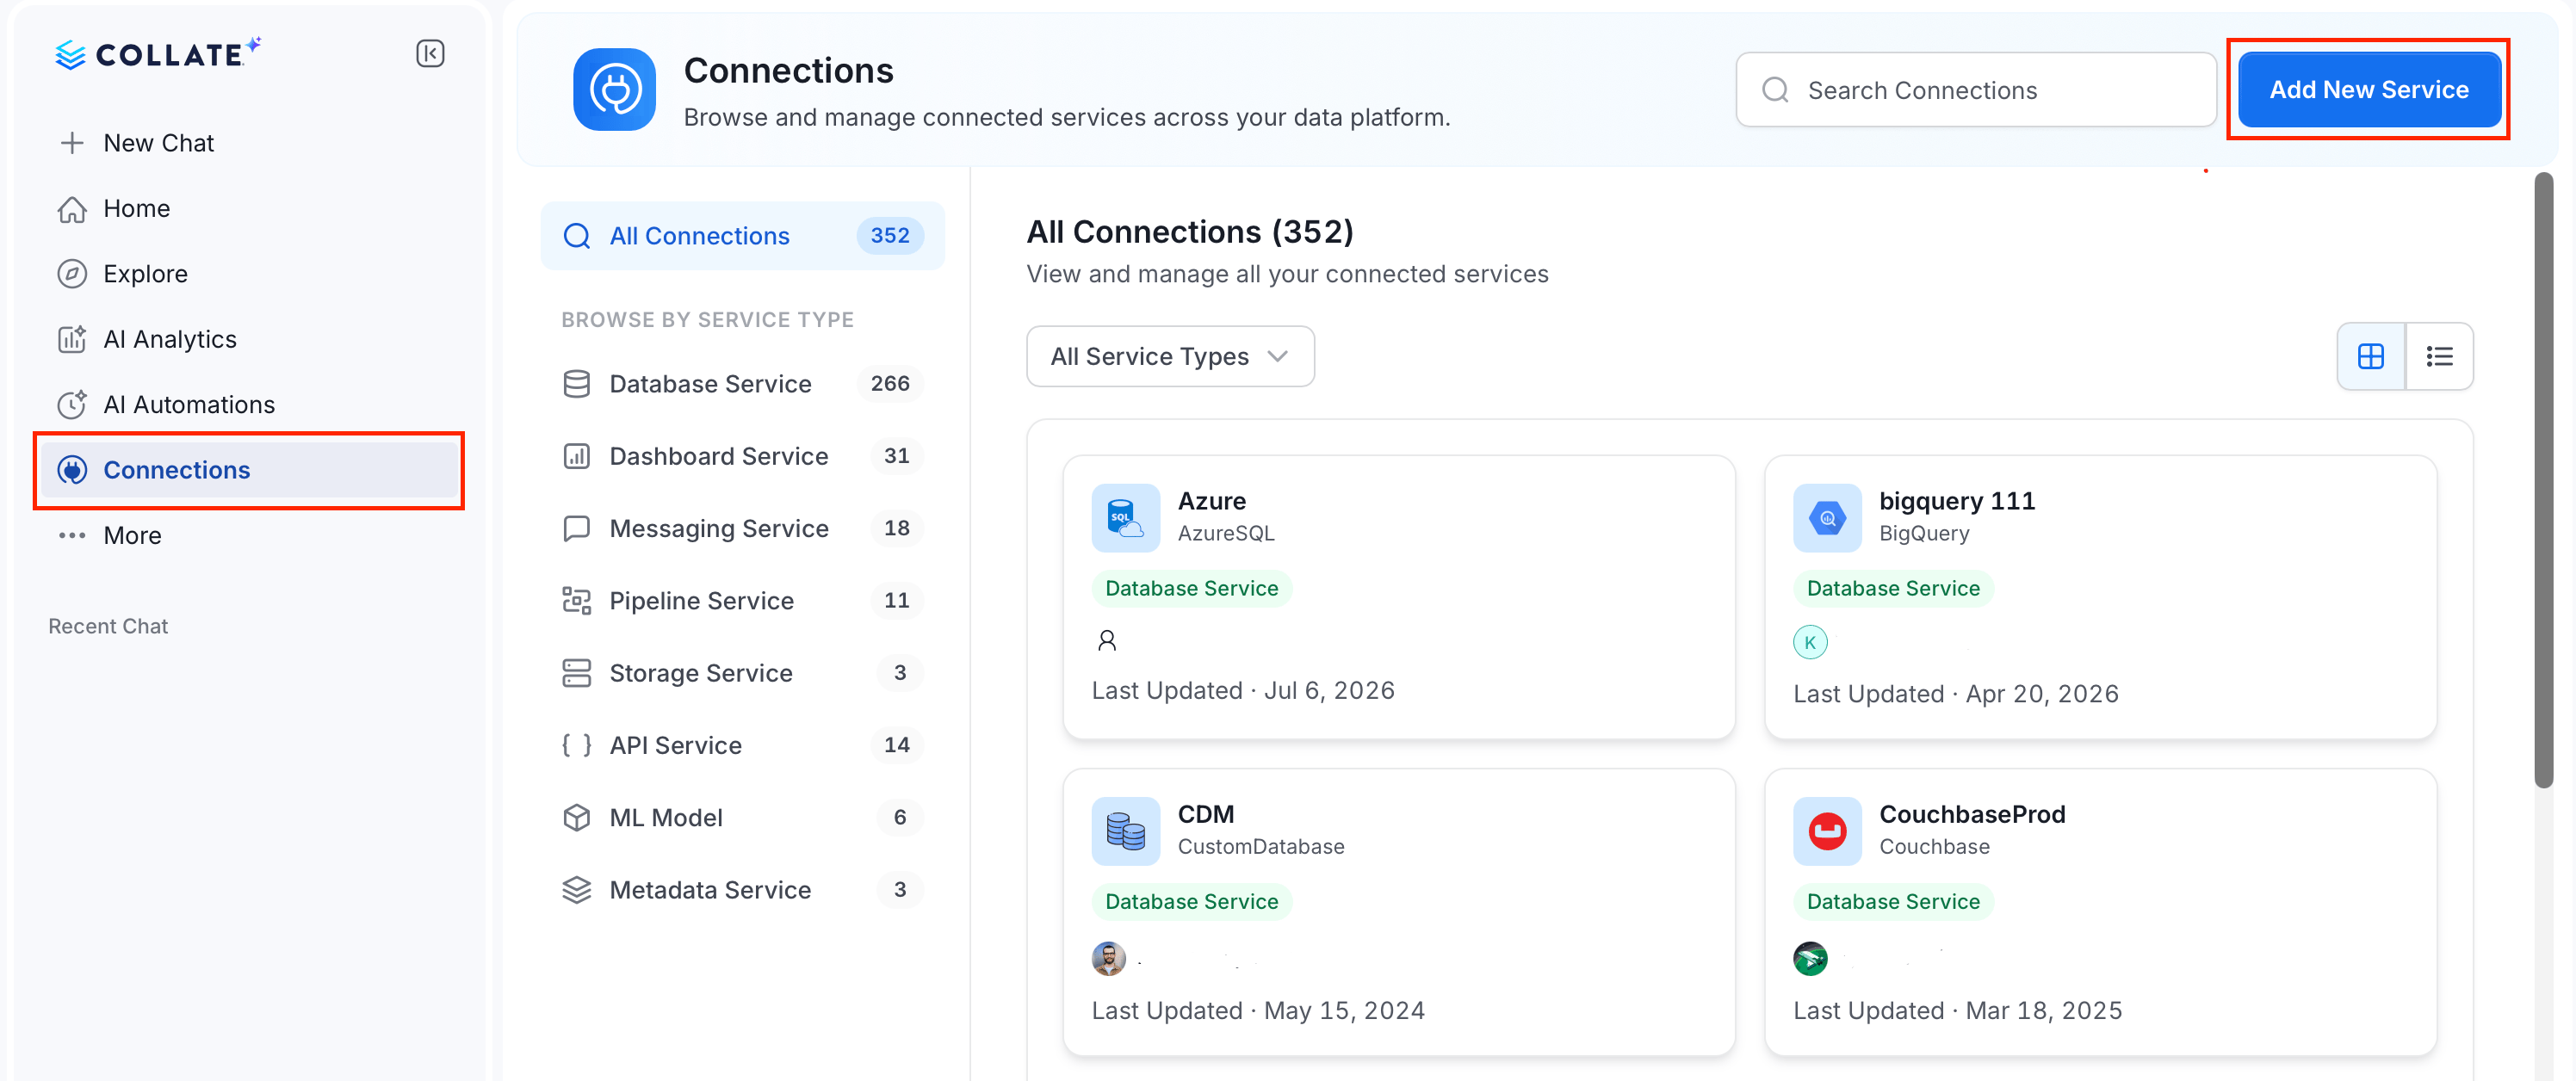 ### Step 2: Select a Service and Connector
From the service type dropdown, select **Pipeline Services**, then click the **SSIS** connector tile.
### Step 2: Select a Service and Connector
From the service type dropdown, select **Pipeline Services**, then click the **SSIS** connector tile.
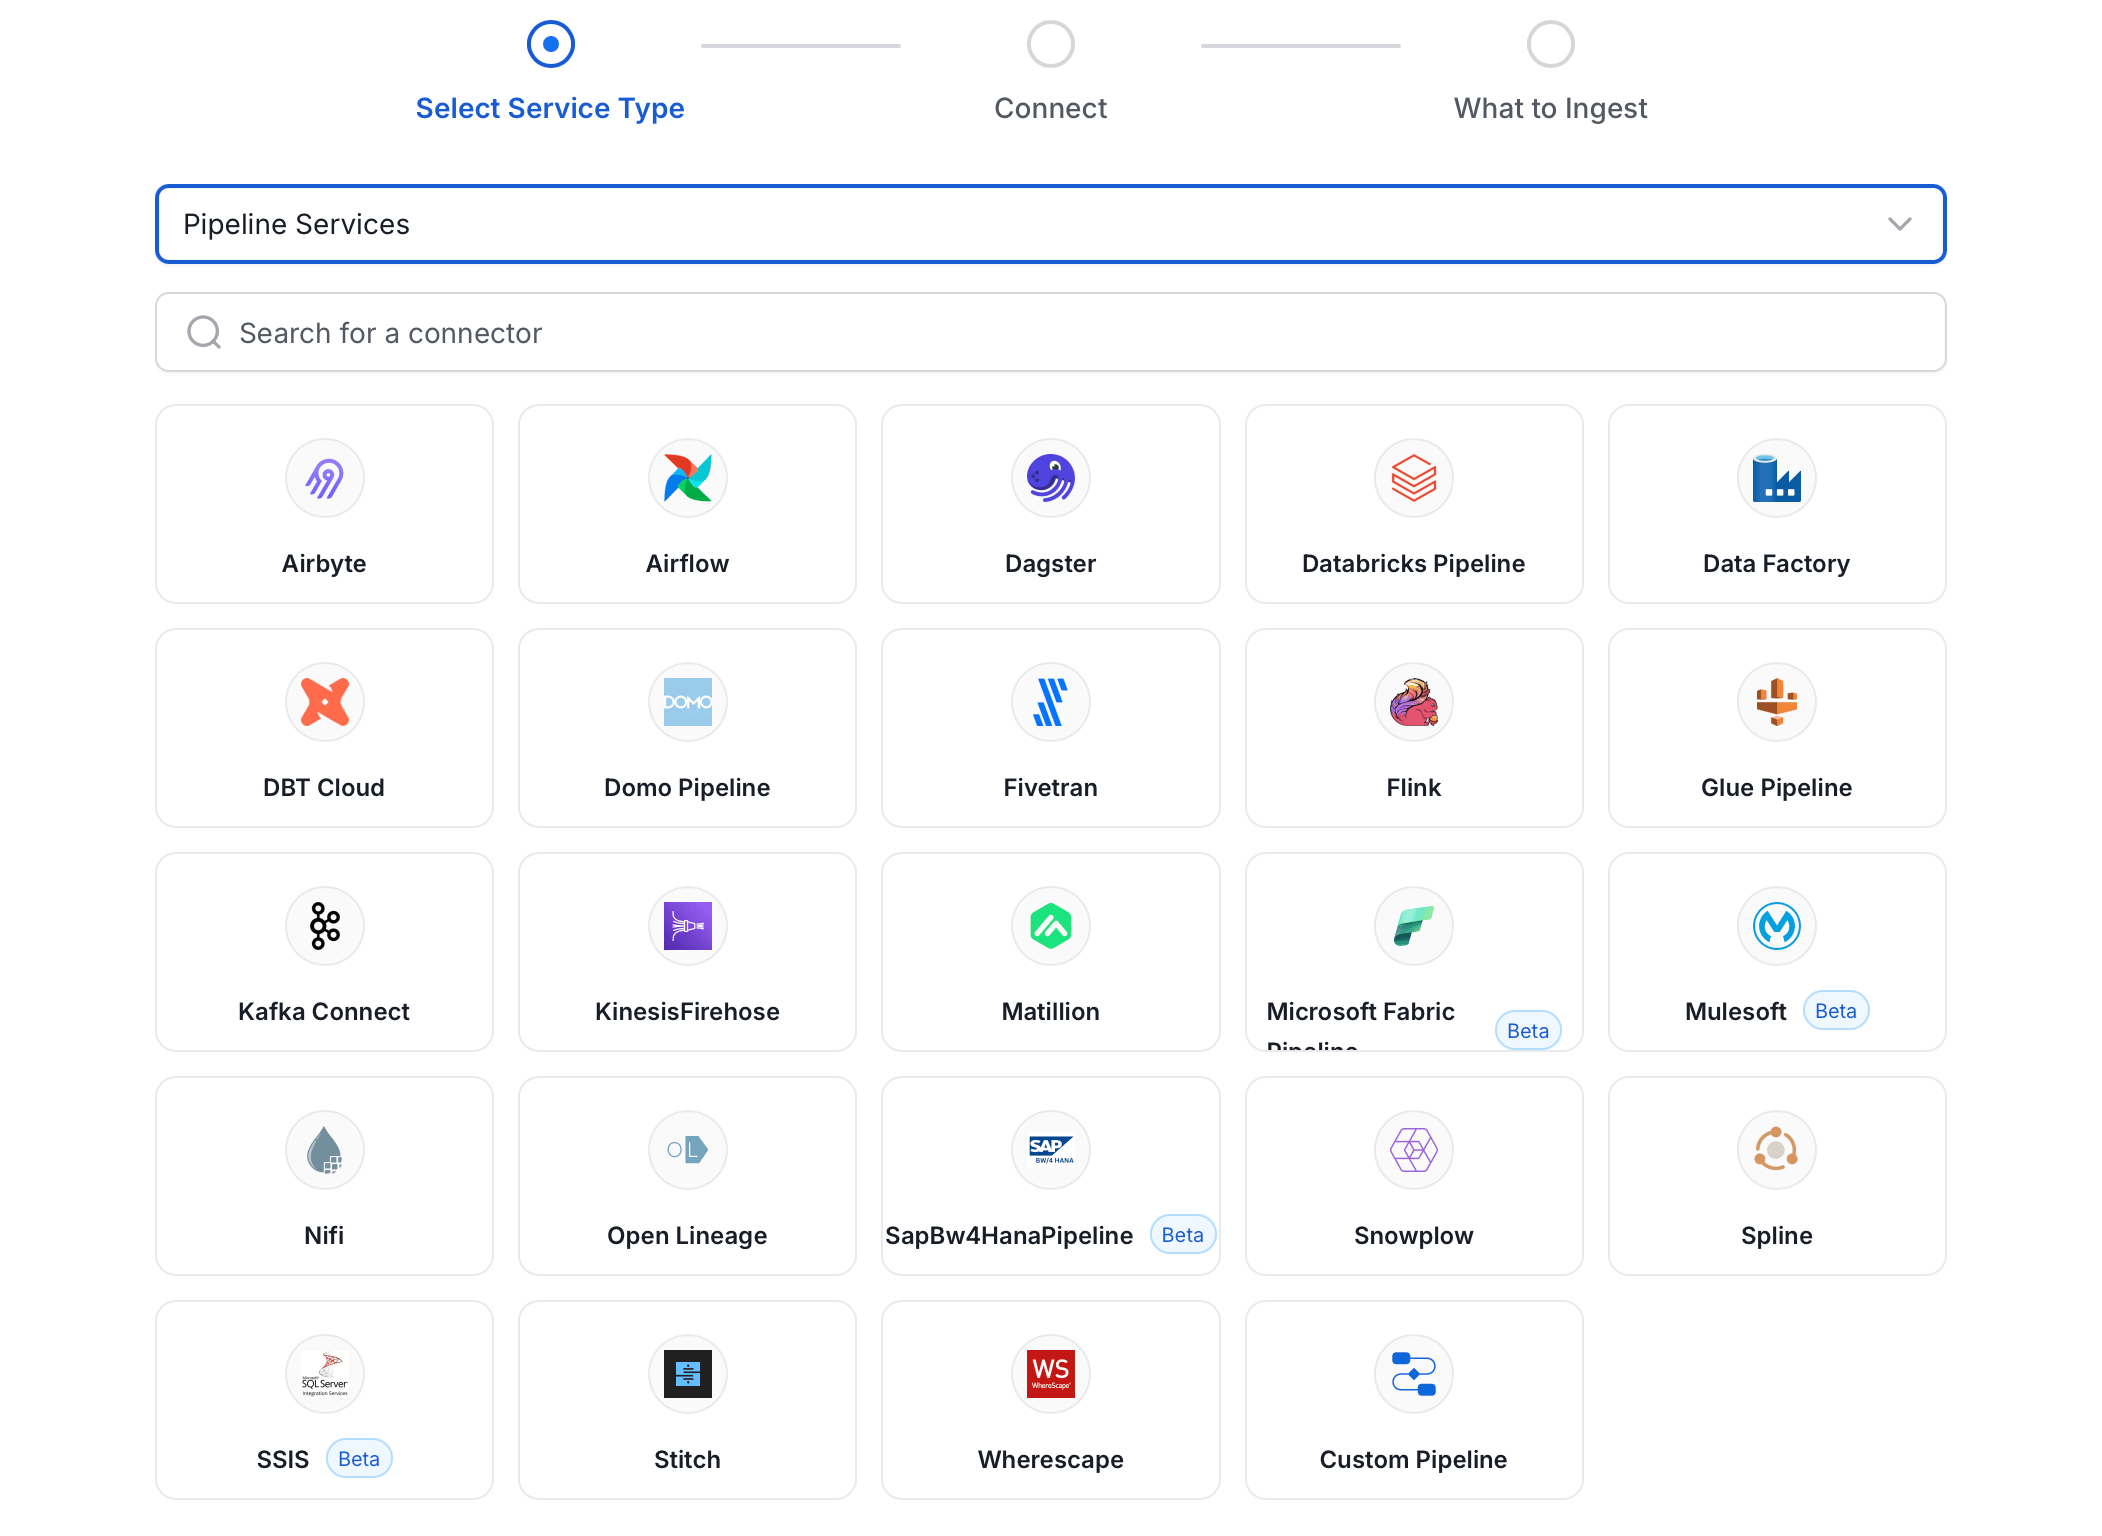 ### Step 3: Add Service Name and Description
* Enter a unique, descriptive **Service Name**. Collate identifies services by their service name. Enter a name that distinguishes this deployment from other SSIS services you are ingesting metadata from.
* Optional: Enter a **Description** for the service.
### Step 3: Add Service Name and Description
* Enter a unique, descriptive **Service Name**. Collate identifies services by their service name. Enter a name that distinguishes this deployment from other SSIS services you are ingesting metadata from.
* Optional: Enter a **Description** for the service.
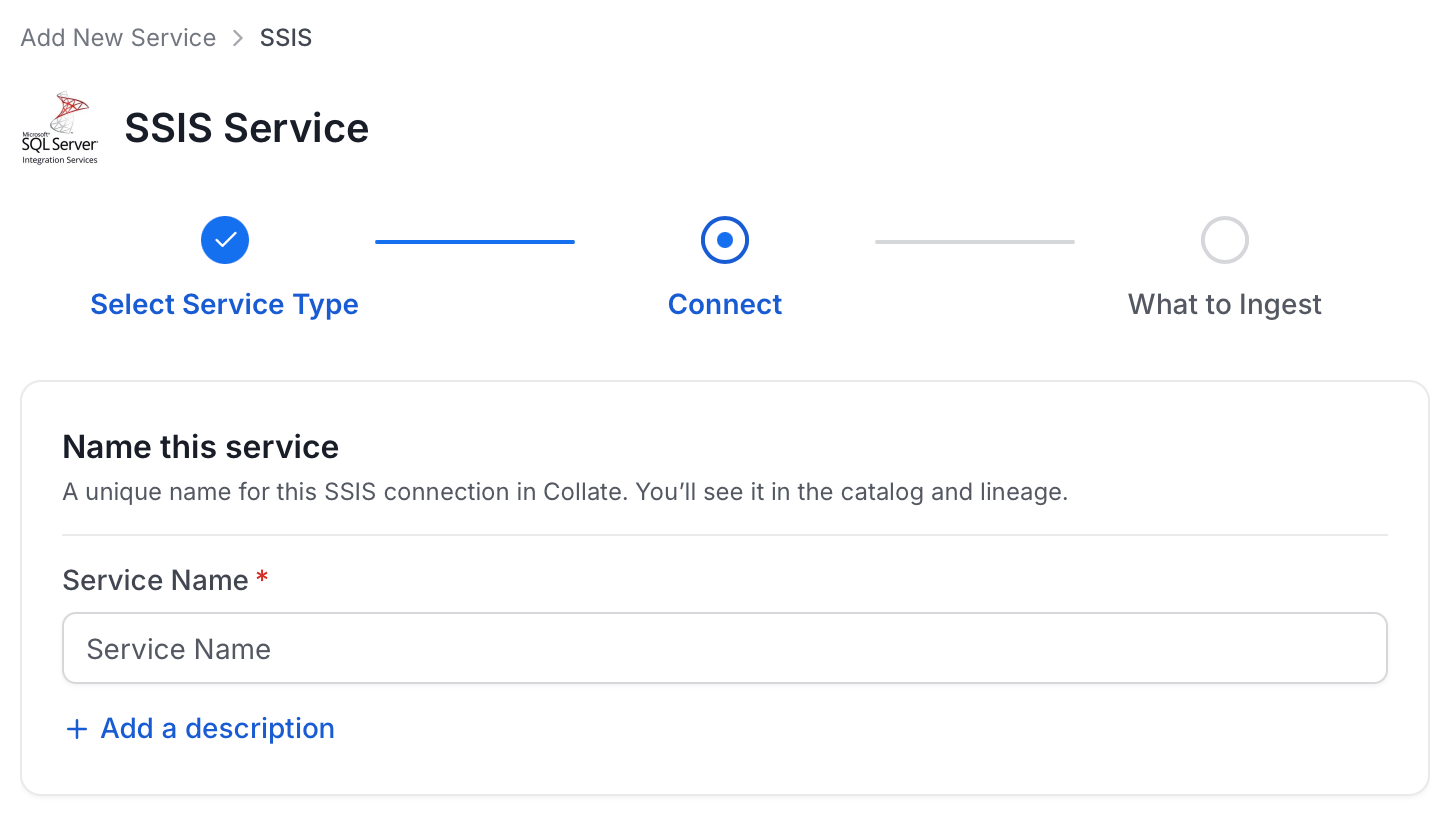
 #### Enter Connection Details
Enter the connection details for SSIS. The right-hand panel in the UI displays inline help for each field.
#### Enter Connection Details
Enter the connection details for SSIS. The right-hand panel in the UI displays inline help for each field.
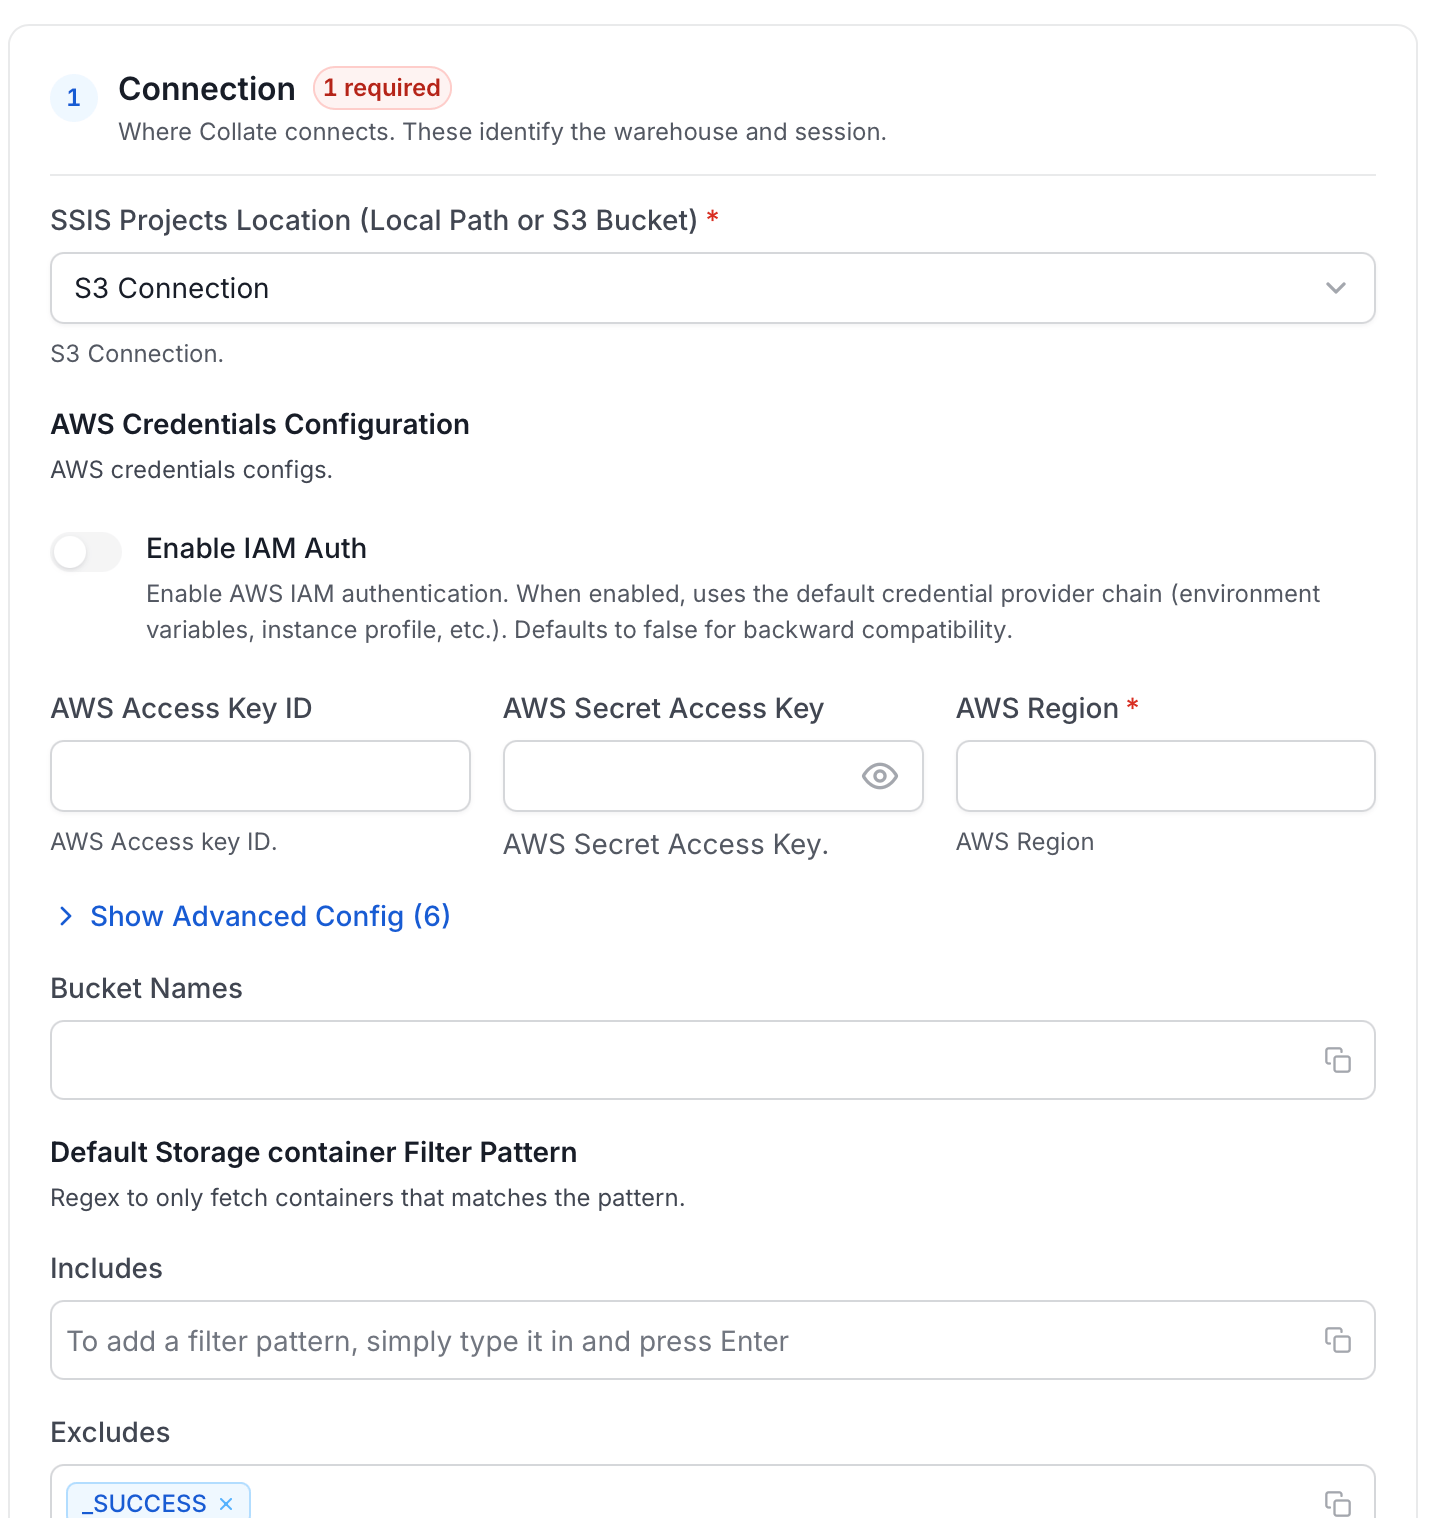 * **Connection**: SSIS metadata database connection.
In terms of `connection` we support the following selections:
* **Microsoft SQL Server**: To connect to the SSIS metadata database:
* Provide the SQL Server connection credentials including username and password
* Specify the database name where SSIS metadata is stored
* Enter the host and port for the SQL Server instance
* The connector will establish a connection to this database to extract SSIS pipeline metadata
To fetch task dependencies and lineage information from your SSIS pipelines, the connector requires access to the SSIS package XML files. You have two options to provide these files:
* **Local Path**: Specify the local directory path where your SSIS package files are stored. The connector will read the XML files directly from this location during metadata extraction.
* **Connection**: SSIS metadata database connection.
In terms of `connection` we support the following selections:
* **Microsoft SQL Server**: To connect to the SSIS metadata database:
* Provide the SQL Server connection credentials including username and password
* Specify the database name where SSIS metadata is stored
* Enter the host and port for the SQL Server instance
* The connector will establish a connection to this database to extract SSIS pipeline metadata
To fetch task dependencies and lineage information from your SSIS pipelines, the connector requires access to the SSIS package XML files. You have two options to provide these files:
* **Local Path**: Specify the local directory path where your SSIS package files are stored. The connector will read the XML files directly from this location during metadata extraction.
 ### Step 5: Configure Ingestion Options
In the **What to Ingest** step, use filter patterns to control which assets Collate ingests from your pipeline service. Filter patterns use regular expressions applied to pipeline names.
#### How Filter Patterns Work
* **Include**: Add one or more comma-separated regular expressions. Collate ingests only assets whose names match at least one expression. Leave blank to include all assets.
* **Exclude**: Add one or more comma-separated regular expressions. Collate skips any asset whose name matches an expression. Leave blank to exclude nothing.
Rules match asset names using one of five expressions:
* **contains**: matches any name containing the value. For example, `sales` matches `my_sales_data` and `sales_2024`.
* **starts with**: matches names beginning with the value. For example, `prod_` matches `prod_db` and `prod_schema`.
* **ends with**: matches names ending with the value. For example, `_raw` matches `events_raw` and `logs_raw`.
* **is exactly**: matches the exact name only. For example, `analytics` matches only `analytics`.
* **matches regex**: matches names using a regular expression. For example, `^prod_.*_v\d+$` matches `prod_events_v1`.
When both Include and Exclude are set, Exclude takes priority.
### Step 5: Configure Ingestion Options
In the **What to Ingest** step, use filter patterns to control which assets Collate ingests from your pipeline service. Filter patterns use regular expressions applied to pipeline names.
#### How Filter Patterns Work
* **Include**: Add one or more comma-separated regular expressions. Collate ingests only assets whose names match at least one expression. Leave blank to include all assets.
* **Exclude**: Add one or more comma-separated regular expressions. Collate skips any asset whose name matches an expression. Leave blank to exclude nothing.
Rules match asset names using one of five expressions:
* **contains**: matches any name containing the value. For example, `sales` matches `my_sales_data` and `sales_2024`.
* **starts with**: matches names beginning with the value. For example, `prod_` matches `prod_db` and `prod_schema`.
* **ends with**: matches names ending with the value. For example, `_raw` matches `events_raw` and `logs_raw`.
* **is exactly**: matches the exact name only. For example, `analytics` matches only `analytics`.
* **matches regex**: matches names using a regular expression. For example, `^prod_.*_v\d+$` matches `prod_events_v1`.
When both Include and Exclude are set, Exclude takes priority.
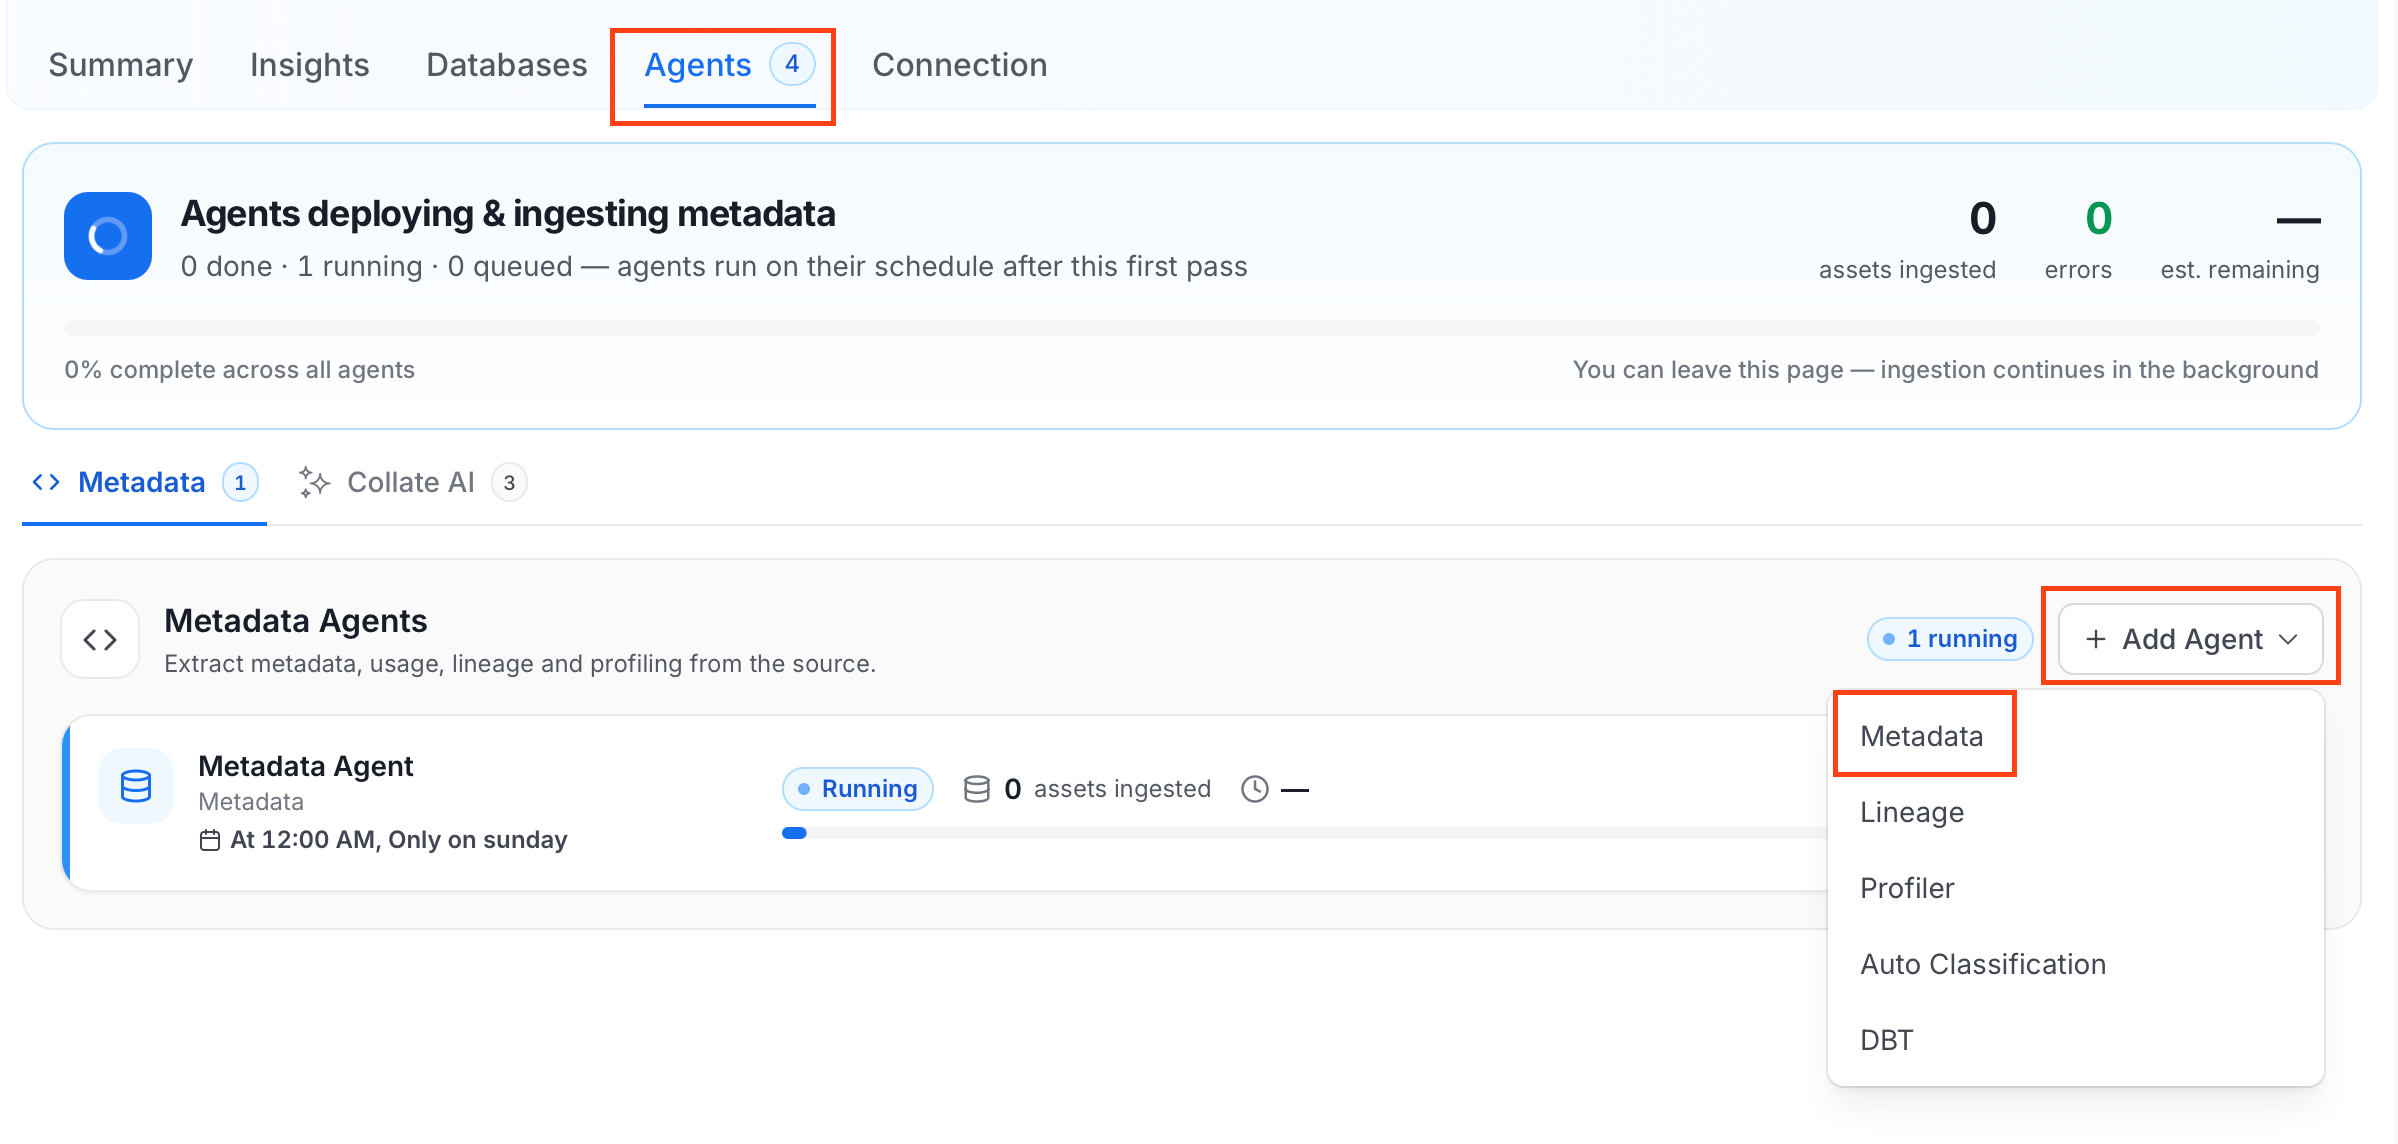 For some services, the dropdown is not available and clicking **Add Agent** takes you directly to the agent configuration page.
4. On the **Configure Ingestion** page, do the following and click **Next**.
* **Name this Ingestion**: Enter a unique recognizable name for this ingestion pipeline.
For some services, the dropdown is not available and clicking **Add Agent** takes you directly to the agent configuration page.
4. On the **Configure Ingestion** page, do the following and click **Next**.
* **Name this Ingestion**: Enter a unique recognizable name for this ingestion pipeline.
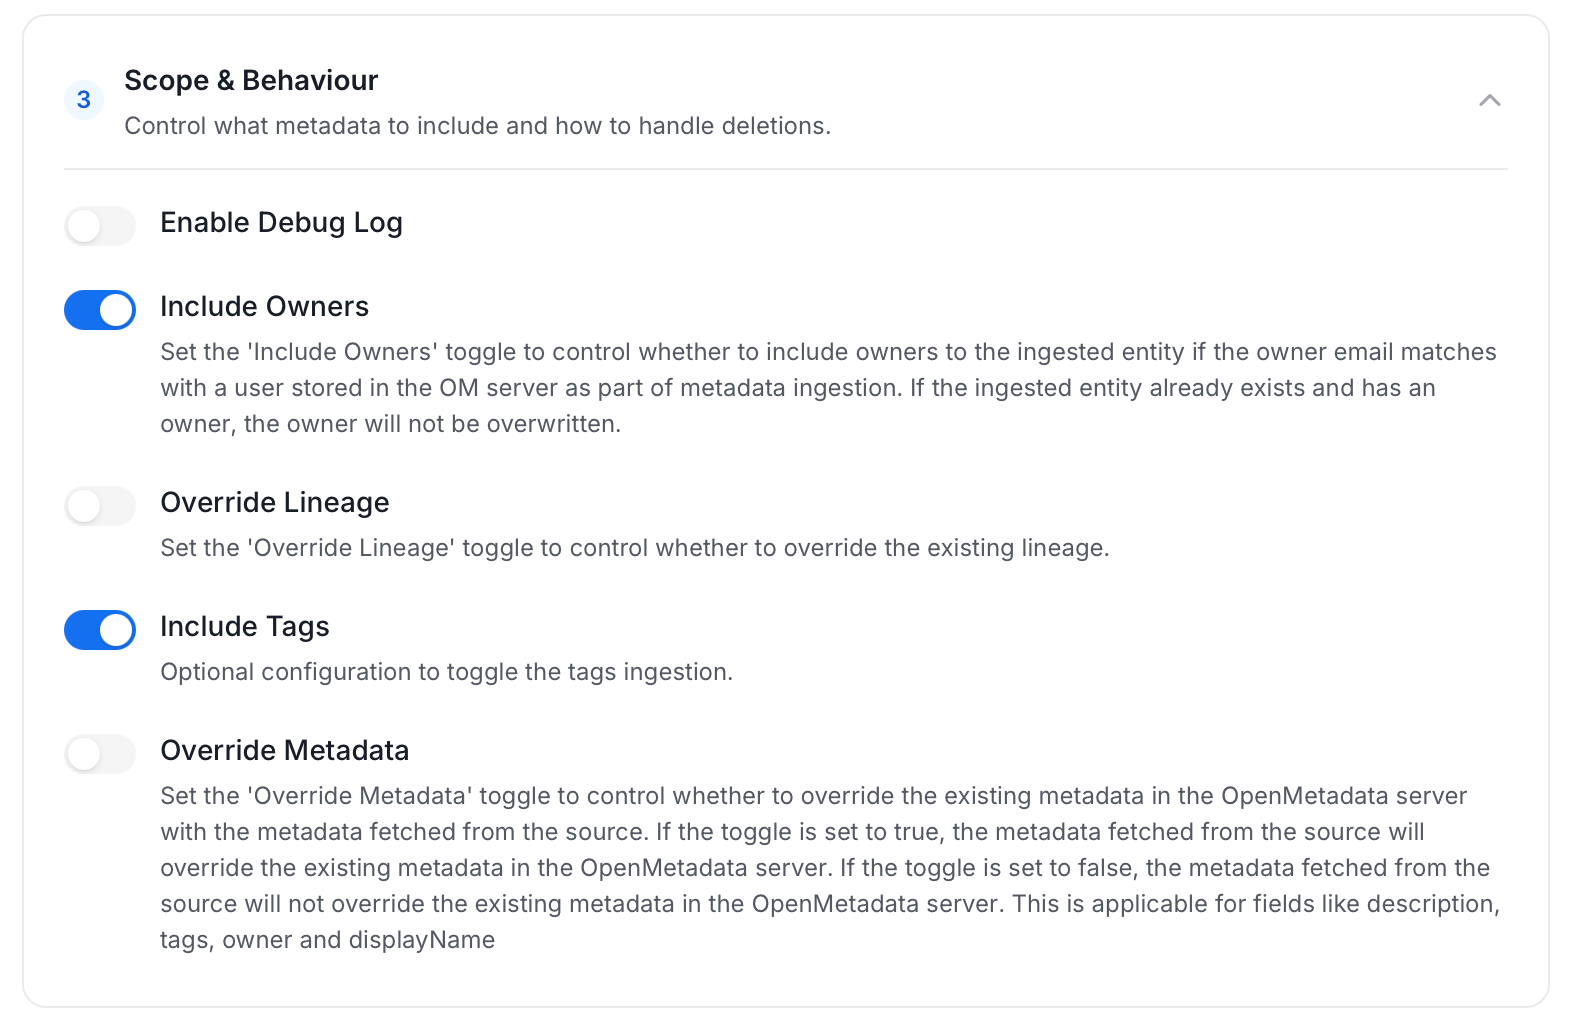
 * **Agent Setup**: Configure the core parameters for this agent. The following fields are available:
| Field | Default | Description |
| ---------------------------- | ------- | ------------------------------------------------------------------------------------------------------------------------------------------------------------------------------------------------------------------------------ |
| Ownership Update Mode | replace | Set how owners from source metadata update Pipeline owners. In replace mode, resolved owners from the current source replace existing owners. In append mode, resolved owners are appended to active existing Pipeline owners. |
| Db Service Names | — | List of database service names used for lineage resolution. |
| Storage Service Names | — | List of storage service names used for lineage resolution. |
| Messaging Service Names | — | List of messaging service names used for lineage resolution. |
| Status Lookback Days | 1 | Number of days of pipeline run status history to ingest. Only runs within the last N days will be fetched. |
| Include Lineage | On | Turn off to stop fetching lineage from pipelines. |
| Mark Deleted Pipeline | On | Soft-delete pipelines in Collate when they are removed from the source. Associated entities like lineage are also deleted. |
| Include UnDeployed Pipelines | On | Toggle whether un-deployed pipelines should be ingested. If set to false, only deployed pipelines will be ingested. |
* **Agent Setup**: Configure the core parameters for this agent. The following fields are available:
| Field | Default | Description |
| ---------------------------- | ------- | ------------------------------------------------------------------------------------------------------------------------------------------------------------------------------------------------------------------------------ |
| Ownership Update Mode | replace | Set how owners from source metadata update Pipeline owners. In replace mode, resolved owners from the current source replace existing owners. In append mode, resolved owners are appended to active existing Pipeline owners. |
| Db Service Names | — | List of database service names used for lineage resolution. |
| Storage Service Names | — | List of storage service names used for lineage resolution. |
| Messaging Service Names | — | List of messaging service names used for lineage resolution. |
| Status Lookback Days | 1 | Number of days of pipeline run status history to ingest. Only runs within the last N days will be fetched. |
| Include Lineage | On | Turn off to stop fetching lineage from pipelines. |
| Mark Deleted Pipeline | On | Soft-delete pipelines in Collate when they are removed from the source. Associated entities like lineage are also deleted. |
| Include UnDeployed Pipelines | On | Toggle whether un-deployed pipelines should be ingested. If set to false, only deployed pipelines will be ingested. |
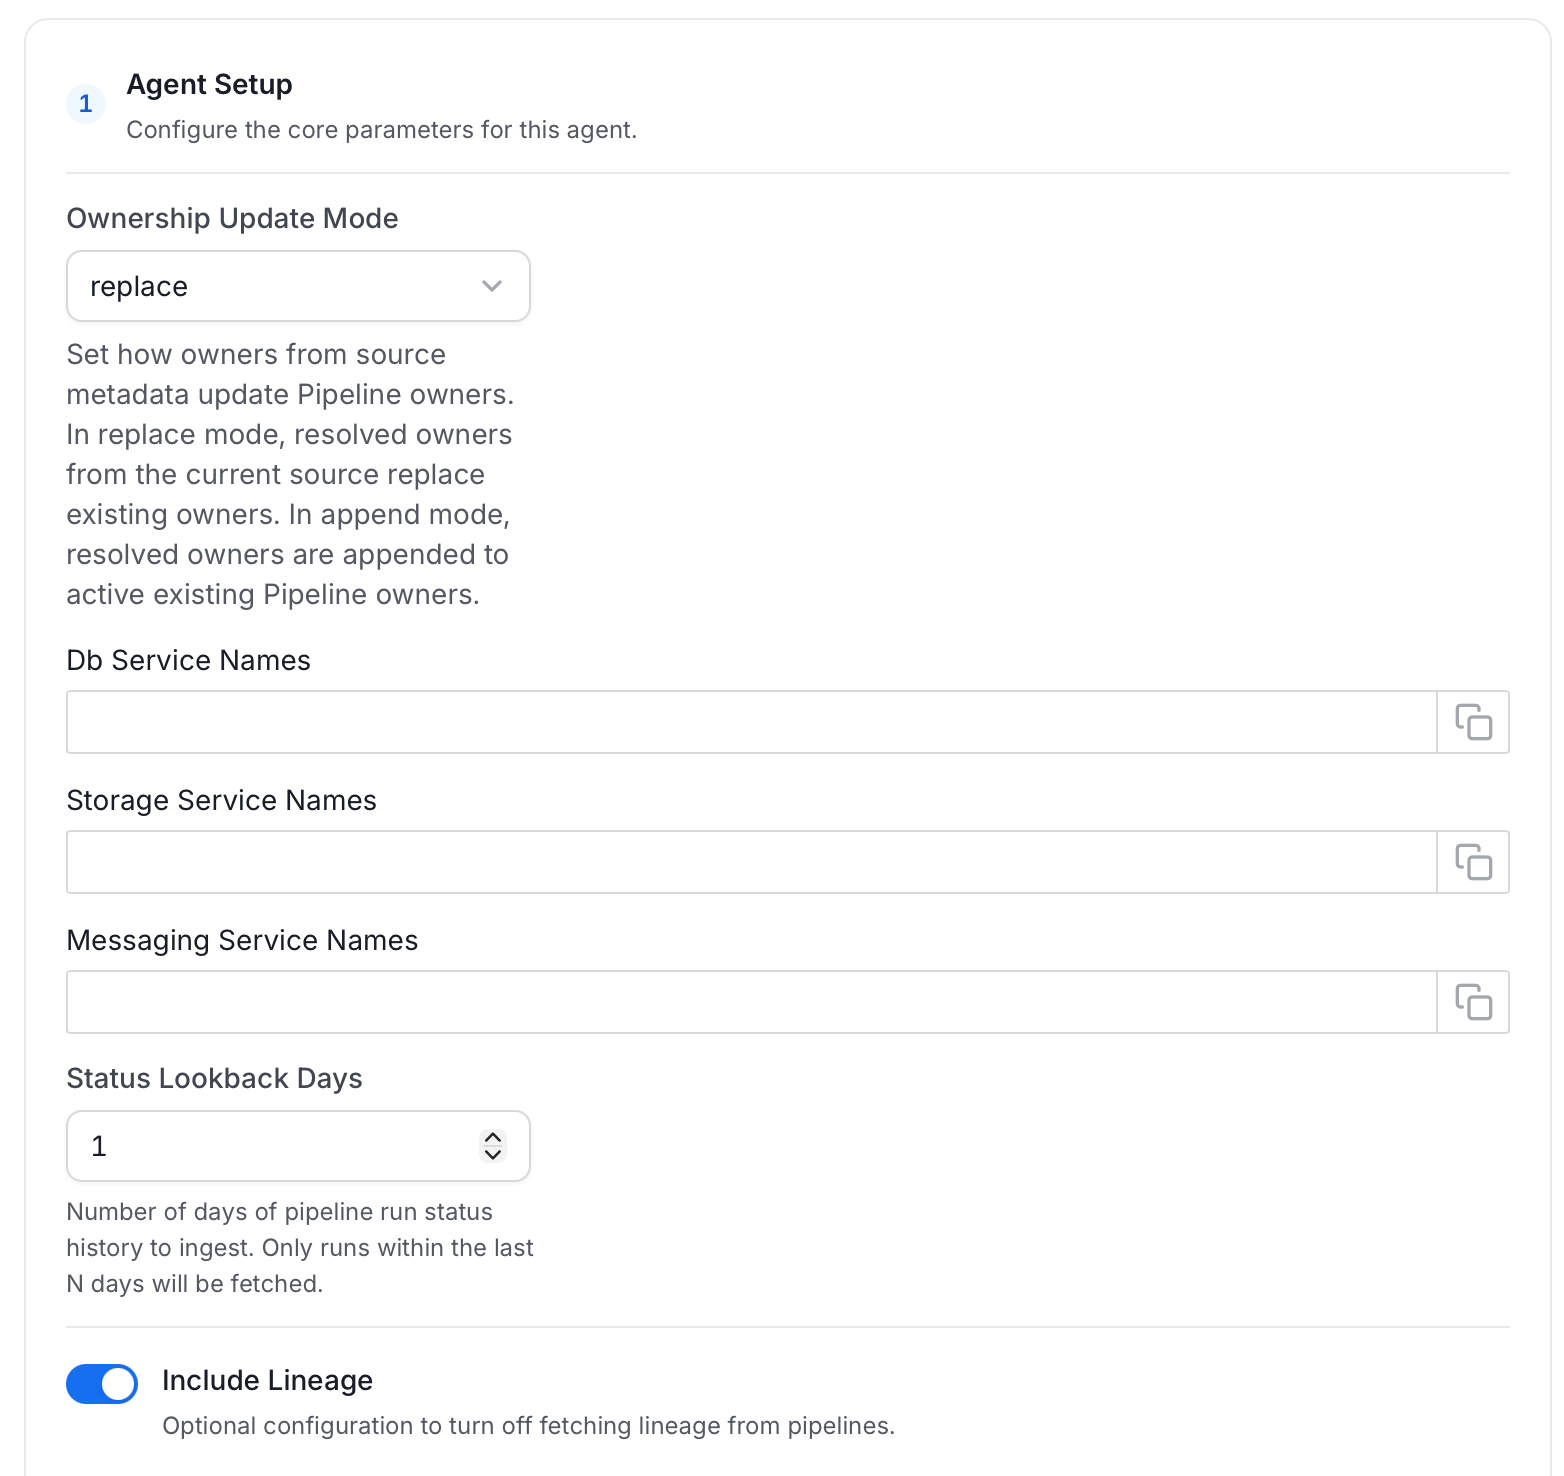 * **Filter Patterns**: Apply include or exclude rules to scope which pipelines this agent ingests. These follow the same filter options described in **Step 5**.
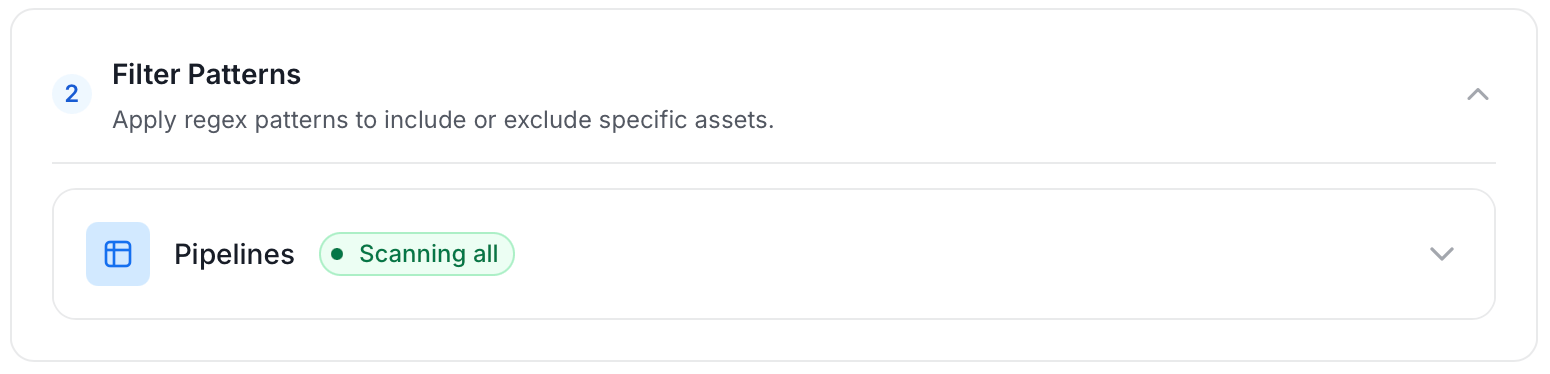 * **Scope & Behaviour**: Control what metadata to include and how to handle deletions. Toggle each option on or off based on your needs:
| Toggle | Default | Description |
| ----------------- | ------- | ---------------------------------------------------------------------------------------------------------------------------------------------------------------------- |
| Enable Debug Log | Off | Sets the ingestion log level to DEBUG. Useful for troubleshooting. |
| Override Metadata | Off | When on, source values overwrite existing descriptions, tags, owners, and display names in Collate. When off, Collate only updates fields that have no existing value. |
| Override Lineage | Off | When on, existing lineage is replaced with newly extracted lineage on each run. |
* **Scope & Behaviour**: Control what metadata to include and how to handle deletions. Toggle each option on or off based on your needs:
| Toggle | Default | Description |
| ----------------- | ------- | ---------------------------------------------------------------------------------------------------------------------------------------------------------------------- |
| Enable Debug Log | Off | Sets the ingestion log level to DEBUG. Useful for troubleshooting. |
| Override Metadata | Off | When on, source values overwrite existing descriptions, tags, owners, and display names in Collate. When off, Collate only updates fields that have no existing value. |
| Override Lineage | Off | When on, existing lineage is replaced with newly extracted lineage on each run. |
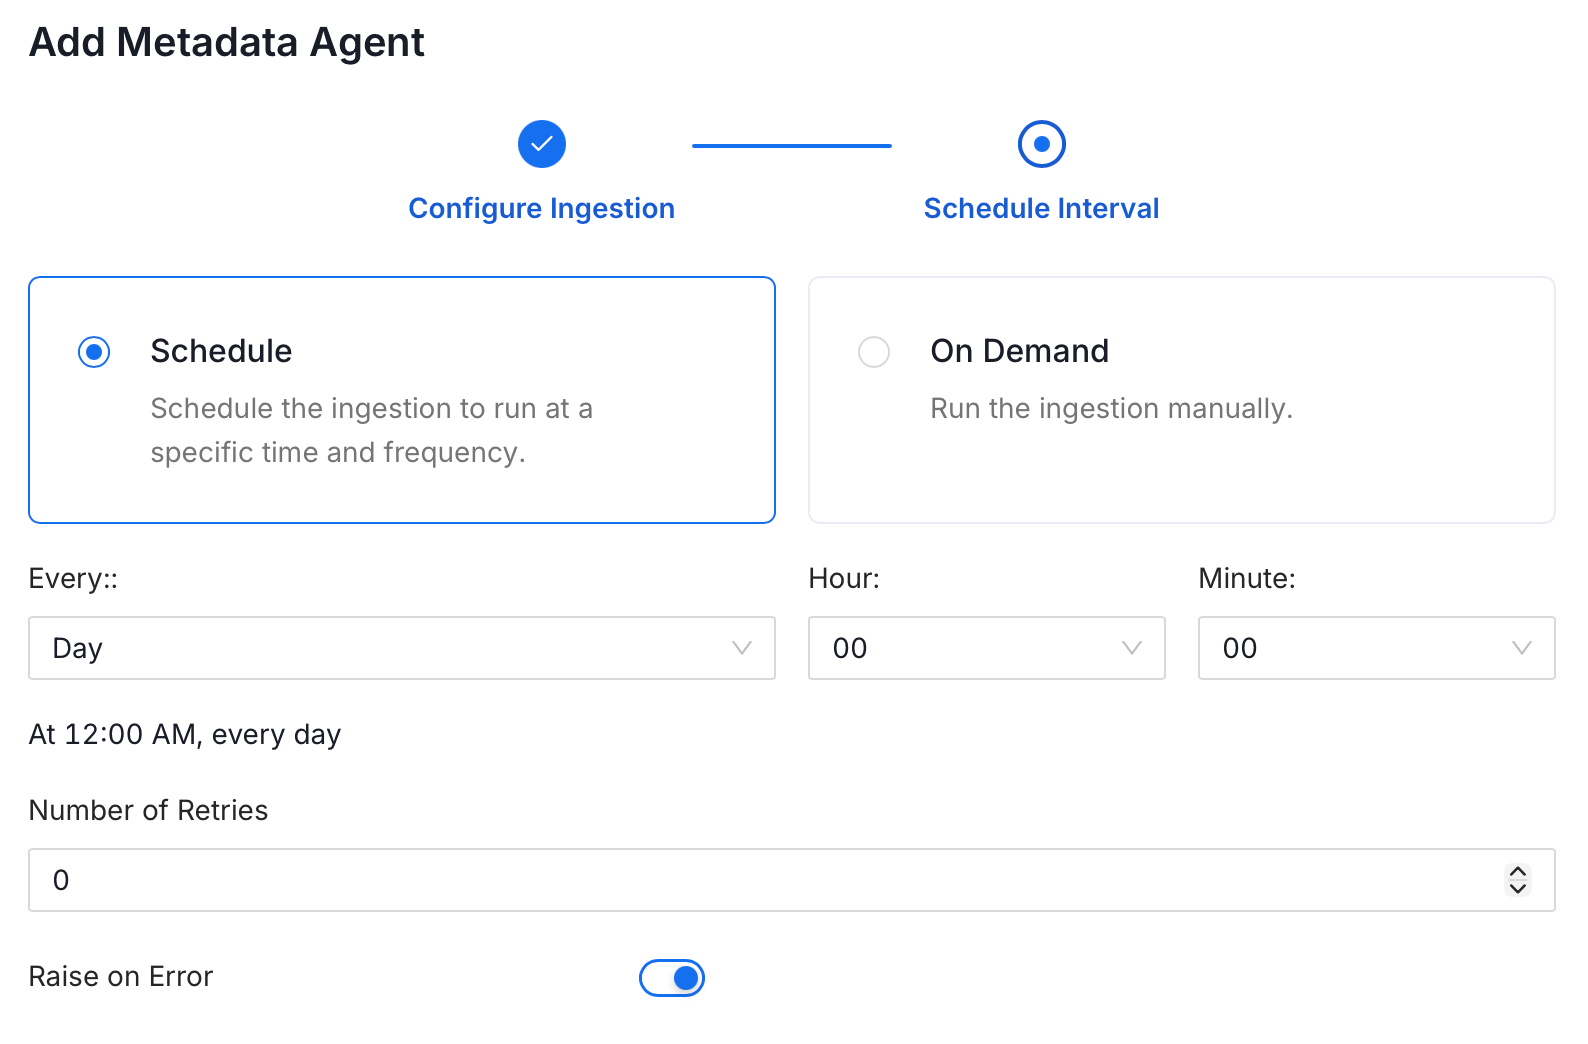
 5. On the **Schedule Interval** page, set when the agent runs:
* **Schedule**: Choose a preset interval (Hourly, Daily, Weekly, Monthly) or enter a custom cron expression.
* **On-Demand**: No automatic schedule; trigger the agent manually when needed.
5. On the **Schedule Interval** page, set when the agent runs:
* **Schedule**: Choose a preset interval (Hourly, Daily, Weekly, Monthly) or enter a custom cron expression.
* **On-Demand**: No automatic schedule; trigger the agent manually when needed.
 6. Click **Add** to deploy the agent.
## Troubleshooting
6. Click **Add** to deploy the agent.
## Troubleshooting