> ## Documentation Index
> Fetch the complete documentation index at: https://docs.getcollate.io/llms.txt
> Use this file to discover all available pages before exploring further.
# Ingest Metadata
> Learn how to connect a data source and run metadata ingestion in Collate — a generic, connector-agnostic walkthrough.
# Ingest Metadata
Collate supports metadata ingestion from third-party sources through the UI. Admin users can connect to multiple service types — Databases, Dashboards, Pipelines, ML Models, Messaging, Storage, Search, and Metadata services — and schedule metadata ingestion at any frequency.
**Note**: You must have **Admin** access in Collate to add a connector and ingest metadata.
The steps below apply to all service types. For connection details specific to your source, see the [Connectors](/ai-2-0/connectors) documentation.
## Step 1: Add a New Service
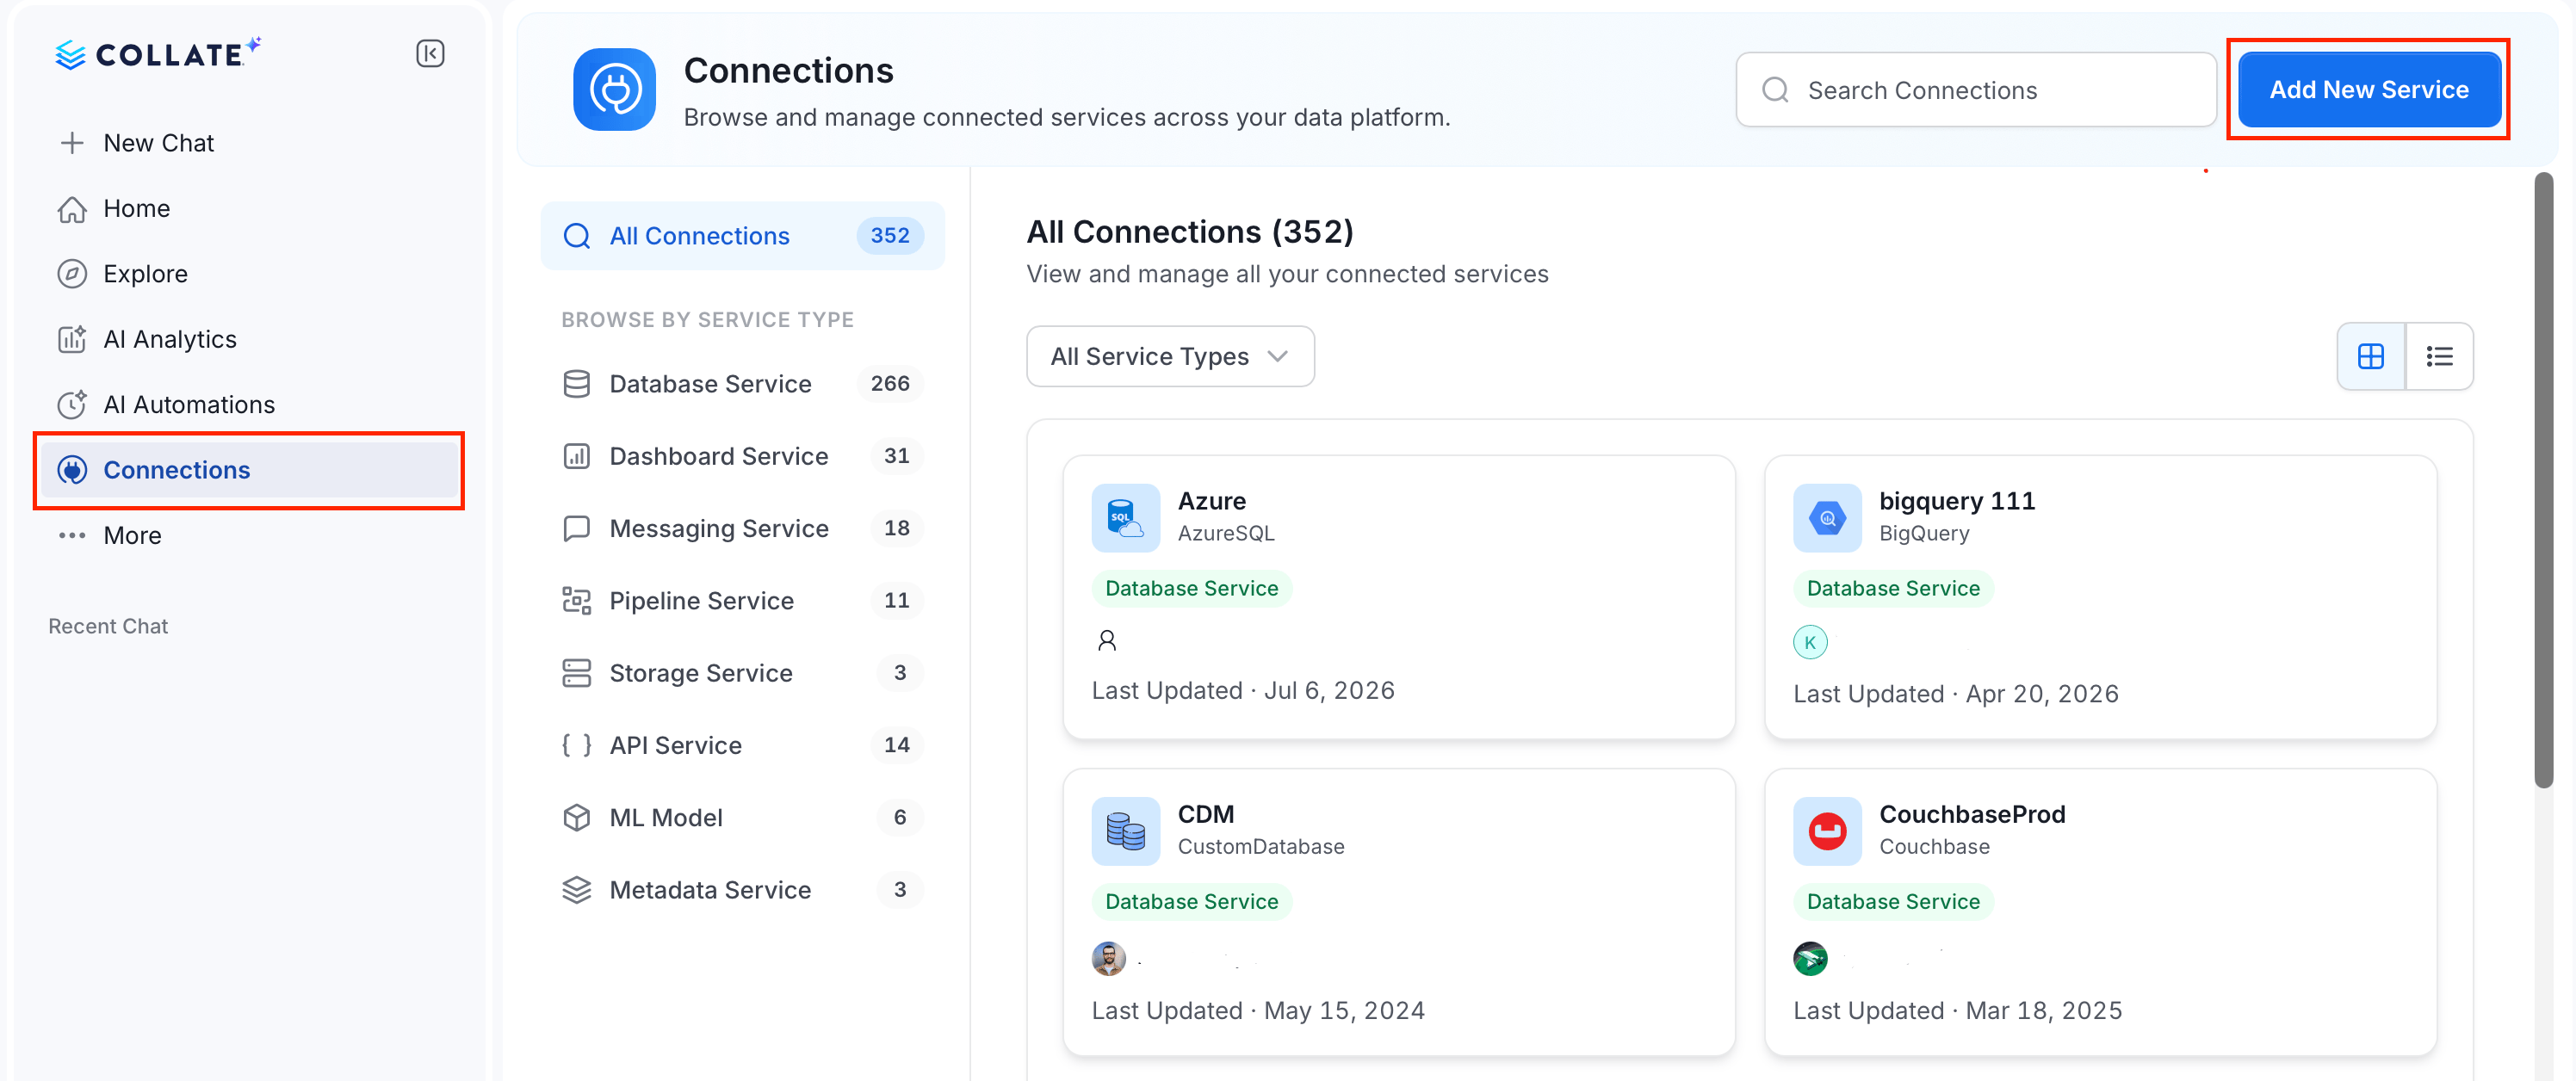
1. In the left navigation, click **Connections**.
2. On the **Connections** page, click **Add New Service**.
 ## Step 2: Select a Service Type and Connector
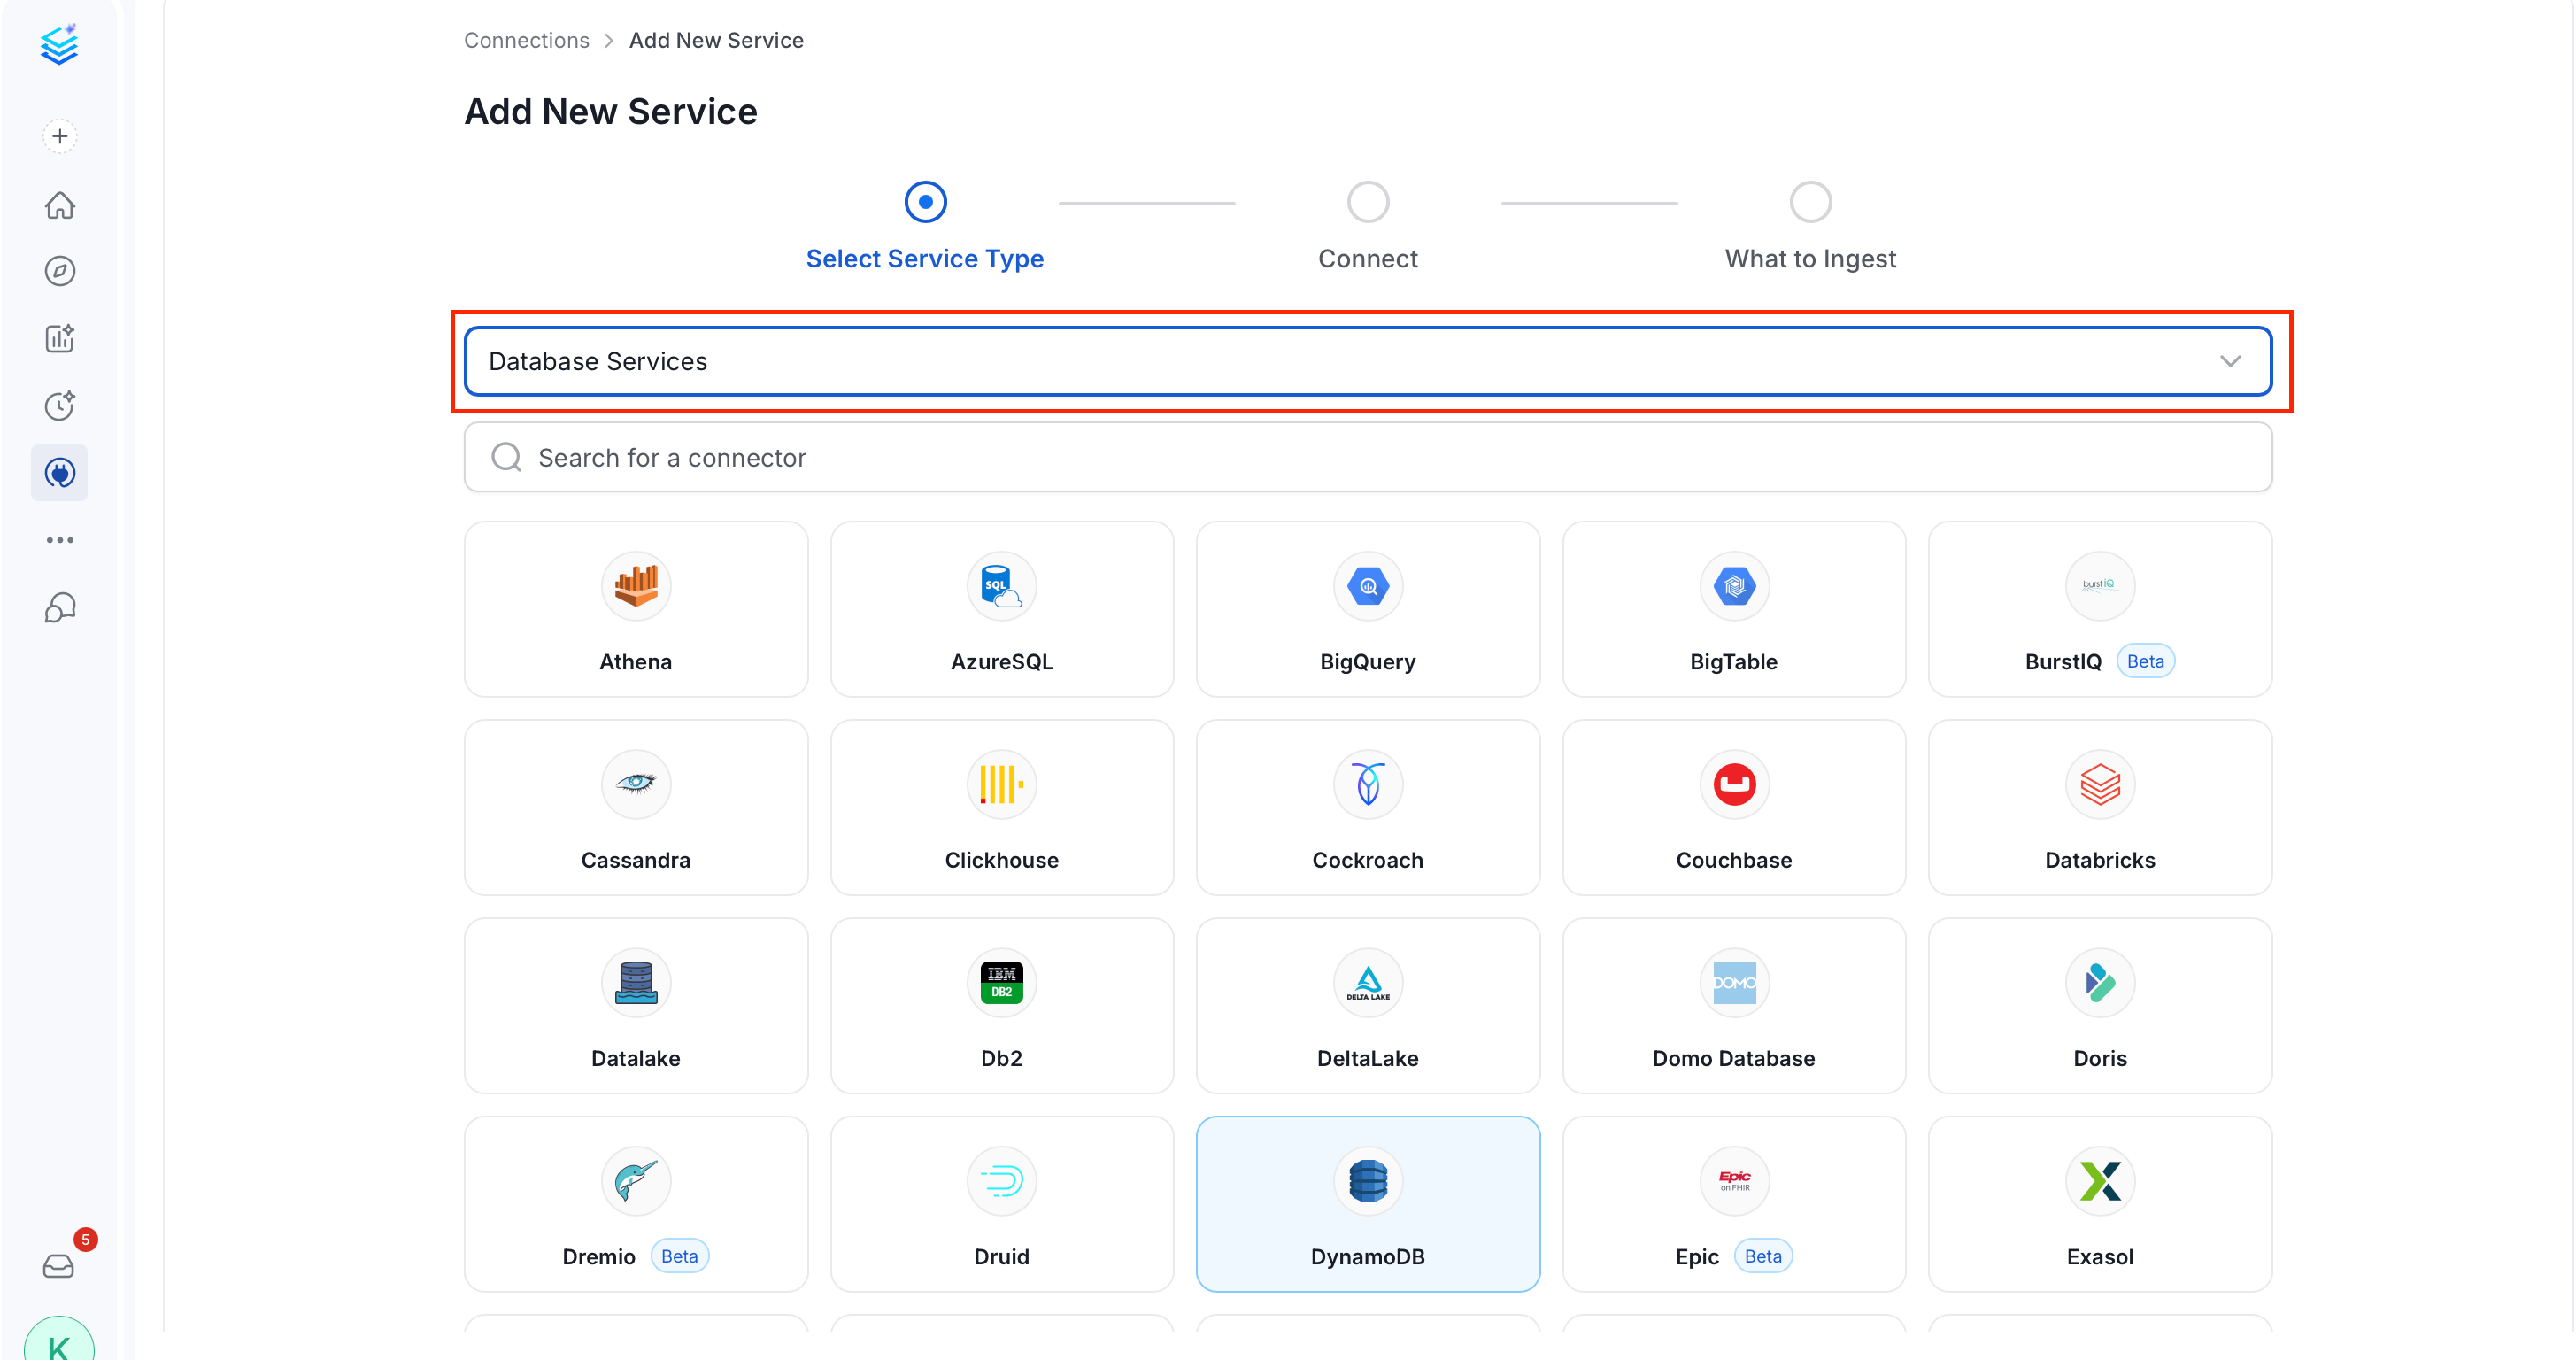
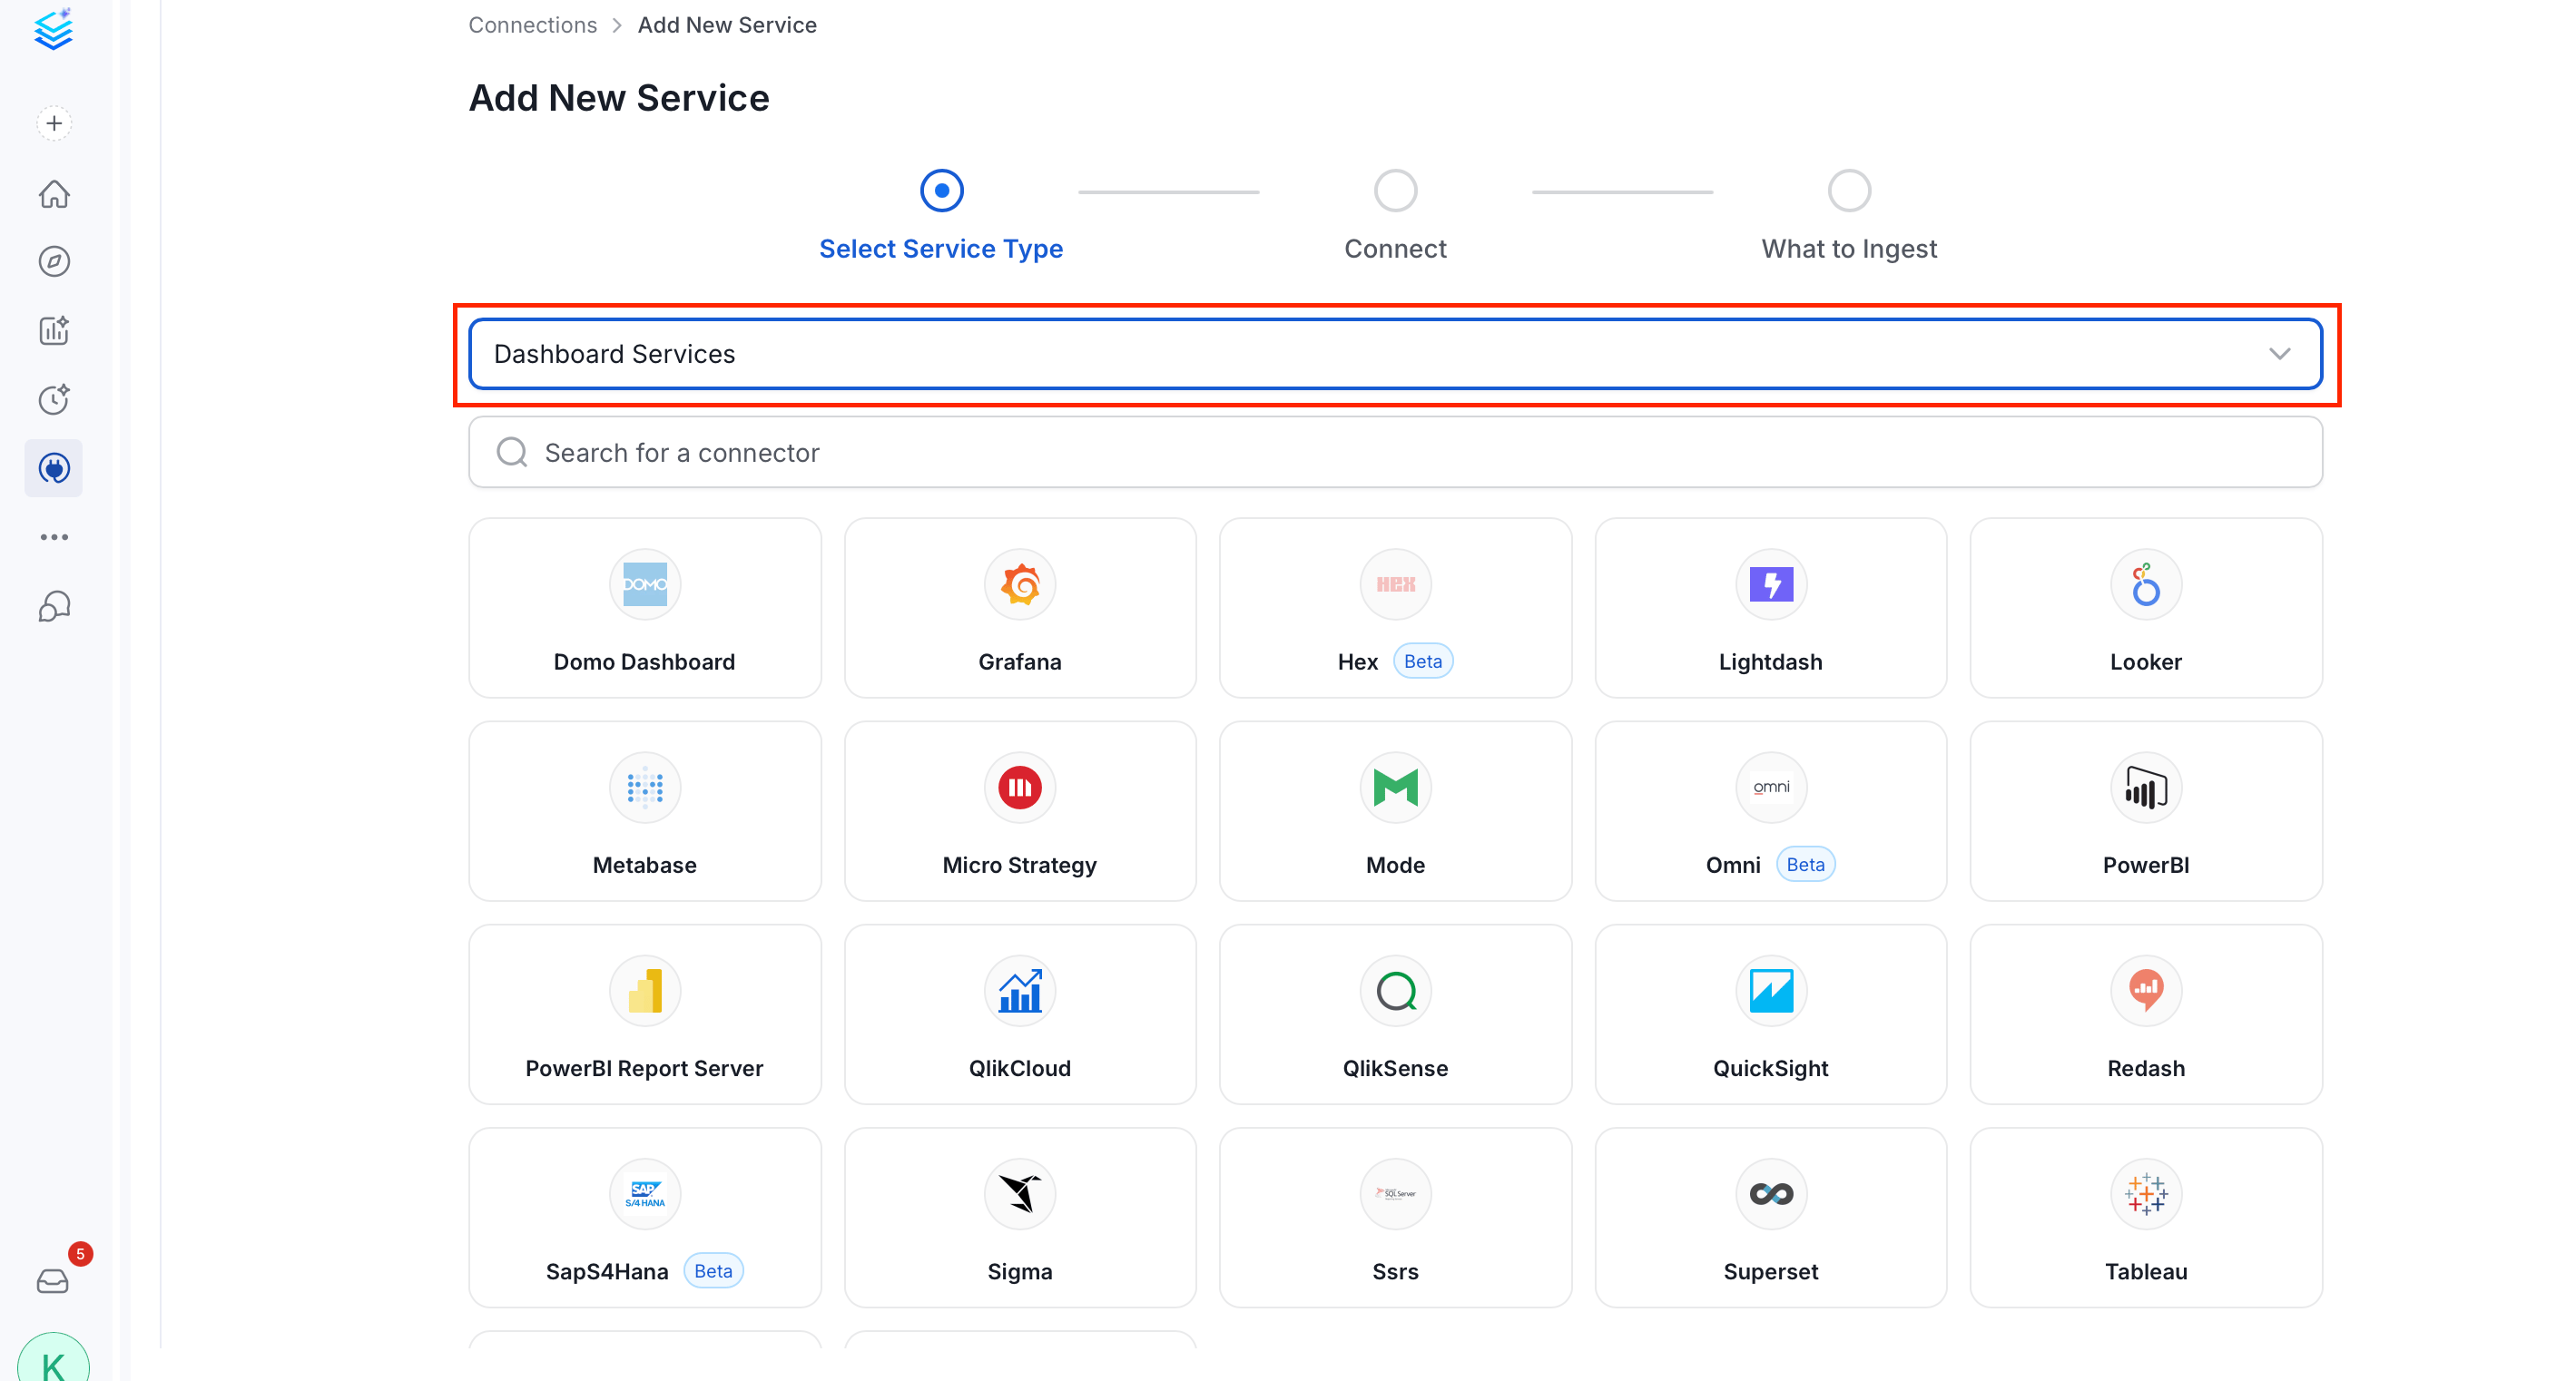
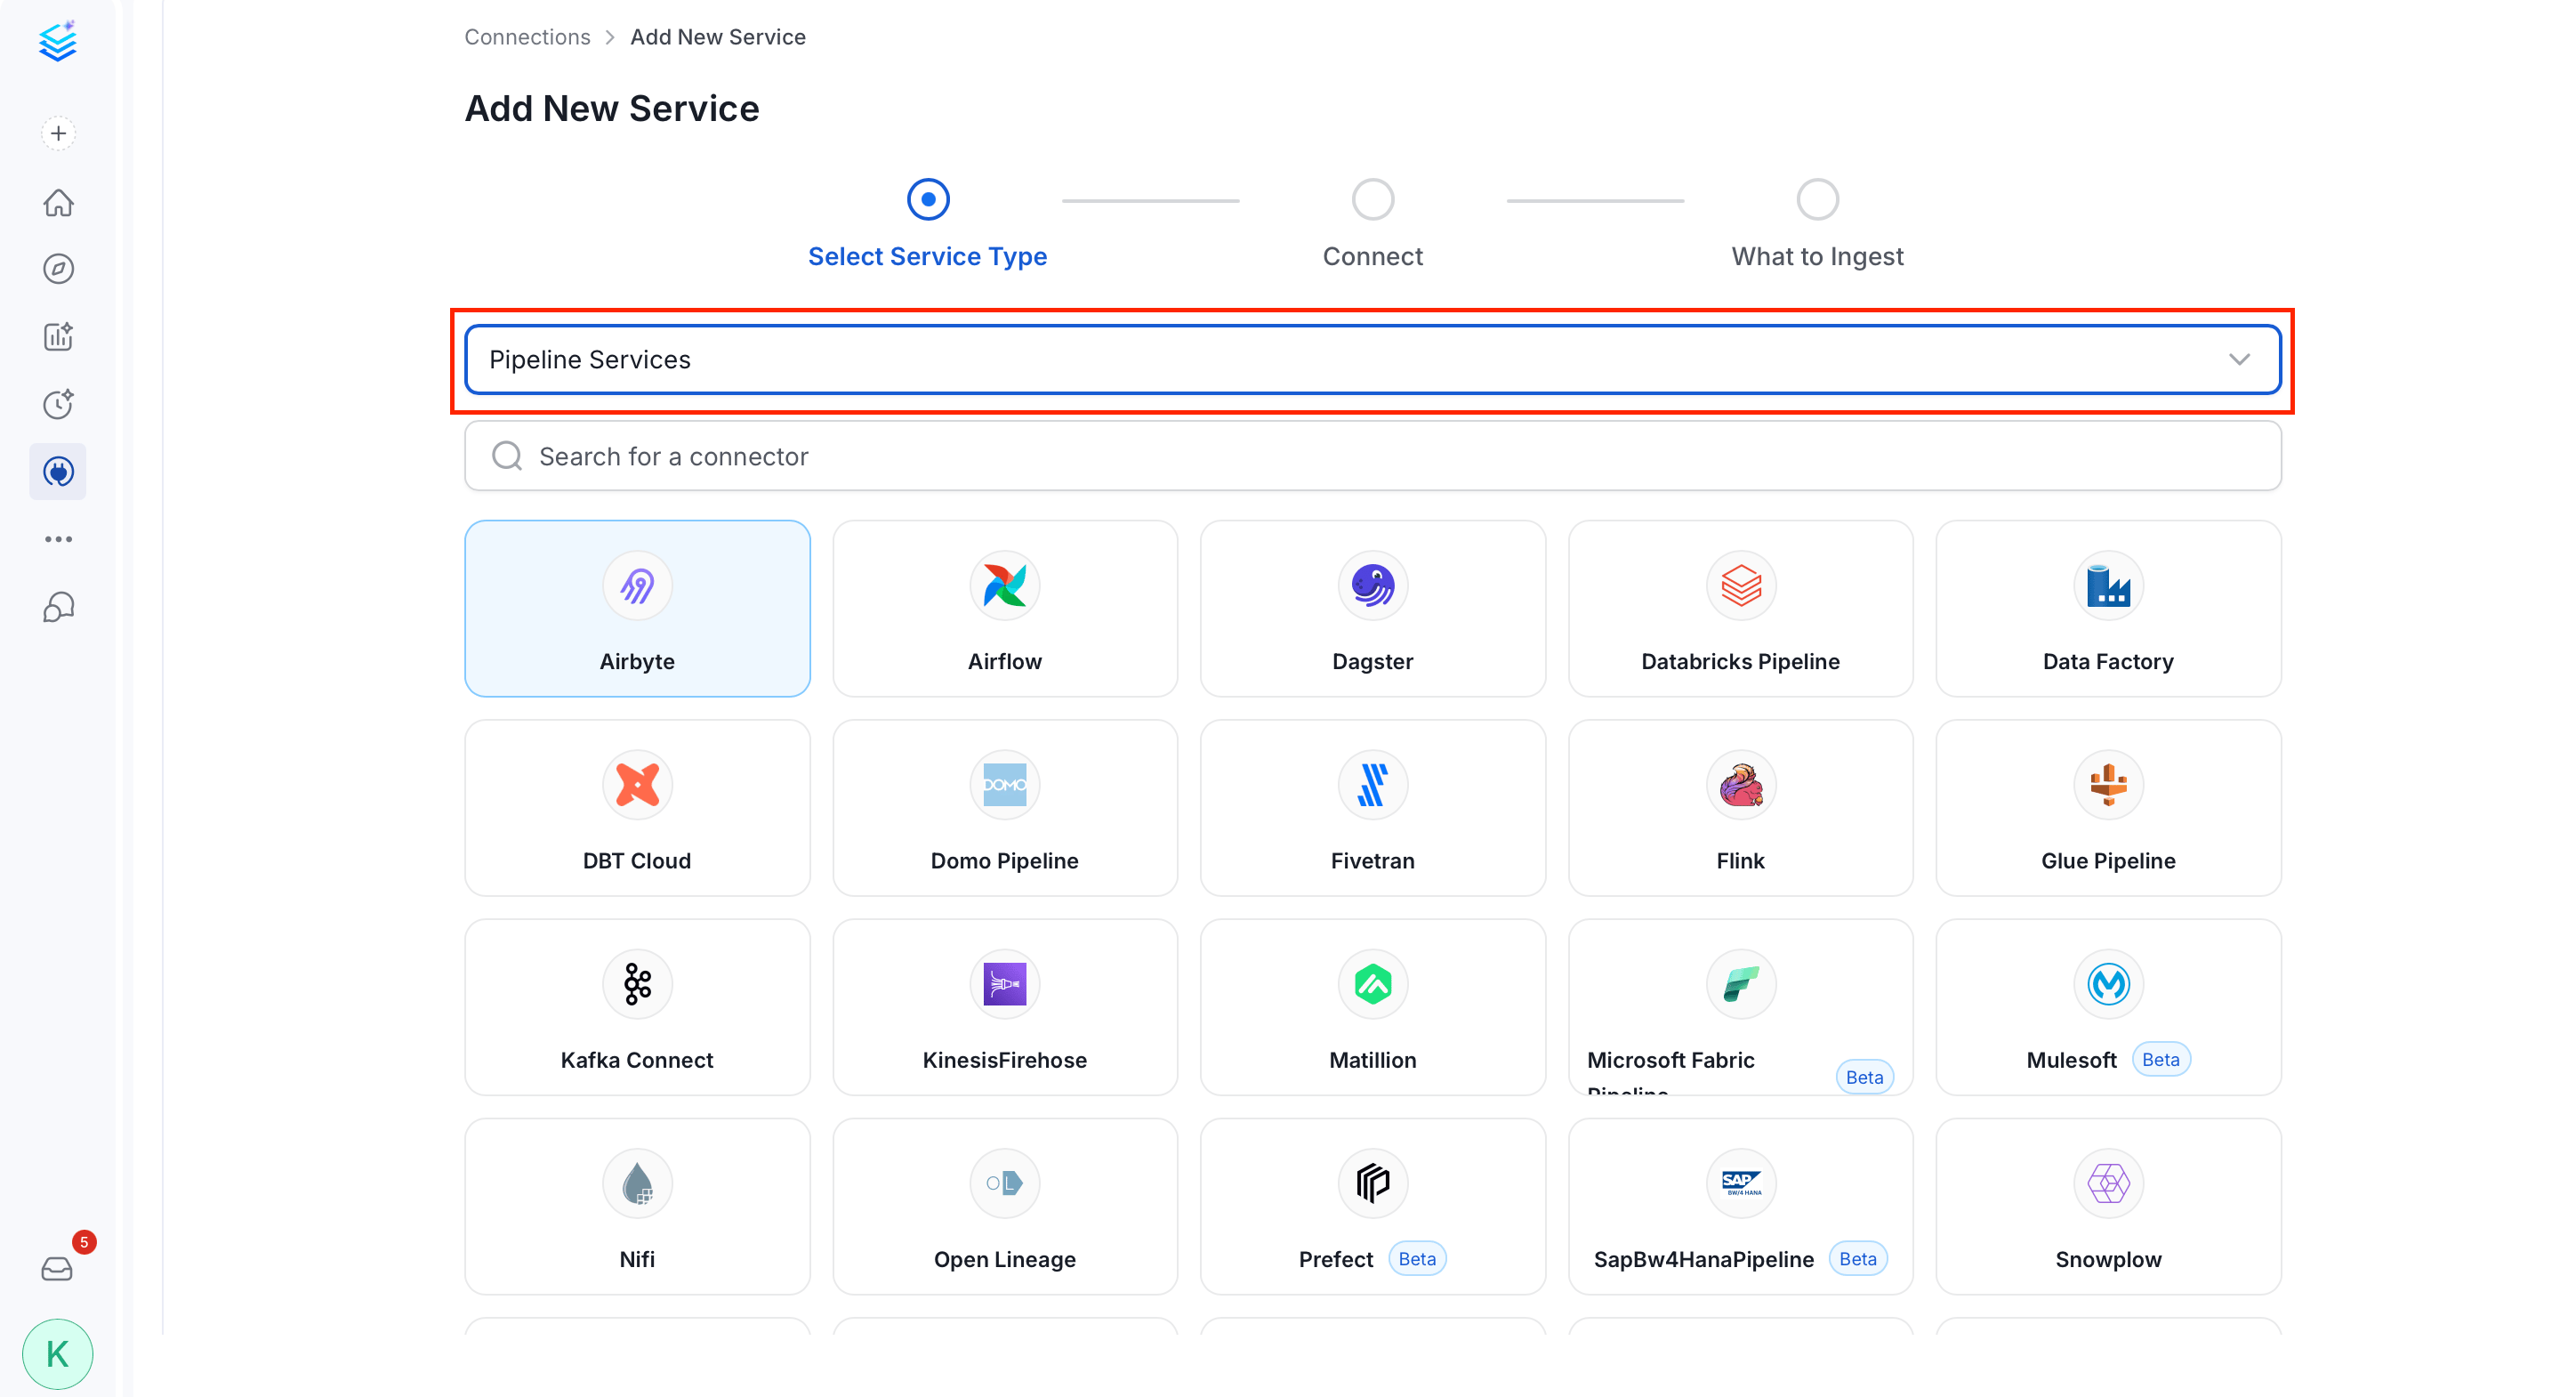
In the dropdown, select a service type that matches your data source, and then choose a connector.
Collate supports the following service types:
## Step 2: Select a Service Type and Connector
In the dropdown, select a service type that matches your data source, and then choose a connector.
Collate supports the following service types:
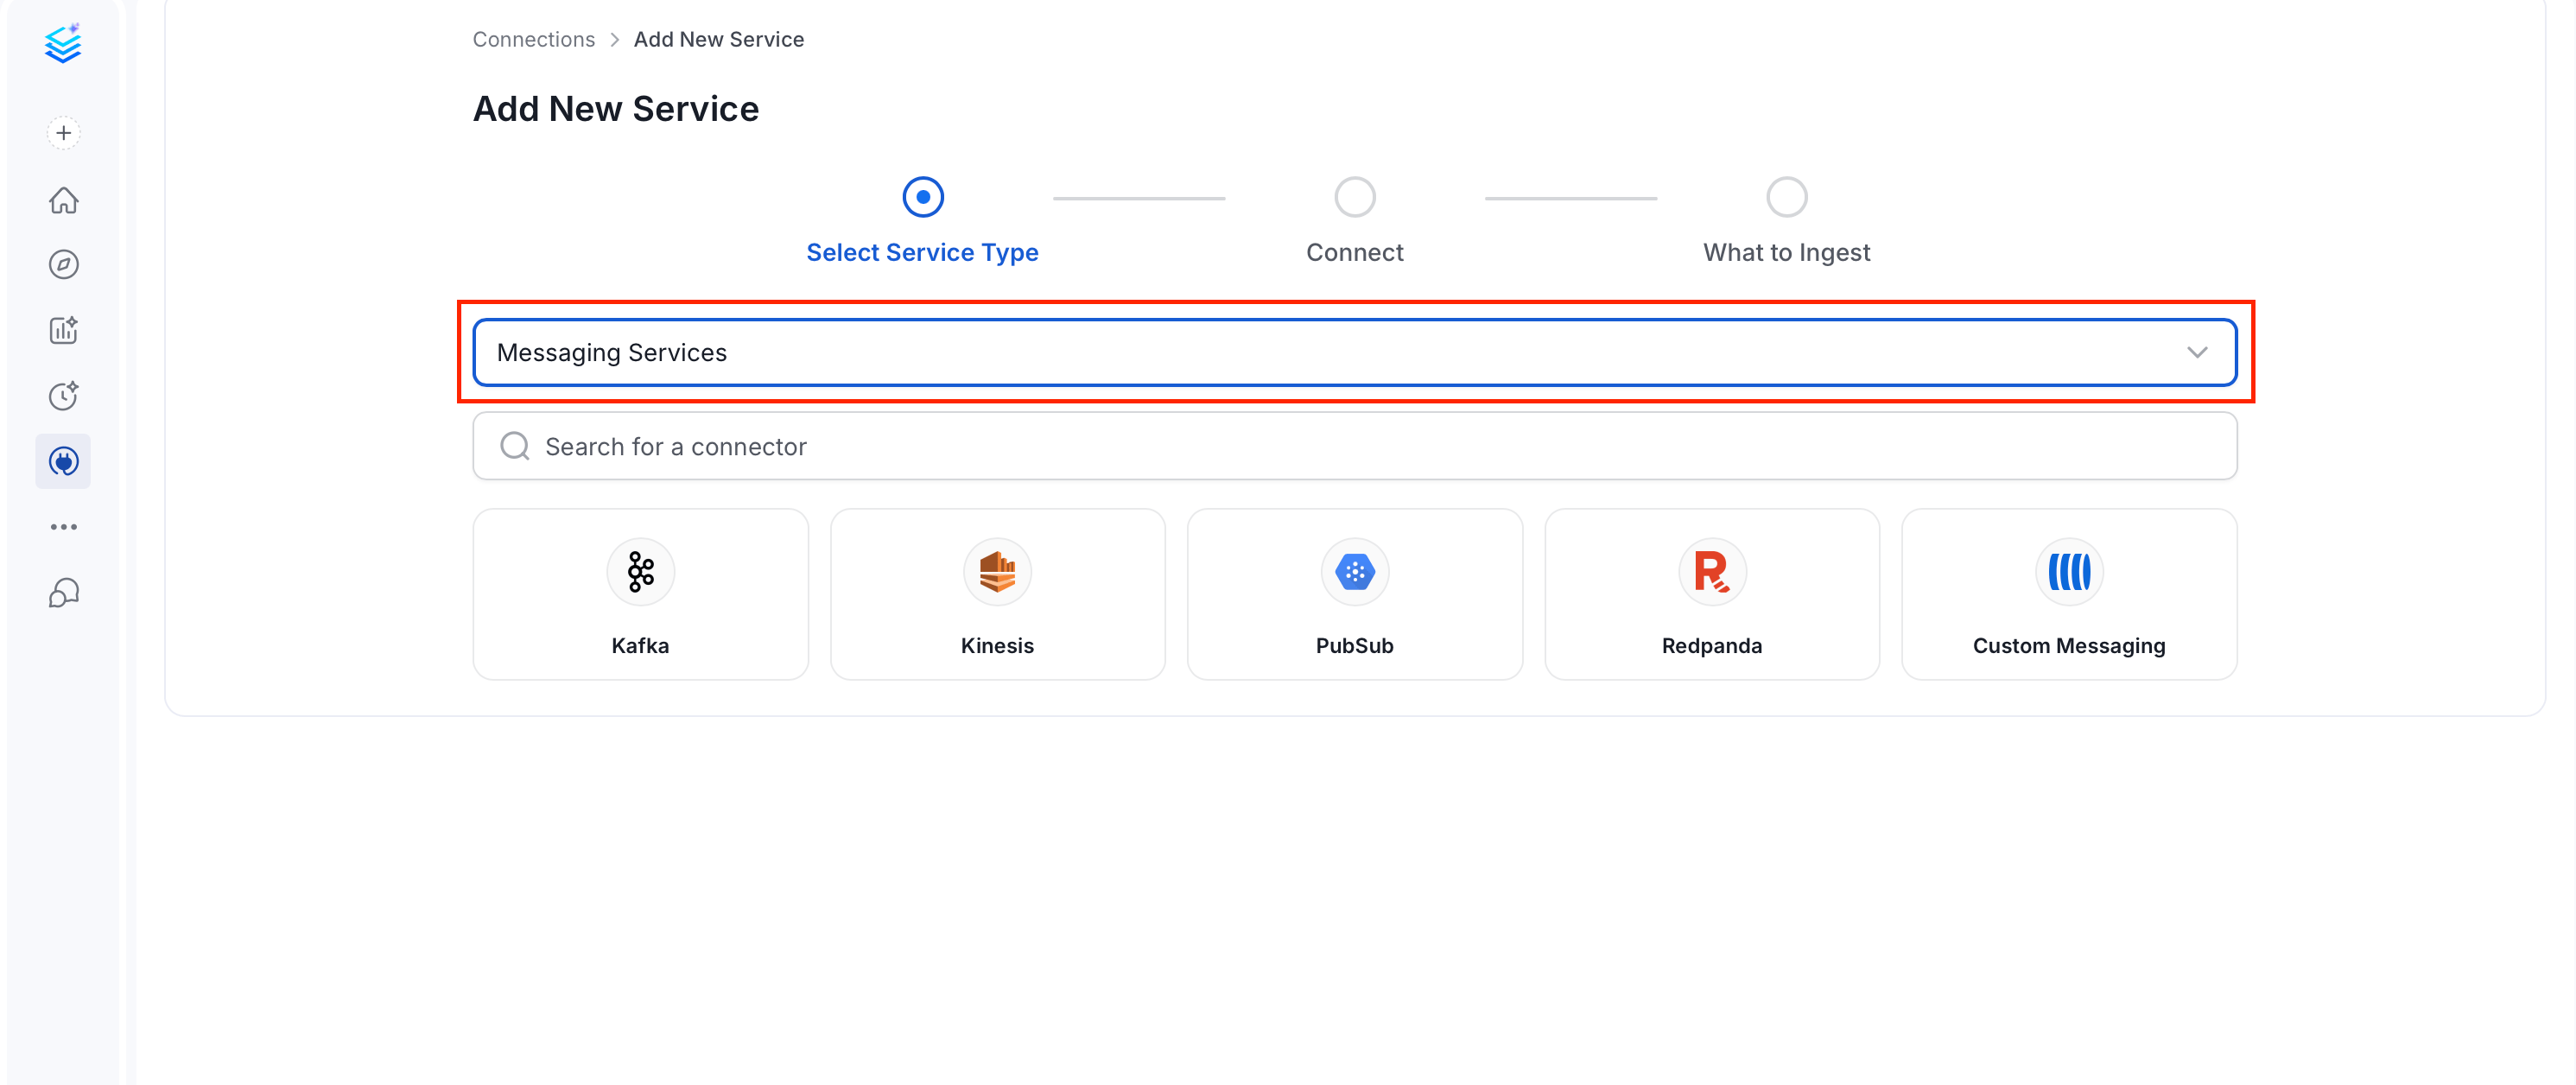
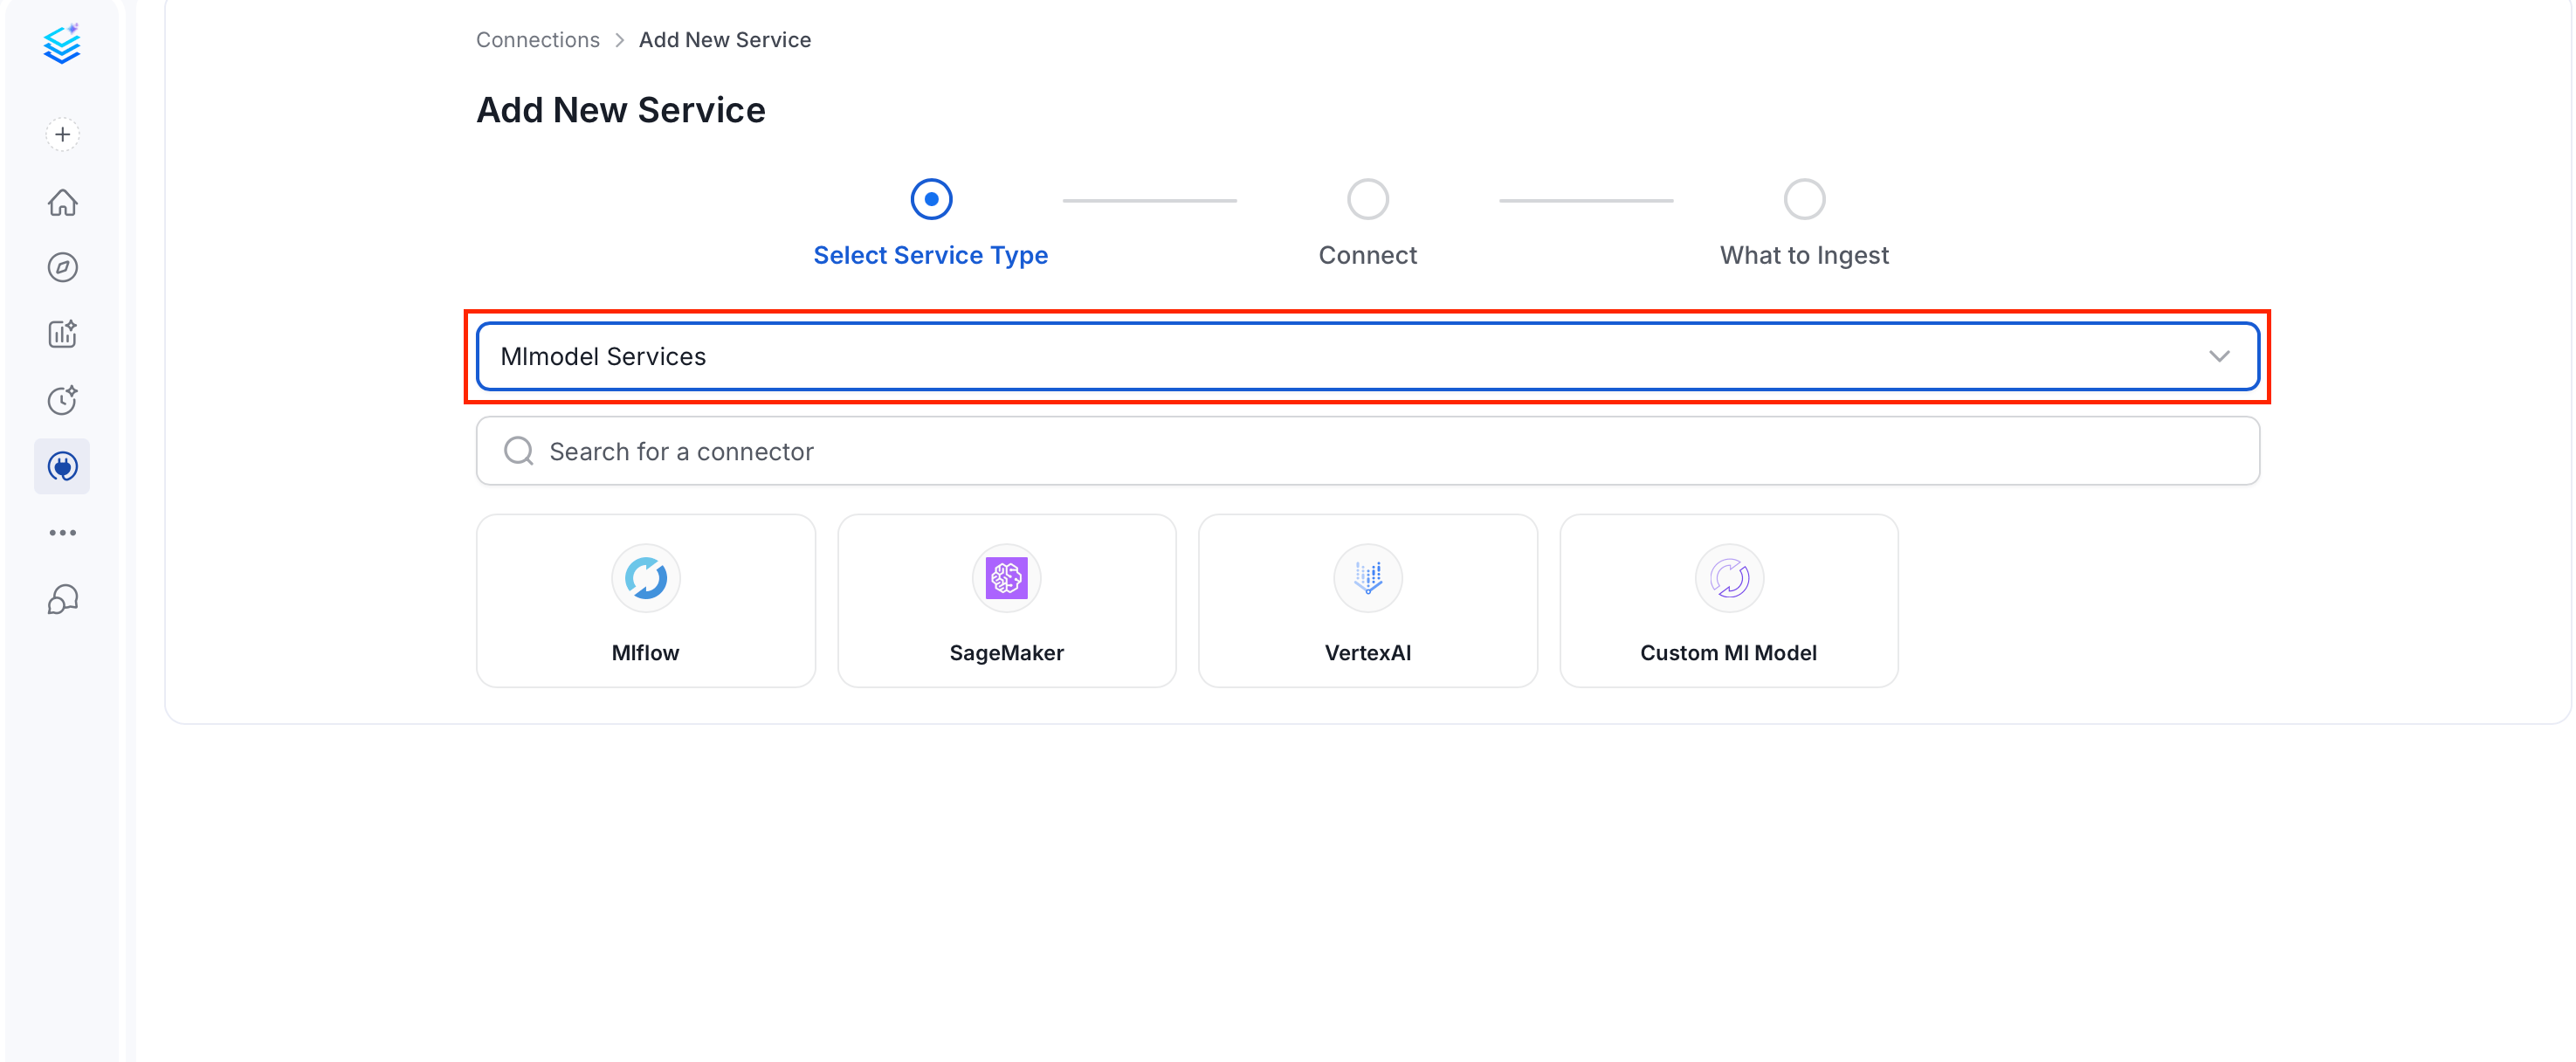
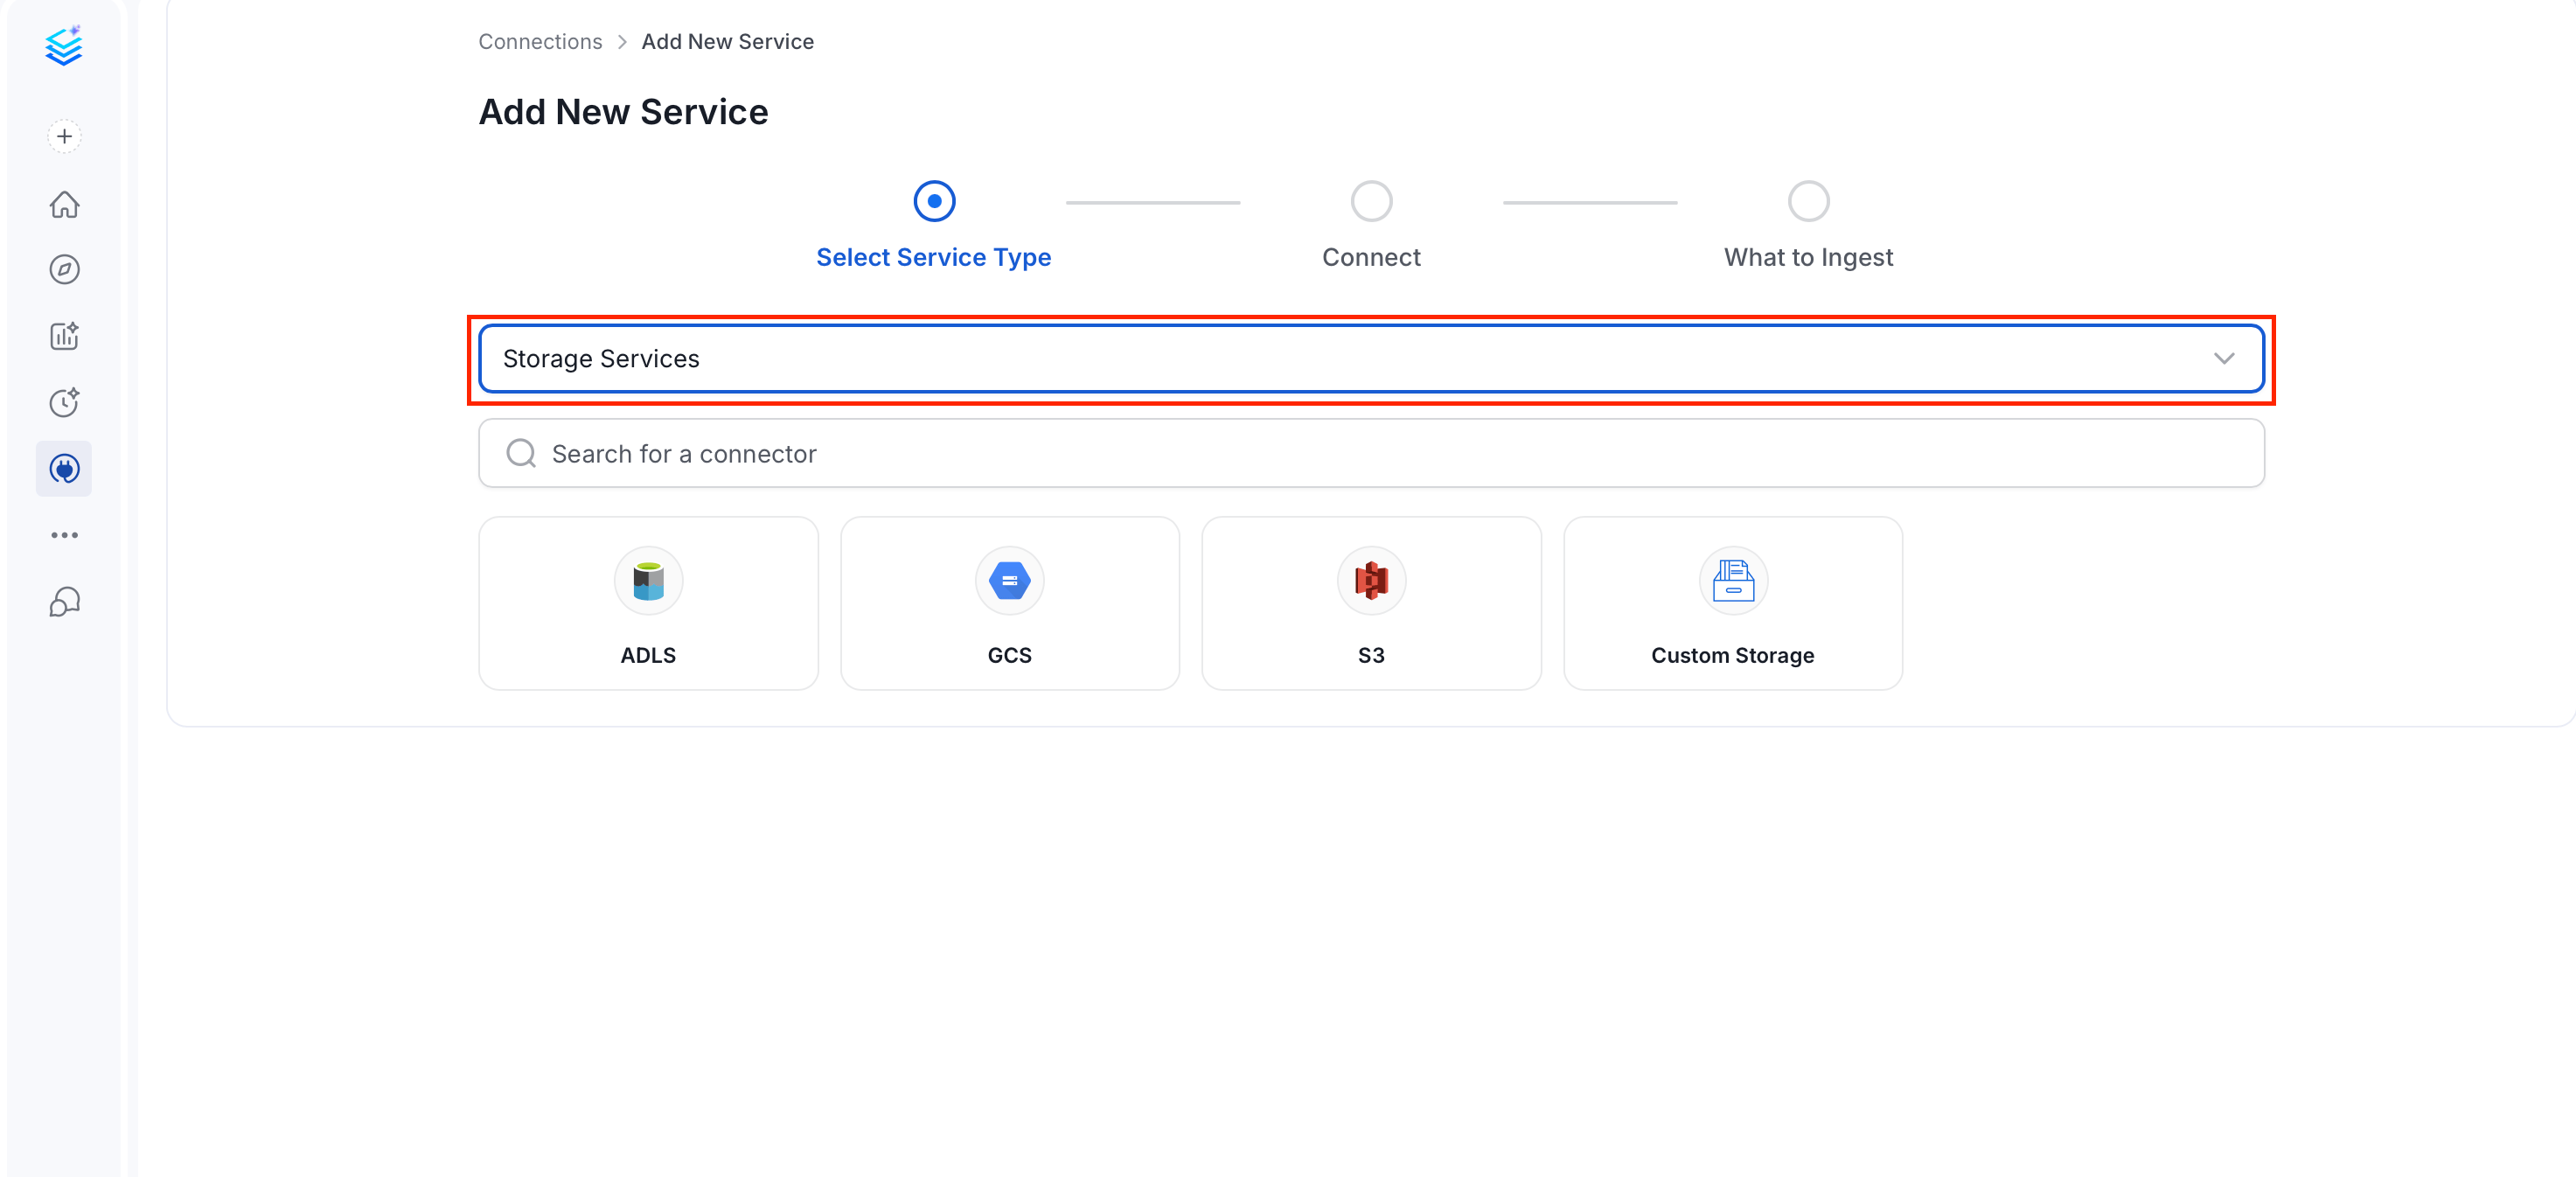
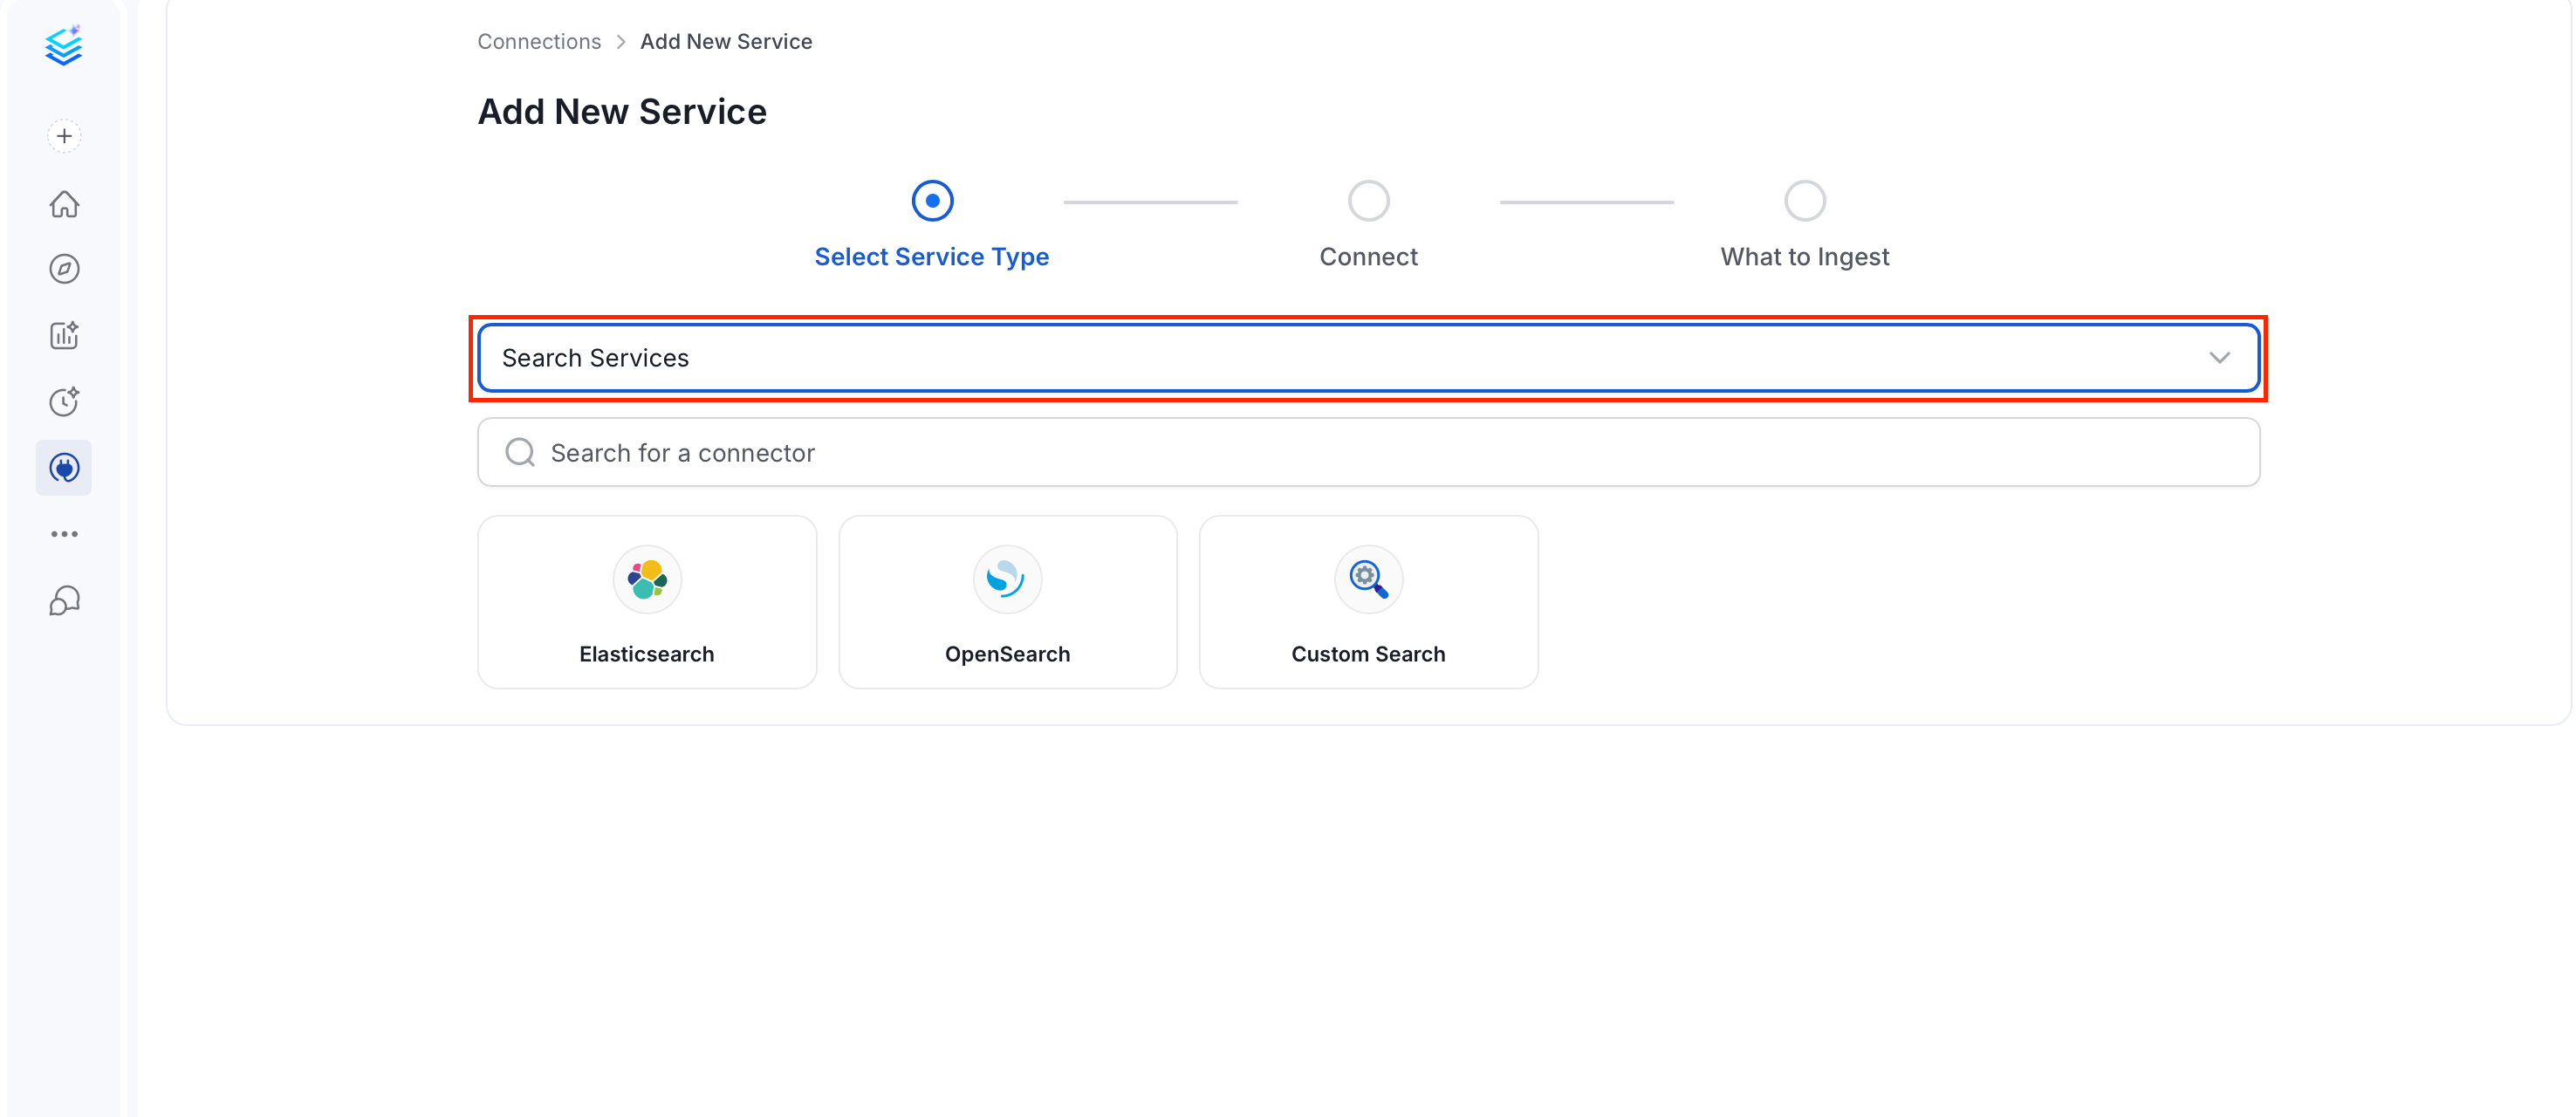
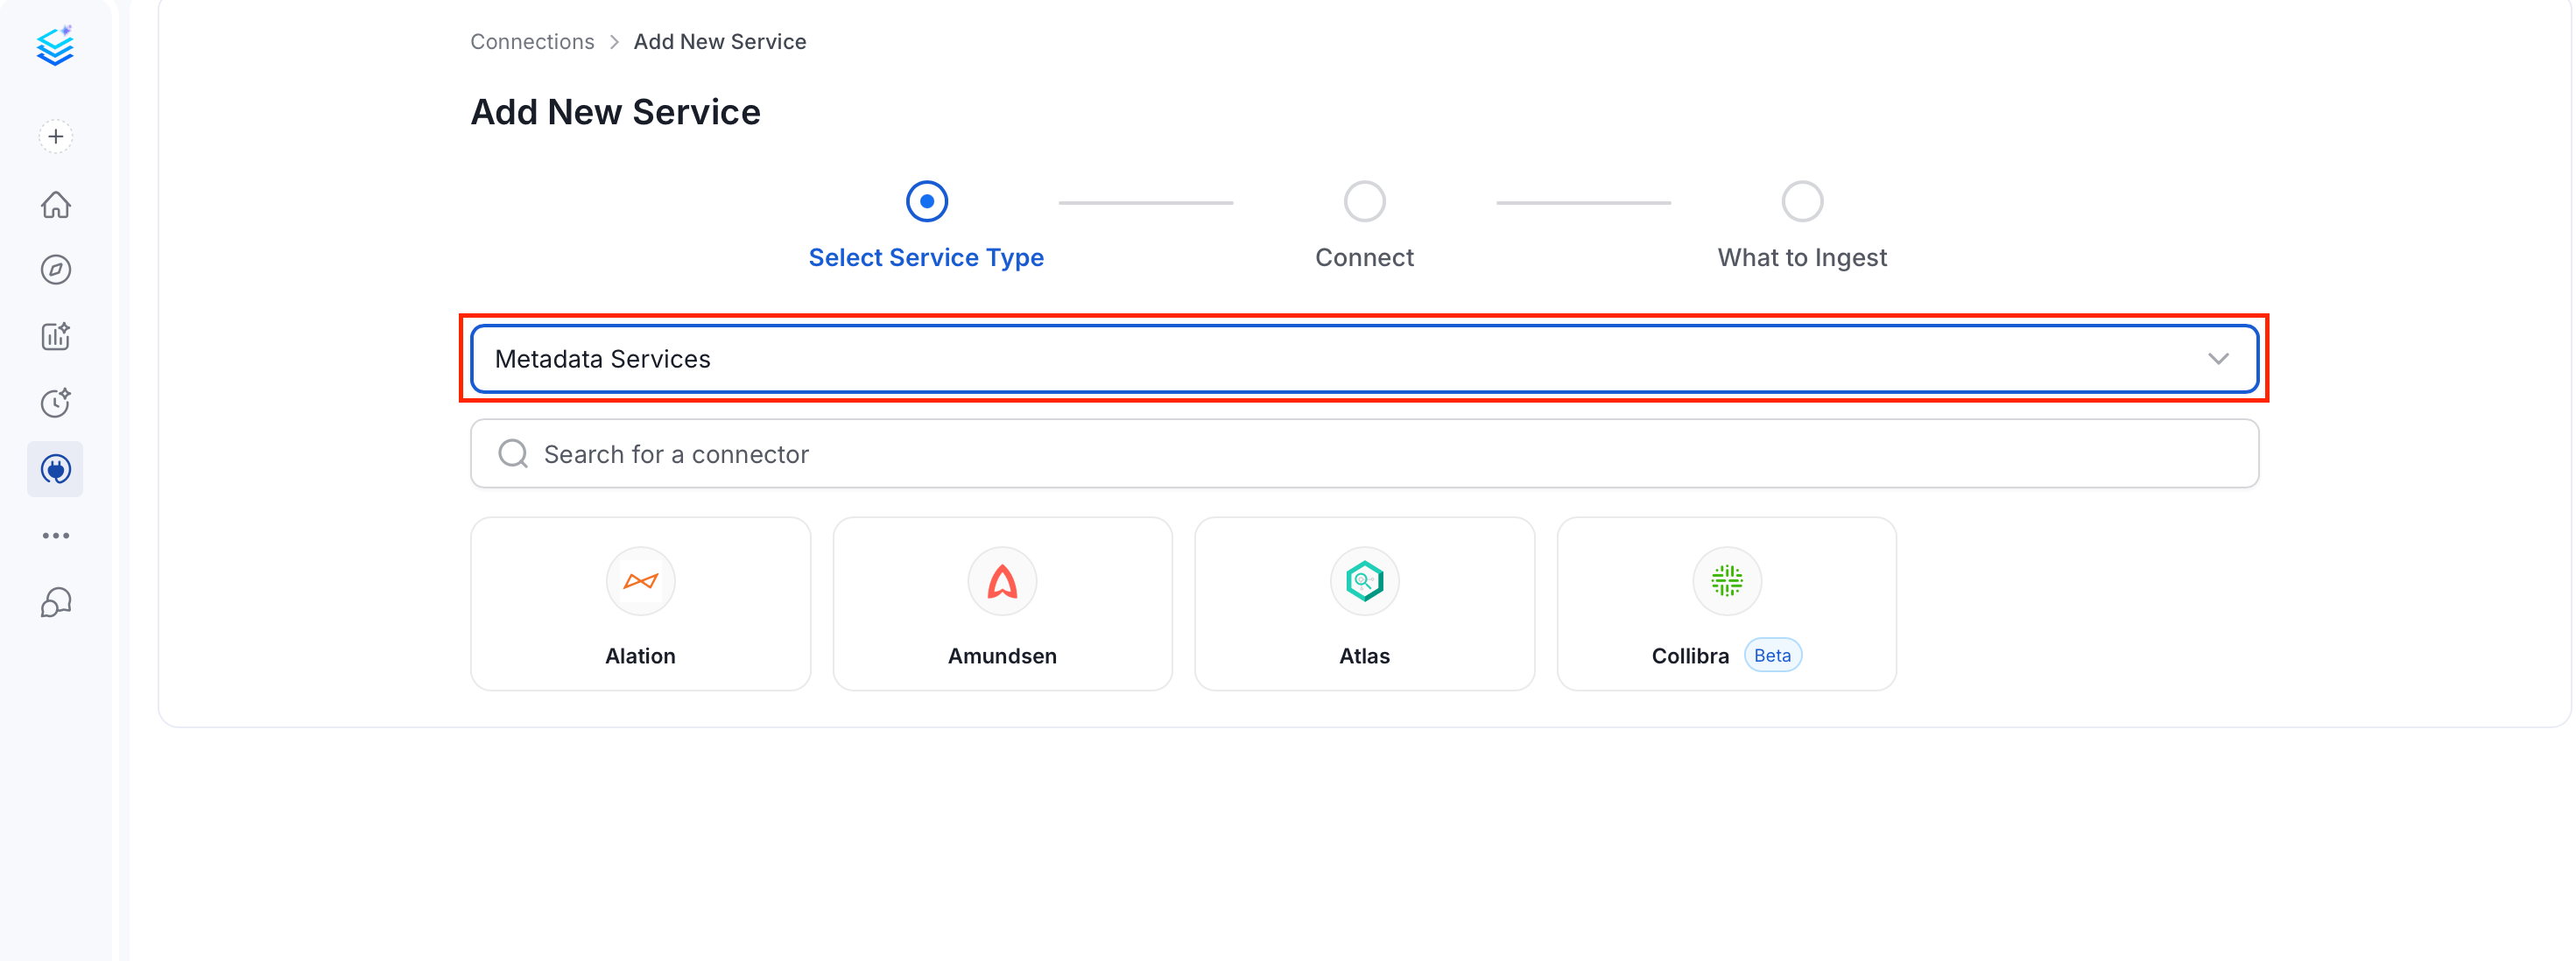
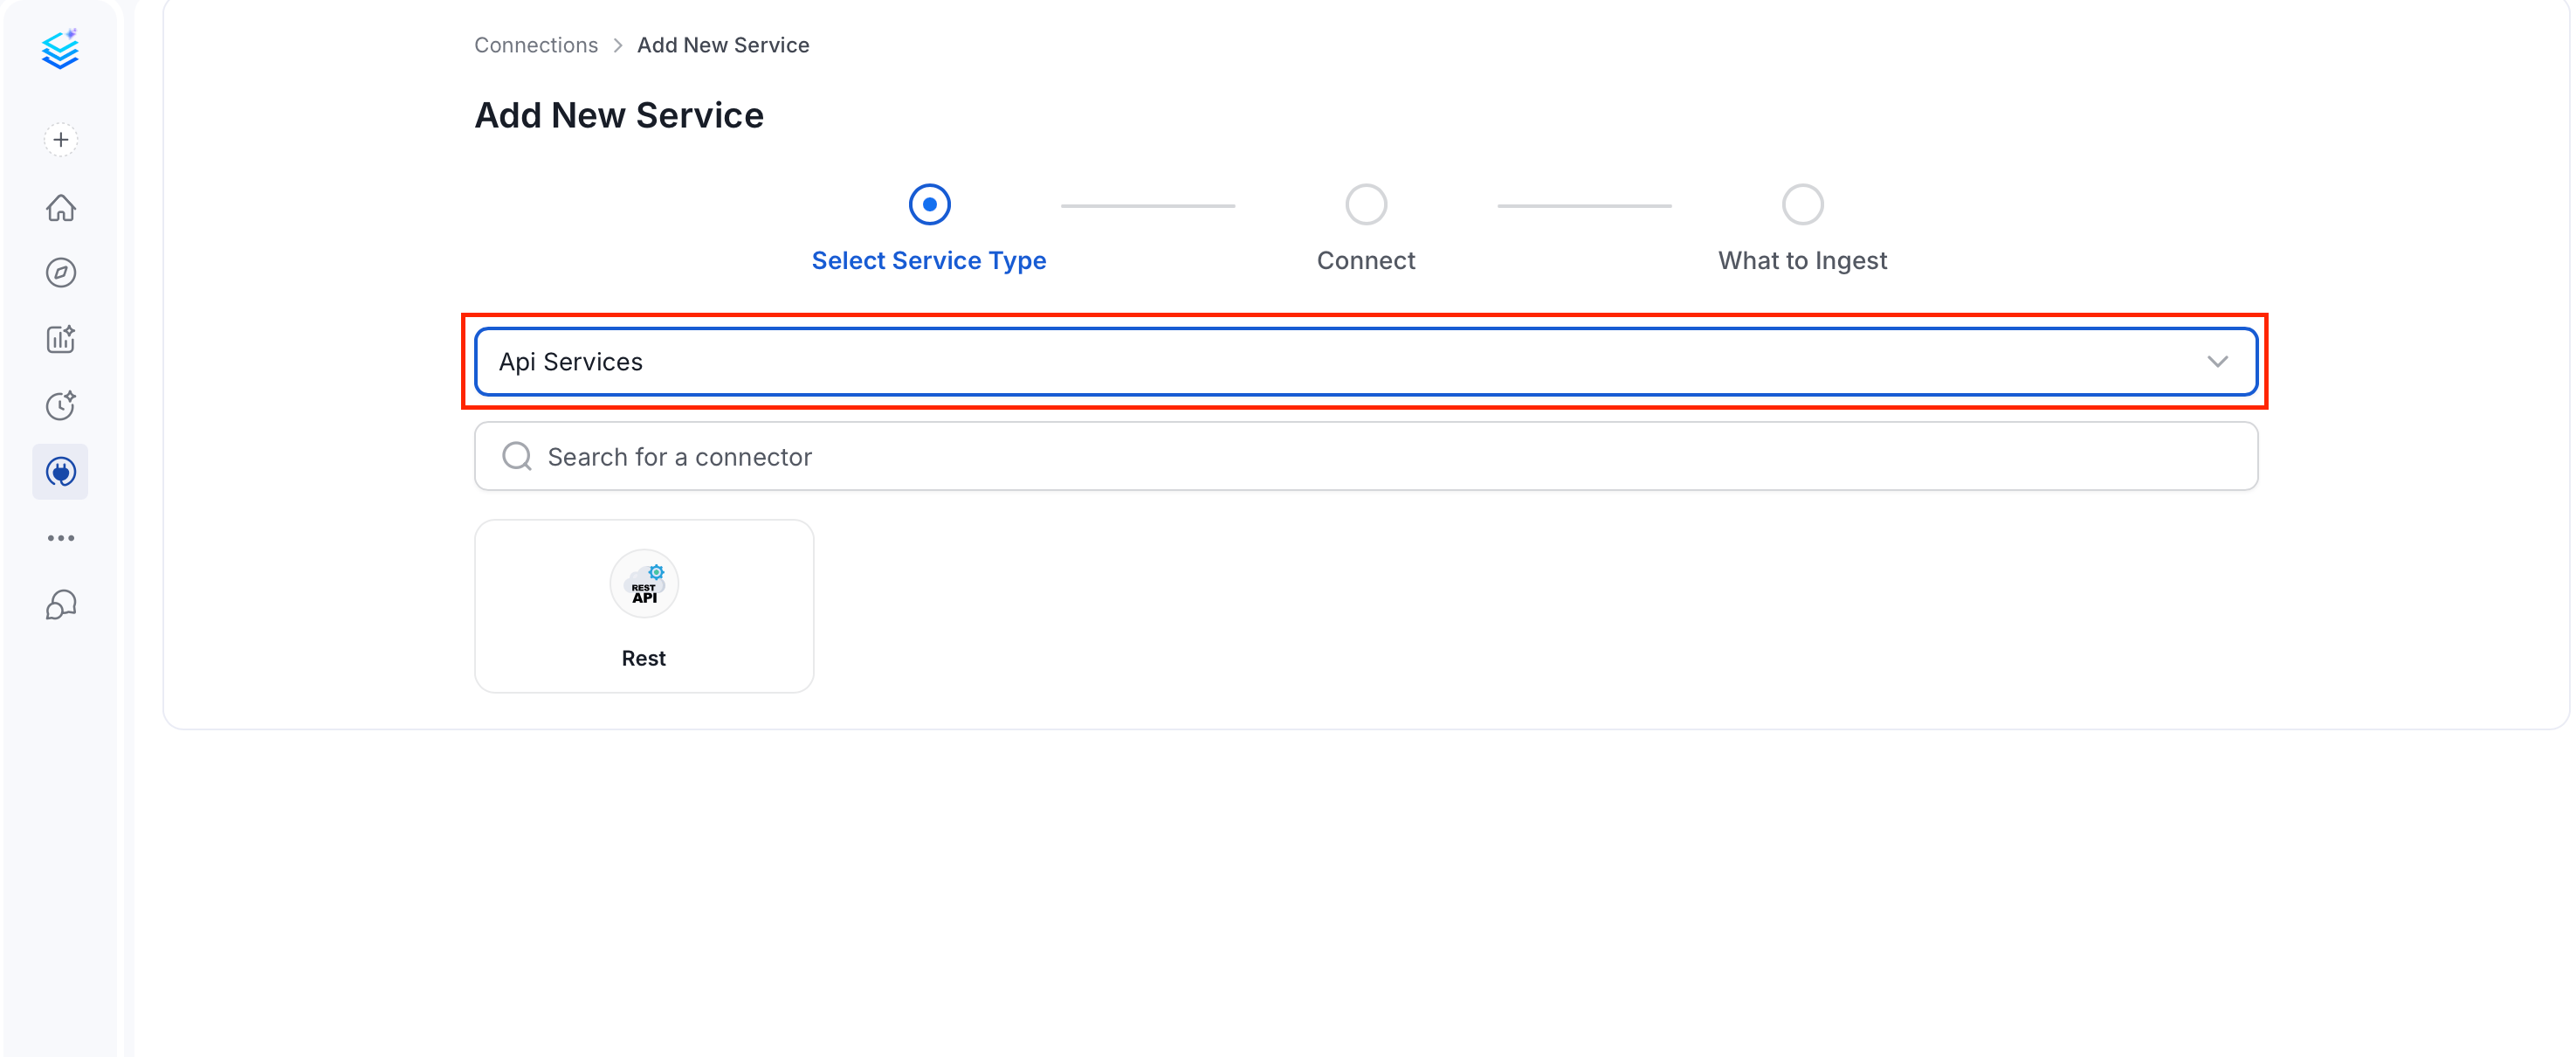
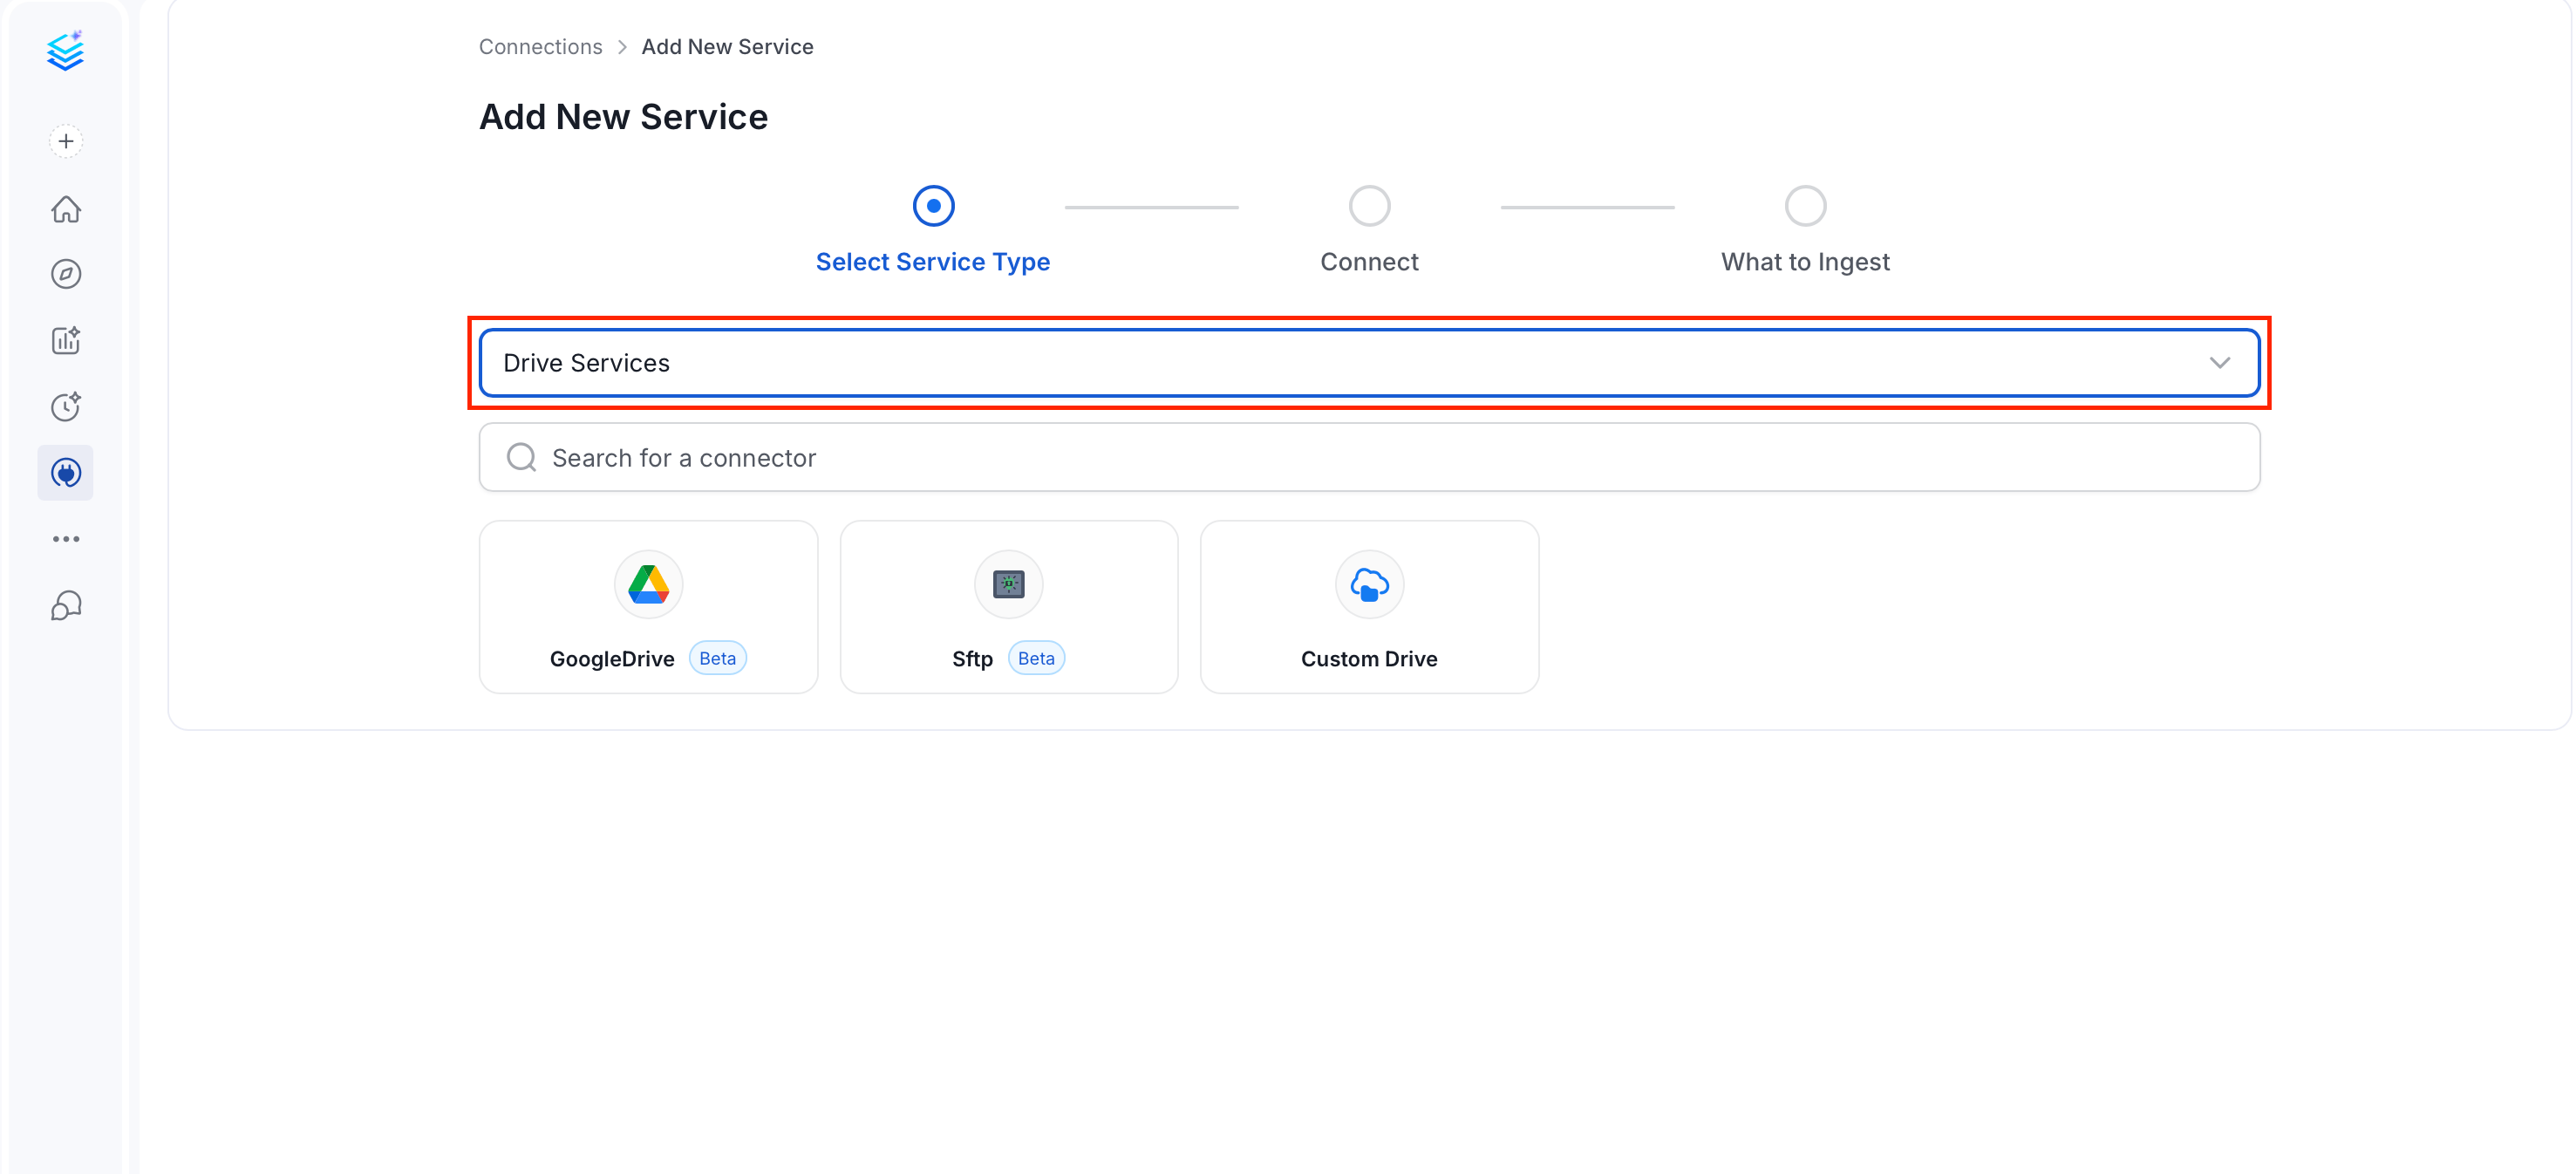
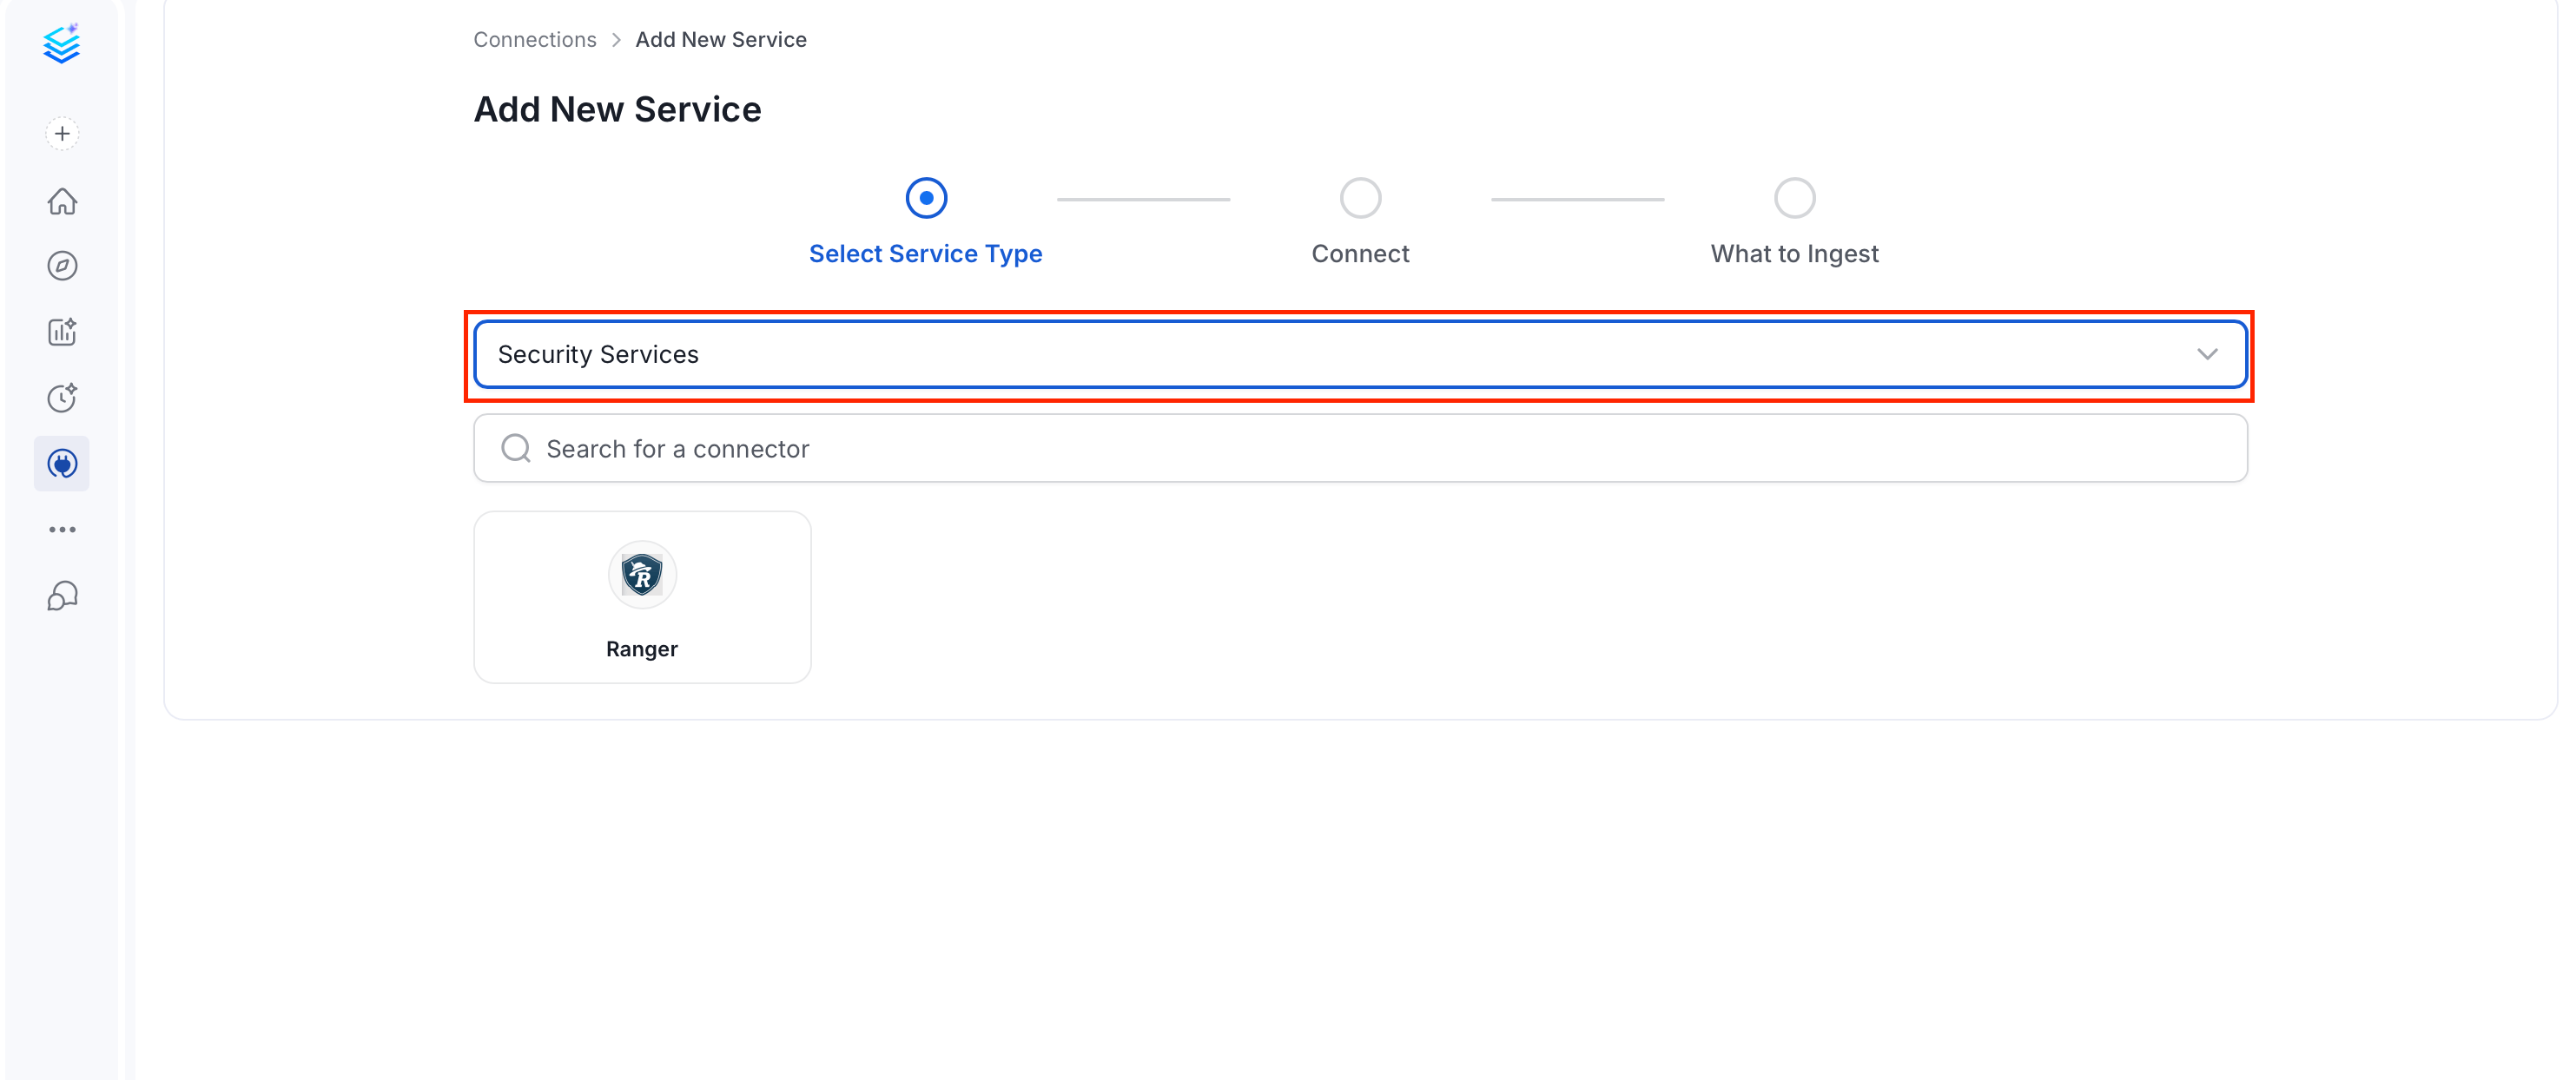 For the full list of available connectors, see [Connectors](/ai-2-0/connectors).
## Step 3: Add a Service Name and Description
* Enter a unique, descriptive **Service Name**. Collate identifies services by their service name — choose a name that distinguishes this service from others of the same type.
* (Optional) Enter a **Description** to document the service and help other users understand what it contains.
For the full list of available connectors, see [Connectors](/ai-2-0/connectors).
## Step 3: Add a Service Name and Description
* Enter a unique, descriptive **Service Name**. Collate identifies services by their service name — choose a name that distinguishes this service from others of the same type.
* (Optional) Enter a **Description** to document the service and help other users understand what it contains.
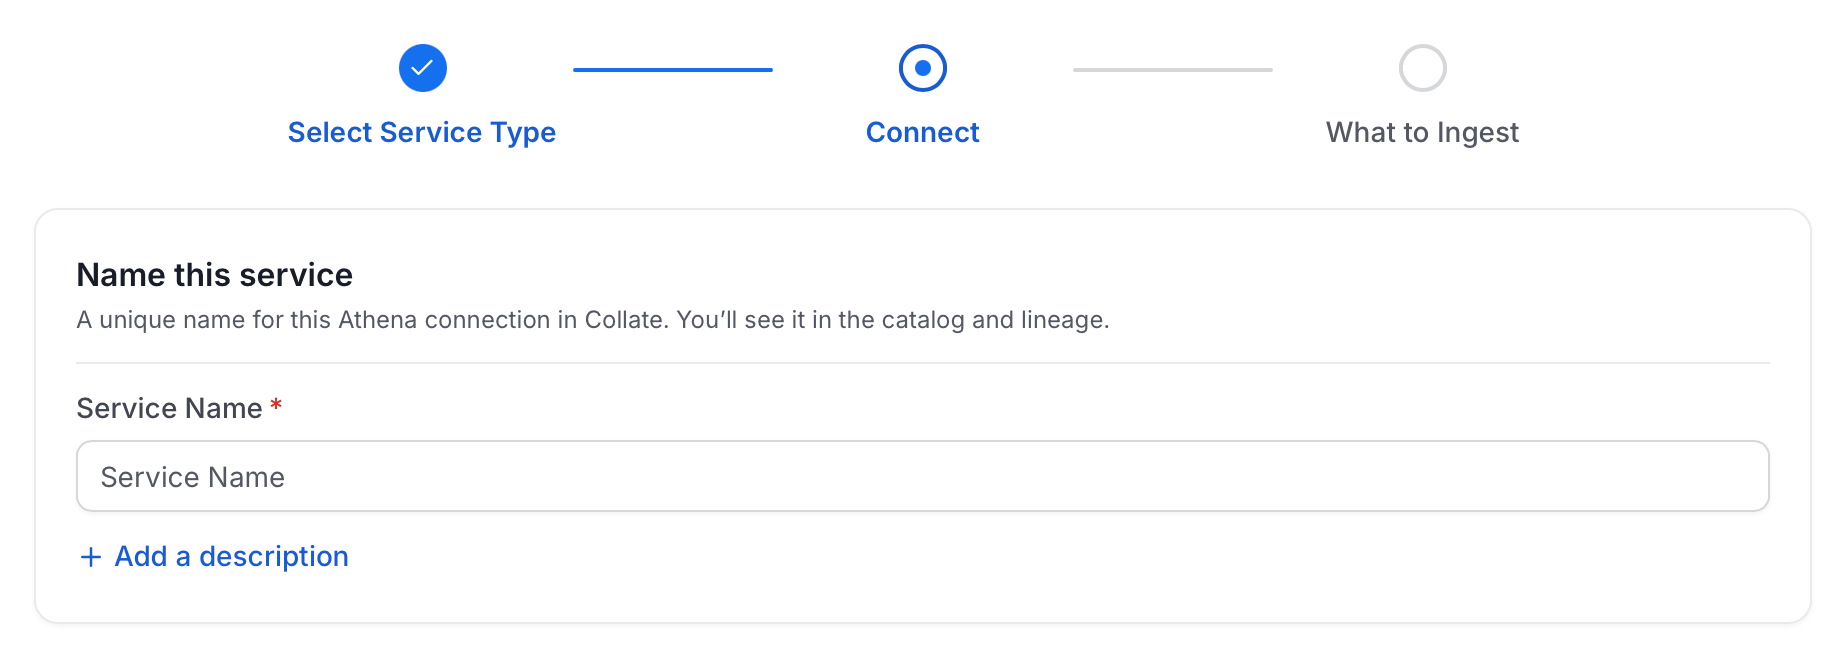 **Note**: The service name cannot be changed after it is set.
## Step 4: Configure Connection Options
### Select Ingestion Runner
Select an **Ingestion Runner** — the environment where the ingestion pipeline will execute.
**Note**: The service name cannot be changed after it is set.
## Step 4: Configure Connection Options
### Select Ingestion Runner
Select an **Ingestion Runner** — the environment where the ingestion pipeline will execute.
 ### Enter Connection Details
Enter the connection credentials for your source. The required fields differ by connector — refer to the connector-specific documentation in the [Connectors](/ai-2-0/connectors) section for the full list of fields and accepted values.
The right-hand panel in the Collate UI displays inline help for each field as you fill in the form.
### Test Connection
Once credentials are entered, click **Test Connection** to verify access before saving. The test checks connectivity and confirms which data assets can be ingested using the provided credentials.
### Enter Connection Details
Enter the connection credentials for your source. The required fields differ by connector — refer to the connector-specific documentation in the [Connectors](/ai-2-0/connectors) section for the full list of fields and accepted values.
The right-hand panel in the Collate UI displays inline help for each field as you fill in the form.
### Test Connection
Once credentials are entered, click **Test Connection** to verify access before saving. The test checks connectivity and confirms which data assets can be ingested using the provided credentials.
 After the connection test passes, click **Save**.
## Step 5: Configure What to Ingest
Use filter patterns to control which assets Collate ingests from the service.
**How filter patterns work:**
* **Include** — Add one or more comma-separated regular expressions. Collate ingests only assets whose names match at least one expression. Leave blank to include all assets.
* **Exclude** — Add one or more comma-separated regular expressions. Collate skips any asset whose name matches at least one expression. Leave blank to exclude nothing.
When both Include and Exclude are set, Exclude takes priority.
Rules match asset names using one of the following expressions:
* **contains** — matches any name containing the value.
* **starts with** — matches names beginning with the value.
* **ends with** — matches names ending with the value.
* **is exactly** — matches the exact name only.
* **matches regex** — matches names using a full regular expression.
**Tip**: Leave all filter patterns empty to ingest all assets available in the source.
## Step 6: Create & Deploy
Click **Create & Deploy** to deploy the agent and start the first metadata ingestion run. Collate saves the service configuration and immediately begins pulling metadata from the source.
To monitor progress or view the service you just added, go to **Connections** in the left navigation and select your service.
## Configure and Schedule the Metadata Agent
After the service is created, you can configure the metadata agent and set an ingestion schedule.
1. Go to the **Agents** tab on the service page and click **Add Metadata Agent**.
After the connection test passes, click **Save**.
## Step 5: Configure What to Ingest
Use filter patterns to control which assets Collate ingests from the service.
**How filter patterns work:**
* **Include** — Add one or more comma-separated regular expressions. Collate ingests only assets whose names match at least one expression. Leave blank to include all assets.
* **Exclude** — Add one or more comma-separated regular expressions. Collate skips any asset whose name matches at least one expression. Leave blank to exclude nothing.
When both Include and Exclude are set, Exclude takes priority.
Rules match asset names using one of the following expressions:
* **contains** — matches any name containing the value.
* **starts with** — matches names beginning with the value.
* **ends with** — matches names ending with the value.
* **is exactly** — matches the exact name only.
* **matches regex** — matches names using a full regular expression.
**Tip**: Leave all filter patterns empty to ingest all assets available in the source.
## Step 6: Create & Deploy
Click **Create & Deploy** to deploy the agent and start the first metadata ingestion run. Collate saves the service configuration and immediately begins pulling metadata from the source.
To monitor progress or view the service you just added, go to **Connections** in the left navigation and select your service.
## Configure and Schedule the Metadata Agent
After the service is created, you can configure the metadata agent and set an ingestion schedule.
1. Go to the **Agents** tab on the service page and click **Add Metadata Agent**.
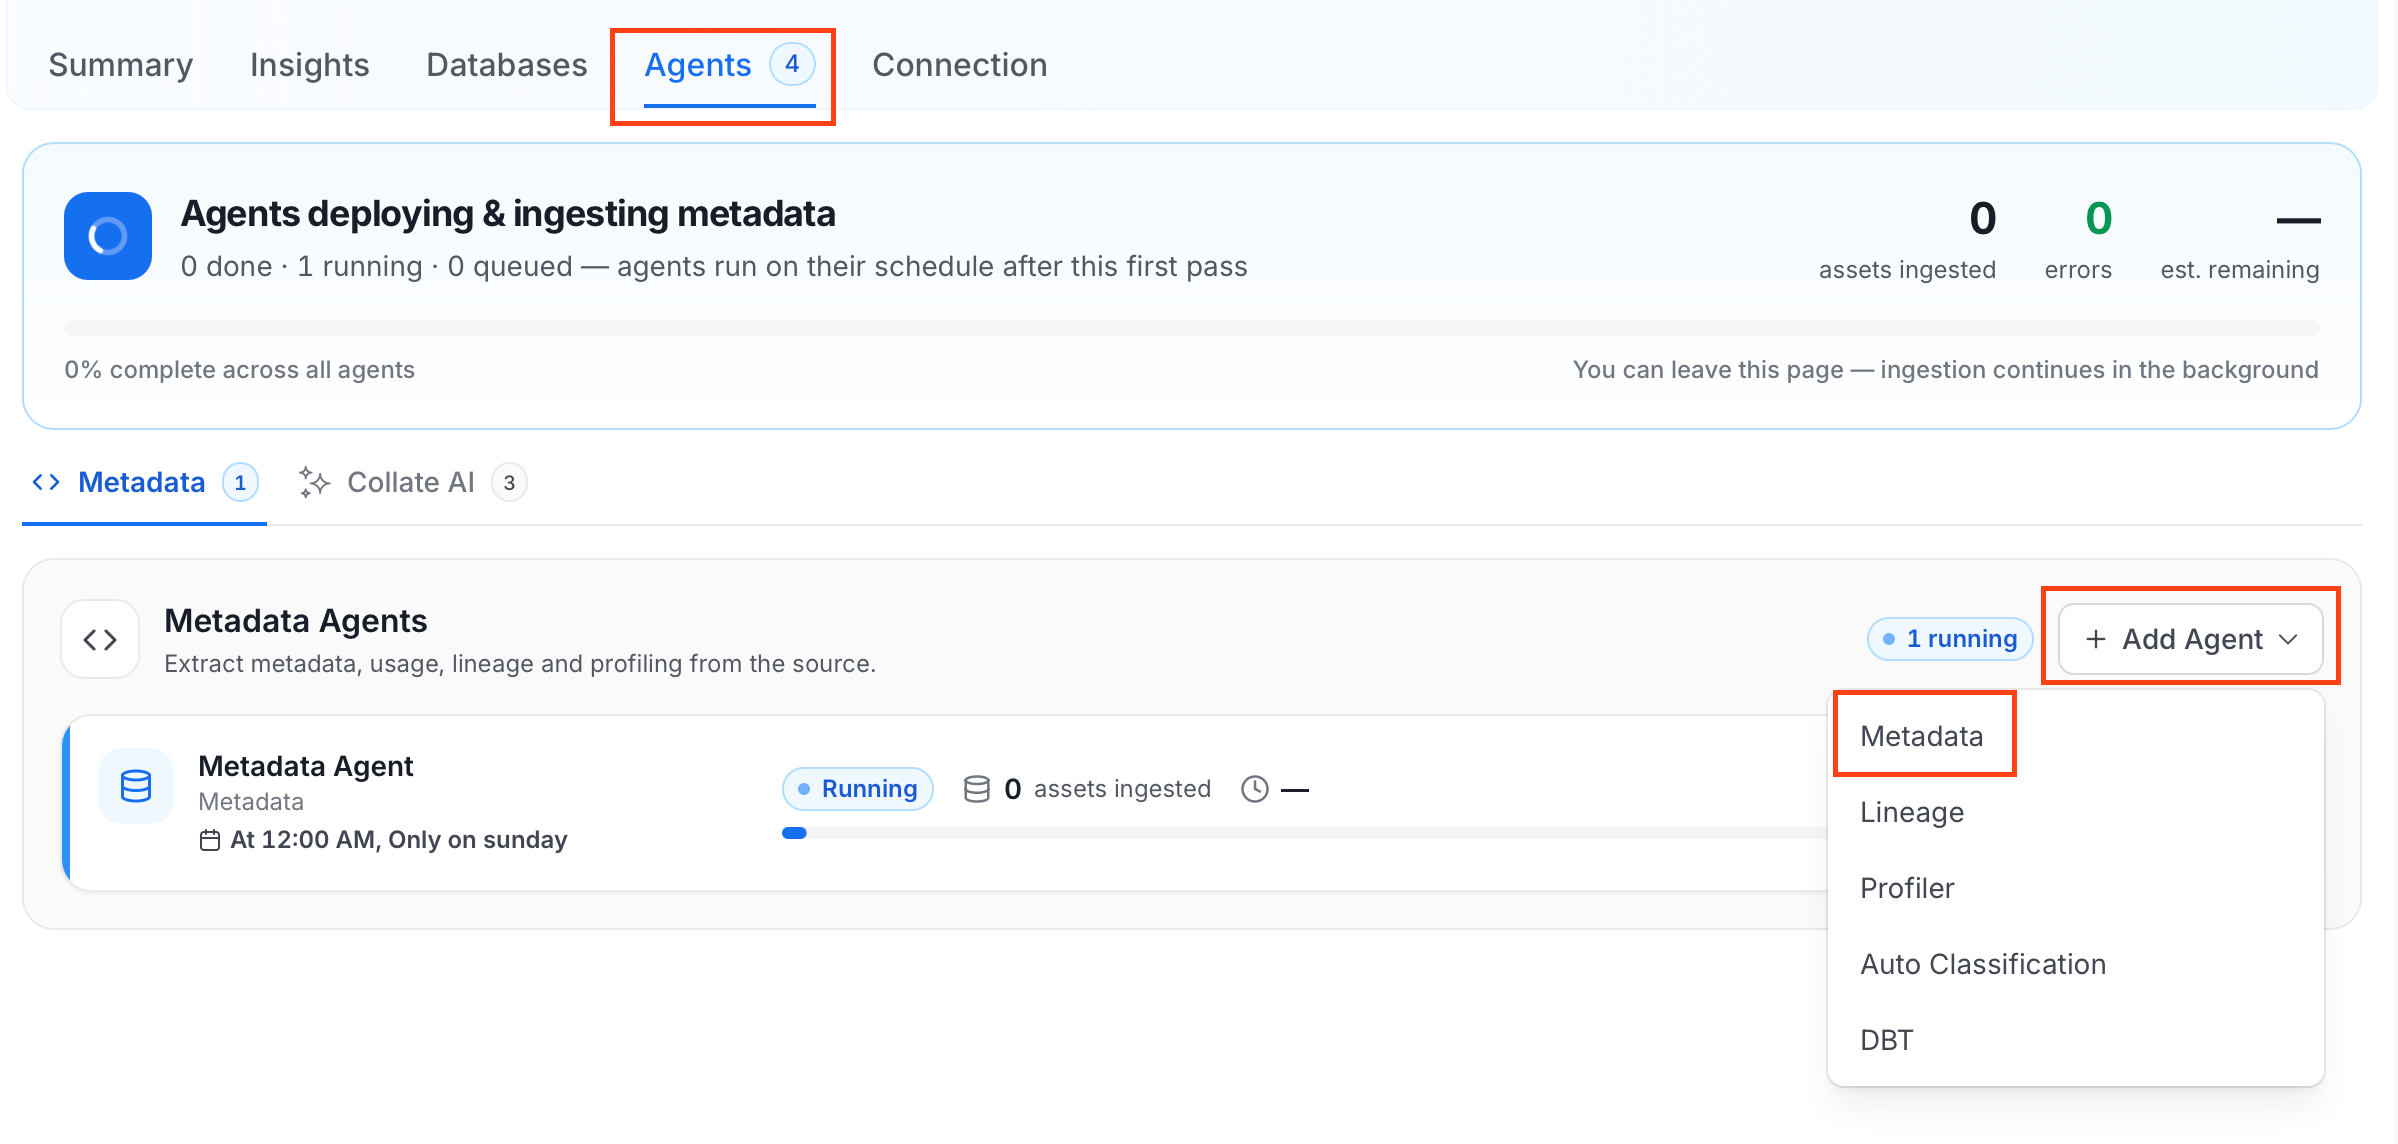 2. Enter a name for the agent. The name is pre-populated with the service name and a suffix to ensure uniqueness.
 3. Define when the agent runs. Select a preset schedule or enter a **Custom Cron** expression.
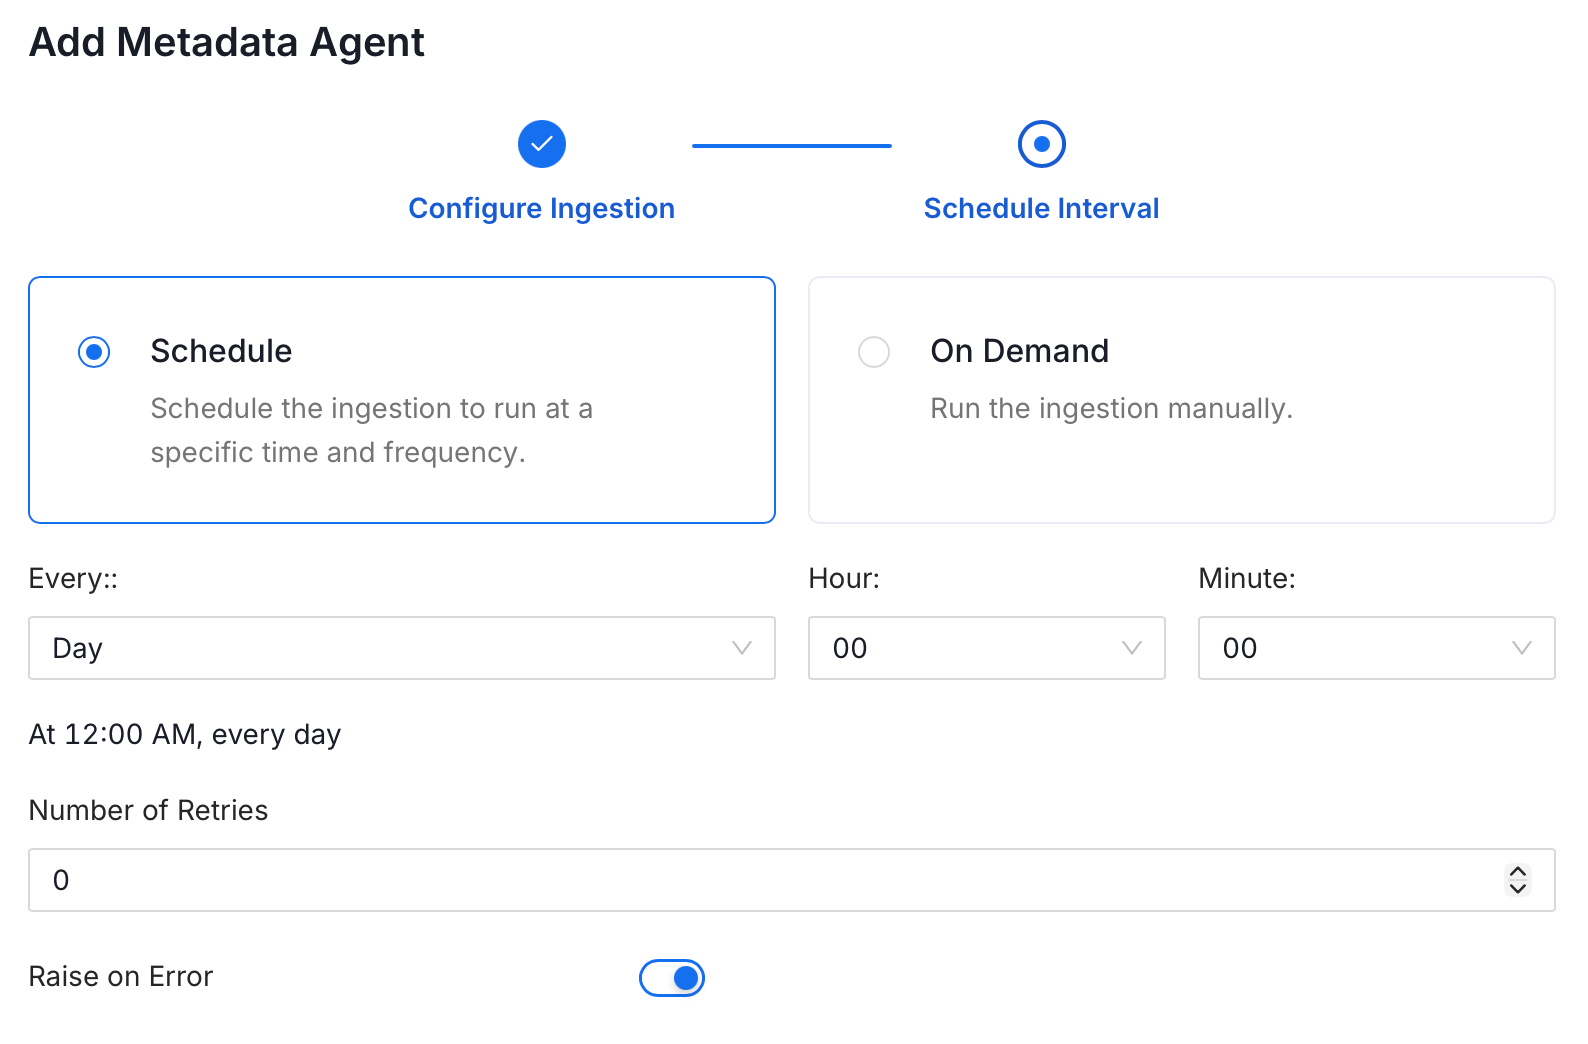 4. Click **Create & Deploy** to save the schedule and start the agent.
## View and Manage Agent
After deployment, go to the **Agents** tab on the service page.
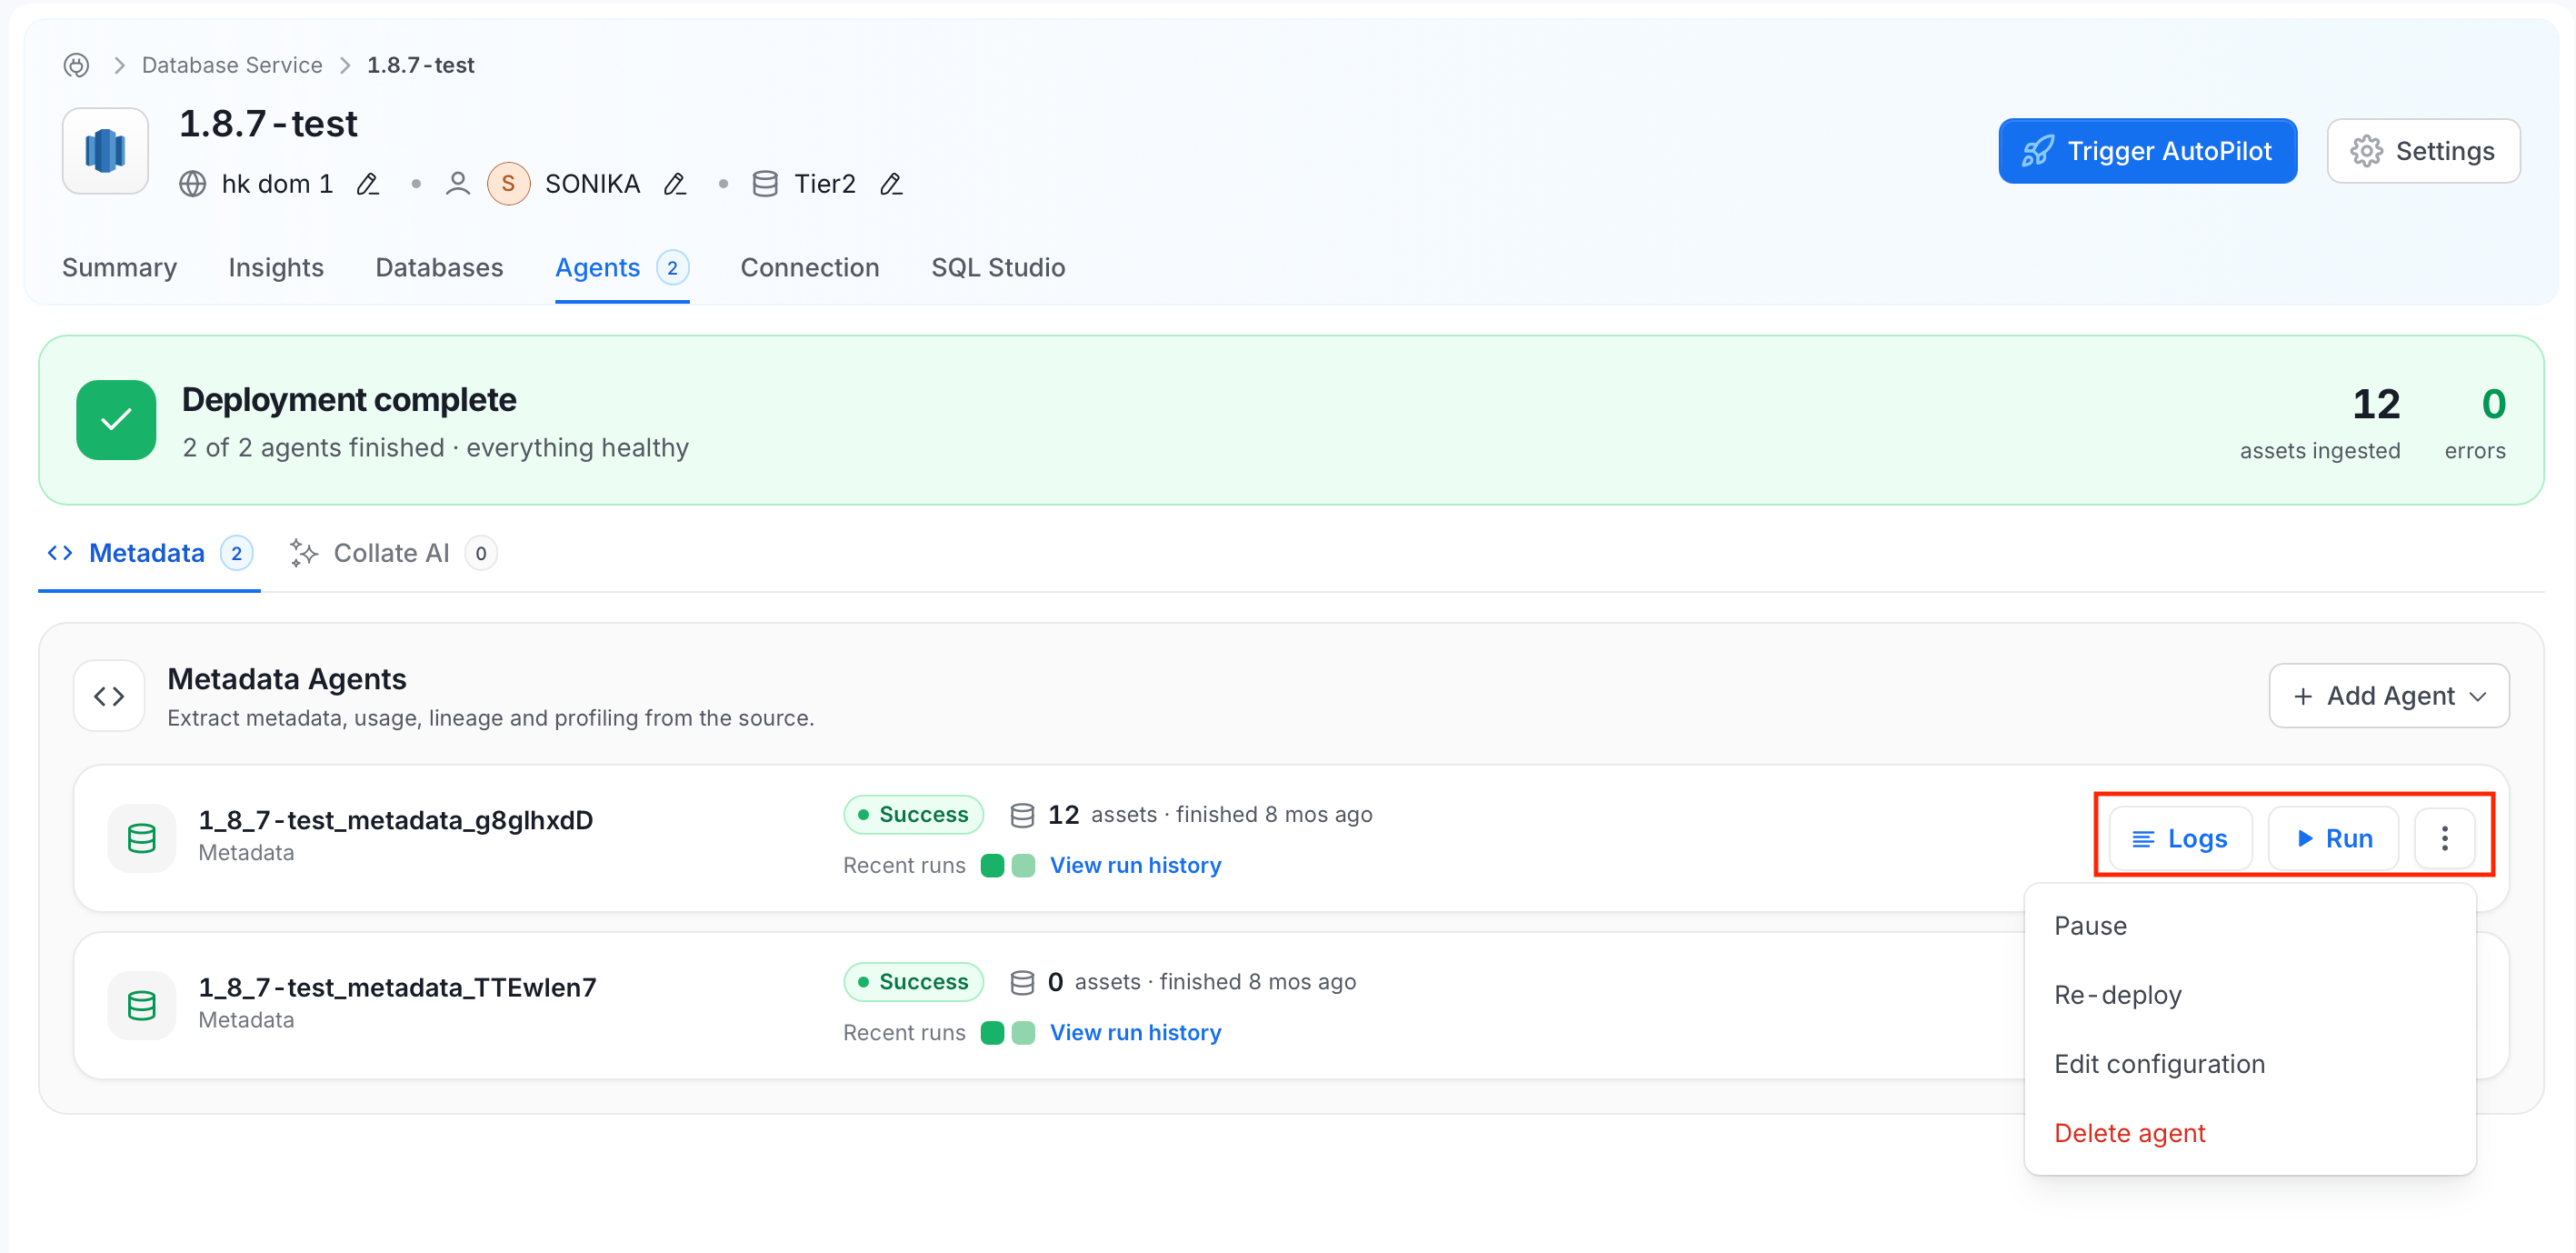
* The **Metadata Agents** section lists each deployed agent with its status badge (**Success**, **Failed**, **Running**, and so on), asset count, and the time it last ran.
* Click **View run history** under an agent to see a full log of past runs.
* To manage an agent, use the action buttons on each agent row:
* **Logs** — View the pipeline logs for the most recent run.
* **Run** — Trigger the pipeline immediately.
* **⋮ menu** — - **Pause** — Pause the scheduled pipeline without deleting it.
* **Re-deploy** — Re-apply updated credentials or configuration and re-ingest data. Use this when source credentials change after the initial setup.
* **Edit configuration** — Modify the agent's filter patterns, schedule, or settings.
* **Delete agent** — Permanently remove the agent.
4. Click **Create & Deploy** to save the schedule and start the agent.
## View and Manage Agent
After deployment, go to the **Agents** tab on the service page.
* The **Metadata Agents** section lists each deployed agent with its status badge (**Success**, **Failed**, **Running**, and so on), asset count, and the time it last ran.
* Click **View run history** under an agent to see a full log of past runs.
* To manage an agent, use the action buttons on each agent row:
* **Logs** — View the pipeline logs for the most recent run.
* **Run** — Trigger the pipeline immediately.
* **⋮ menu** — - **Pause** — Pause the scheduled pipeline without deleting it.
* **Re-deploy** — Re-apply updated credentials or configuration and re-ingest data. Use this when source credentials change after the initial setup.
* **Edit configuration** — Modify the agent's filter patterns, schedule, or settings.
* **Delete agent** — Permanently remove the agent.
 ## Browsing Ingested Data
After ingestion completes, open the service page and go to the relevant asset tab — for example, **Databases** for a database service. From there, drill down to view schemas, tables, and columns.
**Tip**: After running a metadata agent pipeline, you can add separate pipelines for [**Usage**](/ai-2-0/how-to-guides/guide-for-data-users/ingestion/workflows/usage), [**Lineage**](/ai-2-0/how-to-guides/guide-for-data-users/ingestion/workflows/lineage), [**dbt**](/ai-2-0/connectors/database/dbt), and [**Profiler**](/ai-2-0/how-to-guides/data-quality-observability/profiler/profiler-workflow). Go to the **Agents** tab, select the required agent type, and enter the details.
## Managing Services
Admin users can create, edit, or delete services, and view connection details for existing services from the **Connections** page.
Browse all supported connectors and connector-specific setup guides.
Permanently delete a service connection and its associated agents.
## Browsing Ingested Data
After ingestion completes, open the service page and go to the relevant asset tab — for example, **Databases** for a database service. From there, drill down to view schemas, tables, and columns.
**Tip**: After running a metadata agent pipeline, you can add separate pipelines for [**Usage**](/ai-2-0/how-to-guides/guide-for-data-users/ingestion/workflows/usage), [**Lineage**](/ai-2-0/how-to-guides/guide-for-data-users/ingestion/workflows/lineage), [**dbt**](/ai-2-0/connectors/database/dbt), and [**Profiler**](/ai-2-0/how-to-guides/data-quality-observability/profiler/profiler-workflow). Go to the **Agents** tab, select the required agent type, and enter the details.
## Managing Services
Admin users can create, edit, or delete services, and view connection details for existing services from the **Connections** page.
Browse all supported connectors and connector-specific setup guides.
Permanently delete a service connection and its associated agents.